Weezy
Well-Known Member
in-line flow controllers (at bottom left corner of webpage)
http://stcvalve.com/Stainless_Steel_Fitting.htm?gclid=CPOfk6rAorUCFUKd4AodpnsAyg
http://stcvalve.com/Stainless_Steel_Fitting.htm?gclid=CPOfk6rAorUCFUKd4AodpnsAyg

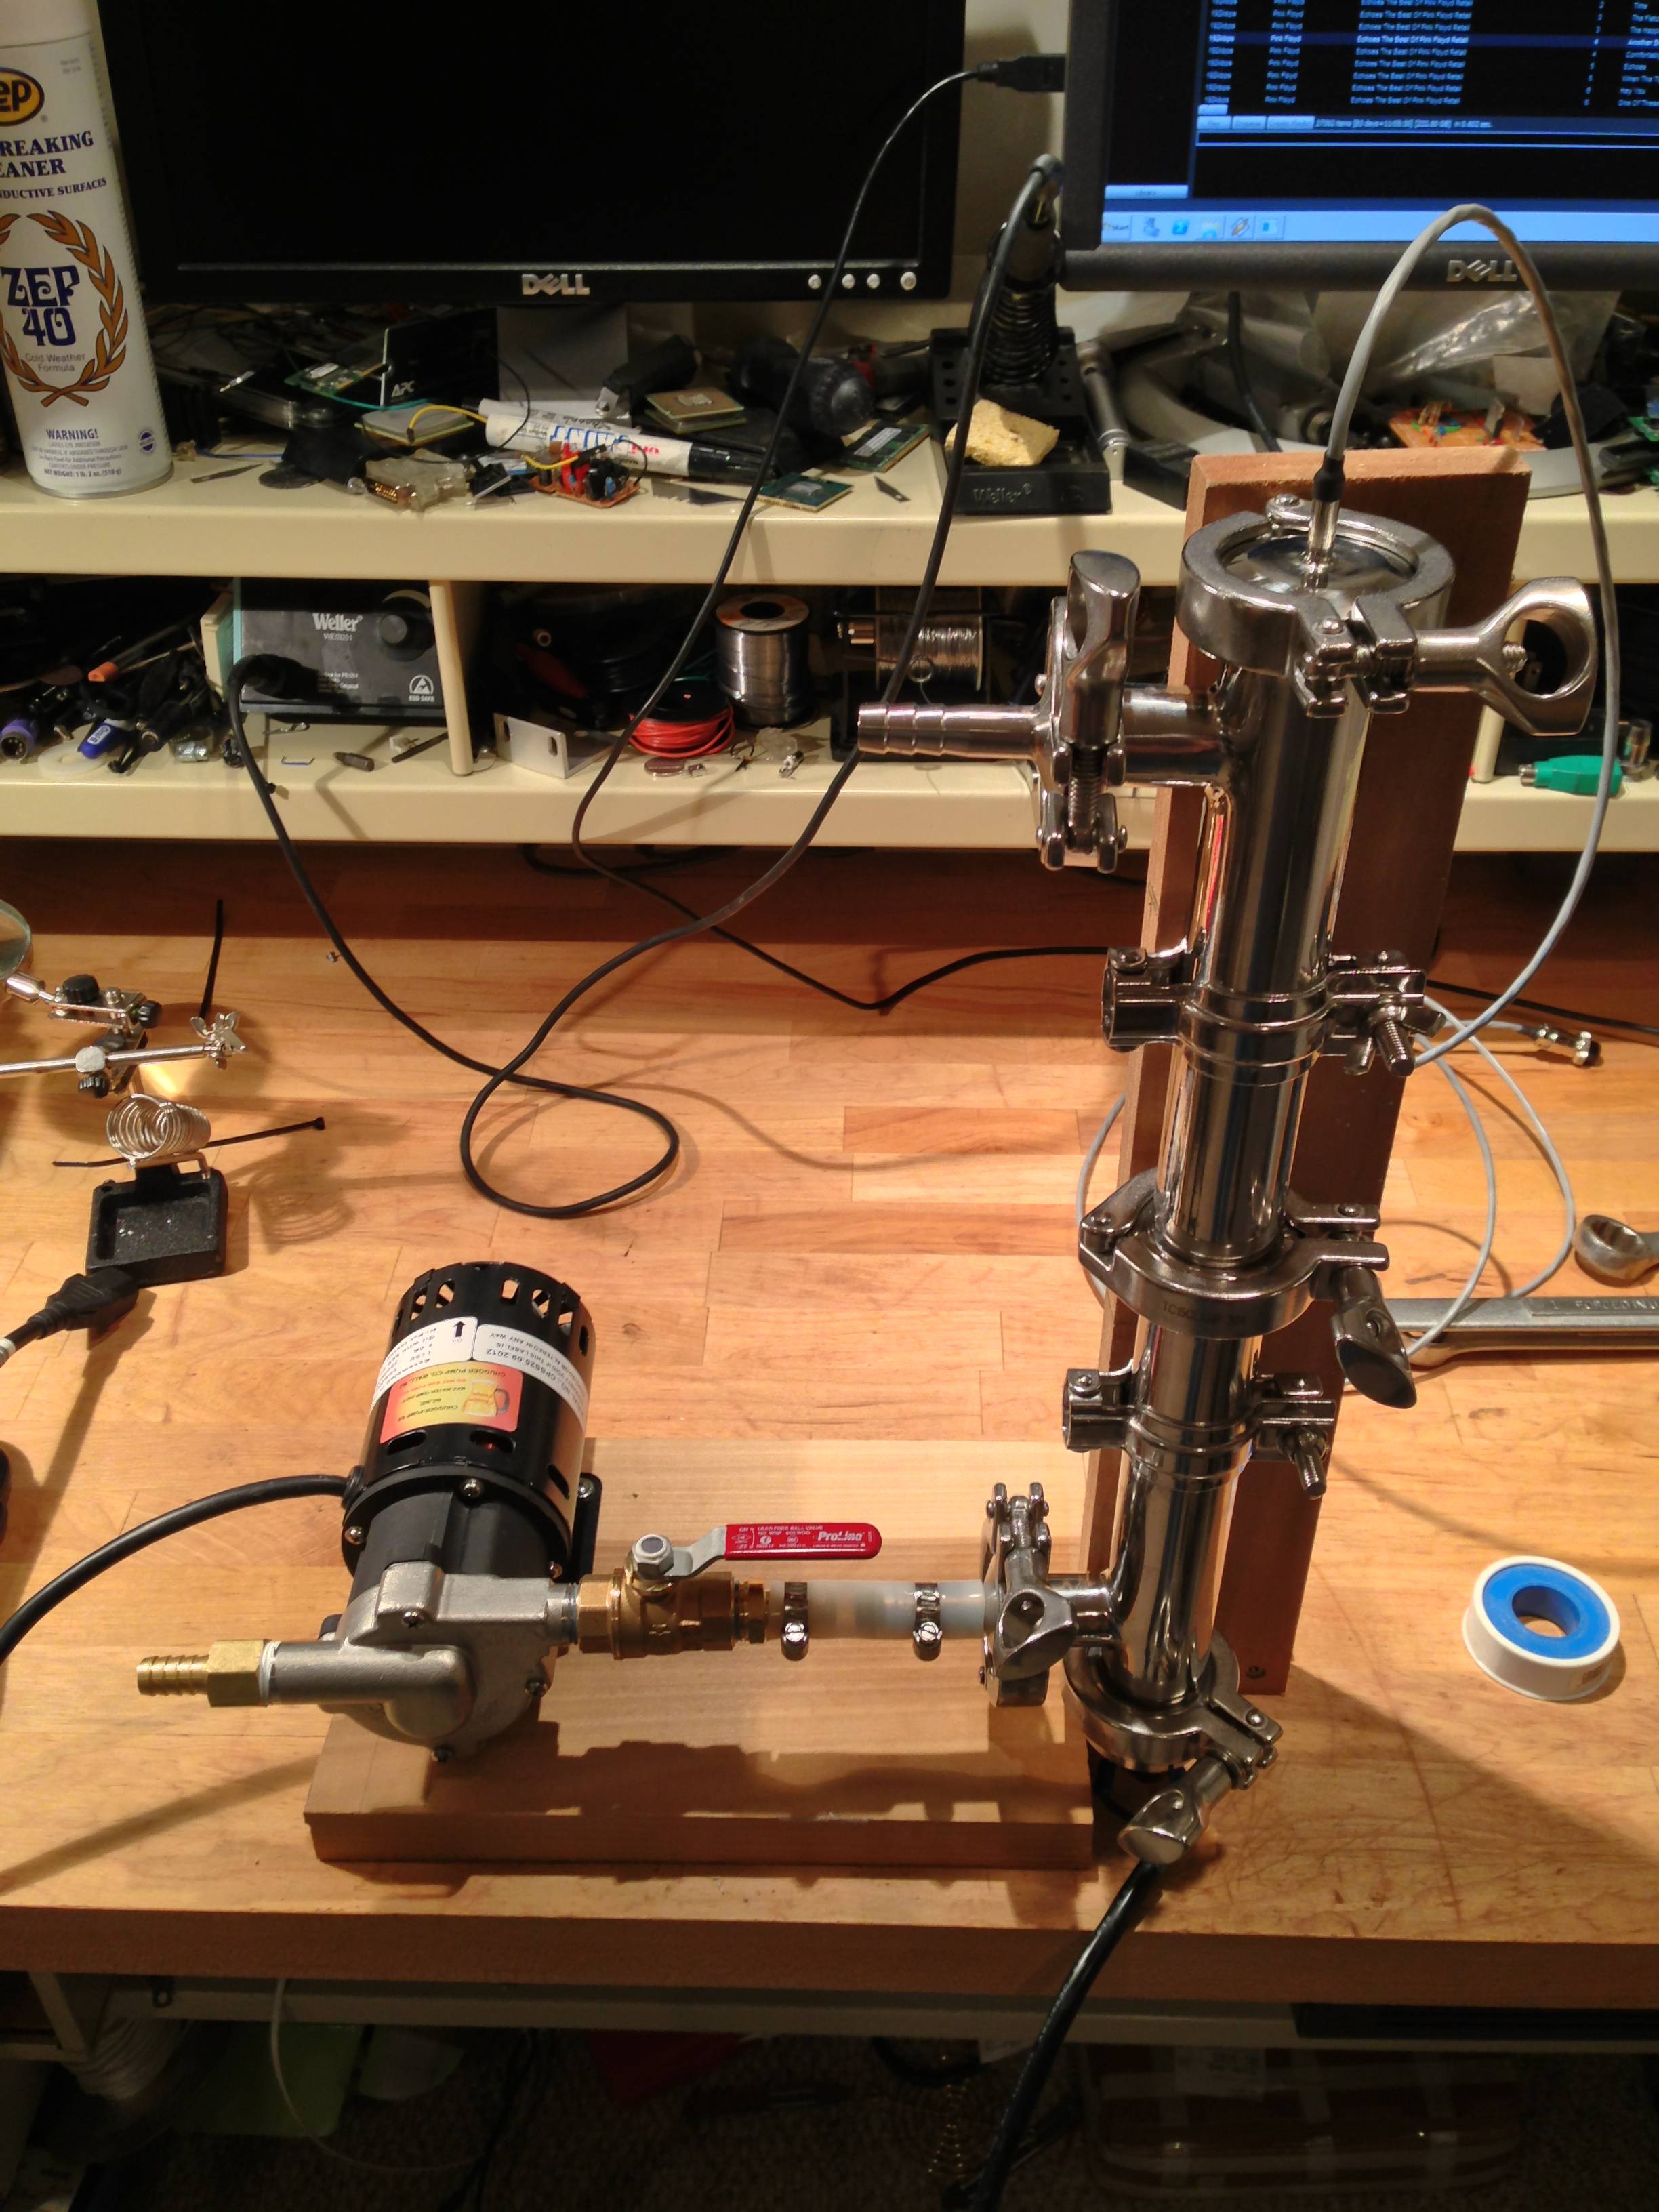
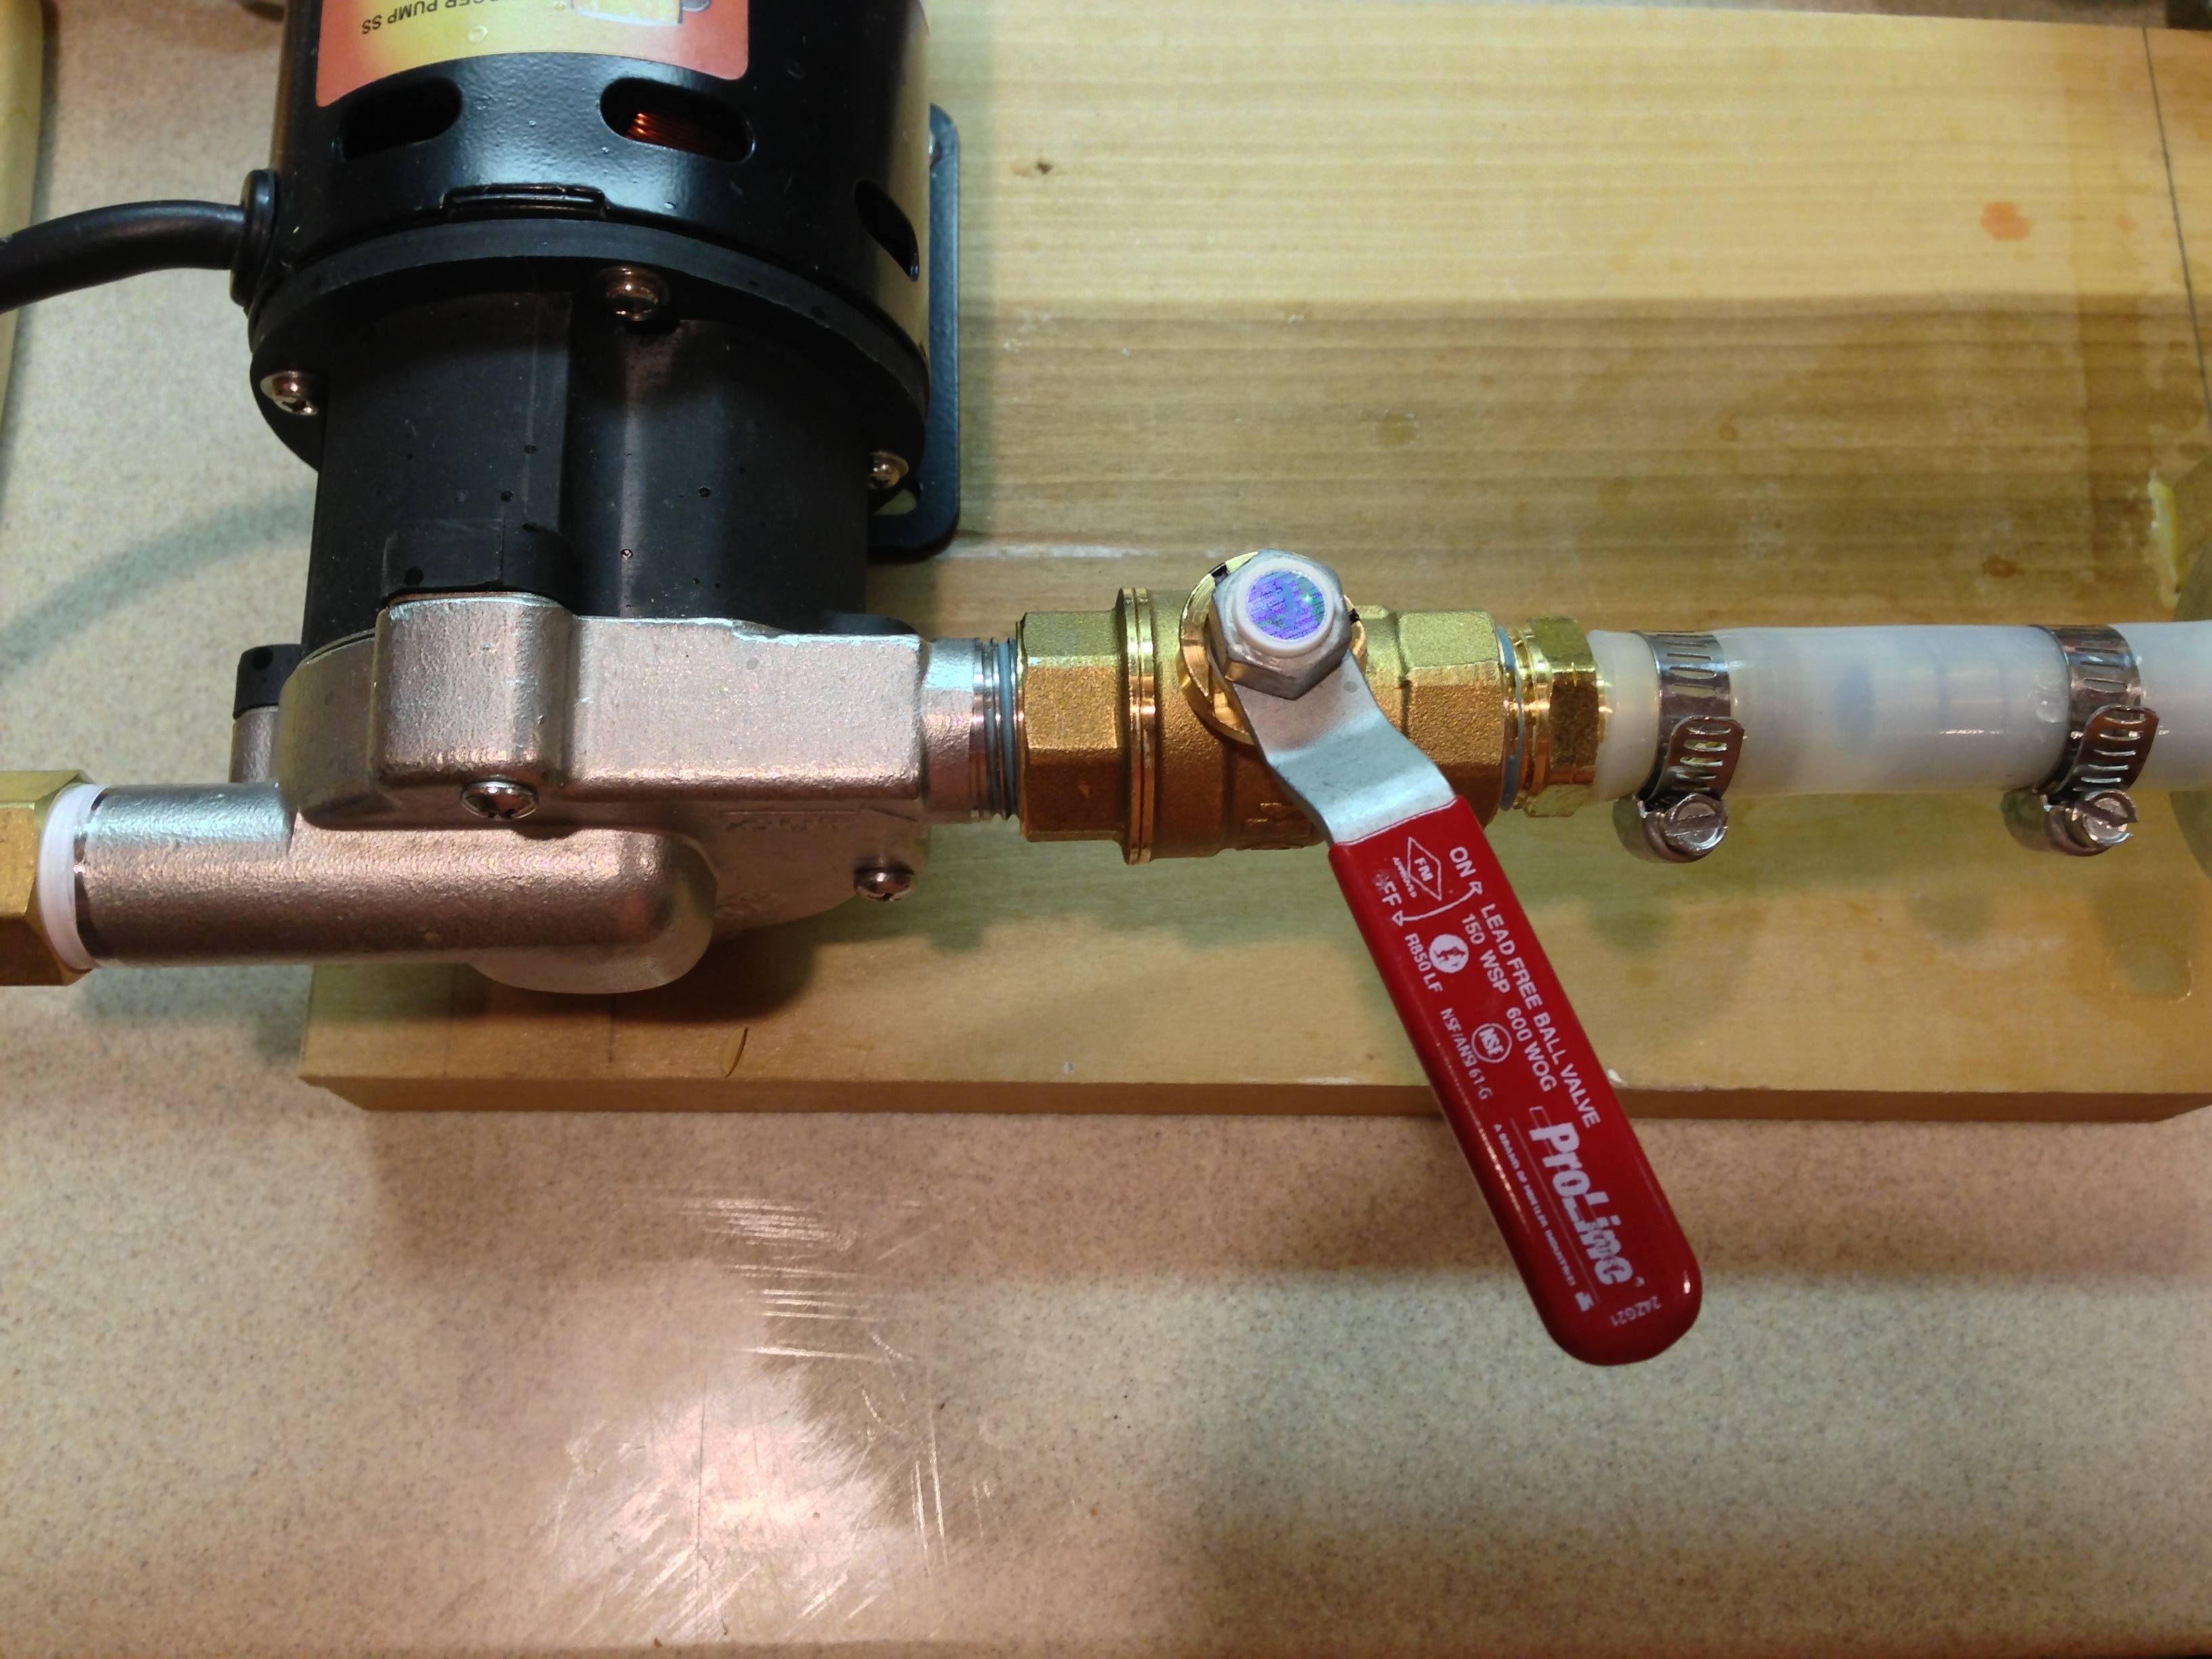
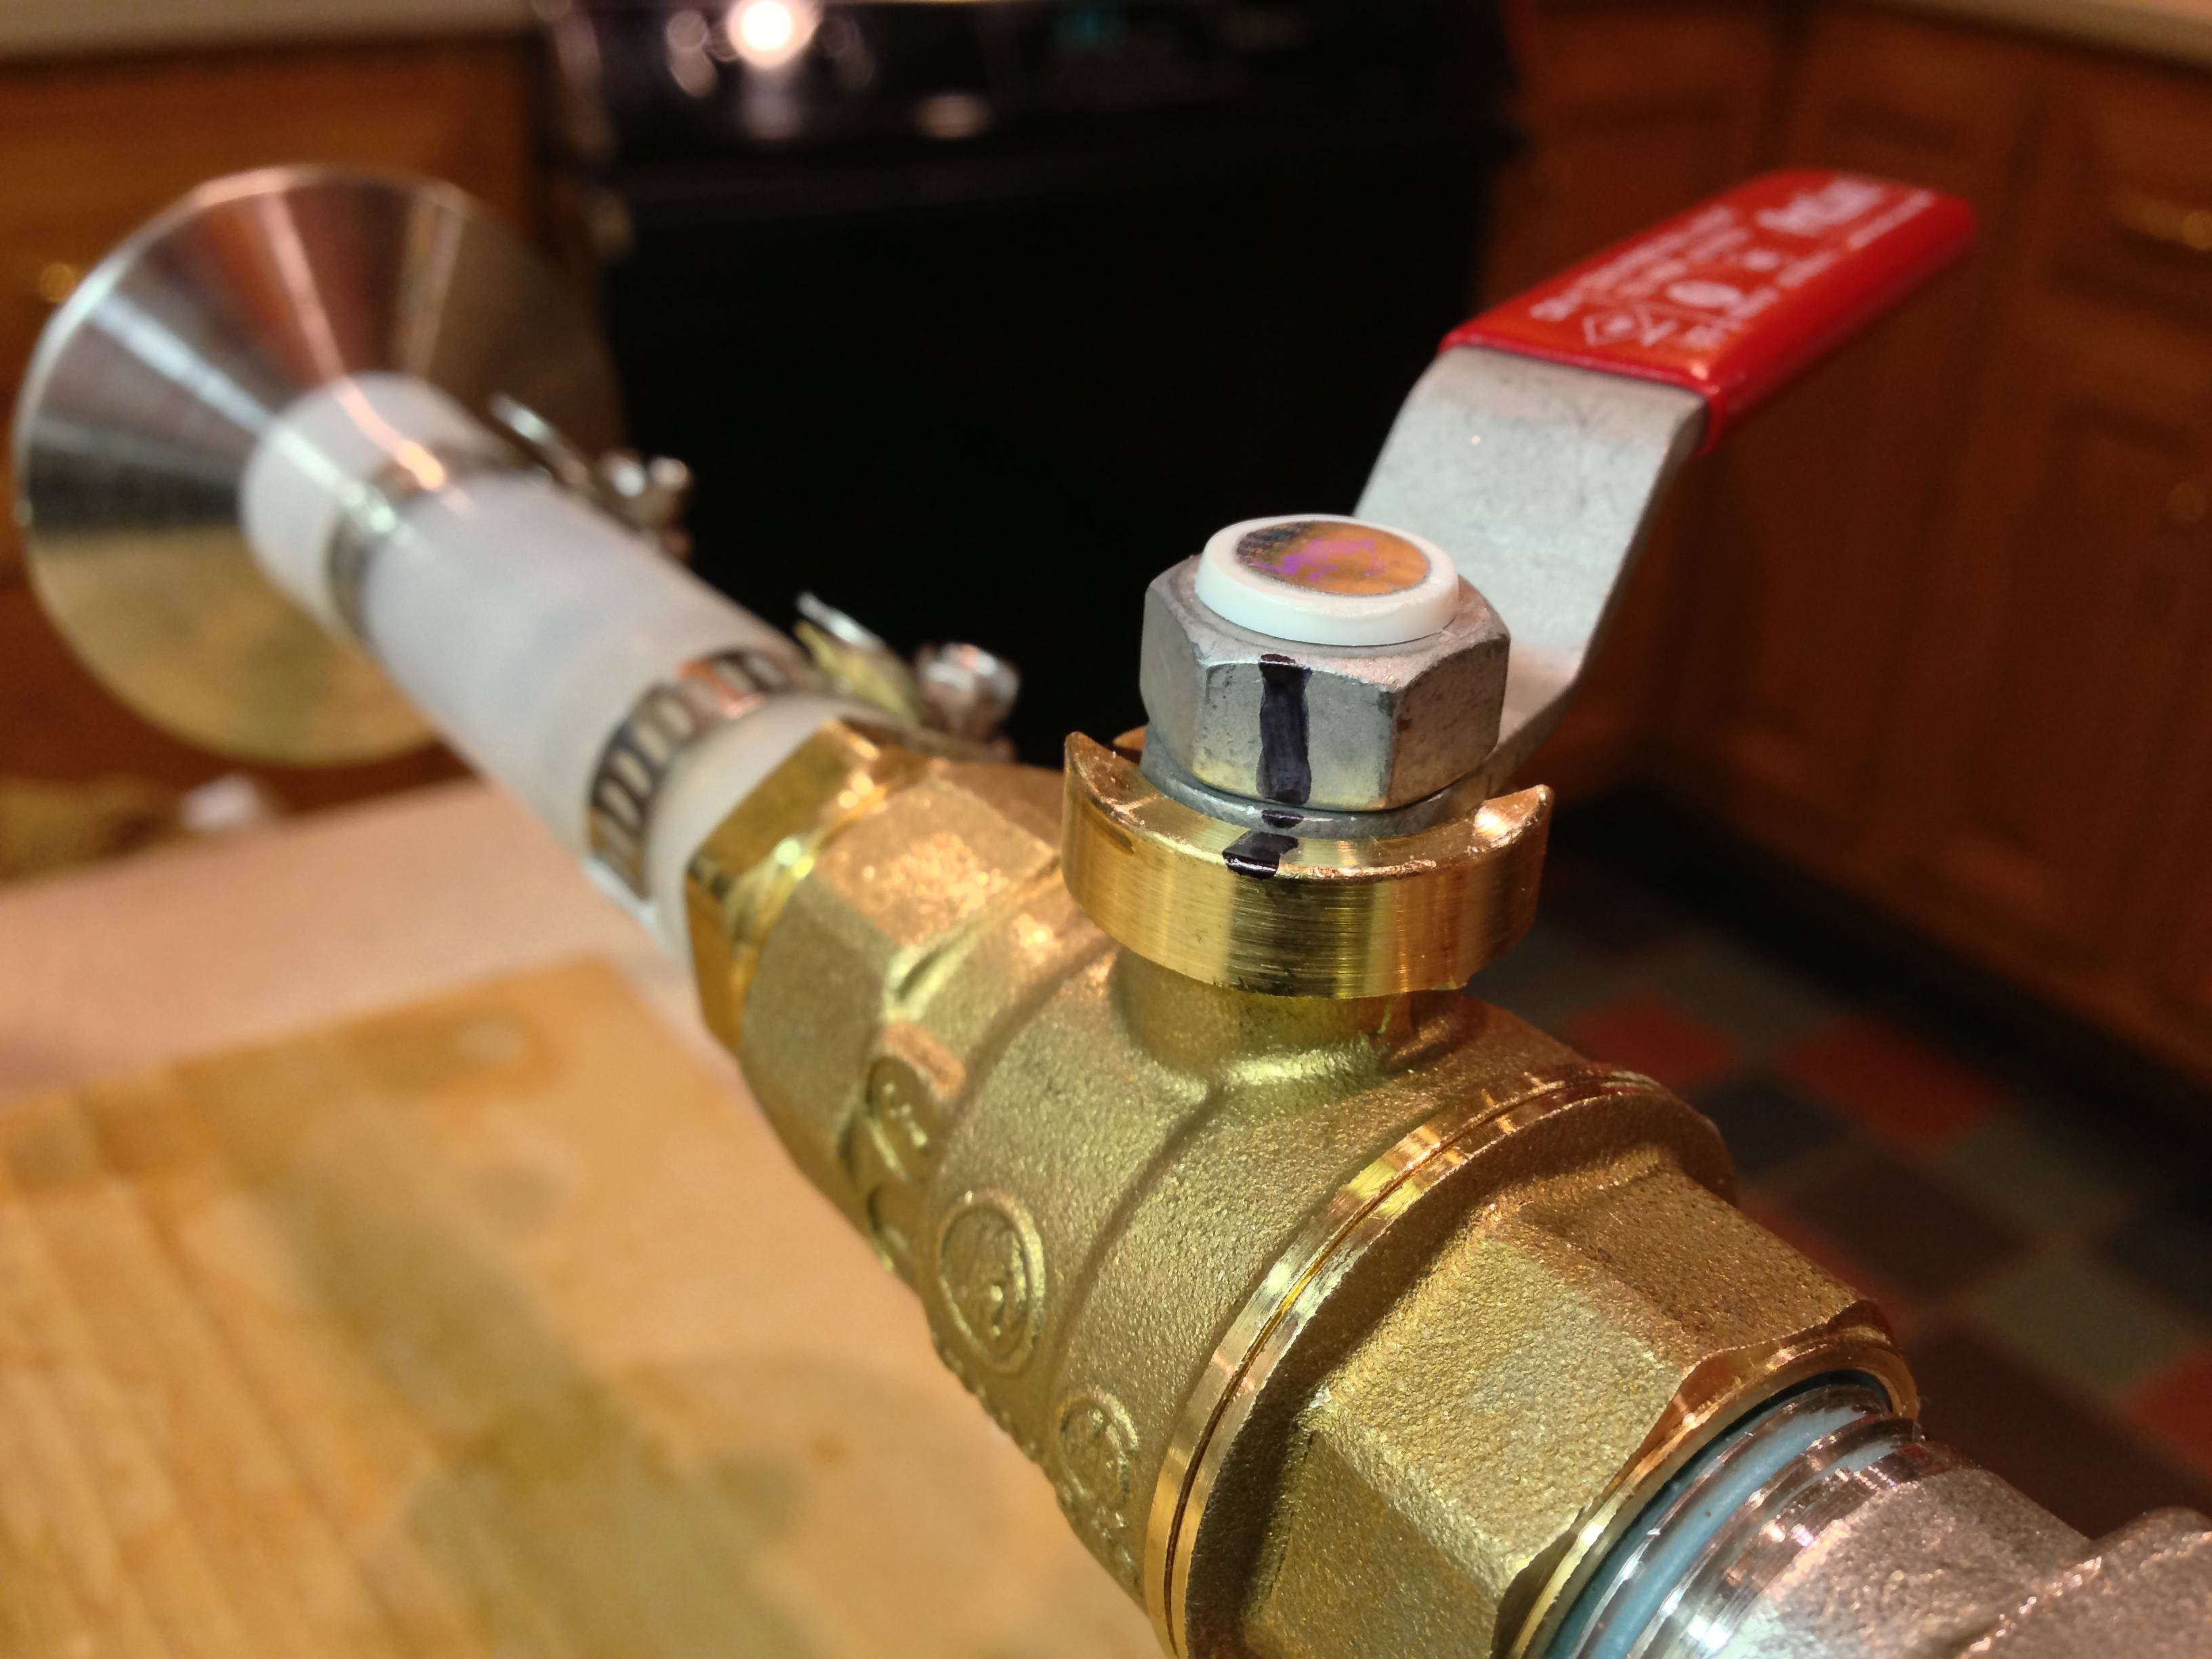
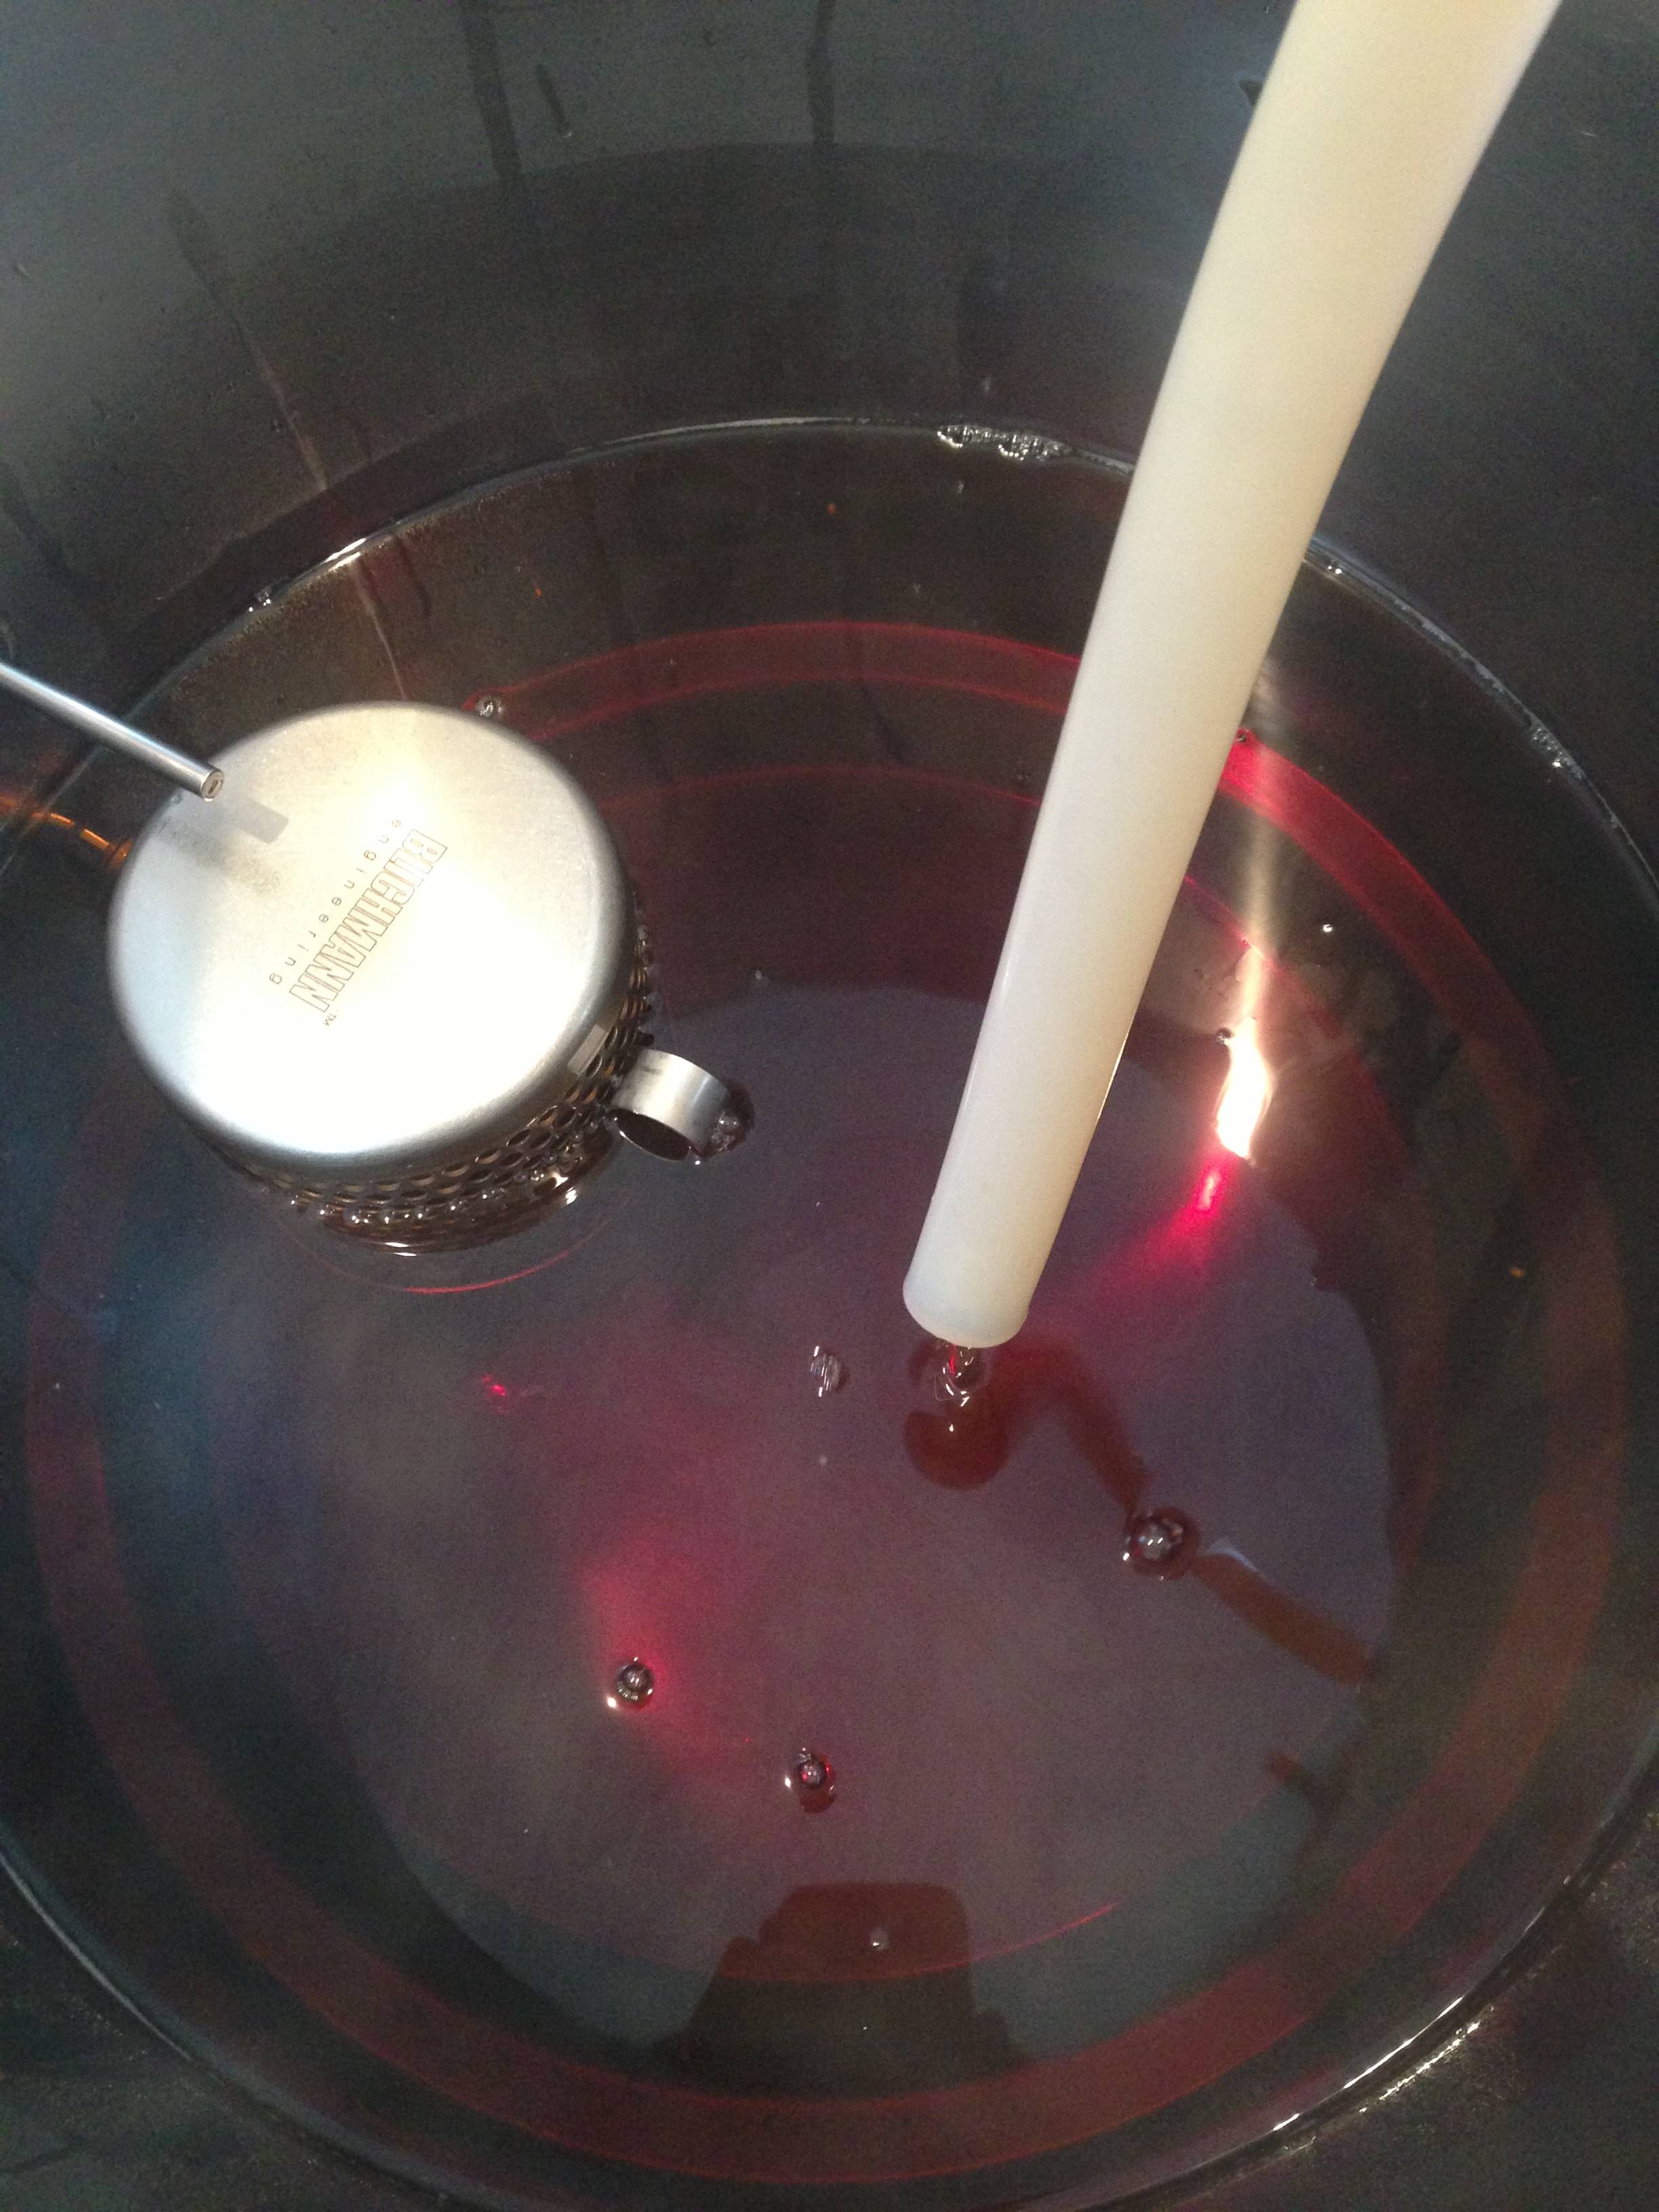
For my RIMS set up I will recirculate my mash water run through the rims tube until I get my desired strike temp and to ensure I wont lose a prime. After I mash in I let the grain settle for at least ten minutes. I then turn on my pump with the ball valve (On the outlet side of the pump) barely open. Once I can see things are flowing and I wont be getting a stuck mash I will then flick on my element switch set at the proper mash temp. Every 2-3 minutes after that I will open the ball valve a little at a time until I'm at proper flow rate. Once you tinker with your system you will know that "Sweet Spot". I never open my ball valve more than half way though. Also, some beers depeing on the grist will vary on how much I open my ball valve.
I previously looked into this extensively. March 809 pumps are brushless motors (see spec sheet below) and therefore need an electronic speed control (ESC), which is rather expensive. A ball valve is way cheaper and simpler, so that's what I went with.
If there is an engineer or electrician out there, further clarification would be appreciated .
It is true that brushless motors must be controlled by modifying the electronic commutation. AC synchronous motors (probably what the March pumps use, also 'brushless') don't have any commutation and spin at mains frequency, so you would have to have an in-between complicated gizmo to change the rotation frequency.
JasonO said:Hey guys, I can take some more pictures tonight and get a better parts list.
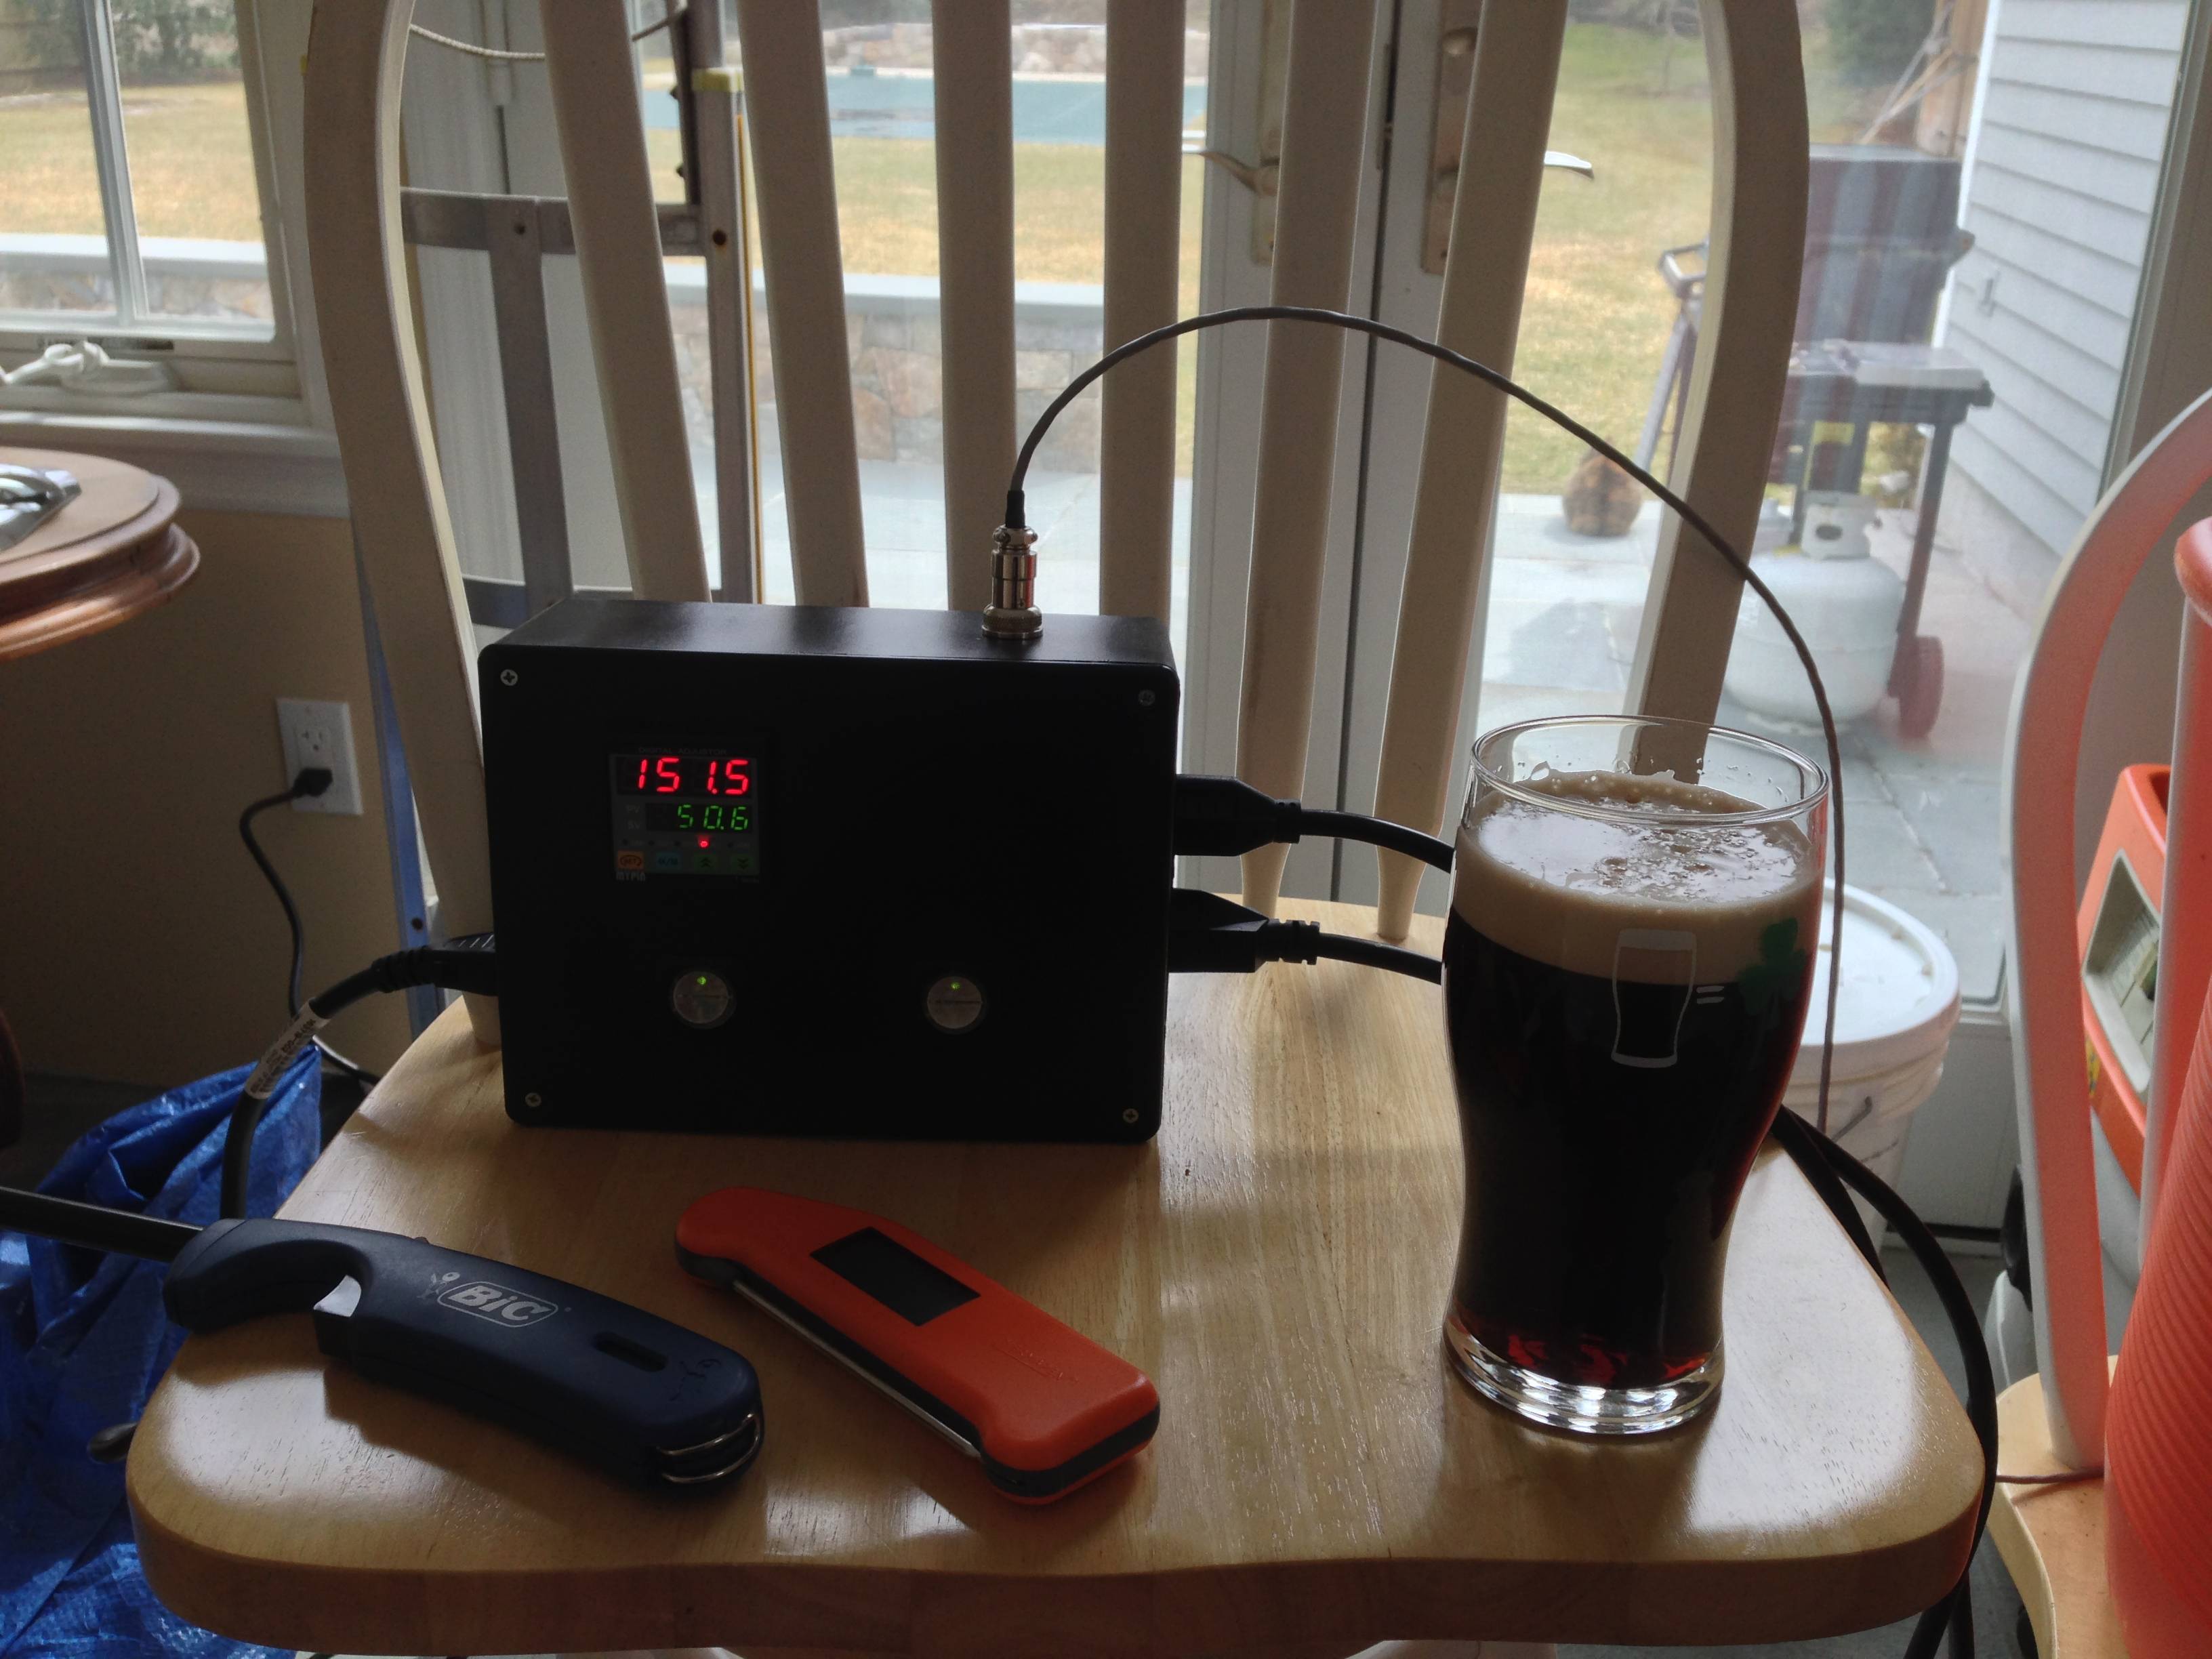
Small update as well. I used this setup for the 3rd time last weekend and I think I got it figured out. For my 14 lb grain bill I added 1 lb of rice hulls and got the flow set just right I think. At the end of the mash I have never seen wort that clear!! Also I was able to control the temp much better at the higher flow then try 2. It only took 12 minutes to raise from 150 to 168 for mashout.
Try 1: 1/2lb rice hulls no flow control = block of concrete 58% efficiency wort with stuck sparge
Try 2: No rice hulls w/ flow control = better grain bed 70 ish% efficiency semi clear wort with ok sparge
Try 3: 1lb rice hulls w/ flow control = nice grain bed 81% efficiency very clear wort with easy sparge.
Hey guys, I can take some more pictures tonight and get a better parts list.
Small update as well. I used this setup for the 3rd time last weekend and I think I got it figured out. For my 14 lb grain bill I added 1 lb of rice hulls and got the flow set just right I think. At the end of the mash I have never seen wort that clear!! Also I was able to control the temp much better at the higher flow then try 2. It only took 12 minutes to raise from 150 to 168 for mashout.
Try 1: 1/2lb rice hulls no flow control = block of concrete 58% efficiency wort with stuck sparge
Try 2: No rice hulls w/ flow control = better grain bed 70 ish% efficiency semi clear wort with ok sparge
Try 3: 1lb rice hulls w/ flow control = nice grain bed 81% efficiency very clear wort with easy sparge.
Here's a better parts list.
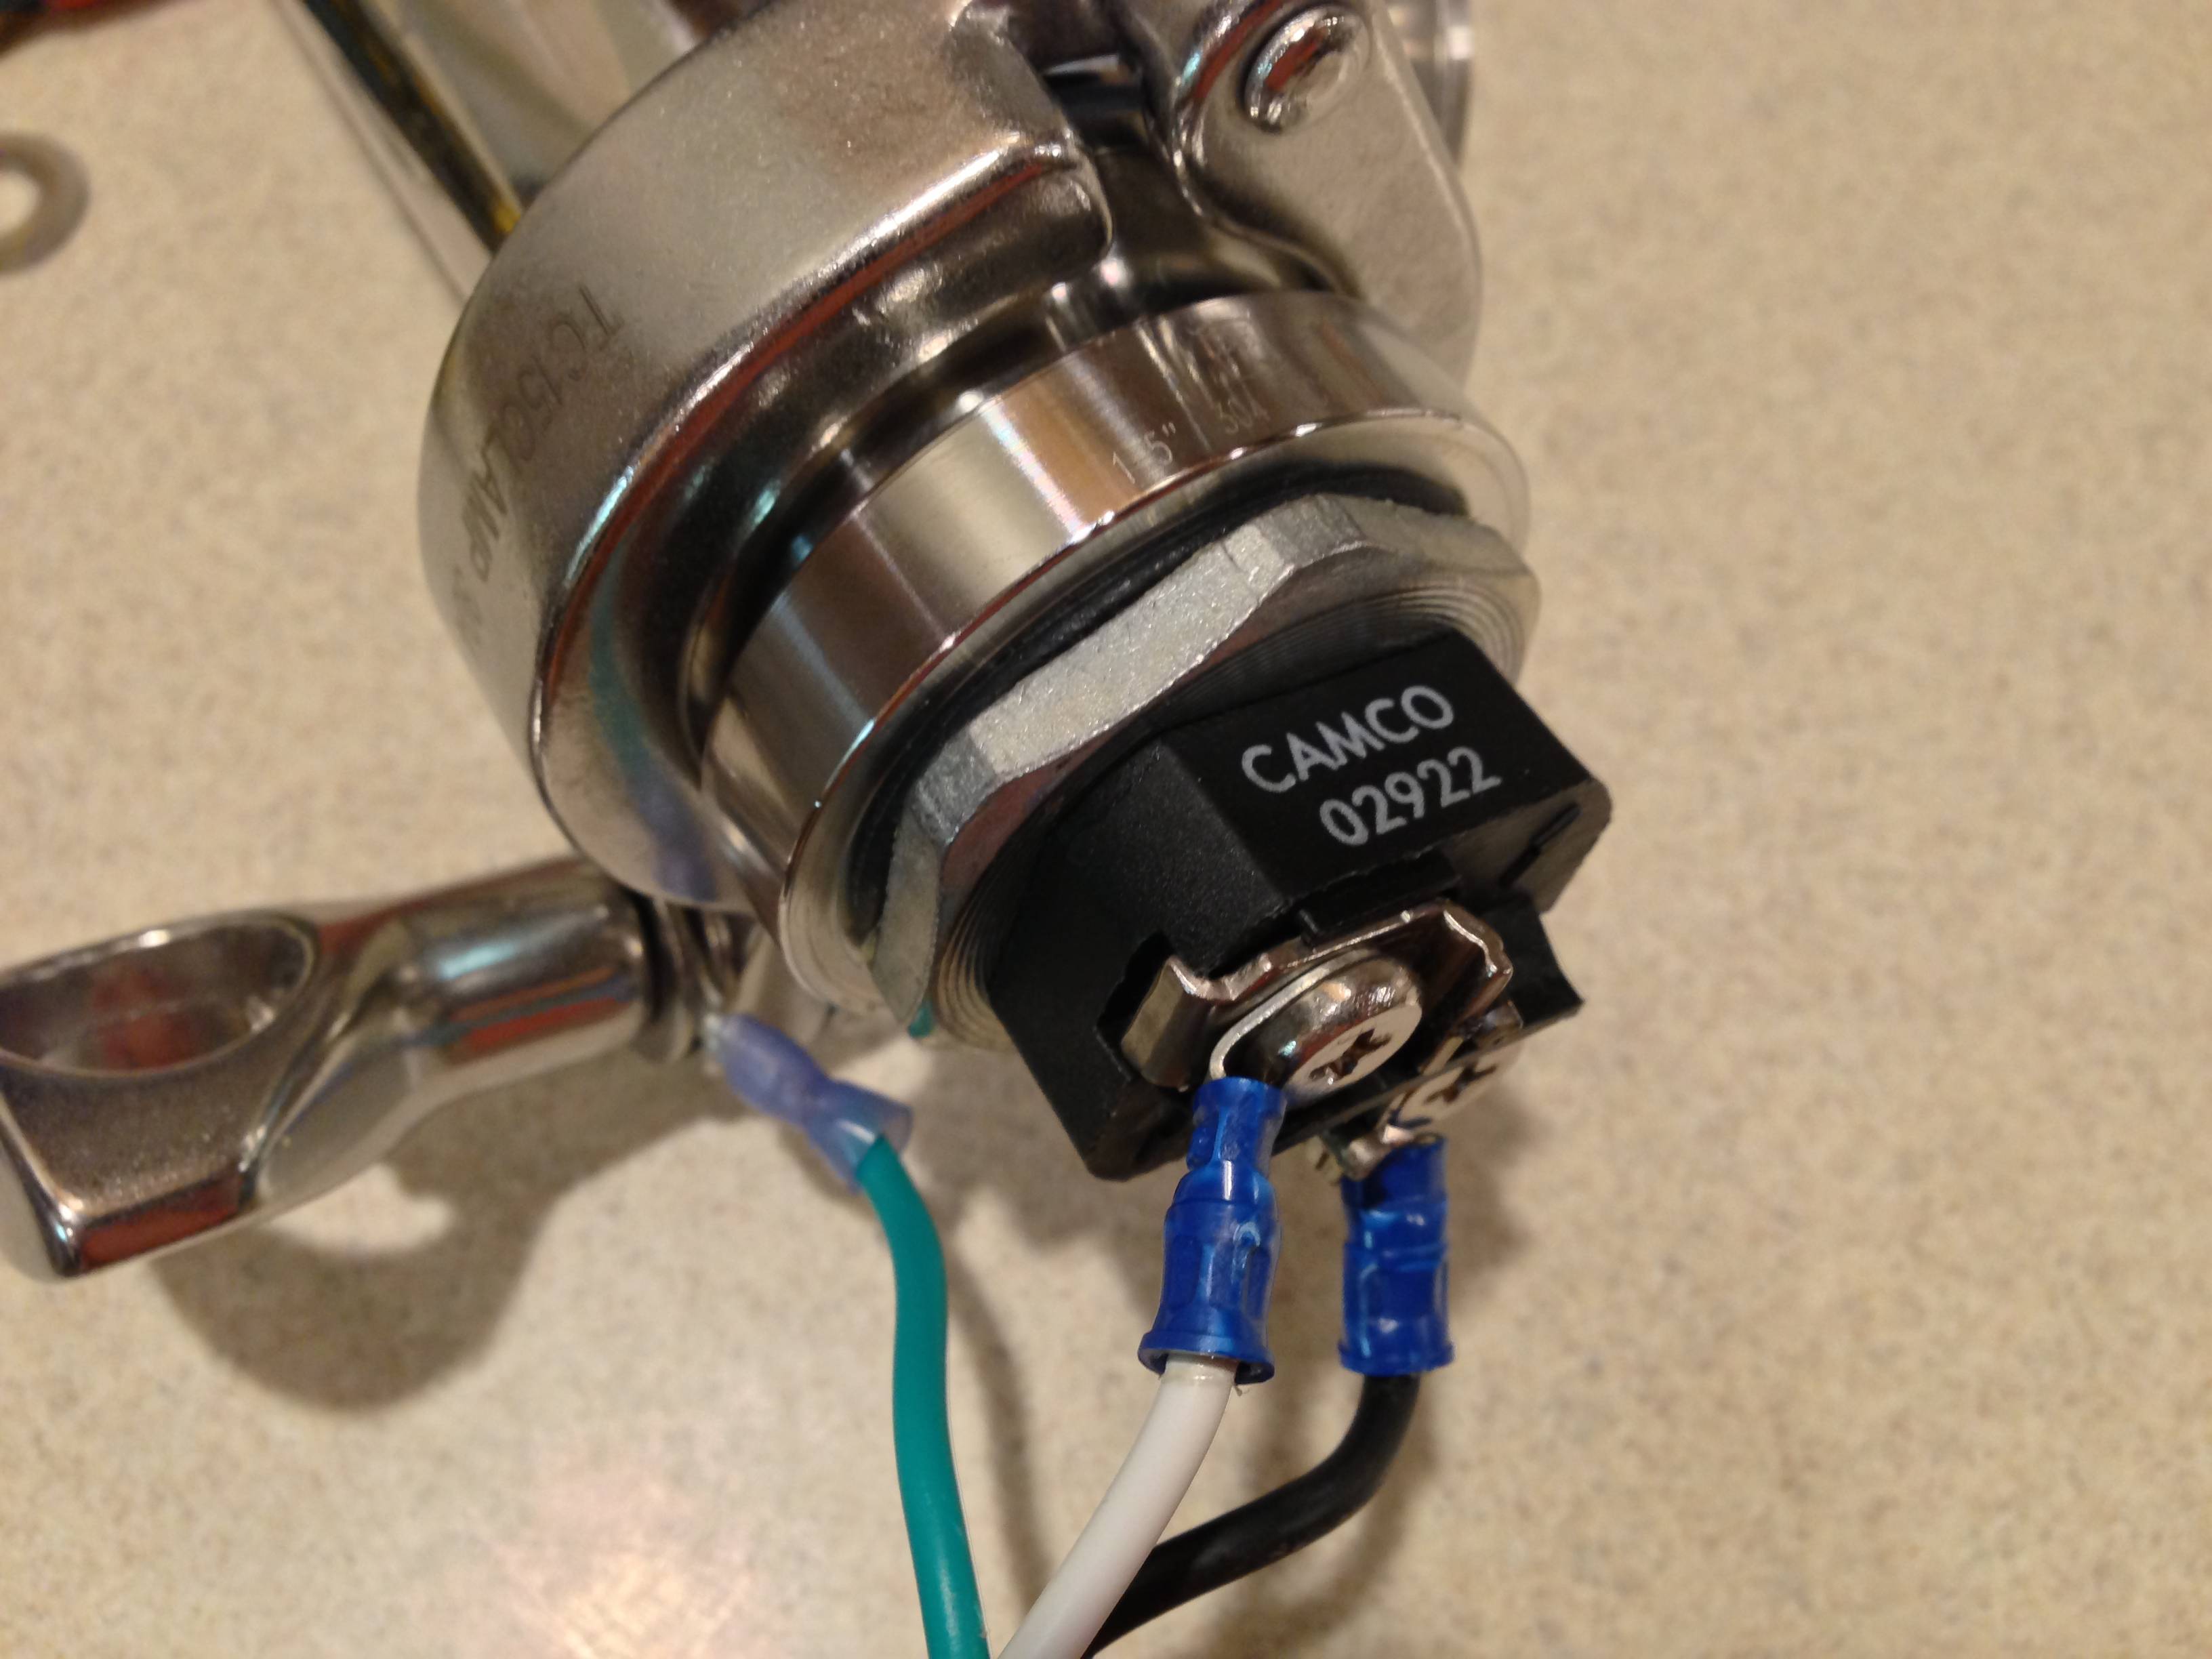
RIMS Tube
From Brewers Hardware:
TWS16 16" Stainless Steel Thermowell
RIMS15 1.5" Tri Clover RIMS Tube
TC15F10NPSL 1.5" Tri Clover X 1" NPS Fitting
TPPT100TC153 Pt100 RTD Temperature Sensor in 1.5" Flange 3" penetration
TC15B12 1"/1.5" Tri Clover X 1/2" Hose Barb
TC15MOUNT Mounting Bracket for 1.5" RIMS Tube
TUBES12X34 Silicone Tubing 1/2"
-Jason
Thanks for build sheet Jason.
Quick question Jason, I am not seeing the "TPPT100TC153 Pt100 RTD Temperature Sensor in 1.5" Flange 3" on the Brewers Hardware website. Anyone know which sensor I should get from Brewers Hardware? I will be using the same Ebay controller as Jason. Thank in advance!
Hey guys small update, I've done a few more brews with this current system and it's going well. Each time I have been over 81% efficiency!! This is so much better then before, 71% max. I would not second guess the purchase in a second. Each time I've had clear wort without a vorlauf. The only thing I need to work on or adjust is the pull up to 168 degrees for mashout. It's been kind of slow and I have cut is short at 163 or so once or twice. I think it's due to the controller cutting out as to not go too far over the set temp. I will be playing around again soon to see if I can get this sorted.
-Jason
I know this is a late post, but do you wish you had done a 2" tube rather than a 1.5"? I have been debating a RIMS build and had several people tell me they wish they had done a two inch tube.
Thoughts?
Enter your email address to join: