Show us your sculpture or brew rig

Homebrew Talk - Beer, Wine, Mead, & Cider Brewing Discussion Forum

Help Support Homebrew Talk - Beer, Wine, Mead, & Cider Brewing Discussion Forum:

This site may earn a commission from merchant affiliate links, including eBay, Amazon, and others.
If you want to get an answer, you should probably specify the person's name you are asking the question.

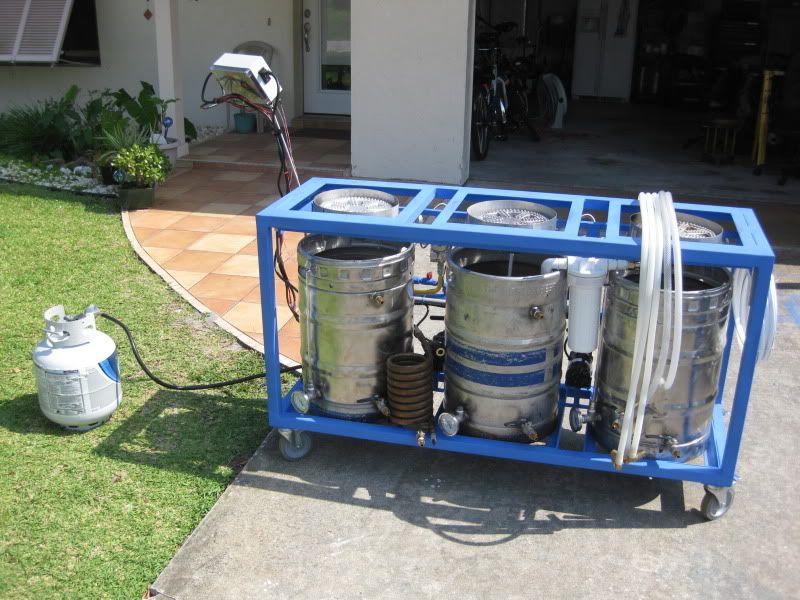
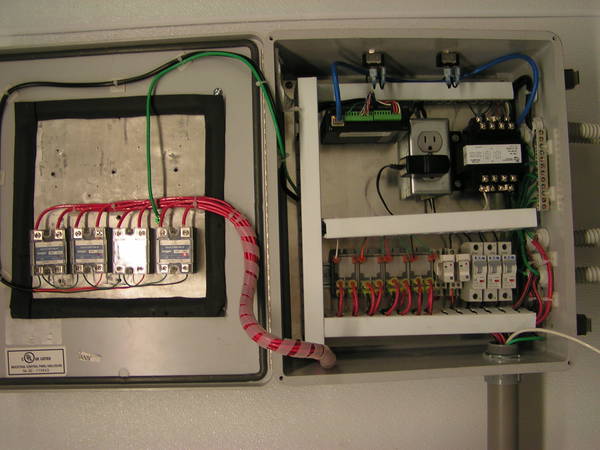
That's what I was going to say... but if it was referring to me, I built it. (Only reason I guess it was me.. was that I was the most recent posting one with a control box)
 
_MG_0116.jpg


_MG_0117.jpg
 
I have been looking for a control panel like the one you show in the photo, where did you find it?

I'm fairly certain he built it, but he's only made two posts since joining in October.

You could look at Kal's write-up in the electric brewing section for a good, detailed plan for an awesome control panel.

:mug:
 
All of these control panels you see are built by the users. There's no off the shelf panel like that. Systems vary to much. They're a little different for the most part to cater to the individual system. There are some turn key options like Sabco if you have the money though.
 
I designed and built the panel using parts from automationdirect.com. I have a parts list, schematic and layout diagram if you're interested. I sent an autocad output file to a machine shop that used CNC machine. The CNC takes the autocad file and cuts out the holes and engraves the labels right on the chasis I sent them.
 
This thread is awesome, if i am sad i can just look at these and realize I am not alone.
In the process of making my system will post soon!
Cheers!
 
Just received kettles from conical-fermenter.com. Its a 2 bbl HERMS, all electric, with 5500 watt heatsticks. Haven't finished adapting everything to tri-clamp, but its close to functional.
PICT00311.JPG

PICT0029.JPG

PICT00271.JPG

140_amp_control_panel.JPG

heatsticks.JPG
 
Here is my new rig that I sincerely hope to have done in a week or two.
The one behind it is it's evil twin we made from start to where you see it on 2/5/11 (8:30a-11:30p)
181678_10150104607318846_596098845_6291658_3029390_n.jpg


167665_10150104607793846_596098845_6291670_2011084_n.jpg
 
Thanks for the information, this sends me in the right direction.
I designed and built the panel using parts from automationdirect.com. I have a parts list, schematic and layout diagram if you're interested. I sent an autocad output file to a machine shop that used CNC machine. The CNC takes the autocad file and cuts out the holes and engraves the labels right on the chasis I sent them.
 
Just received kettles from conical-fermenter.com. Its a 2 bbl HERMS, all electric, with 5500 watt heatsticks. Haven't finished adapting everything to tri-clamp, but its close to functional.
PICT00311.JPG

PICT0029.JPG

PICT00271.JPG

140_amp_control_panel.JPG

heatsticks.JPG

That is beautiful... and in a perfect world what i'd like to get myself into eventually...please post more pics when you have it up and running...
 
Here's my Ghetto Rig...Only 2 batches since converting to electric. I kind of miss my direct fire MLT. Lower BK 4500 watt, MLT RIMS 1125 watt, HLT 4500 watt.


brewrig010.jpg
 
What do you miss about the direct fired mash tun? Adding insulation and a 2000w element will probably help if you're having trouble step mashing.
 
My efficiency went to crap...went from 85%+ to 60%. I have since added lower temp probe on MLT exit. I know insulation would help. I should just ditch the MLT keggle for a cooler. I just haven't adapted to my new setup. Not having to buy propane is so worth the growing pains.
 
Actually I was interested in the enclosure you used not the guts inside, sometimes I say one thing and mean another. But after surfing the web some more, I found a site that you can download their CAD and design what you want with the material you want, and they custom build it. The site is:http://www.emachineshop.com/ [quot...A/xxIxwTF1PBI/s800/IMG_2230.JPG[/IMG][/quote]
 
Budzu said:
Just received kettles from conical-fermenter.com. Its a 2 bbl HERMS, all electric, with 5500 watt heatsticks. Haven't finished adapting everything to tri-clamp, but its close to functional.

That's just beautiful......(sniff) (sniff). I just want to be alone for a little while now.
 
Every single one on here is AWESOME! You know why.... Because they are all used to make outstanding beer!!!!:mug:

3dog,
Here is a better picture of my hop sock.

100_1168.jpg

100_1165.jpg


I use it whenever I add anything to the boil, hops, spices, whatever. It works great especially when brewing beers with lots of additions at different times, like an IPA. THe parts cost me about $8 at the orange box and it took about 15 to assemble, I am not sure what the long skinny hop bag costs, I got it when I bought some guys stuff off Craigslist. Every brewer needs one!

I have a question, is that a in place chiller in the boil kettle? I havent seen this on any other rig and I think I really like it. Care to explain or give pros and cons? Also, any special instructions on how to add it to a keggle? I have a newly acquired on and am looking for ideas to Bling it out...
 
I have a question, is that a in place chiller in the boil kettle? I havent seen this on any other rig and I think I really like it. Care to explain or give pros and cons? Also, any special instructions on how to add it to a keggle? I have a newly acquired on and am looking for ideas to Bling it out...

Hey, my boil kettle is set up like that! (this pic doesn't show inside).

How to install in keggle:
  1. Weld two 1/2" stainless couplings in the bulkhead where you want to connect coil
  2. Bend up a coil of copper tubing
  3. Flare ends of copper tubing to connect to flared connectors inside keg
  4. Attach fittings outside keg to run cold water in the bottom, and out the top of the coil

It can make cleaning the kettle more tedious, but it sure is handy. Also, as I approach the boil there is always a little steam that escapes outside as a little water that remained in the coil flashes to steam :)

791e6c51e304542d0486361a6146f005.jpg
 
It's a mounted HEX coil, just like many use in their HLT. There are a million ways to skin the cat, welded, weldless, soldered...

DSC05403.jpg

DSC05061.jpg
 
Here are some specs:

Natural gas via gas tube.
23 jet burners
tri-clover fittings
custom rigid stainless lines
Self designed hybrid heater/cooler coil
keyed power switch to pumps
illuminated pump switches (red = power, green = on)
28 gal kettles
prime/sampling valves on each pump "out"
1 1/2" square thick wall frame
wheels on one side, move like wheel barrel

I think that's it.

163838_1746348105874_1453937765_1848554_4706604_n.jpg


163416_1746347985871_1453937765_1848553_5274893_n.jpg


154738_1668079349204_1453937765_1684064_3867242_n.jpg
 
Hey, my boil kettle is set up like that! (this pic doesn't show inside).

How to install in keggle:
  1. Weld two 1/2" stainless couplings in the bulkhead where you want to connect coil
  2. Bend up a coil of copper tubing
  3. Flare ends of copper tubing to connect to flared connectors inside keg
  4. Attach fittings outside keg to run cold water in the bottom, and out the top of the coil

It can make cleaning the kettle more tedious, but it sure is handy. Also, as I approach the boil there is always a little steam that escapes outside as a little water that remained in the coil flashes to steam :)

791e6c51e304542d0486361a6146f005.jpg

I think I like it! As for it getting in the way while cleaning, I was thinking, maybe making one that a larger circle. So that it is much closer to the outside wall of the keggle. Recirculating Ice water through that and then also installing a whirlpool return and recirculating the wort at the same time to drop temps in a heartbeat...would that work?
 
I think I like it! As for it getting in the way while cleaning, I was thinking, maybe making one that a larger circle. So that it is much closer to the outside wall of the keggle. Recirculating Ice water through that and then also installing a whirlpool return and recirculating the wort at the same time to drop temps in a heartbeat...would that work?

Yup, I do that with my immersion chiller, recirculating makes a huge difference. I'd run cold tap water through it until you get down to around 120F-110F then start the ice water, you'll melt your ice right off the bat if you use it when the wort is above 200F. Then when you get closer to pitching temps, the tap water isn't cold enough to maintain the speed at which it was dropping in the beginning, that's when you hit it with the ice water to finish it off.
 
I sued to have a coil in my boil kettle and another coil in a bucket of ice water. The tap water would run through the coil in ice water first so the water going into the boil kettle coil was chilled and the ice lasted much longer that way.

I decided that I wanted to get away from a coil in any of the kettles, chilling or recirculating, so I made the coil you see below.

The coil started with a 20' long 1 1/4" tube with a 5/8" tube set inside of it. I bent it, welded fittings on, and sealed up the "jacket" line. When the wort is recirculating it runs through the small line and my heated sparge water runs through the jacket line. When it comes time to cool the wort runs through the small line again and tap water runs through the jacket line. The hot water from the heat exchange is captured to make another batch or to clean the gear with.

59035_1567369671525_1453937765_1490259_7744624_n.jpg


40705_1532359356289_1453937765_1403423_4043866_n.jpg


It's been working great, no clogs, and flows very well. I need to get some good pics to post.
 
Nice, a SS triclamp counterflow HEX coil. Though it does seem like it would act as a radiator, how far do you have to set the HLT temp higher to hit the mash temp you're after?
 
Yeah, the drawer is definitely good to have. It was one of those cheap plastic / Rubbermaid type drawers that I had lying around so I just screwed it into the brew stand and it holds all of the miscellaneous stuff in one place. Thats the advantage of a wooden brew stand...you can easily add stuff on to it.
 
Started with this:

IMAG0129.jpg


Ended with this:

IMAG0131.jpg


Live casted the build as well.

Bonfire cast (First brew session) in about 2 weeks
 
A little more wiring and plumbing and she will be done.
sculpture1.jpg
Control panel
sculpture2.jpg
RIMS tube
sculpture3.jpg
Started with one Blichmann burner then added another, then the plate chiller so I just built a sculpture to put it all on. Will test run this weekend.
 
I just watch the temp on the mash and adjust accordingly. The coil is there to maintain the mash temp. When I start a brew day I fire up the burners under the MT and the HLT Once I hit the dough in temp I kill the MT burner and start the recurc.

We are having a big brew day for the local club on Sunday. I'll take some pics and post them.
 
I'm fairly certain he built it, but he's only made two posts since joining in October.

You could look at Kal's write-up in the electric brewing section for a good, detailed plan for an awesome control panel.

:mug:

Brouwerij Kabouter would be the one to talk to he built one recently for a member....I think it's called a panel mount enclosure or something like that. A very ergonomic design.
 
Just received kettles from conical-fermenter.com. Its a 2 bbl HERMS, all electric, with 5500 watt heatsticks. Haven't finished adapting everything to tri-clamp, but its close to functional.
PICT00311.JPG

PICT0029.JPG

PICT00271.JPG

140_amp_control_panel.JPG

heatsticks.JPG

You can't brew beer on that. It won't work.


;):mug:
 
Back
Top