Brewstand

Homebrew Talk - Beer, Wine, Mead, & Cider Brewing Discussion Forum

Help Support Homebrew Talk - Beer, Wine, Mead, & Cider Brewing Discussion Forum:

This site may earn a commission from merchant affiliate links, including eBay, Amazon, and others.

WaboMa

Active Member
Joined
Jan 6, 2012
Messages
26
Reaction score
0
Location
Albuqerque
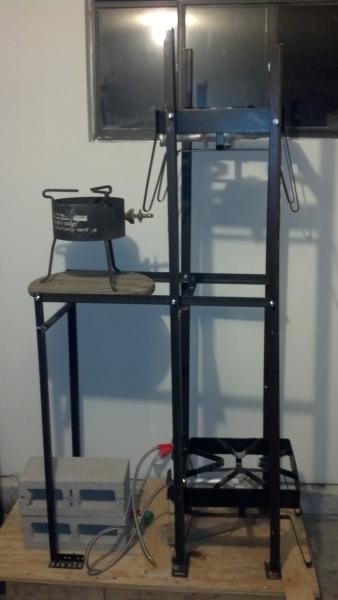
I am starting on a new single tier brew stand and fermentation chamber. My goal is a single tier stand running natural gas, inspired by brutus and all the other awesome builds on this site... but manually ran.

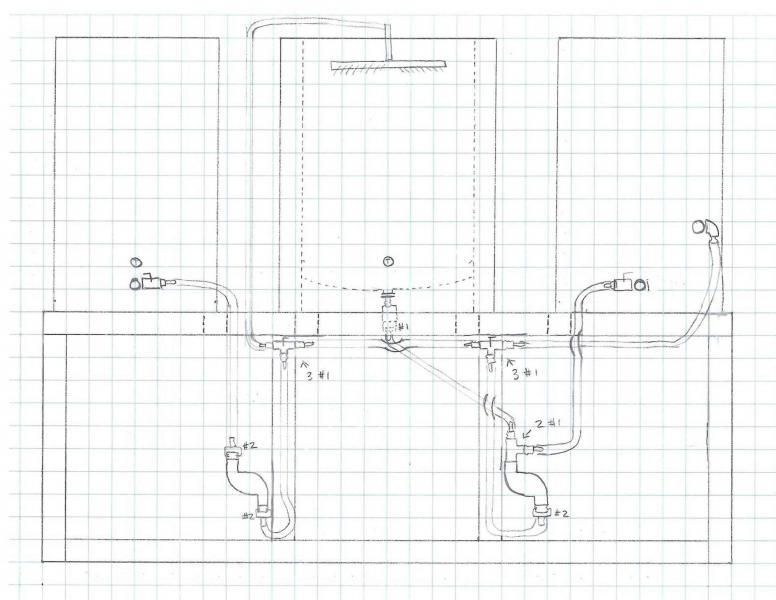
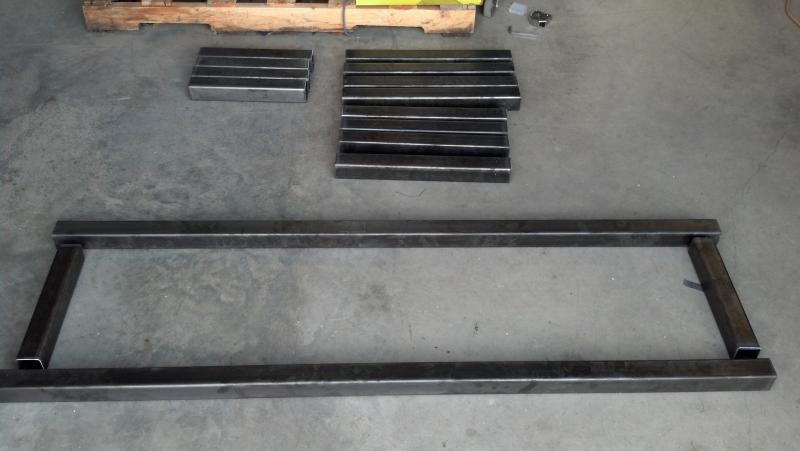
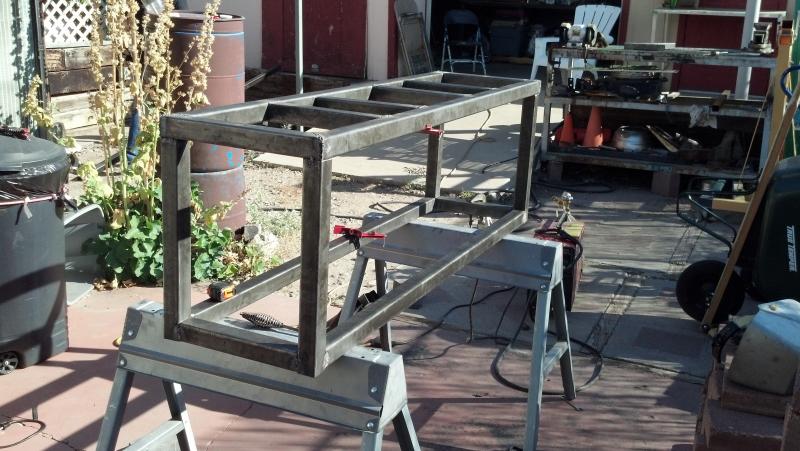
The stand is going to be built out of 2x2 16 gauge cold rolled steel, it will have 2 pumps and will be about the height of a keg. When I started designing the stand I thought it would be bigger… Anyways I will start cutting and welding tonight. I am posting the design plans for the stand and plumbing.

I am still working on the natural gas part. The house I live in has a electric water heater in the garage, so there is an open NG gas line just begging for me to use it. I am still a little unsure about the burners but these are the ones I am planning on.

http://www.topfoodservice.com/Merch...CABJ027&Category_Code=KECABJ&Product_Count=23

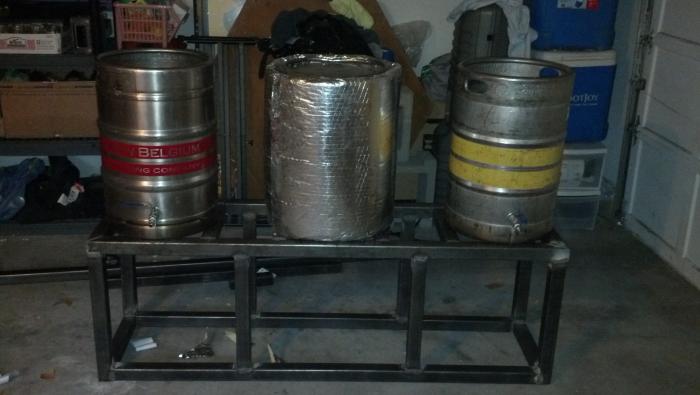
I do mostly 5G batches, but the plan is to up it to 10G. I will try to post as many pics as I can here are a few including my old three tier brew stand. Also I would appreciate any and all questions, concerns, criticisms...or anything.

Cheers

wb_-251685233.jpg


2012-09-28_16-13-45_525.jpg


2012-09-27_22-21-32_154.jpg


Brewstand1.jpg


Plumbing1.jpg
 
why is there tubing going into stomachs? haha just kidding!

good luck man! making a stand was the best thing i ever did to my setup
 
Great time for you!

Maybe I'm wrong, but if I well remember the input hole of the pump should stay on the lower side and the output on the higher one. Taking a look at your design it seems to me you're doing the opposite.
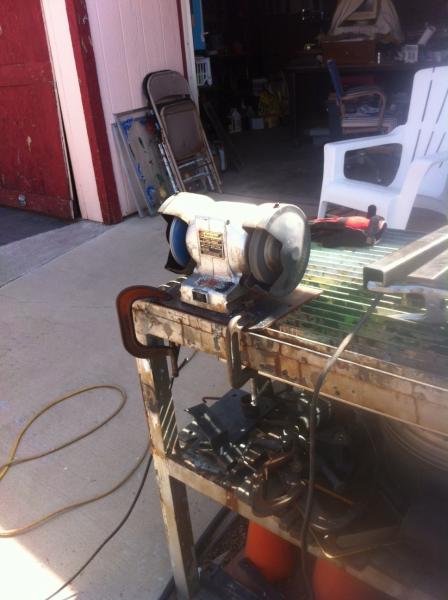
Also, do you mind to share some photos of the tools you're going to use for cutting and welding?

good luck!

gm
 
Yes, you would want the output side of the pump to be facing up so the air can escape easily. Also are you going to have valves on those T locations. If not then your going to have water/wort moving in directions that you will not want when your pumping.
 
I did not know that about the pumps thanks for the heads up, and the tee's are actually 3 way valves. Little expensive but they were to cool to pass up.
 
And I will definitely get some pics and detailed info (the tools are not mine).
 
Looks like you are off to a good start. I designed mine earlier this year. One suggestion I would have is to put some diagonal pot supports in each of your stations. This will enable you to accommodate smaller kettles as well as the larger ones you will want for 10 gallon batches. My advice all centers around planning for things you don't think you will do now. This will save you time, money and/or work later.

I would suggest building it to accommodate kettle sizes for one batch size larger than you currently foresee yourself doing. In my case, I have 20 gallon kettles for 11 gallon final batch size (into the fermenter). I built my stand to hold kettles up to at least 26 gallons and as small as 15 gallons. I laid out the design on the floor with masking tape to get the dimensions right.

Also, I would go ahead and plumb it for 3 burners even though, like I did when I built my stand, I said I was going to stick to manual operation. A plate to mount a chiller (you already mentioned pumps), a switch for the pumps, and a control panel arm will be a good way to plan for the future as well. Some rear uprights to mount water plumbing isn't a bad idea either. If you can add a work station that folds out, that would be very handy. I did not do this and kind of wish I did. Finally, and I can't stress this enough, add some thin pegs to hang spoons on. This was a last minute call to the welder for me and I'm very glad I did.

For paint, if you use the Rustoleum BBQ Grill stuff, order the "Ultra" variety. The Ultra is a gloss paint. The flat stuff will rub off like crazy. The Ultra works great.

Can't wait to see what you build!
 
Thanks dcbc, after thinking about it, I decided to make the stand bigger on your recommendation. Thanks for the info about the paint that's the route I am going to go.

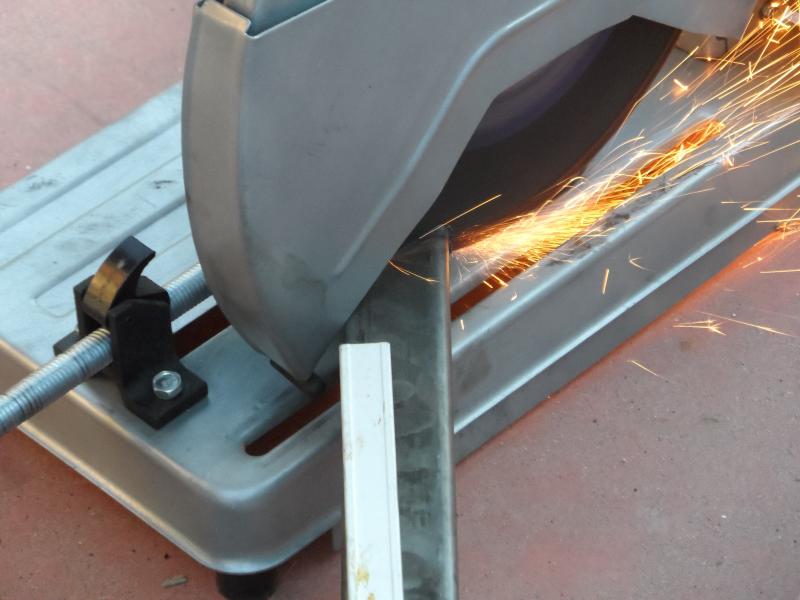
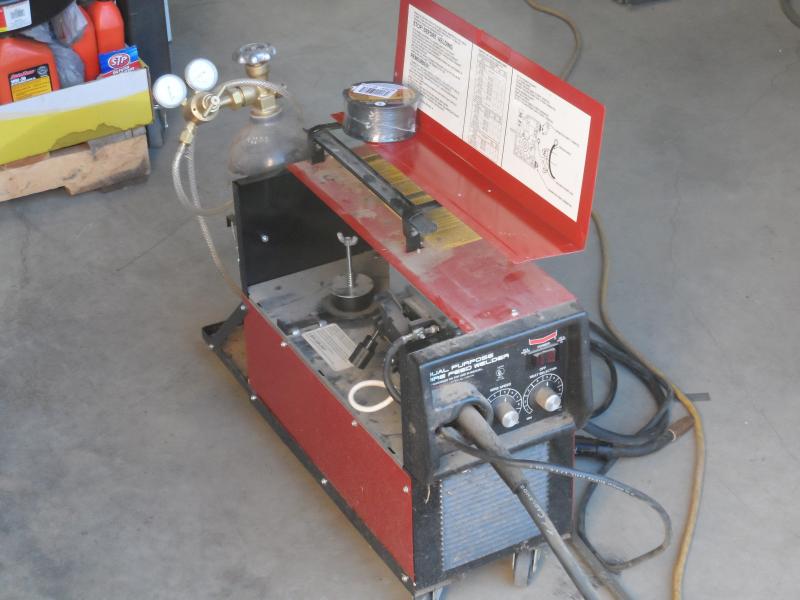
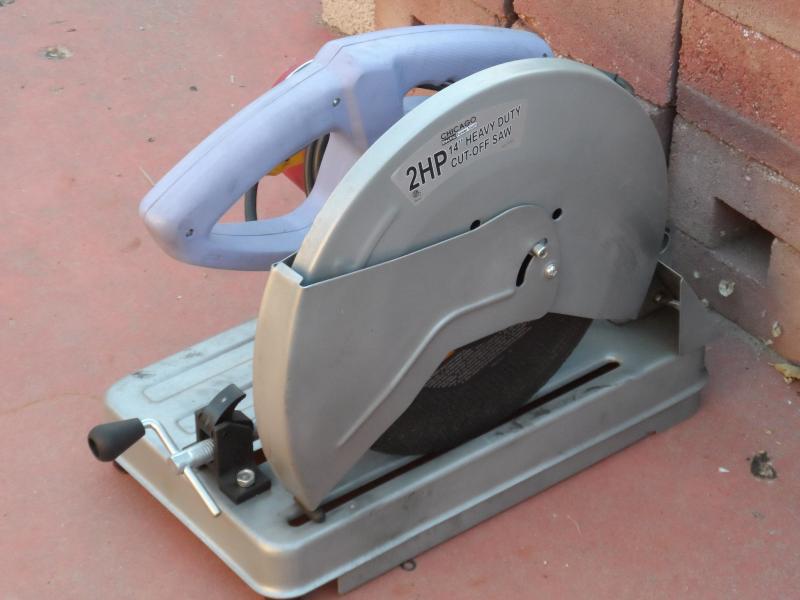
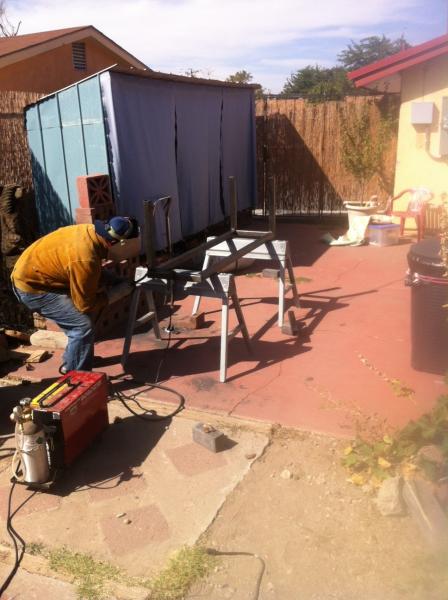
For the info on the tools we were using stick welder and a 90 amp wire feed. Then a 2 horsepower (grind saw)?...to cut the tubing. I got a few more pictures but we got a late start and didnt want to piss off the neighbors. Should get more done today.

SAM_0124.jpg


SAM_0123.jpg


SAM_0122.jpg


SAM_0121.jpg
 
Got most of the stand done today, only 4 interior legs to go. Unfortunately I have to go out of town for a wedding, but by the time I get back my bag of goodies from Bobby over at brewhardware.com should be in.

2012-10-04_13-43-42_677.jpg


2012-10-04_12-51-07_857.jpg


image (1).jpg


image (4).jpg


image (5).jpg
 
Its an abrasive cut-off saw. Its a ***** to cut 45's and end up square.
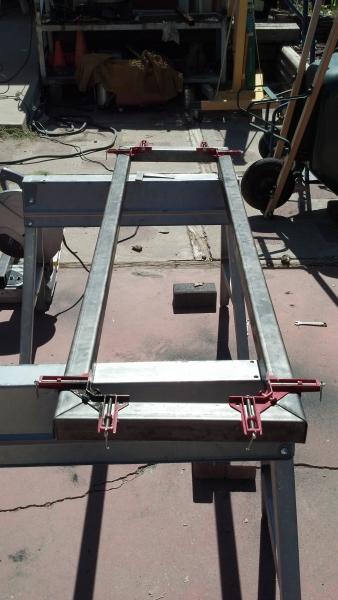
Good call on the corner clamp, wish i had those when I was making mine. Good luck!
 
Looks good im thinking of doing stainless eventually and tig welding it up. A tip on welding , if the welder you are using is unable to achieve full penetration you should consider beveling the edges to be welded. You will be better off down the road as the above photo shows little penetration and a somewhat dirty weld. What comb. Shielding gas are you using C25, argon, or straight co2?
 
The 45s were a *****. It was straight co2. It seemed very sturdy, if not I'll chalk it up as a learning experience. With the last pieces I will try beveling, thanks for the tip.
 
If you ever plan on automating, make sure there is a way to get an ignition probe under that hood on the jet burner. Also, if you are building wind screens, it is a good idea to leave enough of a gap so that the oxygen supply isn't choked off when you put the kettles on the stand. Also, make sure the distance between the windscreen and the burner isn't too great. Windscreens make good mounting points for the ignition probes, but you want to make sure they can reach the jets. I use NG jet burners as well. They work well and are very powerful. Link to my stand in my signature. You can see how my windscreens are open in the front.
 
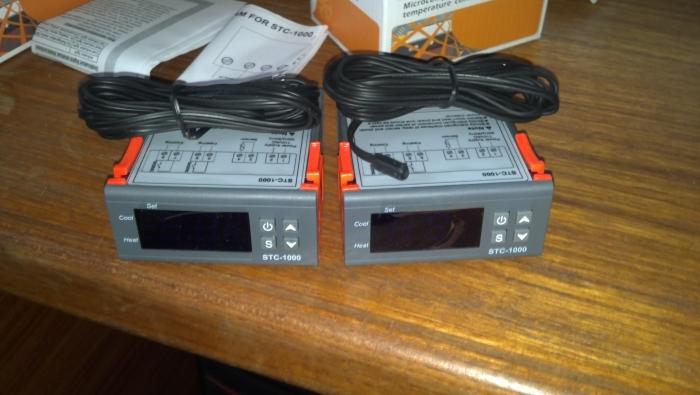
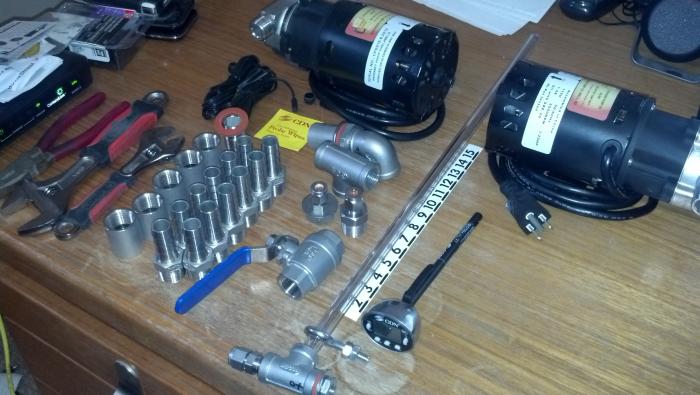
A little slow going this last week but I got a little done. I have ground down the welds and painted the stand, still going to do another 1 or 2 coats. Got a whole bunch of stuff from bobby, and now I'm just waiting on the burners. I also got the aquarium controllers but am unable to find the wiring diagram for my side-by-side. The kick plate in front is gone and the interwebz is unhelpful. Should hopefully get more done this weekend, getting anxious to brew on this stand.

Also on the burners they have pilot lights built into them, it kinda looks like one of the jets but I am trying to plan for upgrades down the road. Thanks for the ideas.

2012-10-11_15-33-09_335.jpg


2012-10-11_18-23-50_401.jpg


2012-10-14_21-34-55_870.jpg


2012-10-15_16-17-30_391.jpg
 
I have been slacking, no updates in almost two months. :(

Anyways, I have all the liquid plumbing done and did a wet run with the pumps, they work great. I used a CIP ball for my sparge arm and I was concerned about the pumps being able to put enough pressure through to spin it. It also worked great. I decided to mount the pumps horizontally due to the three way ball valve on the IN port, I was concerned liquid would not be able to work its way up. All of the fittings are good and leak free (whirlpool, pickup, sightglass, and thermowell). I also got the casters on and now I just need to get the NG lines ran and the burners hooked up. I didnt take into account how heavy these jet burners are, and as a result I didnt weld any braces to the stand for them. I need to figure out how to do that and the height...hopefully that does not take me another 2 months.

2012-10-22_18-56-31_655.jpg


2012-11-03_09-49-07_789.jpg


2012-12-06_10-43-45_431.jpg


IMG_20121024_075006.jpg
 

Latest posts

Back
Top