Brutus 10 Rebuild (Lots of Pics)

Homebrew Talk - Beer, Wine, Mead, & Cider Brewing Discussion Forum

Help Support Homebrew Talk - Beer, Wine, Mead, & Cider Brewing Discussion Forum:

This site may earn a commission from merchant affiliate links, including eBay, Amazon, and others.
Wow! Night and day! I love the color also. I'd like to see that box, especially the wiring, as I'm going to have to wire mine and I'm not electrically (is that a word?) inclined.

Keep the pics coming!

John
 
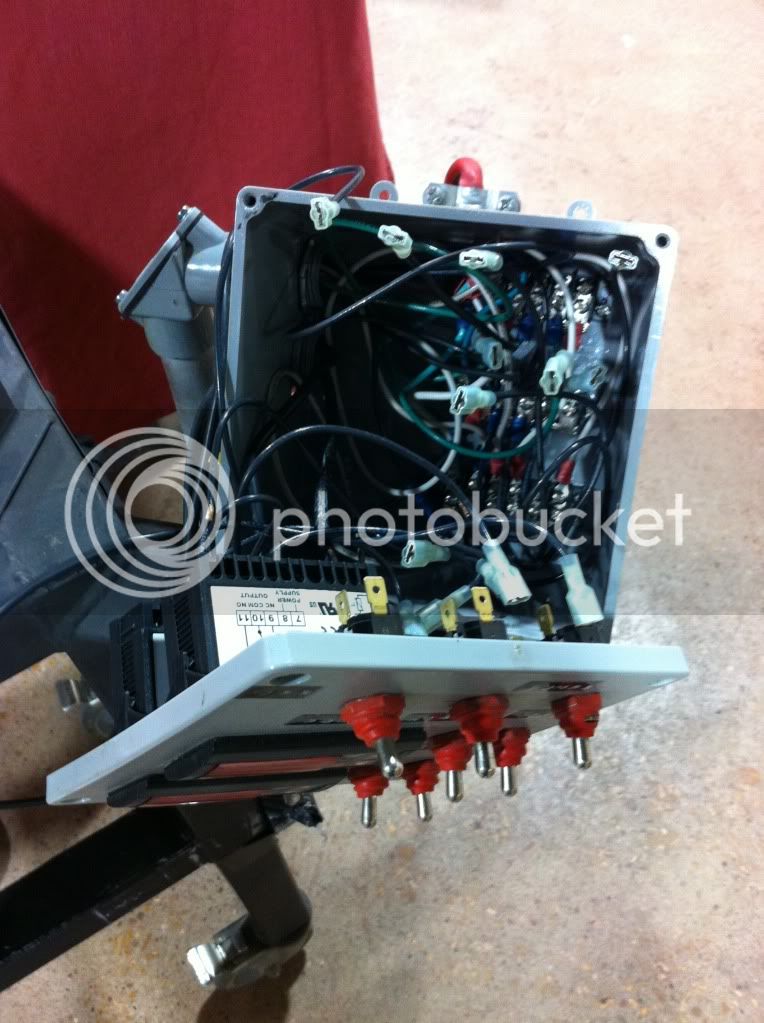
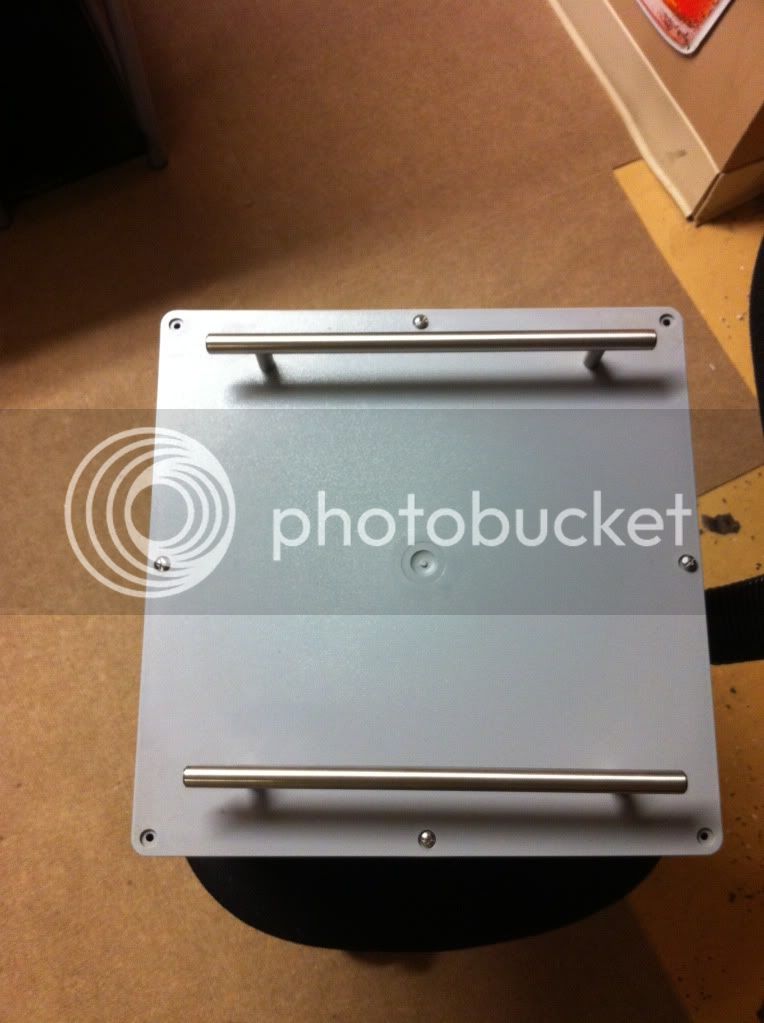
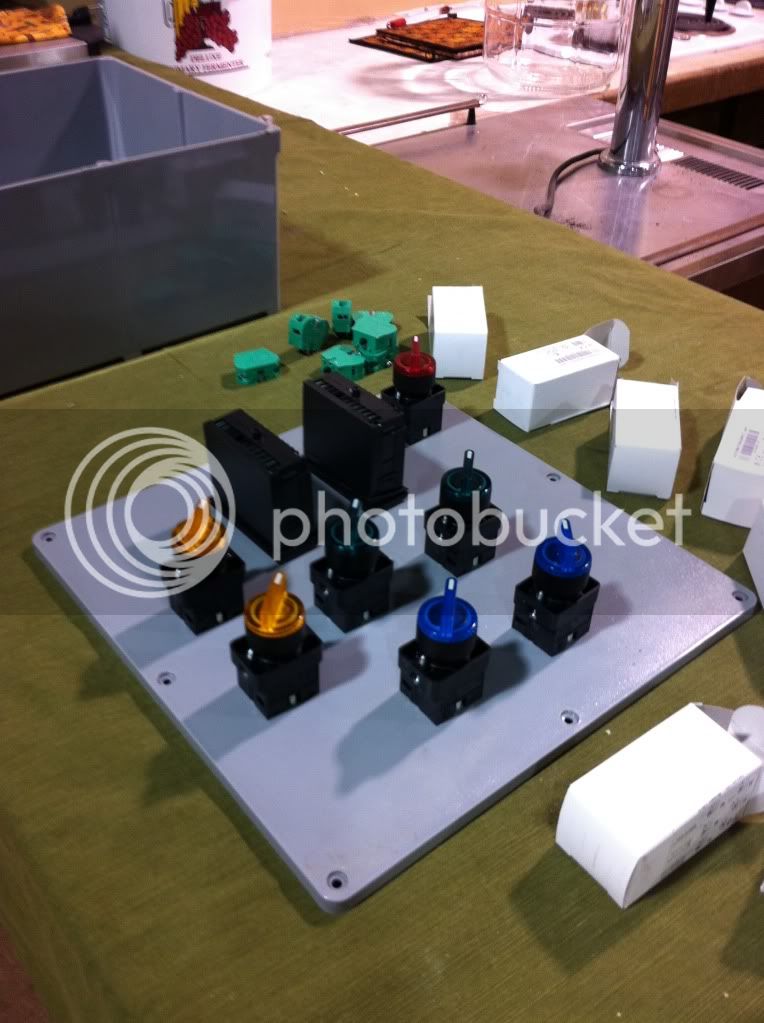
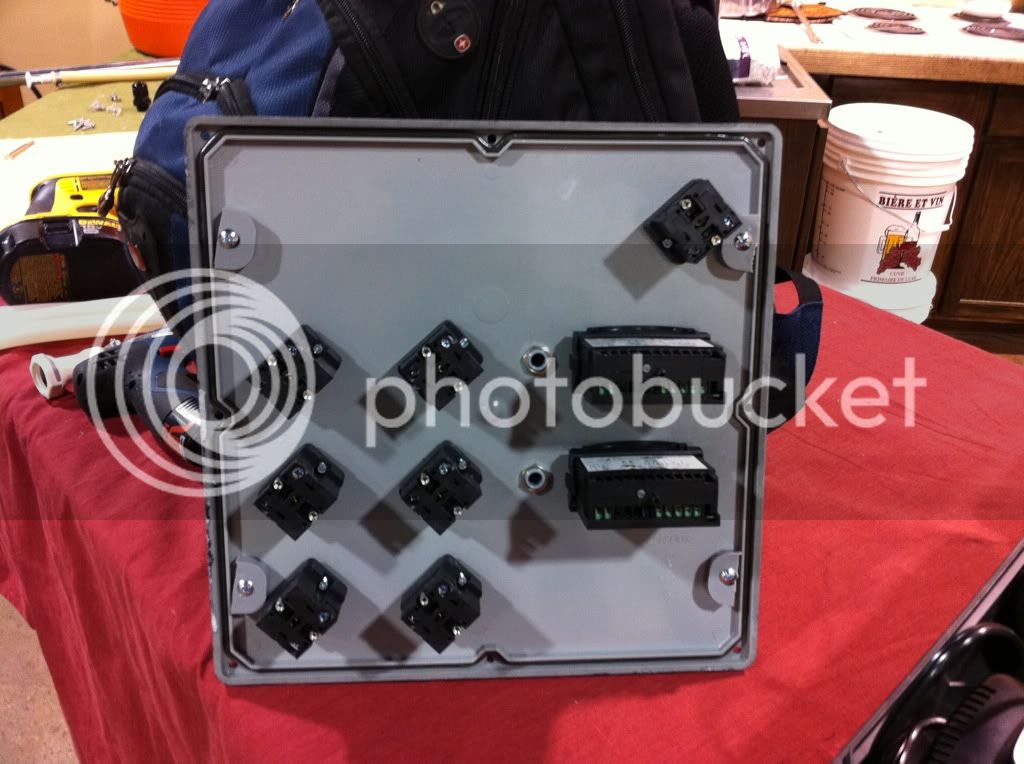
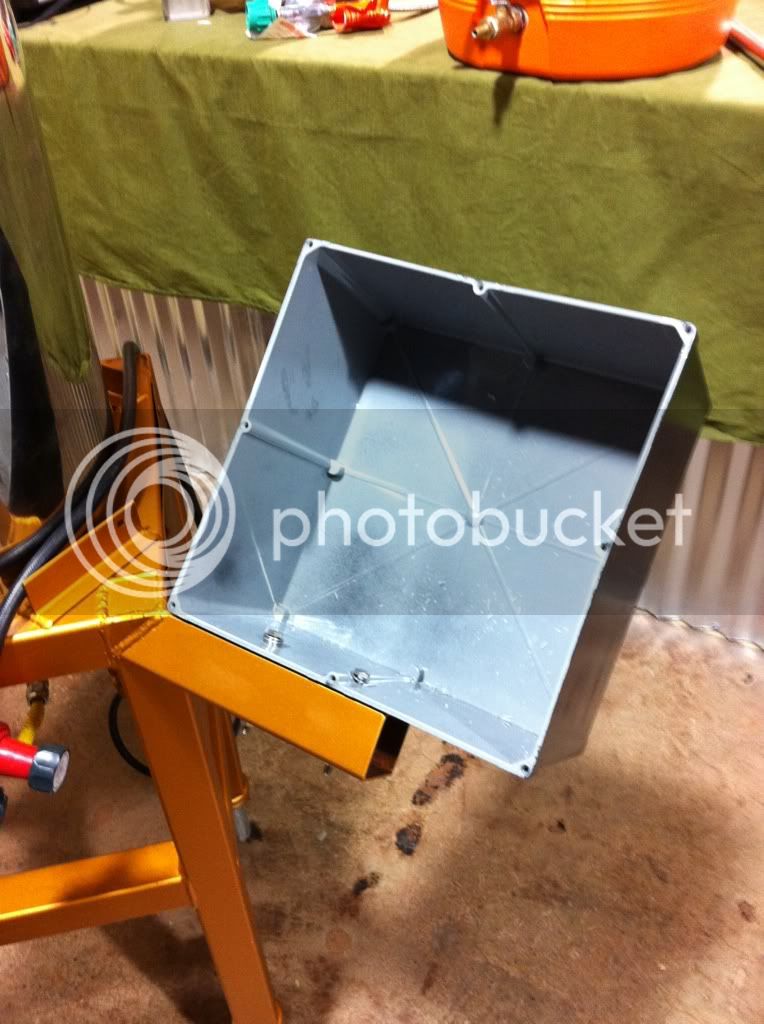
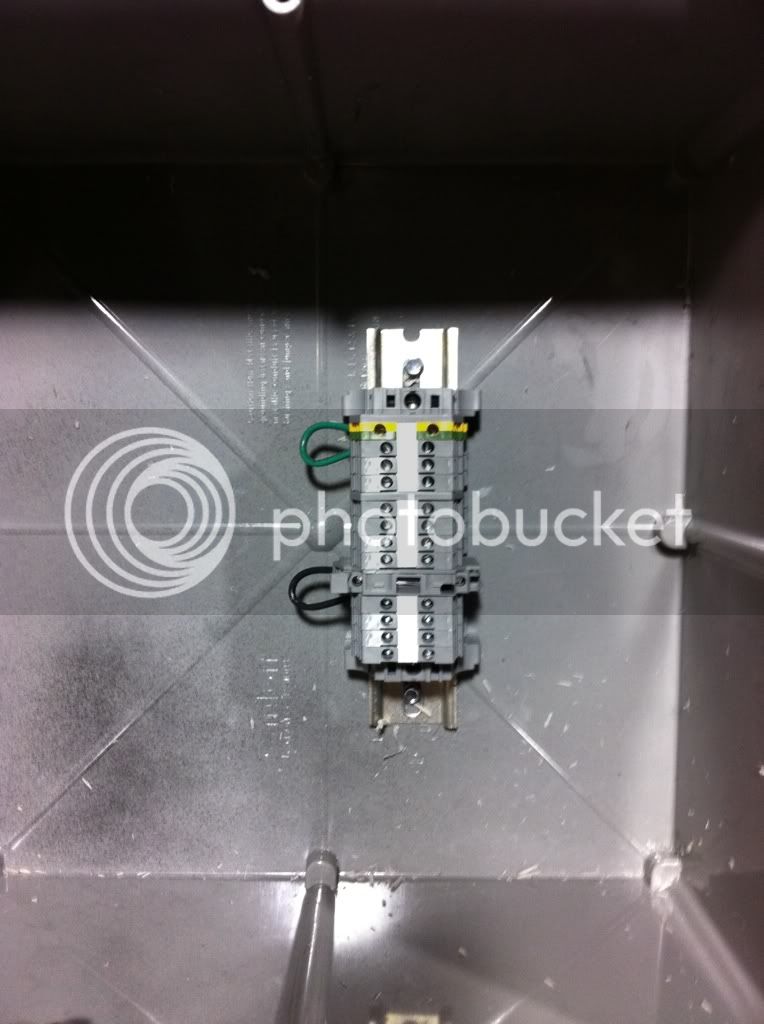
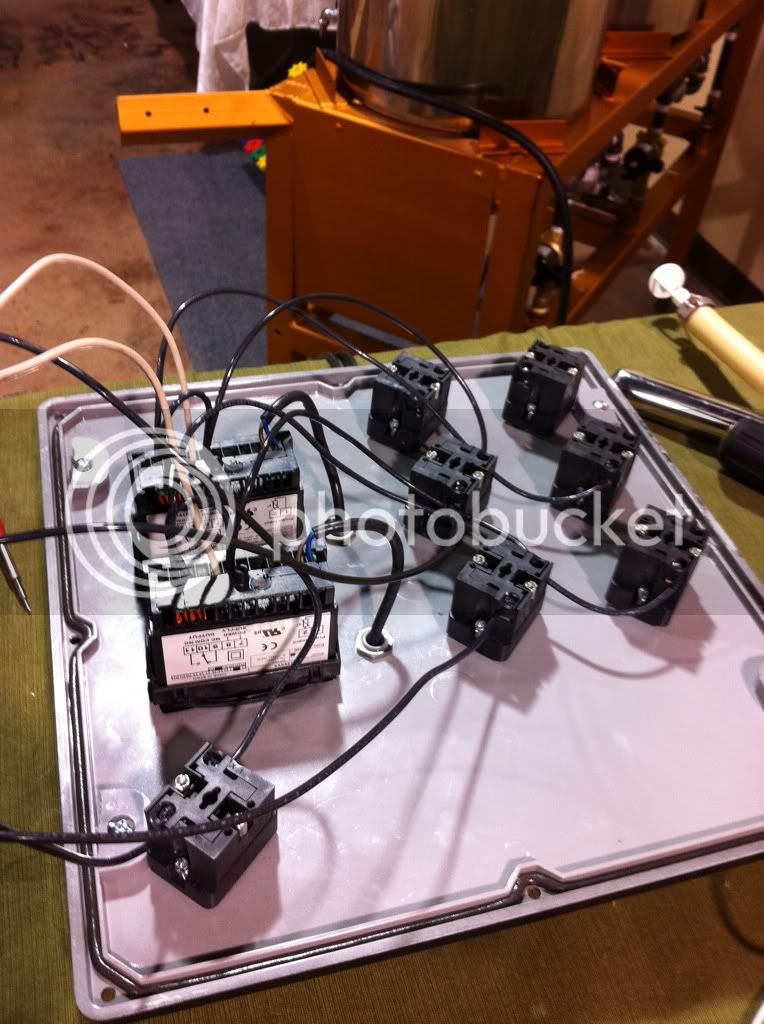
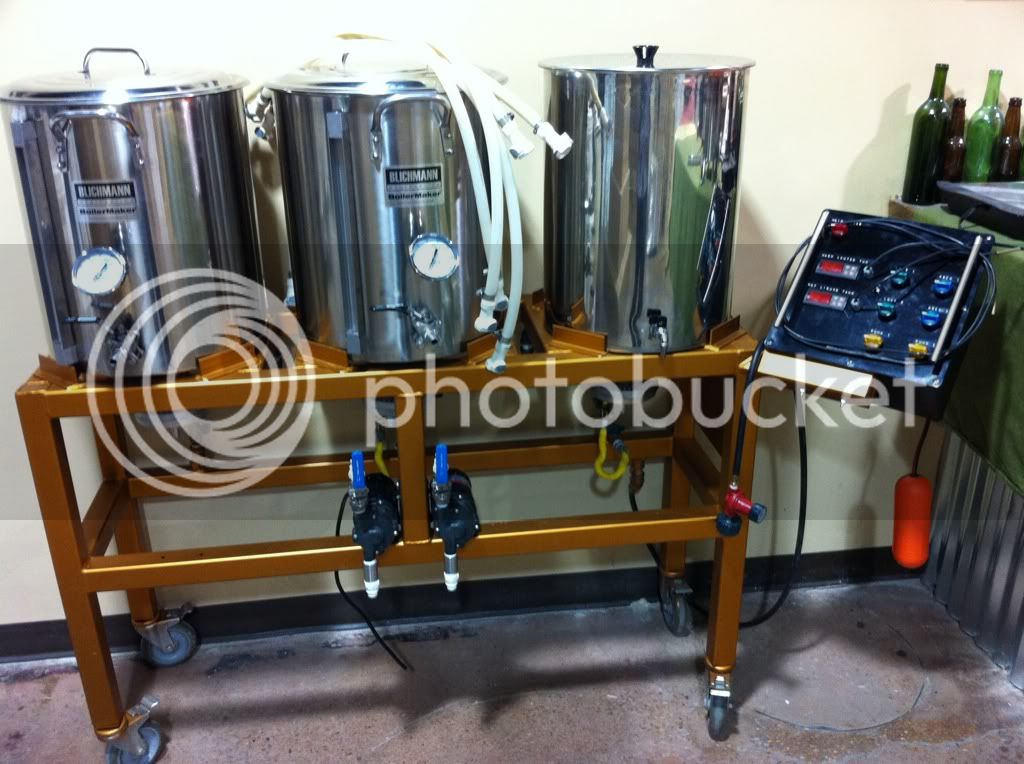
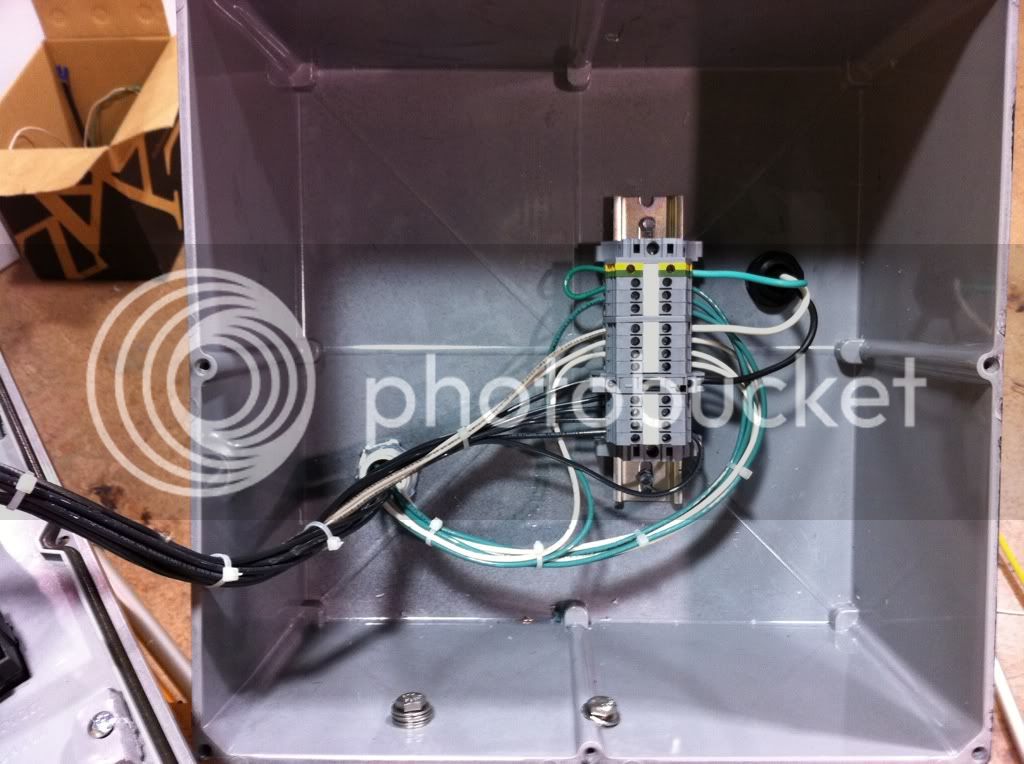
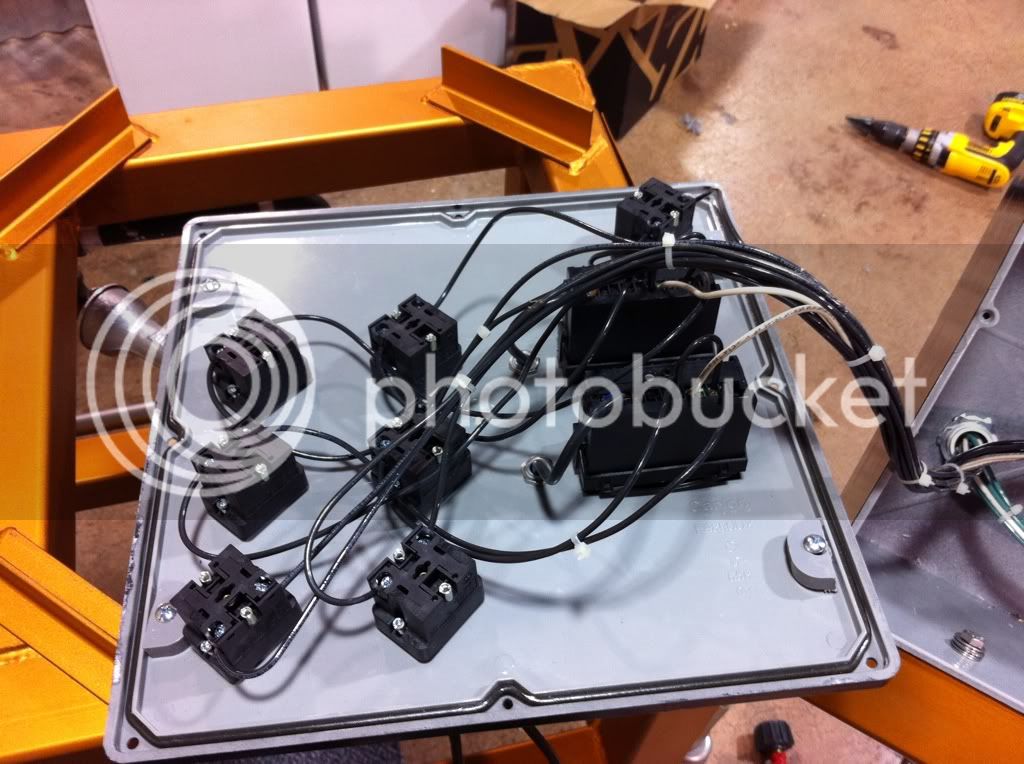
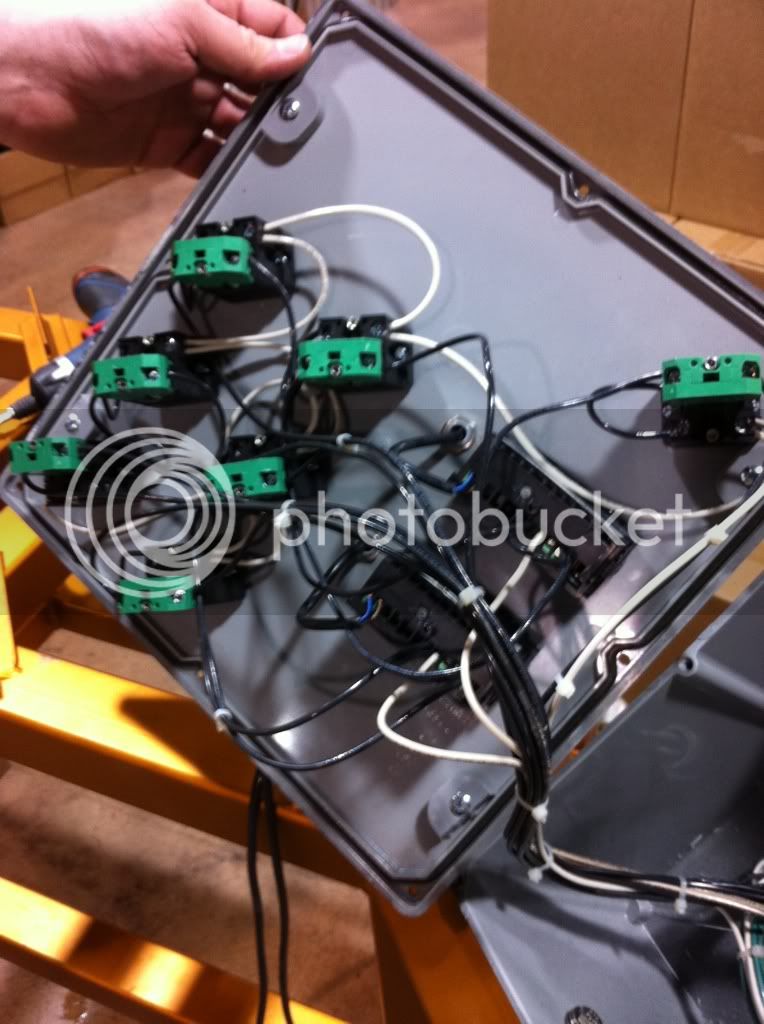
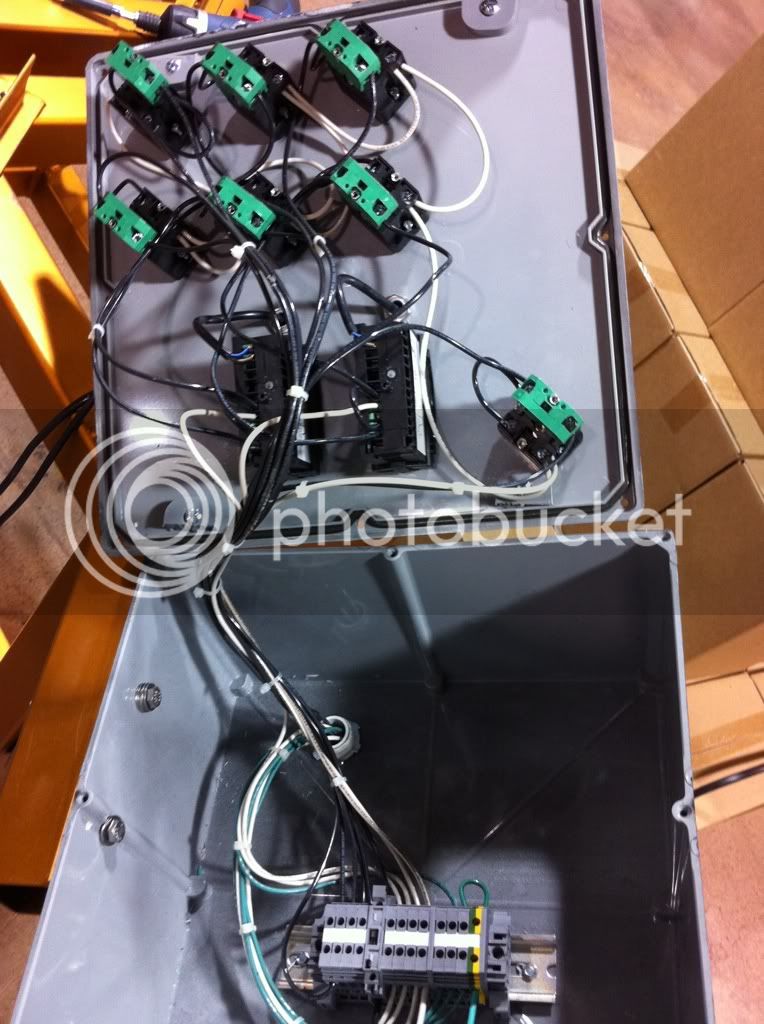
After my failed attempt to sell off the Brutus I asked the wife if I could trick the system out the way I had always intended. Somehow I got her approval . With another child on the way I had intended to go back to using my simple and reliable cooler, pot, blichmann burner setup for my brewdays which are very likely to get a bit more limited once the new baby arrives. After I couldnt sell the unit though I got to thinking that if Im not going to be able to brew as often I may as well enjoy my brew sessions as much as possible using the equipment I really wanted to use. So here I am with a new thread documenting what I have done to the old Brutus.

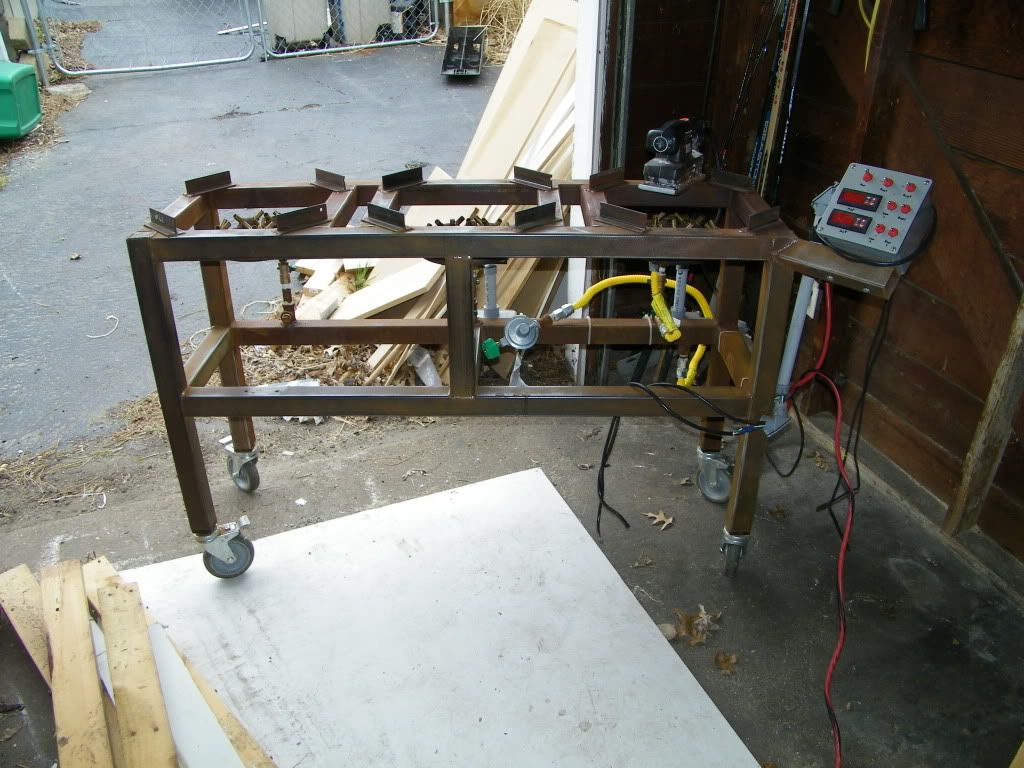
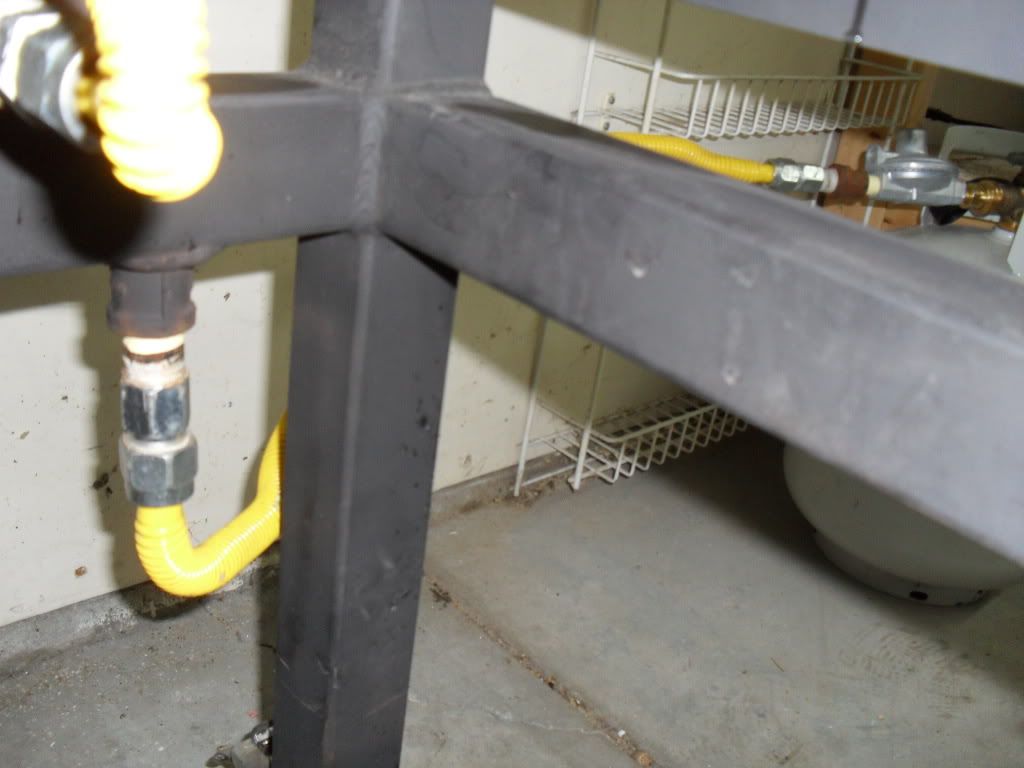
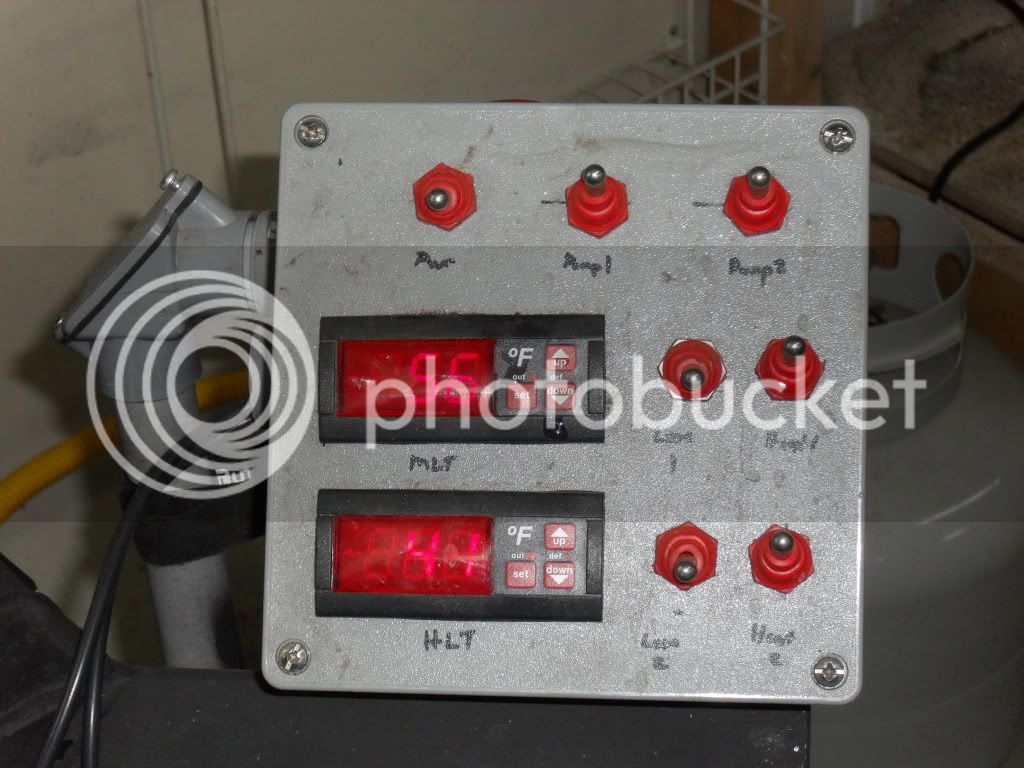
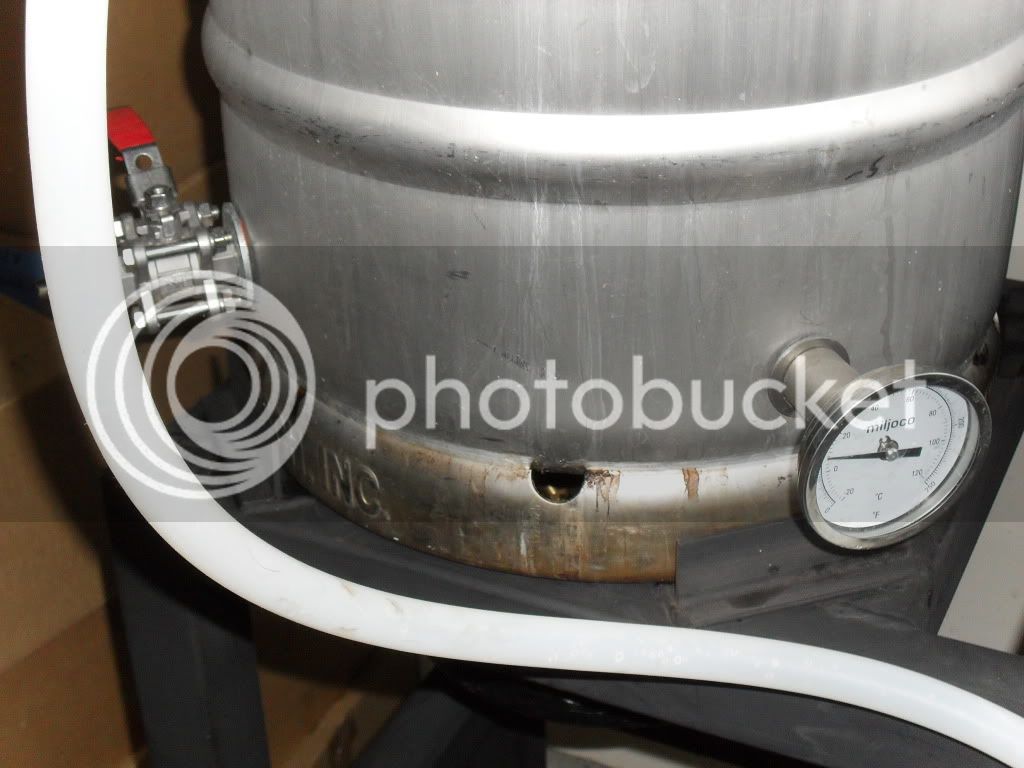
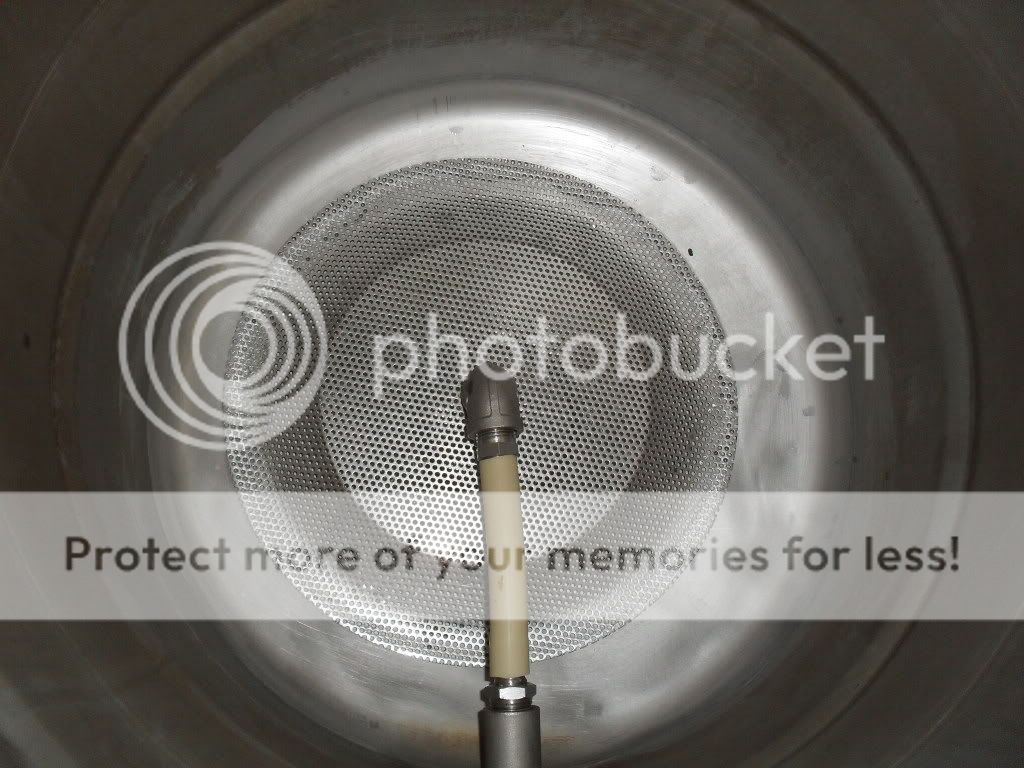
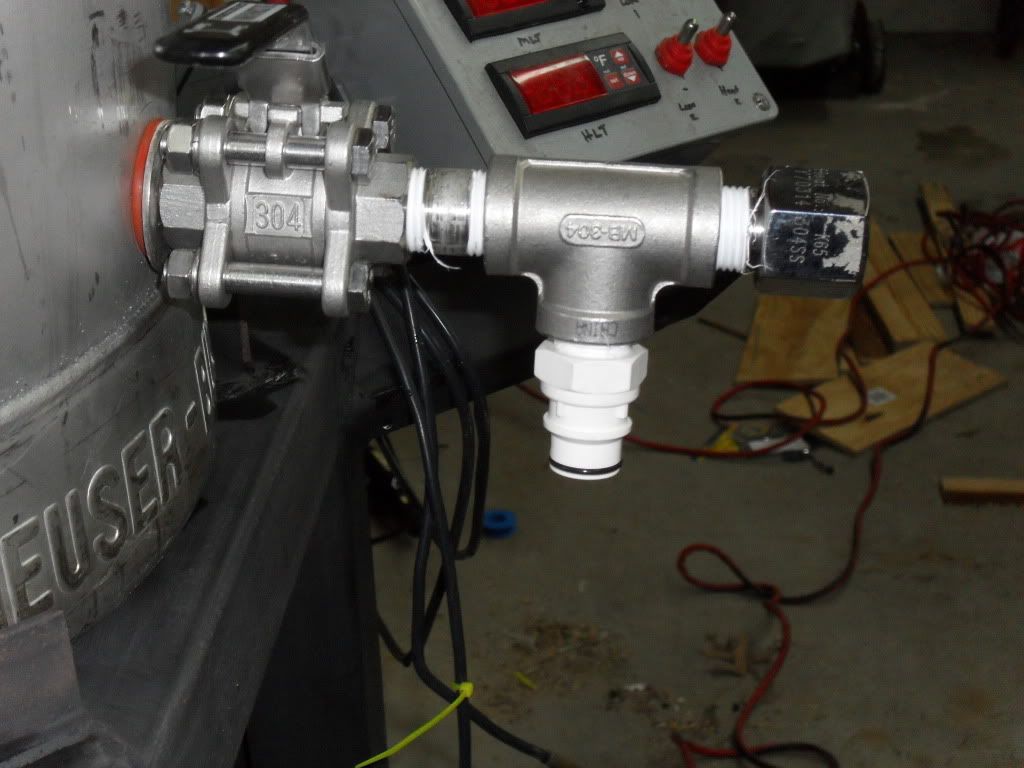
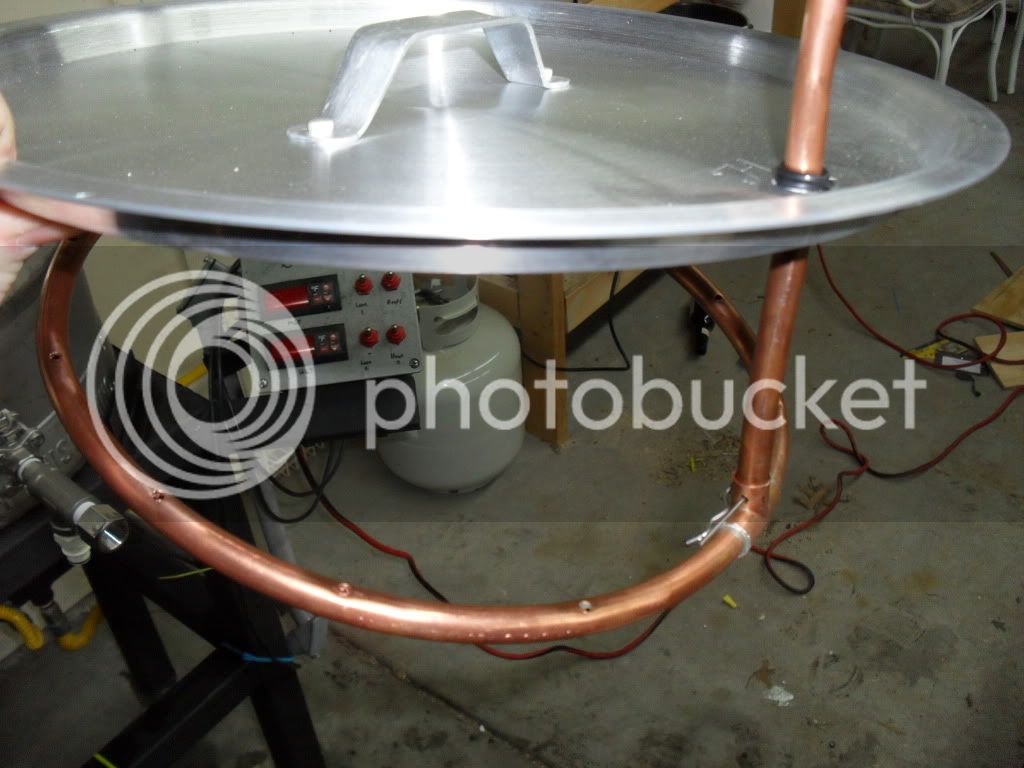
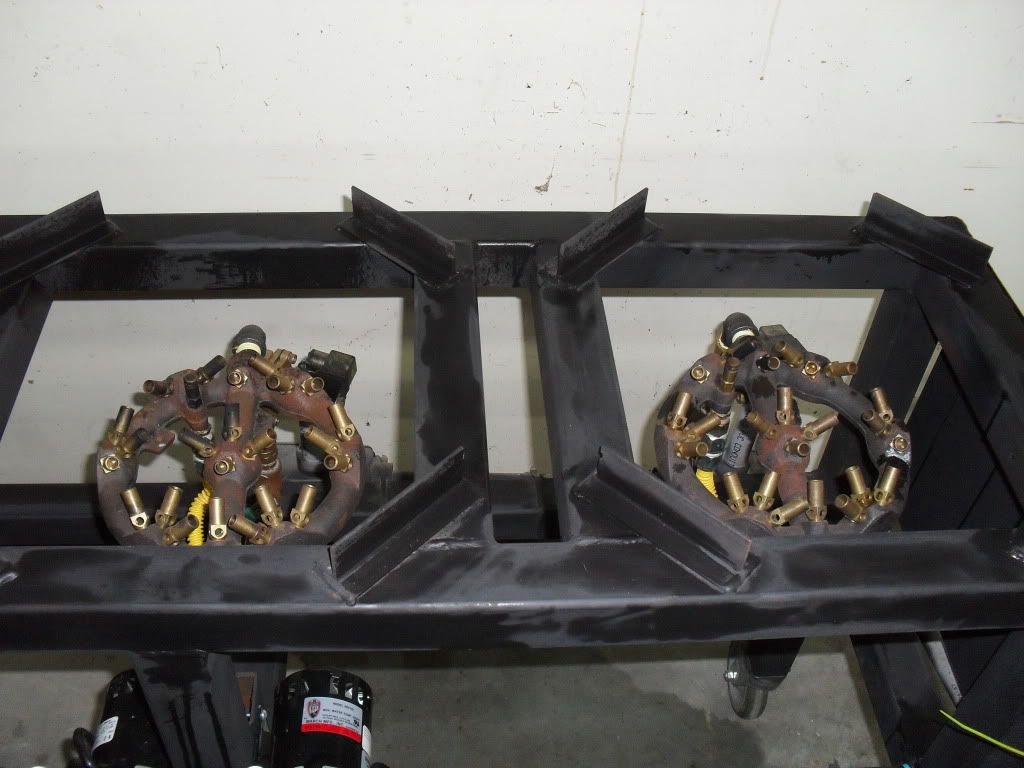
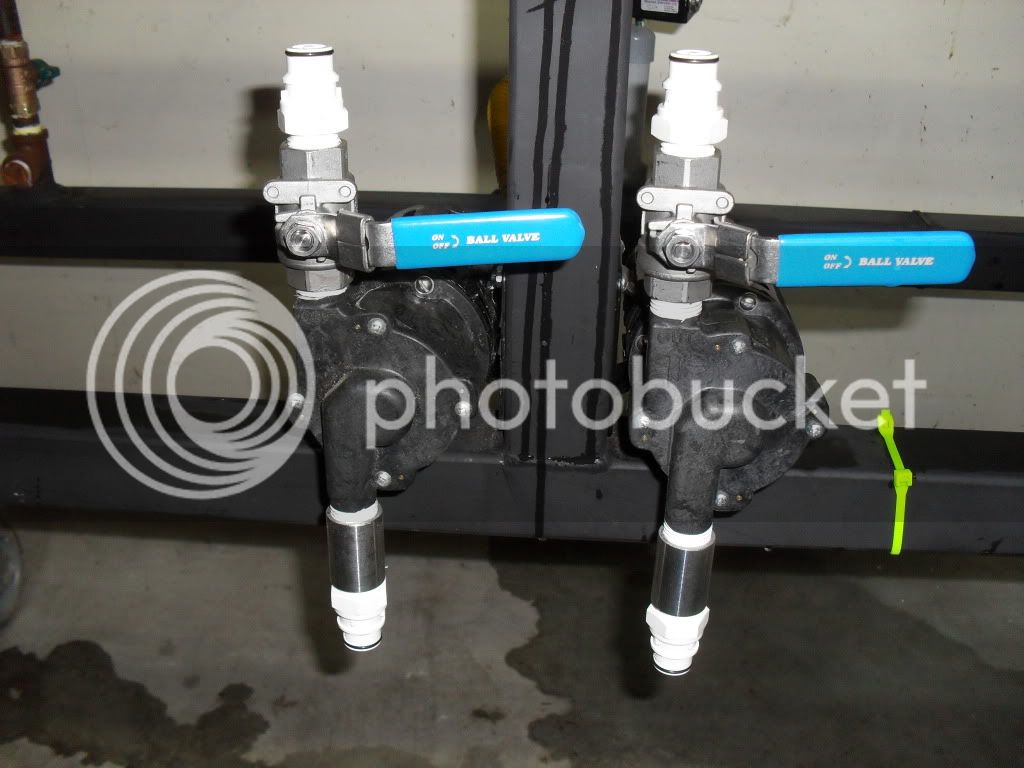
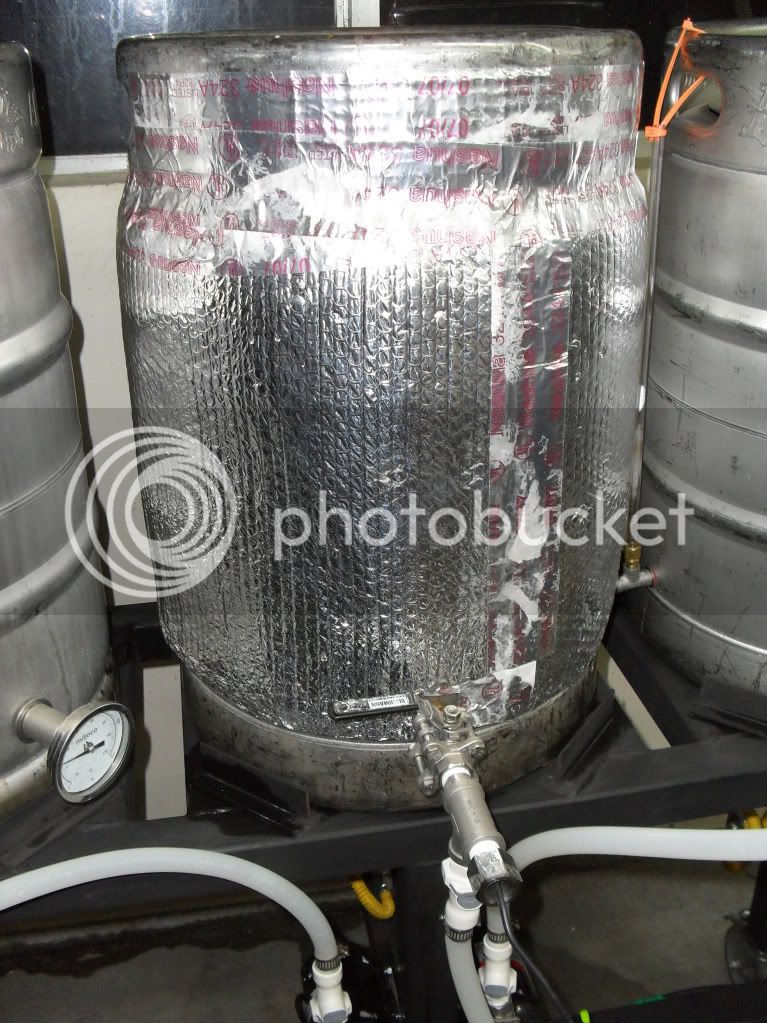
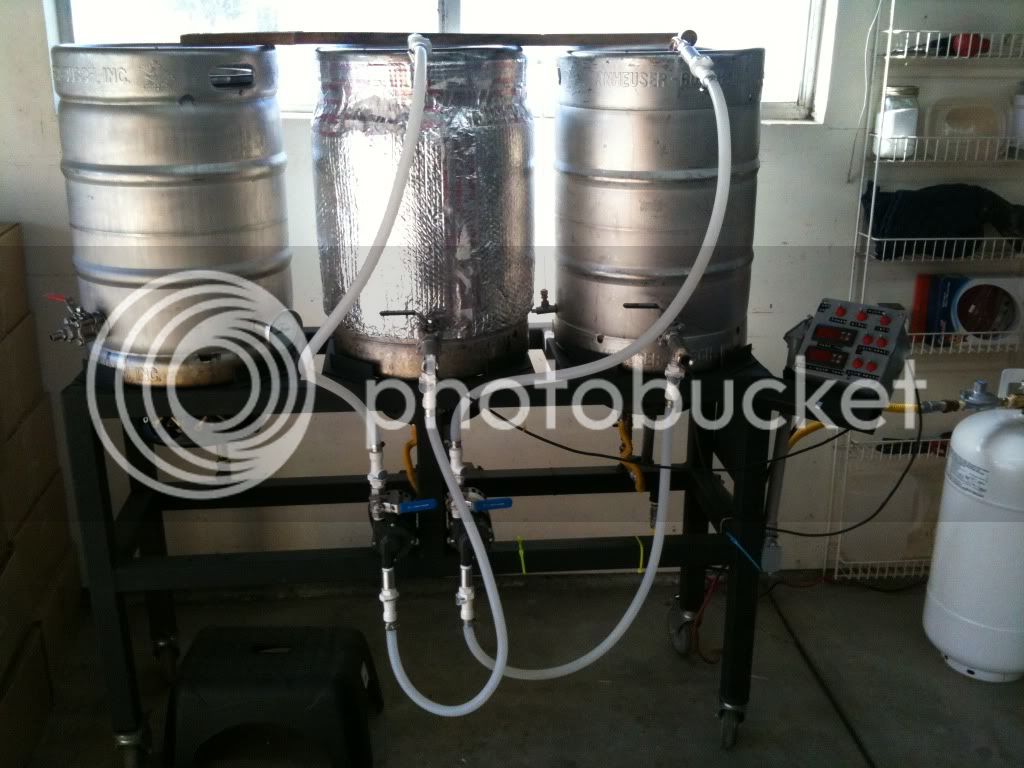
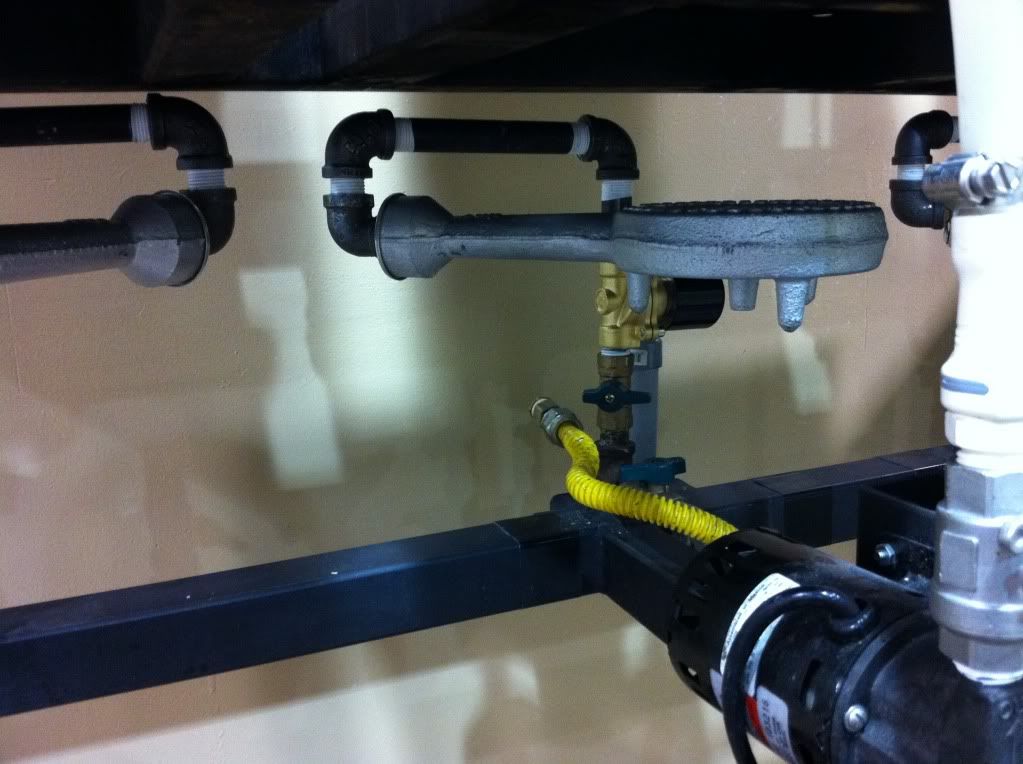
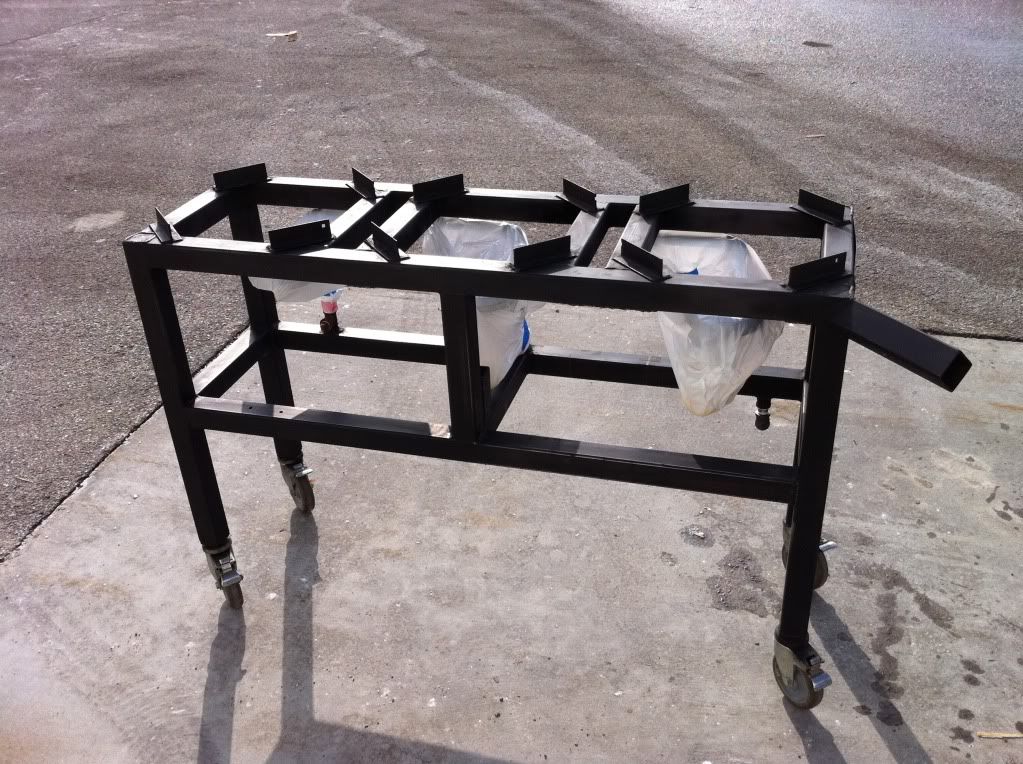
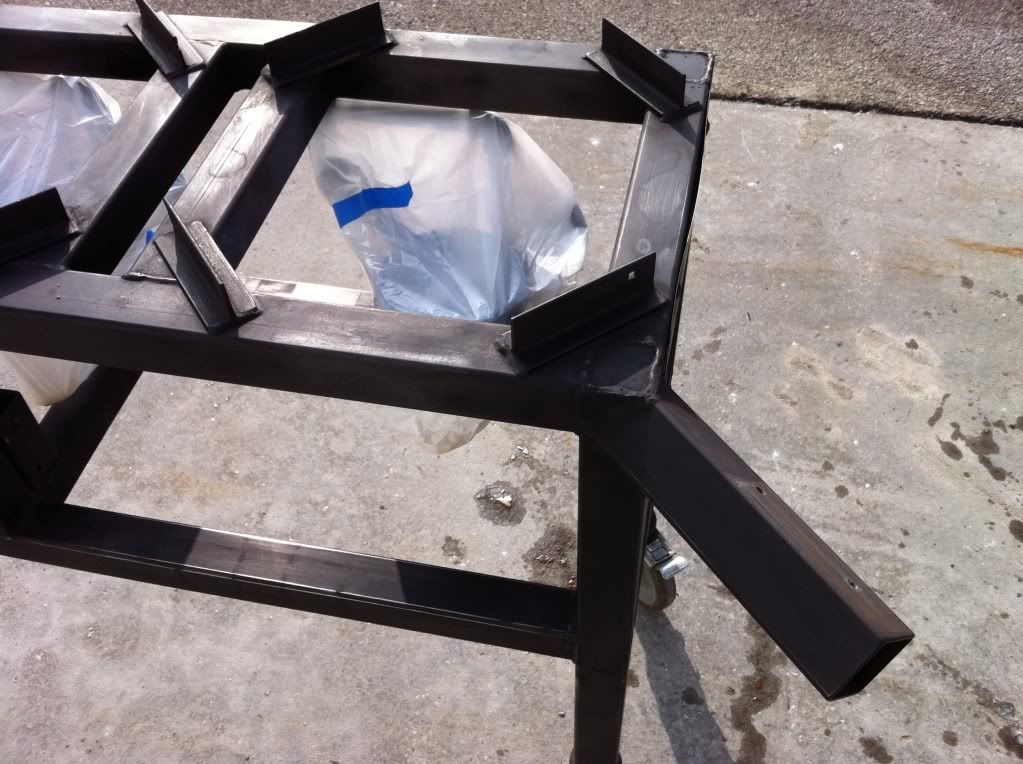
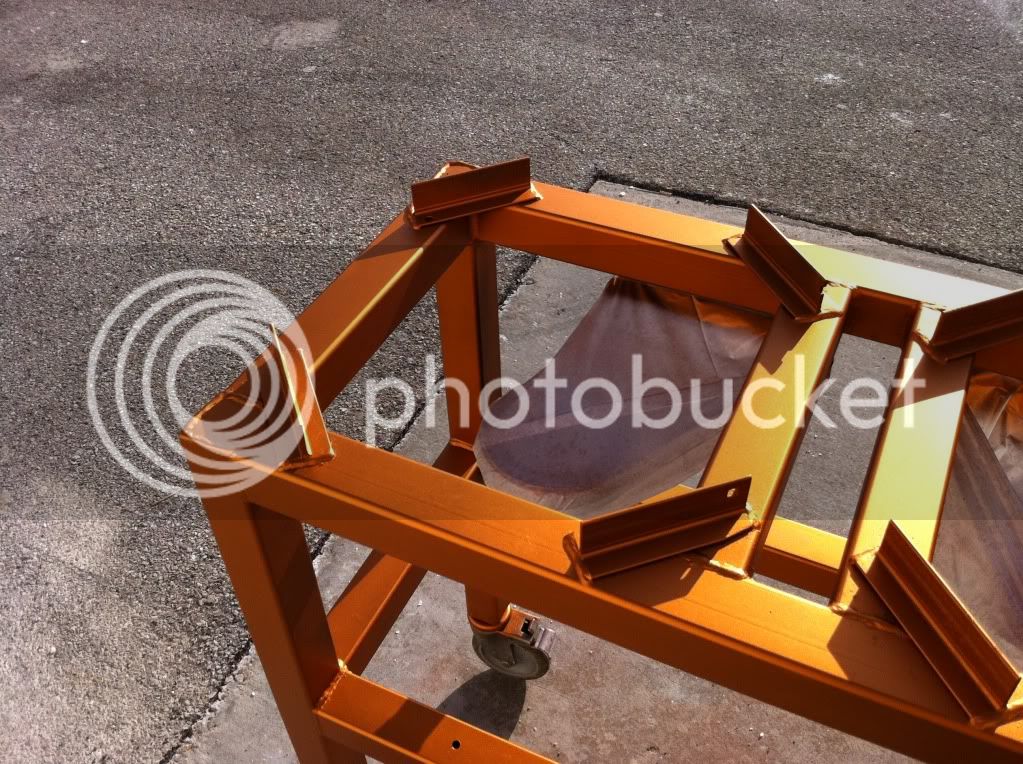
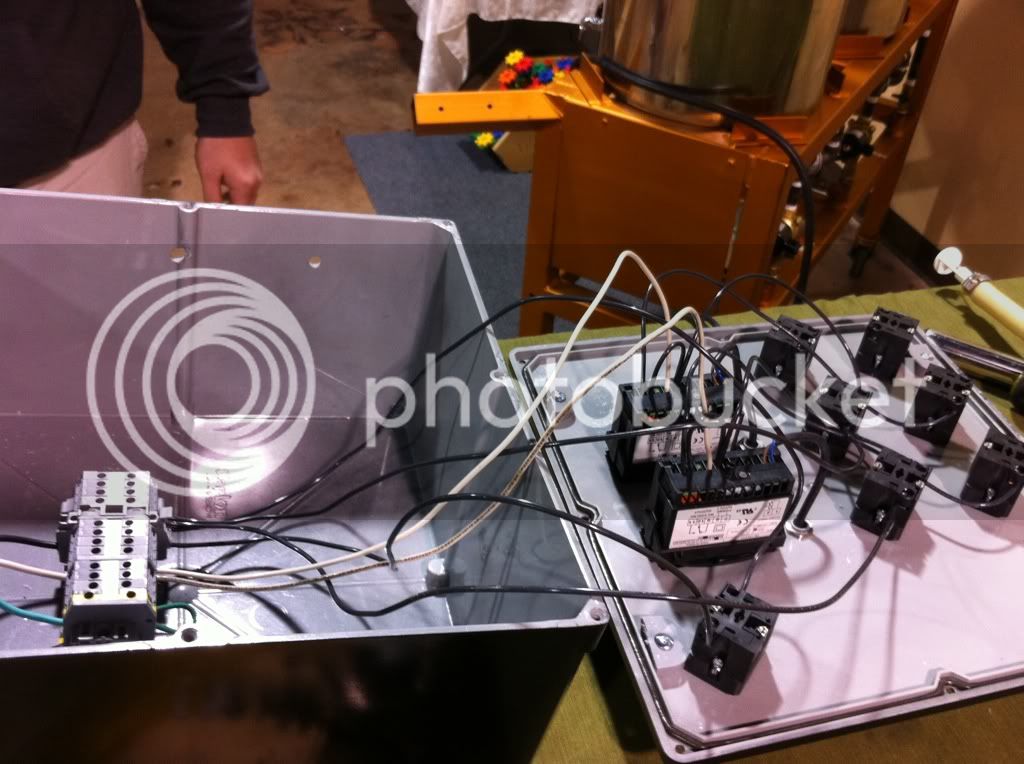
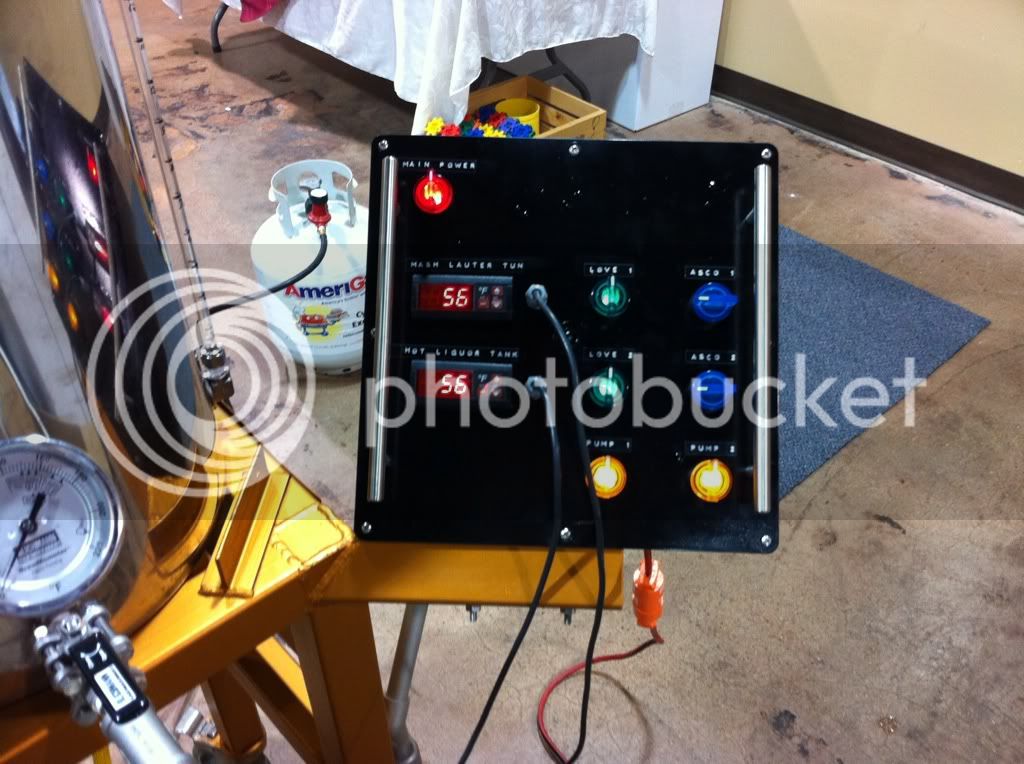
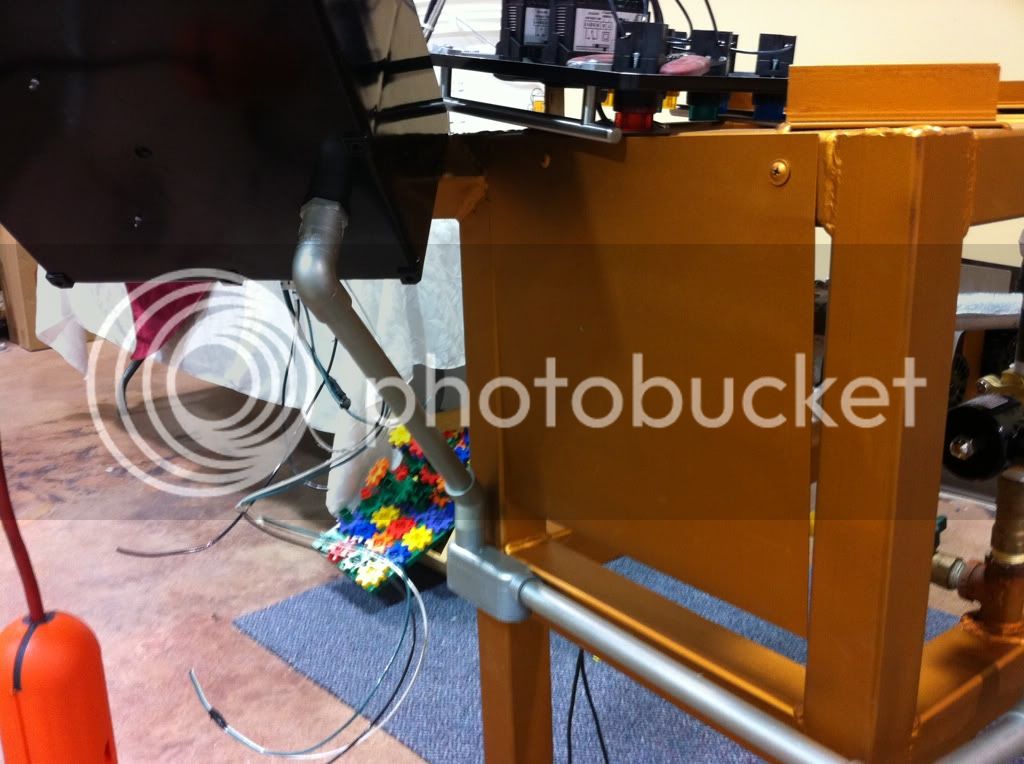
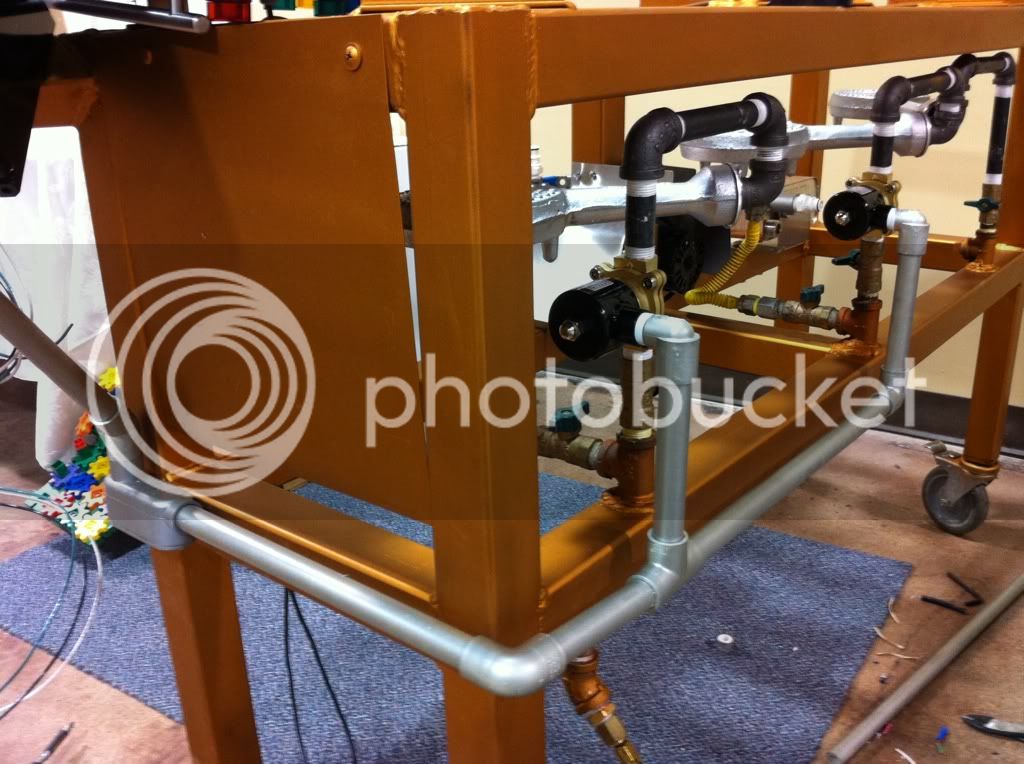
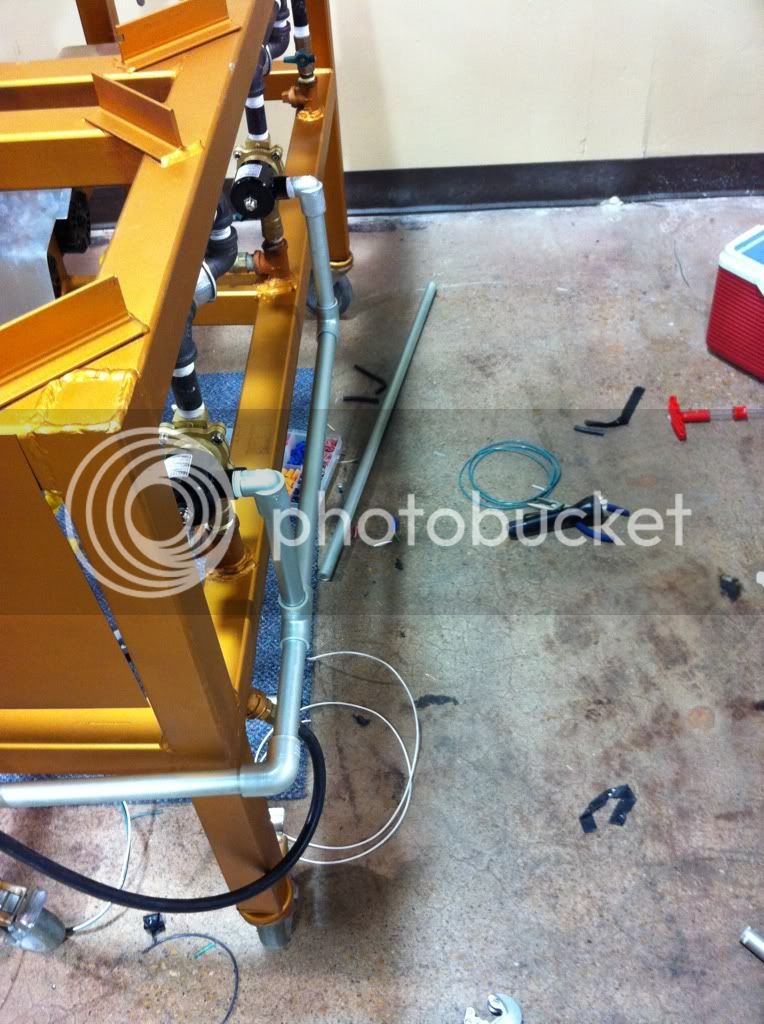
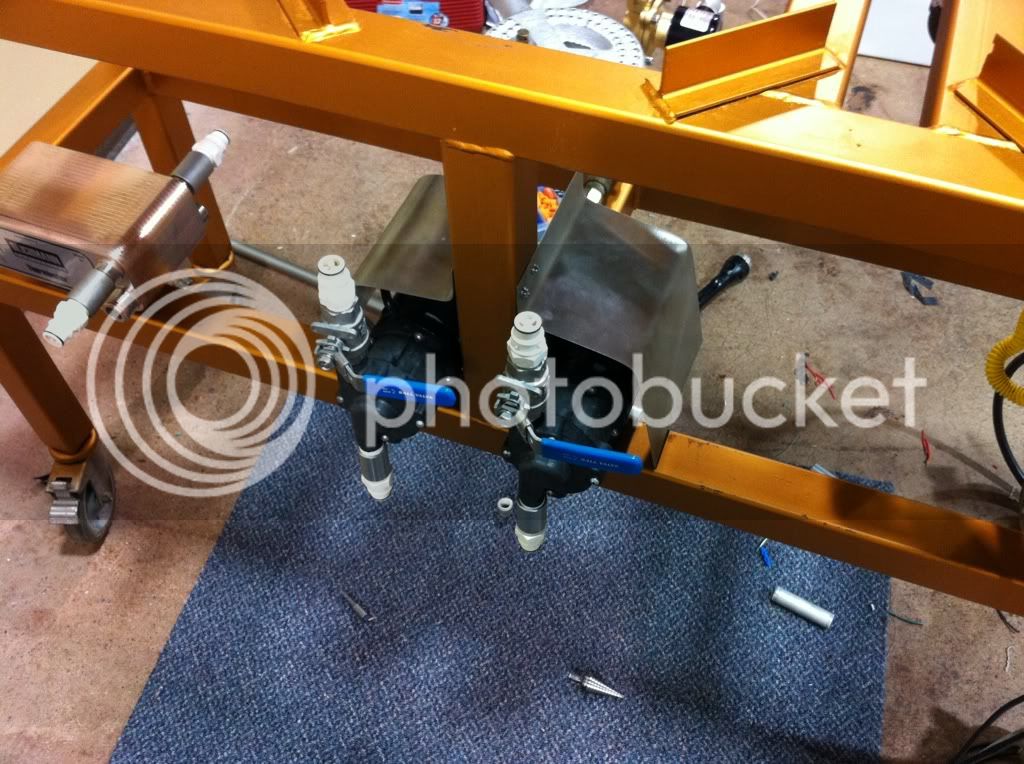
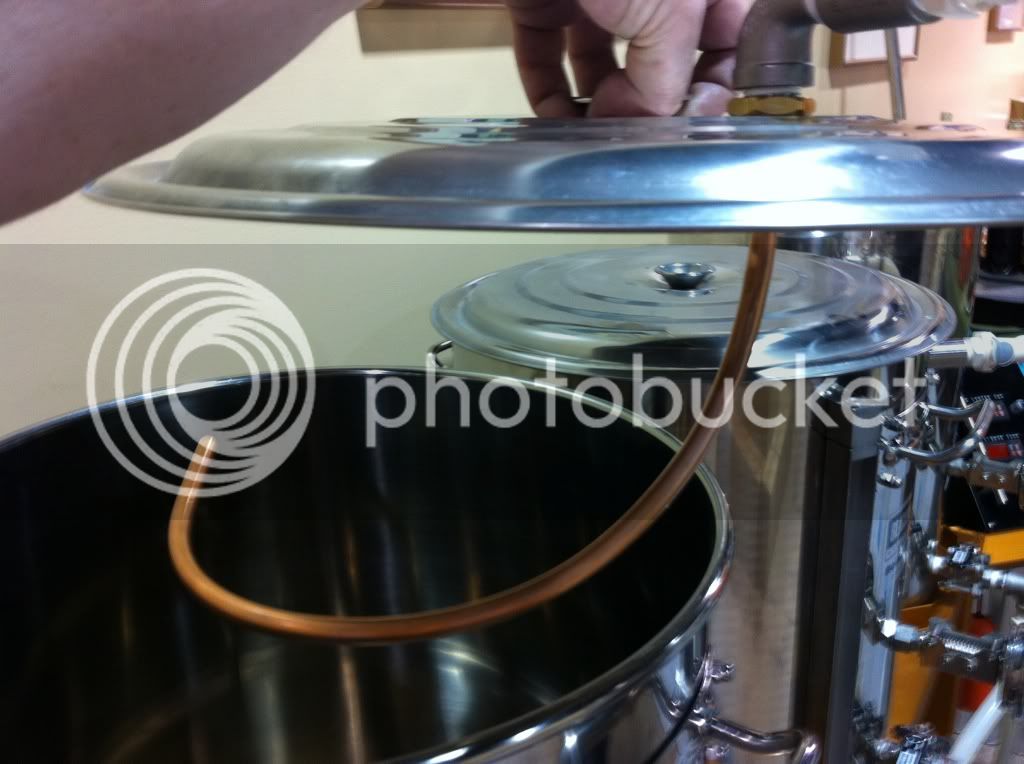
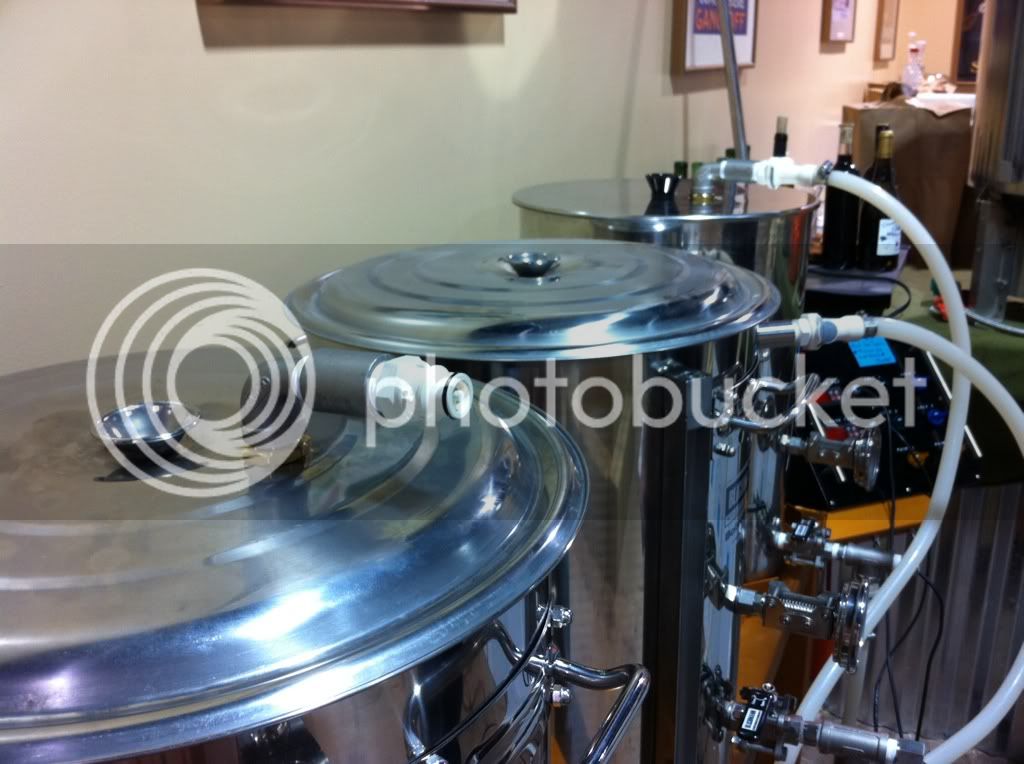
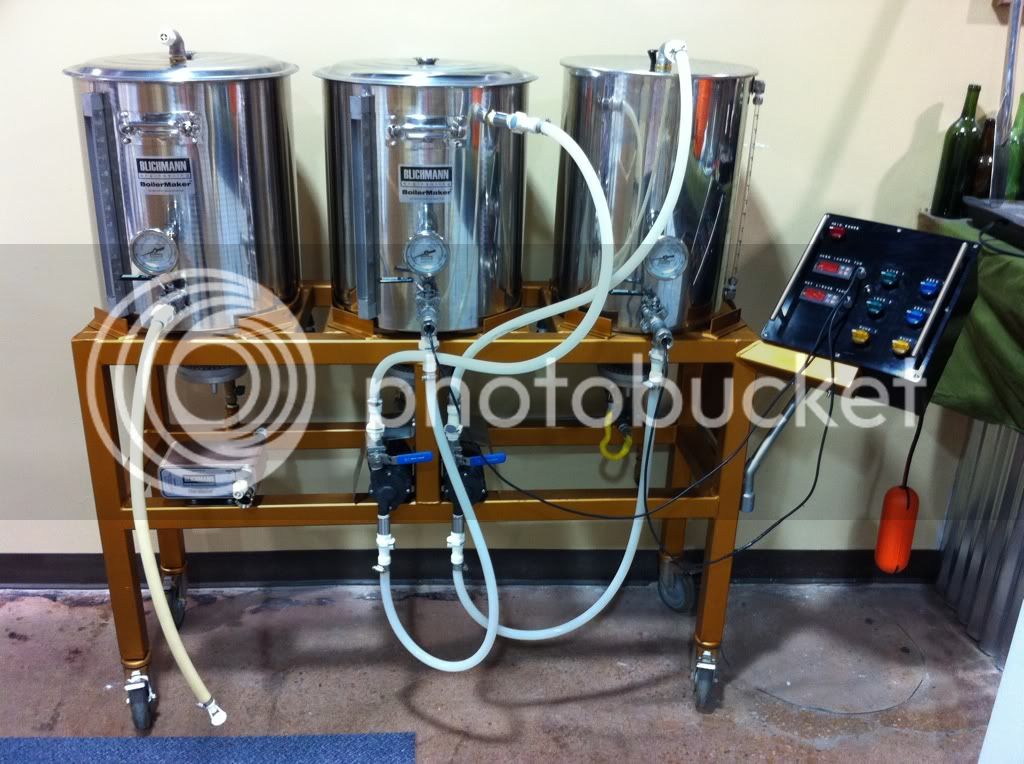
For those of you who havent seen the unit before I purchsed the stand and electronics second hand from another brewer who essentially gutted the unit when I took possesion. He took his pumps, therminator chiller, hoses, kettles, keggles, disconnects, etc etc. Heres a few shots of the unit when I first got it:

Kegerator002-2.jpg

Kegerator003-2.jpg

As you can see the stand was in rough shape. Since it was made of mild steel it really should have had a coat of protective paint but it never got one. I spent hours sanding off the rust and prepping it for high temp paint. When I was finished it looked like this:
Kegerator005-2.jpg

Kegerator006-1.jpg

A marked improvement for sure. I gave the stand several coats and gave it ample time to dry as well as fired the burners without pots on it to help the stand cure with some indirect heat. The next step was to get the unit functional. I went with a keggle setup due to a friend trading me 3 keggles with the lids cut off for my old 15 gallon megapot. The pics below document the route I went to getting the unit ready to brew. This included a new burner as one of the jet burners that came with the unit burned really dirty.
Brutus2018.jpg
 
And a finsihed shot of how she was and ran for about a year.
Brutus.jpg


Now on to the new stuff and reasons for why I did things.

The first thing I had to address was the lack of flow from the temperature T fittings on the outside of the keggles. The thermowells I bought from McMaster Carr, while built like tanks, were a bit too thick and they blocked flow considerably, especially if I used any sort of adjunt or rye. I found a manufacturer of stainless thermowells on ebay who sold me some vey small 2.5 inch long 1/2 inch npt thermowells for 9 bucks each. Here they are side by side comared to the old ones. The new ones are on the right obviously
Iphone001.jpg


Secondly I had to address the burner situation. I hate, repeat, HATE jet burners. They are loud, near uncontrollable and suck up TONS of propane. I picked up some Bayou Classic burners for 16 bucks each to replace them with. They are quieter, just as hot, and you can actually turn the propane to a reasonable level. I also added a completely adjustable 1-30 PSI regulator so I could control every facet of the gas distribution from the tank to the bar and subsoquently from the bar to the burners.
Iphone005.jpg


Iphone004.jpg


Iphone002.jpg


As you can tell from the pic above I was still getting some very light surface rust. That combined with the flat black paint never really looking nice and being hard to clean it was time for a change. I didnt want to shell out the cash for powder coating so I went with high temp engine header paint that is rated to 1000 degrees. For a color I decided to get down with some german brewing roots and go copper. Here are the before and afters.
Iphone011.jpg

Iphone012.jpg

Iphone013.jpg

Iphone014.jpg

Iphone016.jpg
 
You can sort of see in the picture above that the Solenoid Valves are different. I changed out the original Asco valves for these new metal housed units. The Ascos that were on the stand I came to find were not rated to handle propane gas which is one of the reasons I got dirty burning flames out of those Jet burners. These units have been excellent so far.

Next up is the control box. Not to say theres anything wrong with the old one except for being well, honestly ugly as hell. I stumbled onto a website called the electric brewery .com and I fell in love with his design. Below are some old and up to date pics. The box is currently being painted and I hope to post pics once its all wired in. A big thanks to club member Rick Ernst for rewiring this whole unit for me. Rick works for an automated control system company and is way over engineering the inside connections. Pics are sure to come.

Brutus2020.jpg

Iphone009.jpg

Iphone006.jpg

Iphone015.jpg


Ill have more pics up really soon including why Im not using Keggles anymore for this rig.

Cheers,
Jerid
 
Wow, 17 minutes of my life I'll never get back! It's a really nice re-build. Hopefully you will share it with us here instead of posting a lame hyperlink!
 
Wow, 17 minutes of my life I'll never get back! It's a really nice re-build. Hopefully you will share it with us here instead of posting a lame hyperlink!

Off topic, but do you go to the Garage Brewers Society meetings. I live 1.5 miles from Ofallon Brewery and have been thinking about stopping by a meeting to get to know some local brewers. Thanks for the reply.

BTW, awesome build. I want to do a BIAB 10. Basically a temp controlled brew in a bag set up. Anyway. Nice work and great color choice.

Cheers,

Actually I'm not the original poster :) I just decided to do what he was too lazy to do and post his thread from the other forum here. I like what he did to his previous build and decided to share it with everyone else. Unfortunately, no I don't attend Garage Brewers Society. I do, however, brew in my garage if that is any consolation. :cross:
 
Actually I'm not the original poster :) I just decided to do what he was too lazy to do and post his thread from the other forum here. I like what he did to his previous build and decided to share it with everyone else. Unfortunately, no I don't attend Garage Brewers Society. I do, however, brew in my garage if that is any consolation. :cross:

Thanks for doing that for me. I got really lazy the other day when posting it up over here for whatever reason. Any new pics I promise to post on both forums individually. And yes I do attend the Garage Brewer Society meetings. I was the treasurer of the club a few years back but stepped down after my term when I began pro brewing. The club is getting big and has surpassed the other local club the Saint Louis Brews in active members and activity across the festivals and local beer events in the area. Come check us out the 3rd Tuesday of each month starting at 7 at Ofallon Brewery. Your first meeting is free and you will get the opportunity to meet 50+ local brewers making some fine beer along with 3-4 pro brewers willing to taste your beer and offer any advice they can.

Cheers,
Jerid
 
Jerid, I love the retrofit, especially the paint.
I am gathering parts for a single tier now. My father will build it for me and he has asked that I pick a burner before he gets started. I was gonna go with the Banjo Burner but I like the smaller burner you are using.
Are they big enough for 10gal batches in a Keggle?

Those burners have tons of power. Coupled with a 1-30 fully adjustable regulator available from bayou or agrisupply and you will have all the horsepower you need. As a matter of fact if you have a phone that can accept a short video, PM me your number and I will send a video of them fired up only halfway and you can see for yourself.
 
Cool, with what brewery are you a pro brewer?

I was the assistant brewer at what is now the defunct Mattingly Brewing Company. I also spent a spell as an assistant at Highland Brewing and Buffalo Brewing here in St. Louis. After my son was born I had to make the difficult choice to go back into the corporate world as there simply isnt all that much money to be made in the beer industry. It also hit me near the end that if I was going to work that hard for a living it was going to be MY beer that was coming out of the taps. I have a few things in the works to be a head brewer but nothing completely finalized. :mug:
 
Those burners have tons of power. Coupled with a 1-30 fully adjustable regulator available from bayou or agrisupply and you will have all the horsepower you need. As a matter of fact if you have a phone that can accept a short video, PM me your number and I will send a video of them fired up only halfway and you can see for yourself.

How about an email address?
 
Hey Jerid, i am planning on repainting my stand from the usual black to red and was wondering what paint company you chose to use, and any results on how its holding up through any brews?

thanks
Chromados
 
Hey Jerid, i am planning on repainting my stand from the usual black to red and was wondering what paint company you chose to use, and any results on how its holding up through any brews?

thanks
Chromados

I used duplicolor to paint the stand. I dont have any brews on it yet so I cant give any feedback as to its longevity.
 
I made some progress on the control panel. You will also notice that there are some new kettles. 2 Blichmann Boilermakers and a simple 14 gallon rolled stainless steel hot liquor tank. Ill have pics of me modifying those pretty soon. For now here are some shots of what ive gotten accomplished recently.

690a296b.jpg

d6205e5d.jpg

4ce6bc89.jpg

71ed0f9f.jpg

d8b2a91a.jpg

16864b42.jpg
 
I really like what you've done with your stand. Where did you get those lighted switches?, automation direct or somewhere else?
Snake10
 
Snake10 said:
I really like what you've done with your stand. Where did you get those lighted switches?, automation direct or somewhere else?
Snake10

You guessed it. Automation Direct. I found similar switches on EBay but decided to go with AD.
 
Thanks,
Those switches are pretty, so are the prices, I think they are about 15 bucks per switch. But again, they are pretty! AD is where I got my switches for my original panel. Right now I'm about to build another Brutus and was hoping you had stumbled upon a new and cheaper source. Thanks again.
Snake10
 
Very nice rebuild, I would love a Brutus system somewhere down the road. The color choice is awesome as well, that copper really makes it pop. Keep up the good work!:mug:
 
Update Time. I got to put in some serious build time Sunday Evening. Ill start with some pics of the hot liquor tank. I picked this pot up from Scott for 35 bucks. Just a simple stainless tank. Its hard for me to justify having a 300+ dollar Blichmann pot for a HLT. I still wanted the Blichmann look and functionality though. So I went with their weldless brewmometer and valve assembly. I went to bargain fittings .com for the sight gauge. I ordered 2 so that I would have an inlet back into the pot ala Blichmann style.

fdd28173.jpg

665bc4d0.jpg

7bc612ec.jpg
 
After getting the pots squared away it was time to finish up the panel wiring. Props again to my buddy Rick from the Garage Brewers Society for redoing this step for me. It took him 1/10th the time it would have taken me and it wouldnt have looked as nice.

6abdd932.jpg

069caa7f.jpg

23a3a8d1.jpg

3ccba2c7.jpg

68b1e8bc.jpg

18f178b2.jpg
 
Here are a few shots of the stand ater we ran the wire through the conduit, got the pump shields built and installed, and got the Therminator mounted.


37cf6794.jpg

8fa528af.jpg

2f5925f4.jpg

051d45c8.jpg

74e158fd.jpg
 
Finally a shot of the day running some water through the pumps and the way the system sits currently. I still have to install the autosparge and some return rings in the lids of the pots. I'm inching towards the finish line though. :)

ceb9241f.jpg

0ed12813.jpg
 
Wow it's really coming together! Thanks for posting all the pics, especially your clean professional wiring job. You have an amazing rig!

John
 
That is a thing of beauty my friend, something to be proud of for sure. Love the low key and very clean gas and electrical routing as well, but that color and the blingmans really put the icing on the cake! Keep up the good work. :mug:
 
Off topic, but do you go to the Garage Brewers Society meetings. I live 1.5 miles from Ofallon Brewery and have been thinking about stopping by a meeting to get to know some local brewers. Thanks for the reply.

BTW, awesome build. I want to do a BIAB 10. Basically a temp controlled brew in a bag set up. Anyway. Nice work and great color choice.

Cheers,

Did you make it to the brew meet last night @ O'Fallon? I know we had some new guys.

Sweet rig, keep the pics coming.
 
Awesome!

I had one question for you....why didn't you use gas line sealant???? I saw you used teflon tape....maybe I am missing something
 
Awesome!

I had one question for you....why didn't you use gas line sealant???? I saw you used teflon tape....maybe I am missing something

you are. There is gas line pipe dope on the inside of the threads covering the teflon tape. My local hardware store conveniently ran out of gas tape. the combo of the pipe dope and tape works great though. No leaks at all.
 
So i have crossed the finish line. She is all set for a brewday. Here are the last few pictures highlighting the build. The next set of pics I take will be from a brewday and some notes on how well she performed.

The first thing you are going to notice is that the lids dont look like Blichmann lids and they arent. I picked up these perfect fitting stainless lids from a restaurant supply store for 6 bucks each new. I decided I would rather drill into them over the expensive ones that came with the pots. Its really nice because if I decide to run the liquids differently I can always drill into the Blichman lids for the changes.

This first pic shows the lauter collection/recirculation lid.
8deb829a.jpg


Here is a top view showing all the lid connections
e61e5c5d.jpg


Here is a pic of the Blichmann autosparge installed in the pot along with their louver button false bottom
715bc06d.jpg
 
Here are the last couple pics showing everything set up. The line coming off of the boil ketle is a siphon sprayer set up to aerate the wort after recirc and cooling is completed.

I have a blichmann hoprocket hopback on order but it is unfortunately backordered right now so that is the only thing that will be changing on the setup.

c71c4eda.jpg

335a438d.jpg


:mug:
 
I took her out for her initial run on Saturday. Brewed a batch of Belgian Pale Ale. Well, it was supposed to be Belgian Pale Ale. I was intending to hit 1.052 @75% efficiency. I ended up getting 90% efficiency and hit 1.065. :lol: 
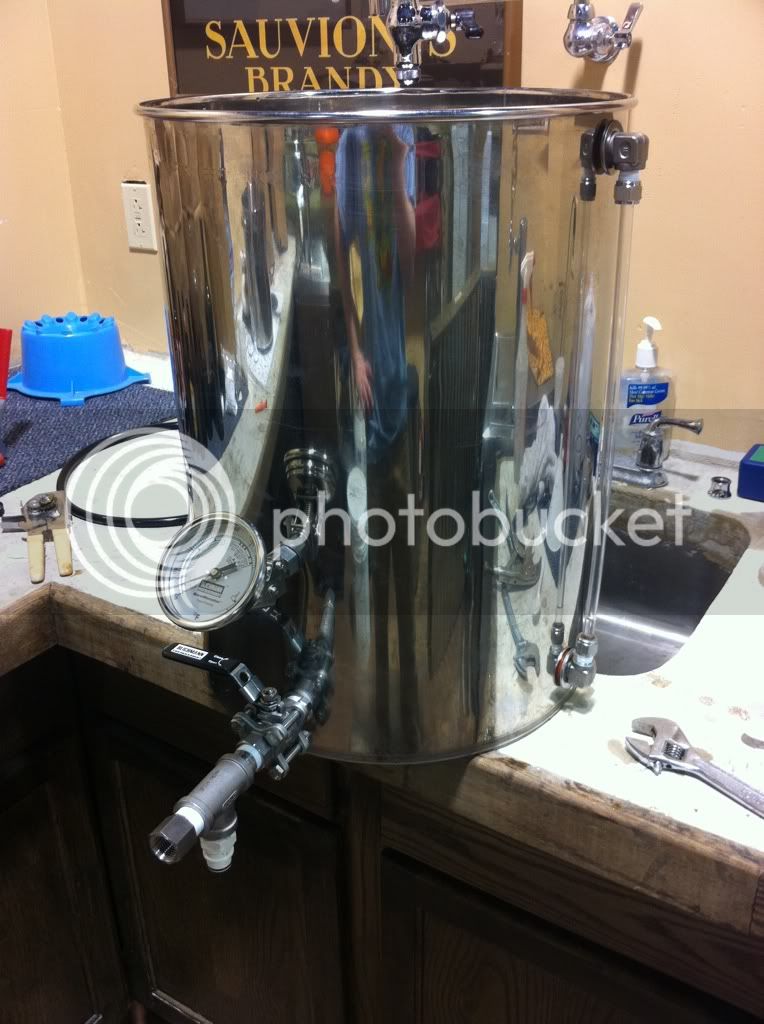
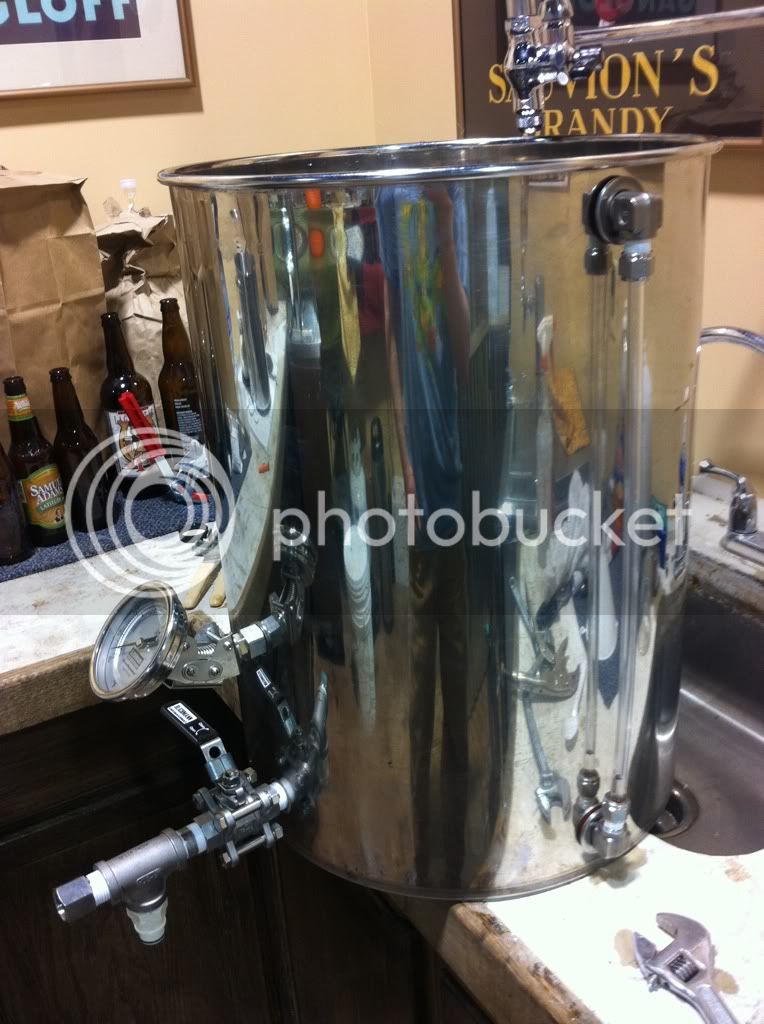
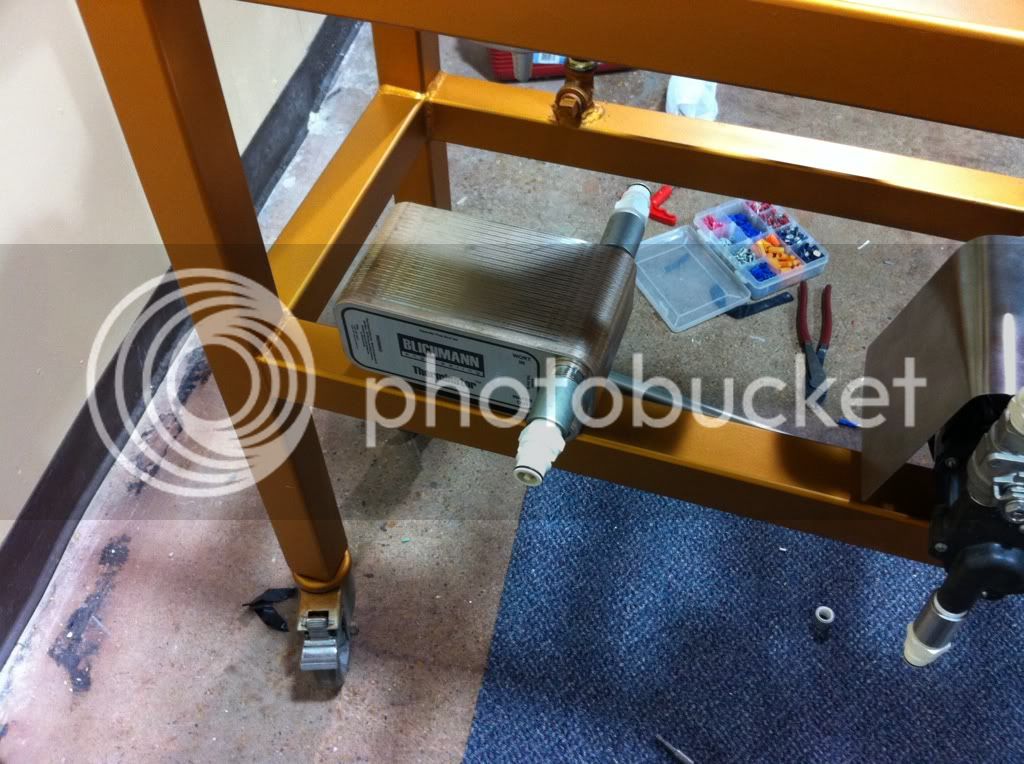
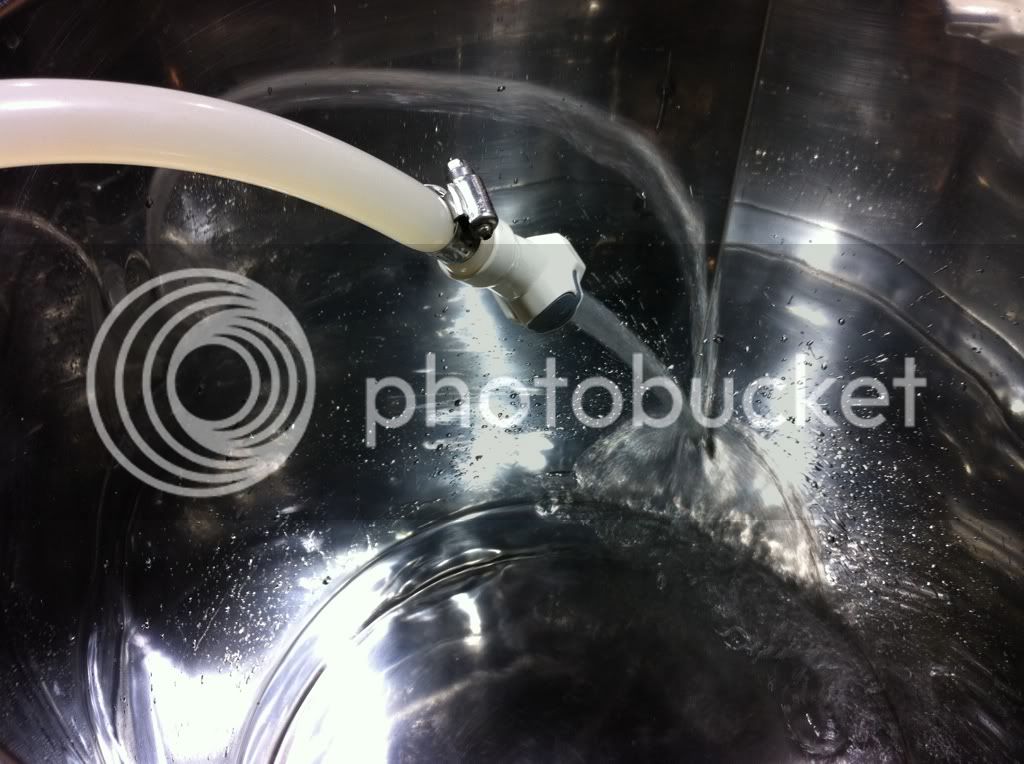
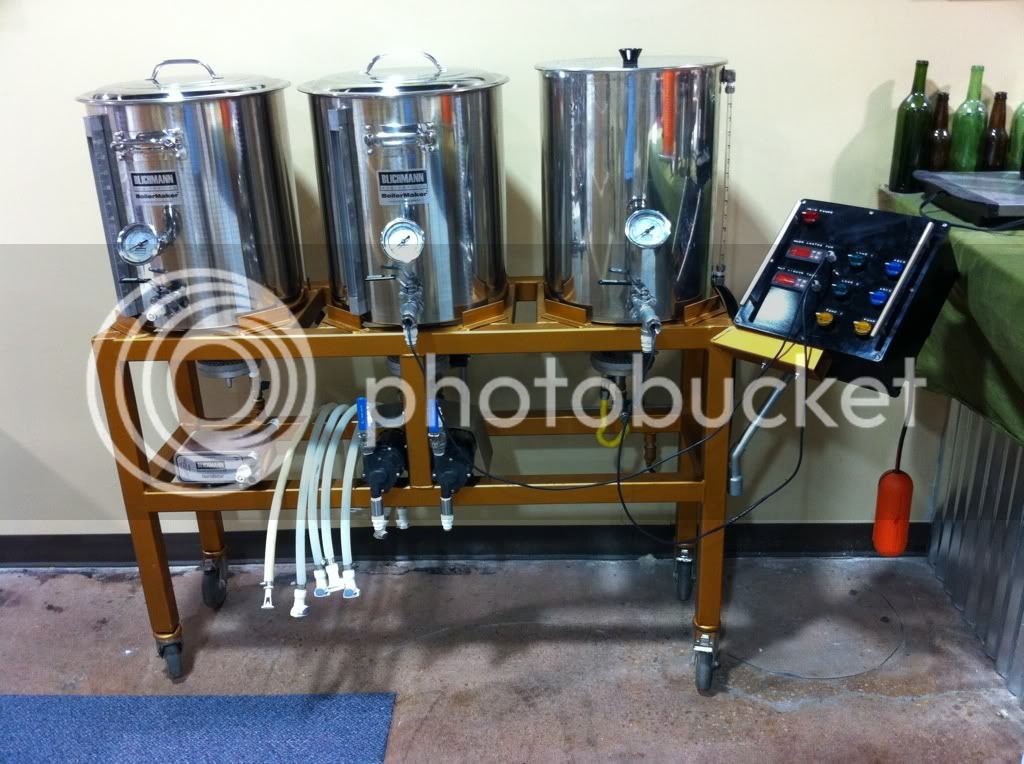
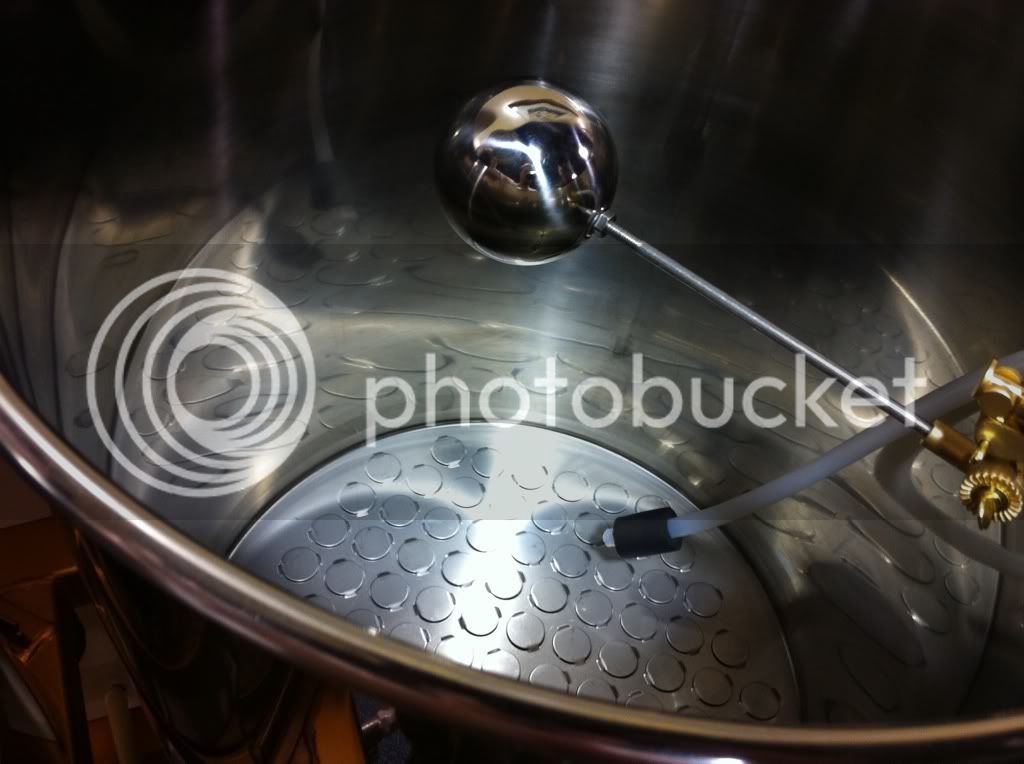
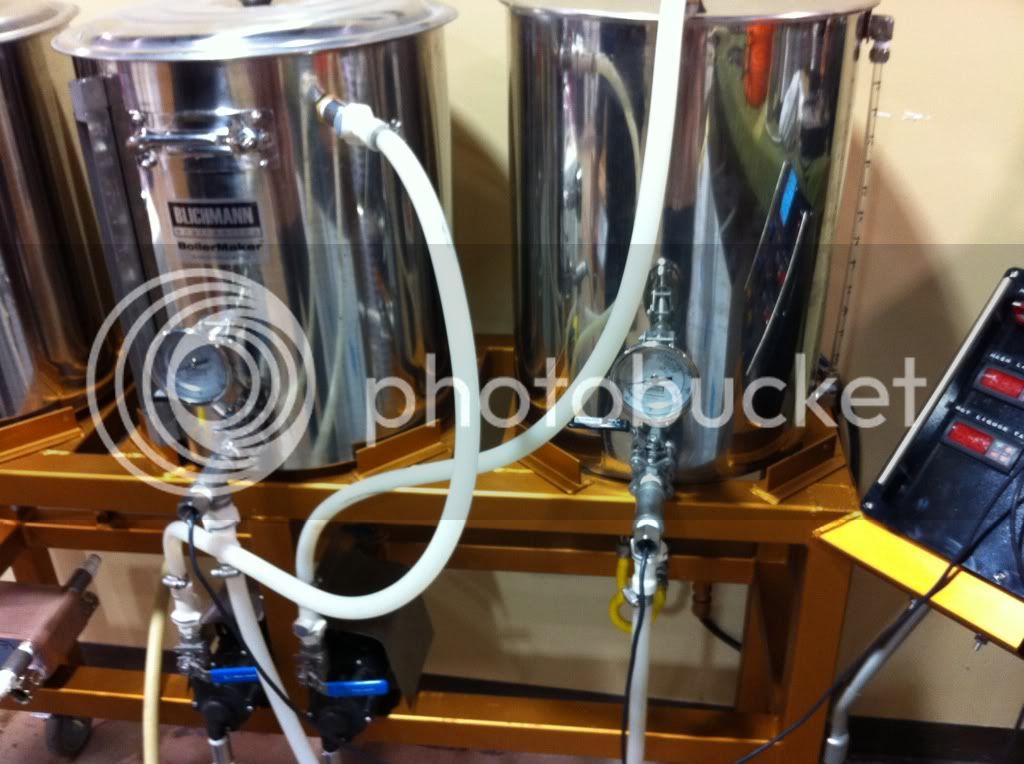
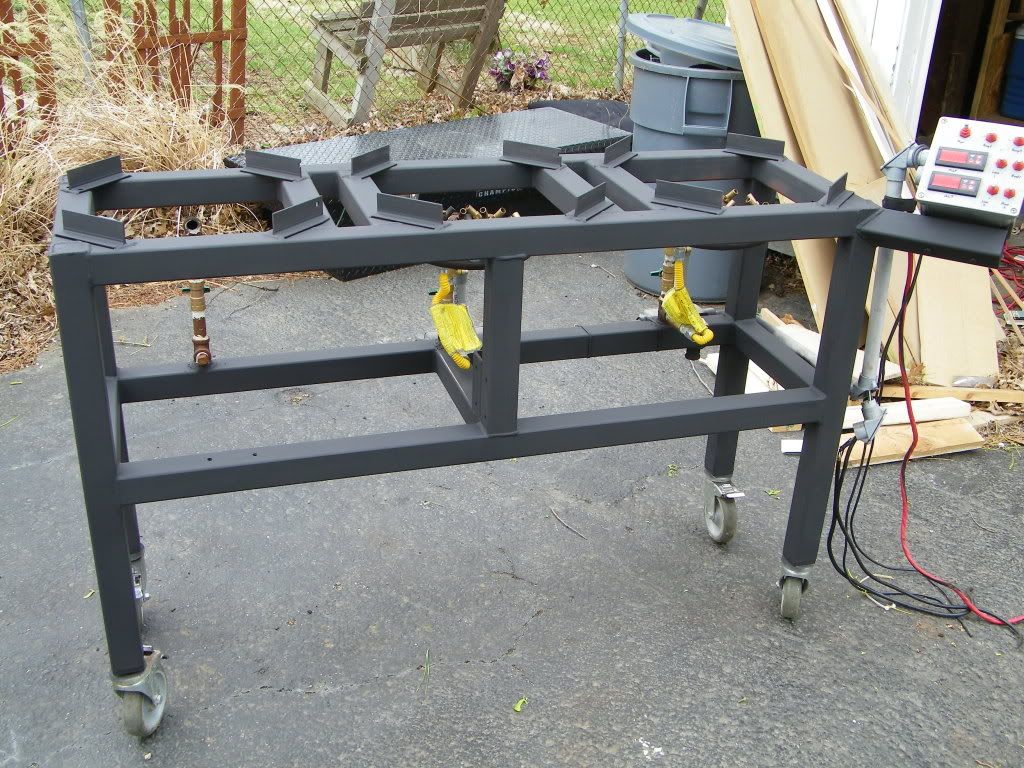
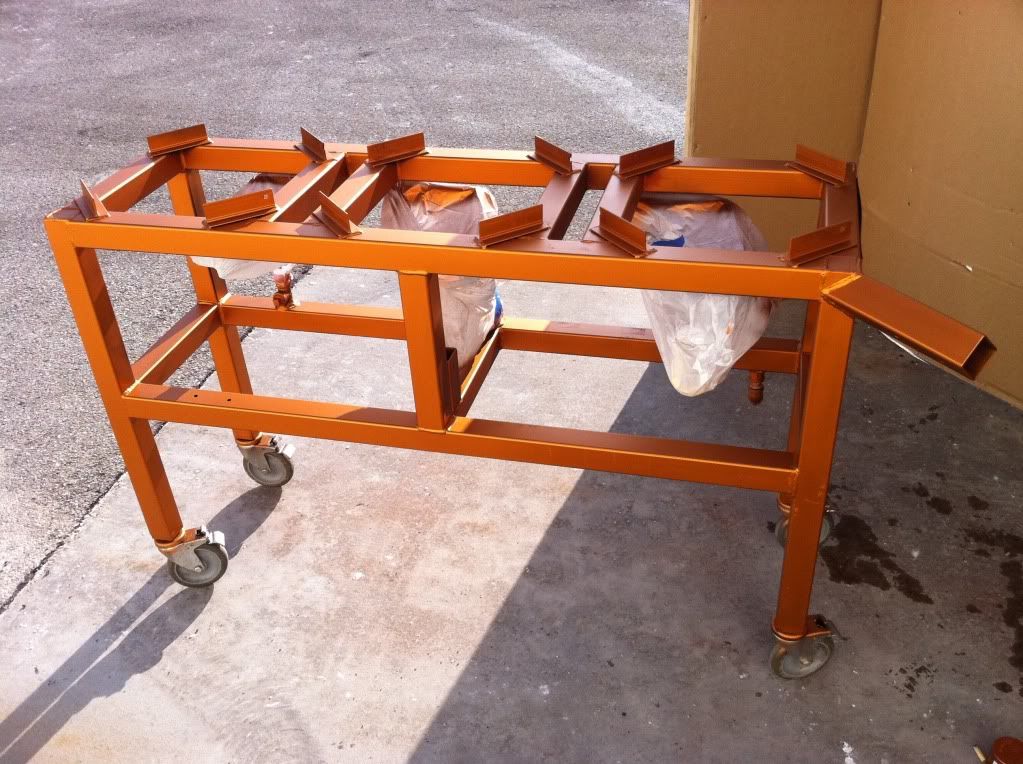
. So I upped the hops to correct the BU:GU. No biggie there. The paint held up fairly well. Theres a few places where I assume some dirt got underneath the paint and instead of curing to the metal it bubbled up. Nothing major though. They system itself was a dream. Even in the wind whipped parking lot behind STL wine and beer the mash never got outside of 1 degree of my set mash temp. I did a step mash just to try it and it performed beautifully. The temp rose just over 1 degree a minute. During cleanup I didnt find any concentrated wort scorches or burnt grain. The Blichmann Autosparge and False Bottom are truly things of beauty. The therminator was simply outstanding as well. It dropped the temperature from boiling to 68 in 11 minutes. I boiled off about 1/4 of a gallon too much but nothing that cant be corrected for next time. Propane usage was far better than before. Im not saying it sips the gas tank but it looks as though I will be getting about 33% more brewing time out of a 20lb tank. For anyone thinking about going with a brutus style stand I cant say enough good things about it.
 
great job! :) i love the color of it. now only if you could powder coat your kettles black... lol :D
 
Back
Top