How do I slow this mother down?
Bought a DIY style plate off of ebay to save myself from learning basic electronics. Well... ****. It doesn't work. Keeps throwing the bar. I believe I could fix the problem by slowing down the fan because the slowest speed on the dial is too fast. Not sure how he made it but the dial travels about 80% before the fan even kicks on. Here are the specs in the ebay ad, any thoughts?
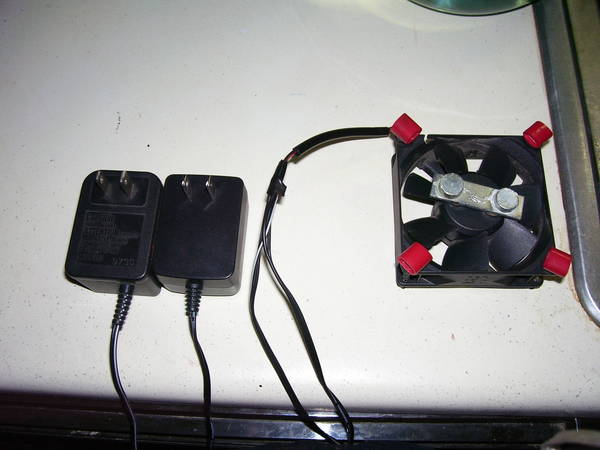
These custom built stir plates are made with all new components. They are assembled using Neodymium magnets, a 12 vdc power supply and a brand new 80 mm computer fan. It has a variable speed control and a separate on/off switch on these units. All components are soldered for the best performance and reliability. I will also include a 1" x 1/4" stir bar or 1 1/8" x 1/4" stir bar!
Bought a DIY style plate off of ebay to save myself from learning basic electronics. Well... ****. It doesn't work. Keeps throwing the bar. I believe I could fix the problem by slowing down the fan because the slowest speed on the dial is too fast. Not sure how he made it but the dial travels about 80% before the fan even kicks on. Here are the specs in the ebay ad, any thoughts?
These custom built stir plates are made with all new components. They are assembled using Neodymium magnets, a 12 vdc power supply and a brand new 80 mm computer fan. It has a variable speed control and a separate on/off switch on these units. All components are soldered for the best performance and reliability. I will also include a 1" x 1/4" stir bar or 1 1/8" x 1/4" stir bar!