
CodeRage
Death by Magumba!
This is the EASY way to wire the Auber SYL-2362A2 PID controller for a kegarator, keezer, or fermentation chamber.
Items needed
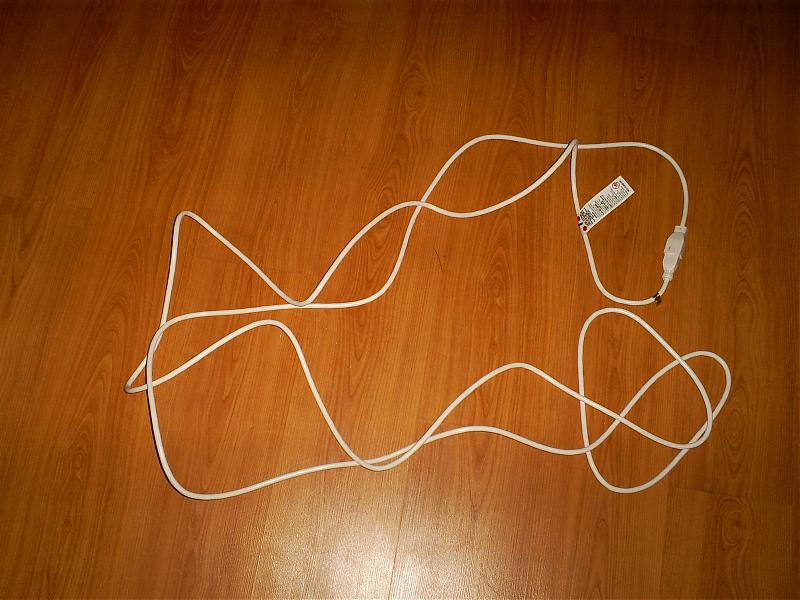
1 10+ foot 14AWG 3 wire extension cord.
1 SYL-2363A2 PID Controller
1 type K Thermocouple (example here, get one with long enough leads.)
6 blue Skinny fork connectors
Tools
Wire cutters/strippers.
Crimping tool
The service cord to my freezer was only 18 AWG, so 14AWG cord is more than plenty.
Cut the extension cord in half. Strip about 8 inches of the outer sheathing back on the male side and 4 inches back on the female side. So the three wires are exposed. Should be a black, white, and green wire.
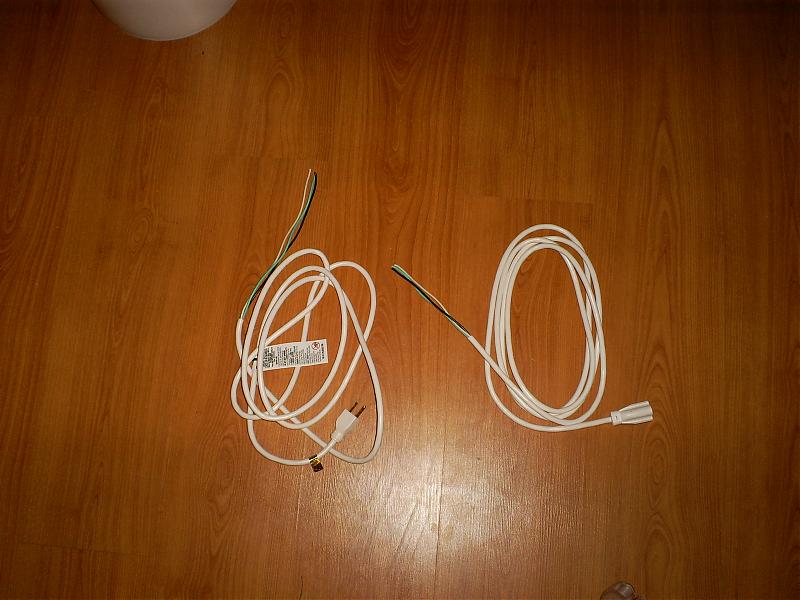
Take the side with the male plug and cut 4 inches of the black, white and, green wires.
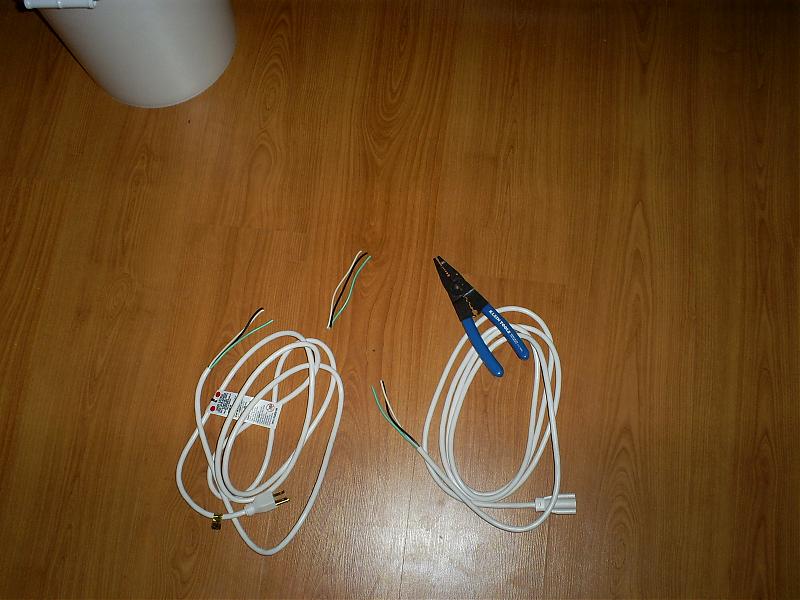
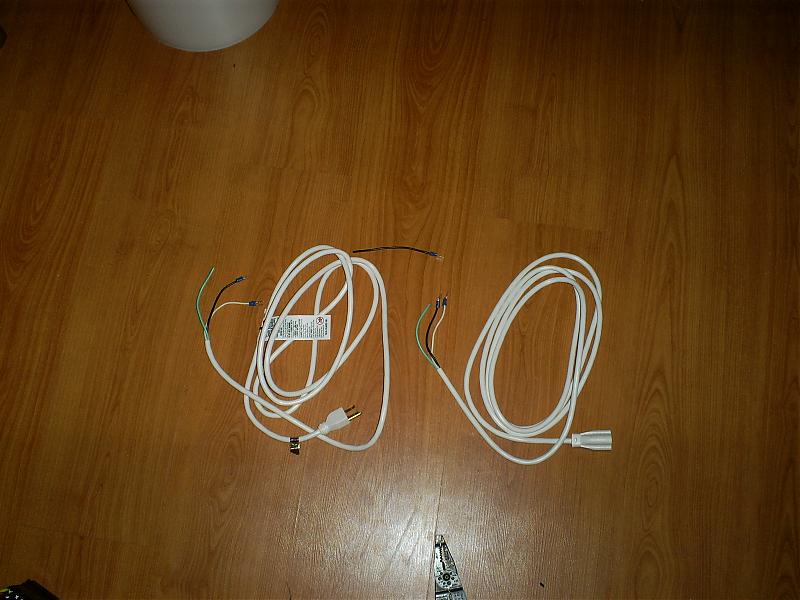
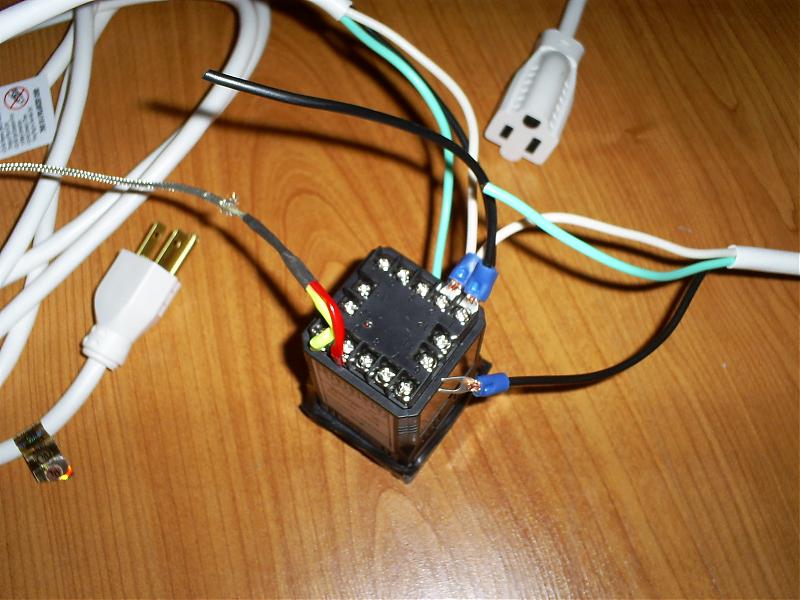
Toss the small white and green wires. Now strip a quarter inch off each end of the small black wire and and all of the wires on the extension cord. Crimp small fork connectors onto all white, black, and both ends of the small black wire. (One is missing on the short black wire here, wasn't sure if it was going to be too long. it wasn't)
Unscrew terminal 1 and stuff the black fork from the cable with male plug and one end of the short black wire on under the screw and tighten it.
Unscrew the #2 terminal and put the white wire from both halves of the cord under it and tighten.
There should be some forks on the ends of the thermo couple. Take a philips head screw driver and loosen the screws labeled 9 and 10 and slip one fork under each one and tighten them down.


Items needed
1 10+ foot 14AWG 3 wire extension cord.
1 SYL-2363A2 PID Controller
1 type K Thermocouple (example here, get one with long enough leads.)
6 blue Skinny fork connectors
Tools
Wire cutters/strippers.
Crimping tool
The service cord to my freezer was only 18 AWG, so 14AWG cord is more than plenty.
Cut the extension cord in half. Strip about 8 inches of the outer sheathing back on the male side and 4 inches back on the female side. So the three wires are exposed. Should be a black, white, and green wire.
Take the side with the male plug and cut 4 inches of the black, white and, green wires.
Toss the small white and green wires. Now strip a quarter inch off each end of the small black wire and and all of the wires on the extension cord. Crimp small fork connectors onto all white, black, and both ends of the small black wire. (One is missing on the short black wire here, wasn't sure if it was going to be too long. it wasn't)
Unscrew terminal 1 and stuff the black fork from the cable with male plug and one end of the short black wire on under the screw and tighten it.
Unscrew the #2 terminal and put the white wire from both halves of the cord under it and tighten.
There should be some forks on the ends of the thermo couple. Take a philips head screw driver and loosen the screws labeled 9 and 10 and slip one fork under each one and tighten them down.


