lamarguy
Well-Known Member
So are you guys just dumping in hops to the kegs?
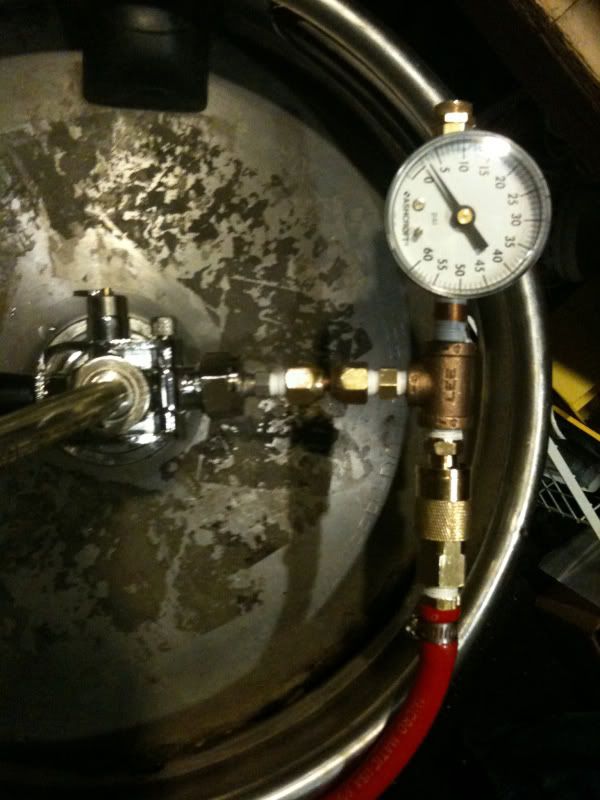
I rack and coarse filter (5 micron) to a new keg before dry hopping. I do this for a couple of reasons:
- Excessive yeast will adsorb and reduce the dry hop character.
- Re-pitching "dry hopped" yeast to another batch carries over a certain amount of flavor/aroma. Not always desirable.
- I prefer to keep the beer under pressure once carbonated during primary fermentation. Opening the lid to throw in some hops would defeat the purpose.
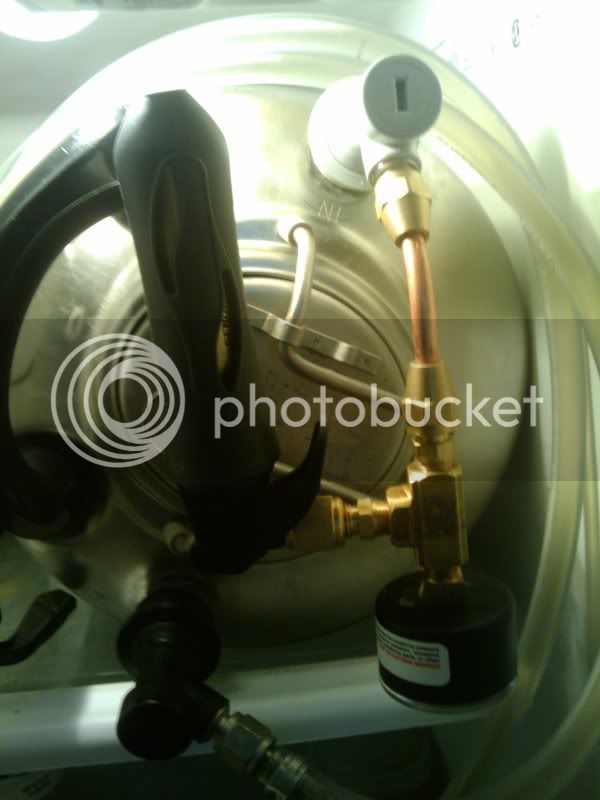
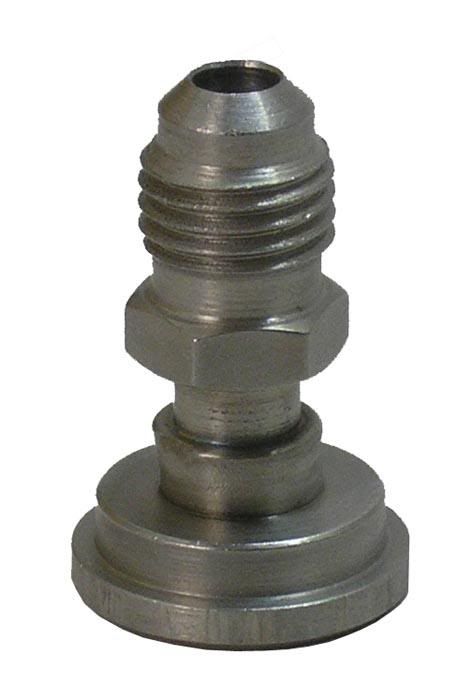
- I use a SureScreen filter on my "dry hop" kegs. So, I just toss in the hops, purge with CO2, and rack to the keg.
")