Catt22 said:
I tried this and the dimmer does not vary the fan speed. Ideas?

Catt22 said:
Catt22 said:


My dual stir plate that I finished this weekend. Works great! I'm using the circular rare earth magnets and a 1 1/2" stir bar. Thanks to all for the info and questions from the forum!


Here's mine

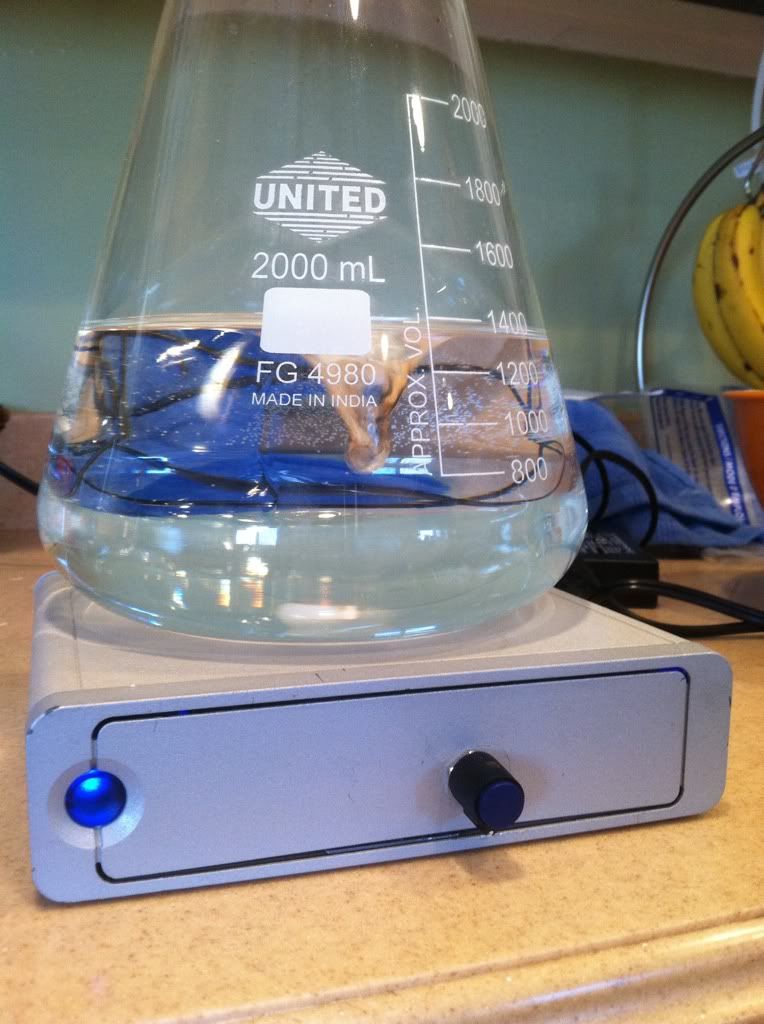
Taking the new flask for a test drive. It throws the bar after a couple minutes unless its on low. Even at the slowest setting it has dimple.
Cheers
Huaco said:What voltage converter are you using?
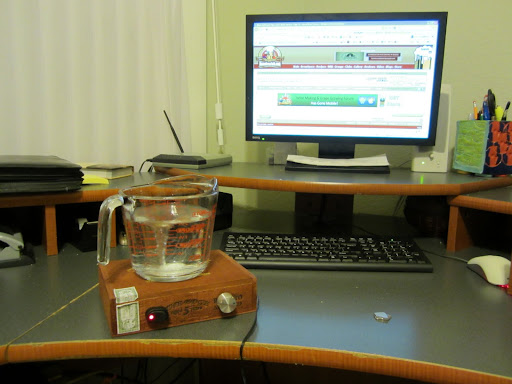
Its a 120v to 9v cell phone charger i had laying the house that i cut the end off of.
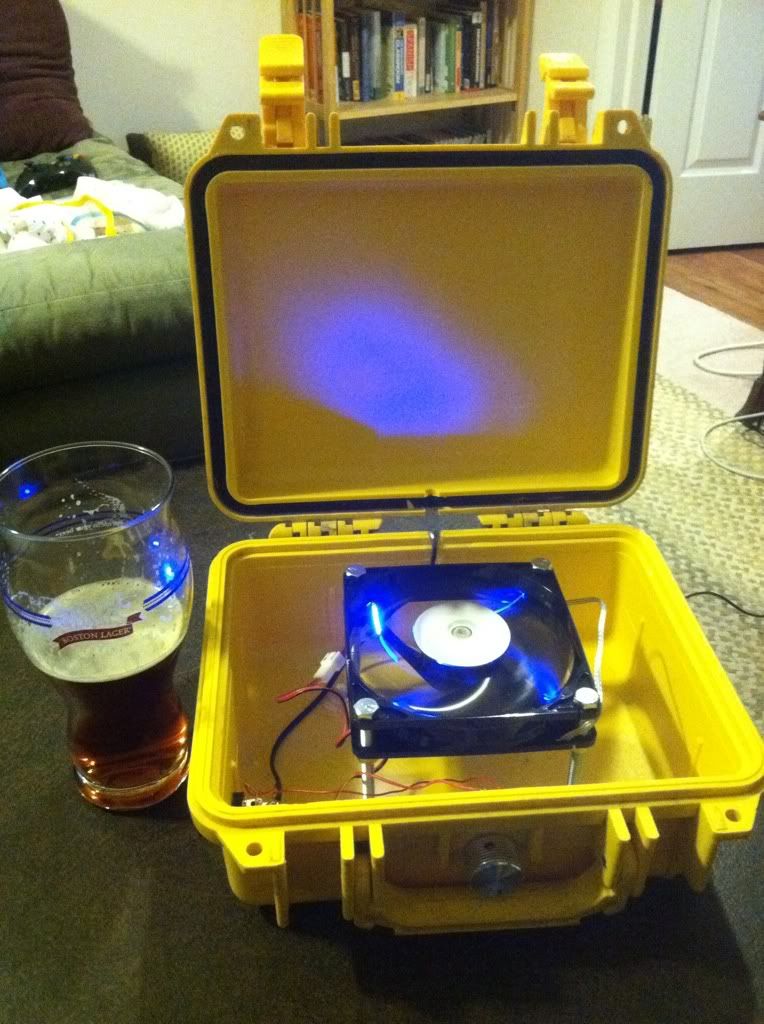
Here's my latest one. I converted an old external HD.
[/IMG]
FastAndy said:Its a 120v to 9v cell phone charger i had laying the house that i cut the end off of.


 ! I was thinking, "I was going to have to spend some serious $$$$$ after all!" I let it rest a day, tried a few different things, then a few more, then by chance I simply tried a few more washers in the center.............................................. HOLY SMOKES! It worked!!!!!! Try a few different things, washers, magnets, distance of the fan to the stir bar..............................
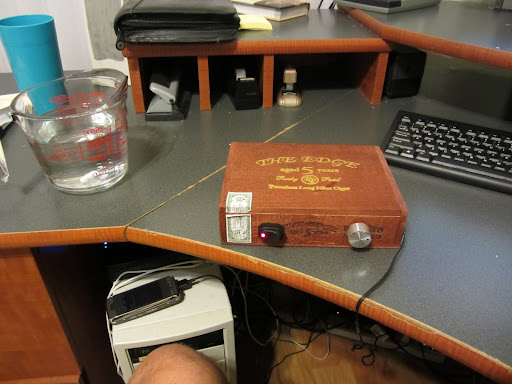
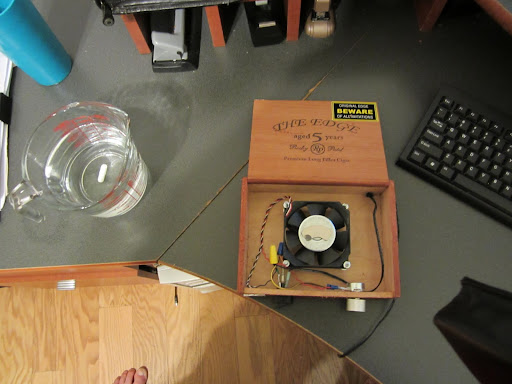


isukendall said:Put one together tonight out of a cigar box, some cheap parts from Radio Shack, a magnet, and a PC fan. Have it hooked up to a 9V battery for now, but will hardwire it later. Not the prettiest (on the inside), but it works. Wonder if anyone has done this with 9V batteries, wonder how long it will last?
Looks good!!! Plus I love the note to "spin if you see me"... Hahahaa


Enter your email address to join:


