
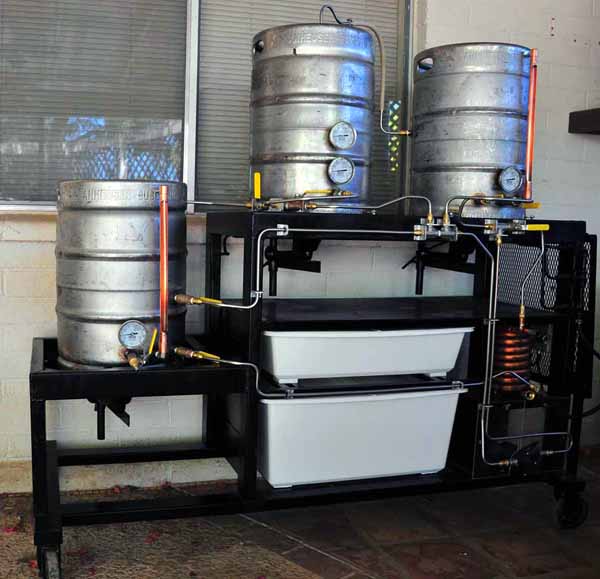
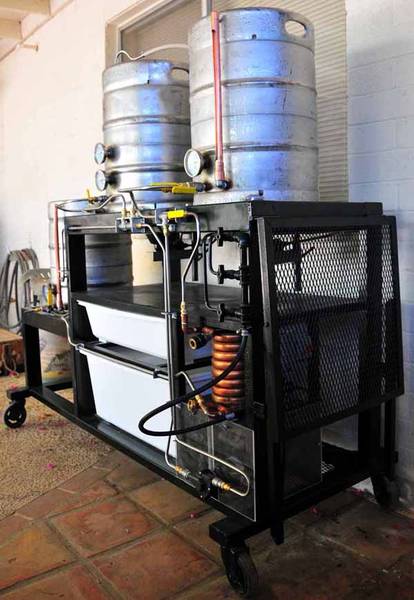
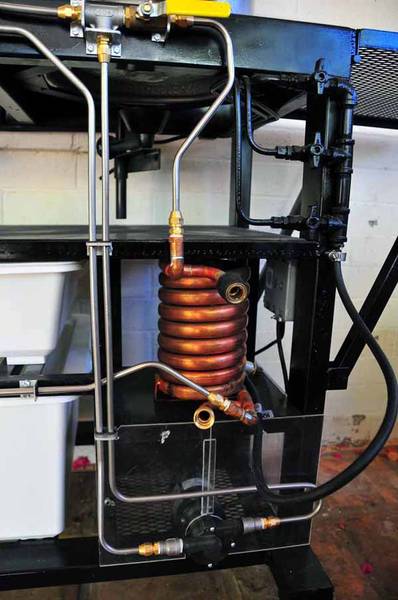
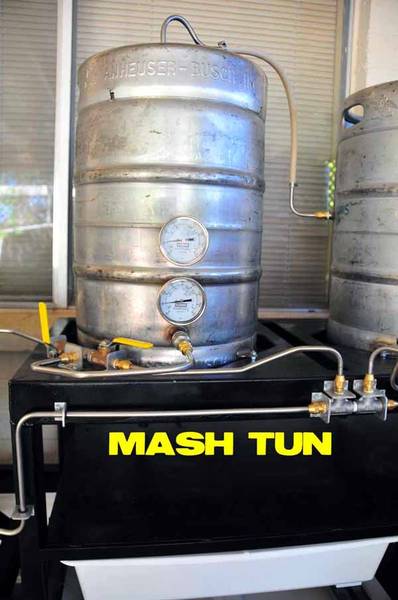
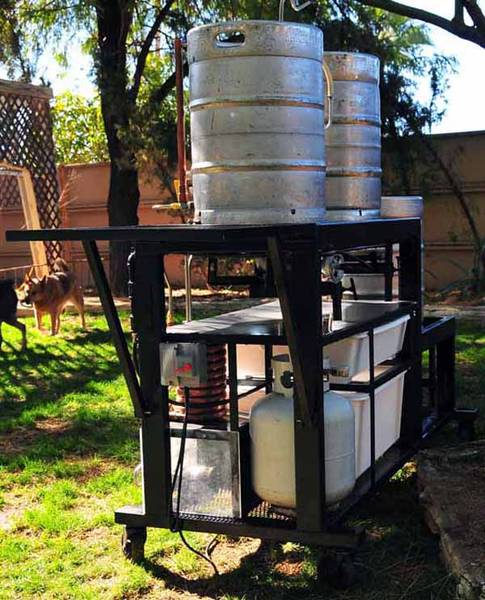
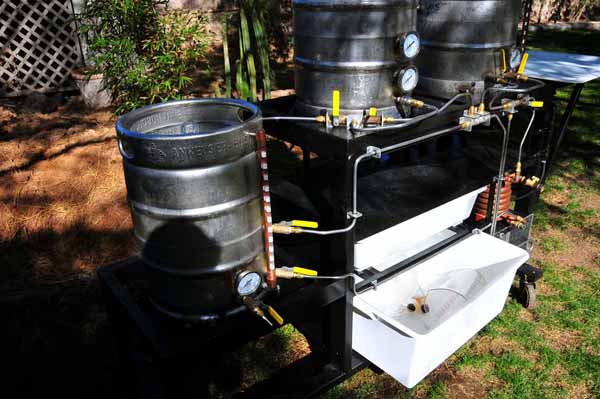
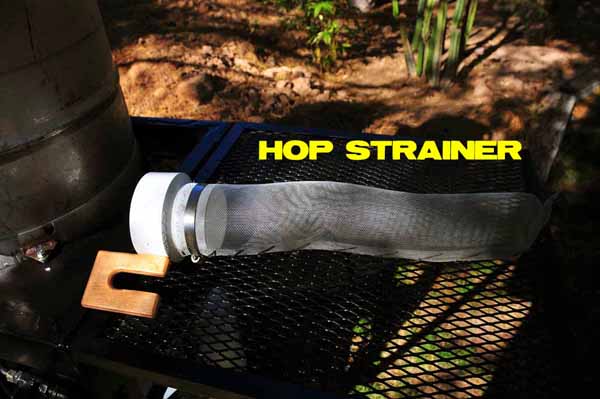
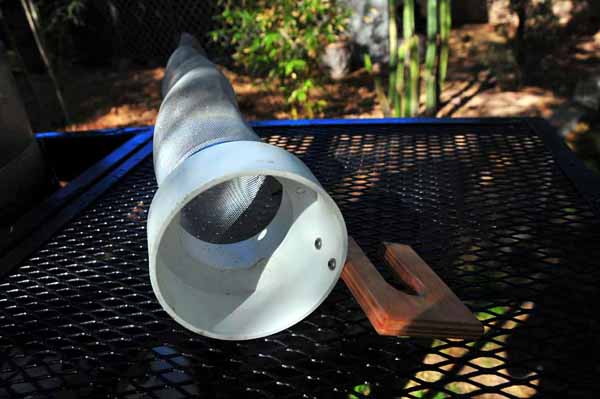
So here is what my wife now refers to as the other woman after a lot of time invested from design to fabrication. I could not have done this without this forum and hope some of my ideas can be useful for you.
Lessons learned:
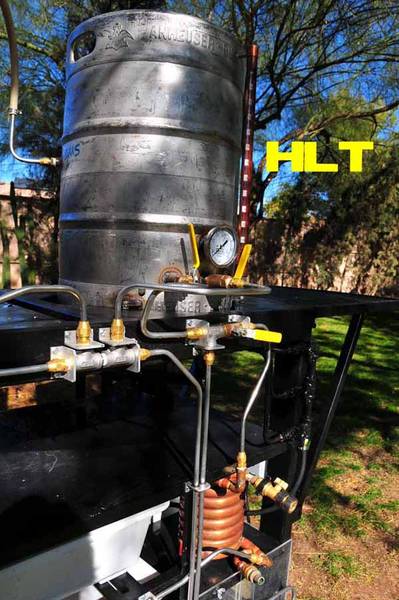
Other than that, the system runs awesome!

.jpg")
.jpg")
.jpg")
.jpg")

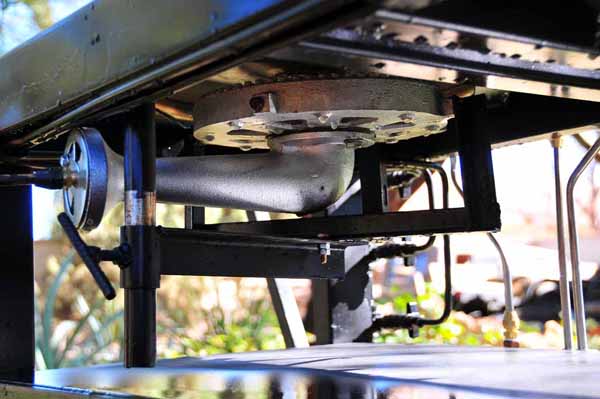
Lessons learned:
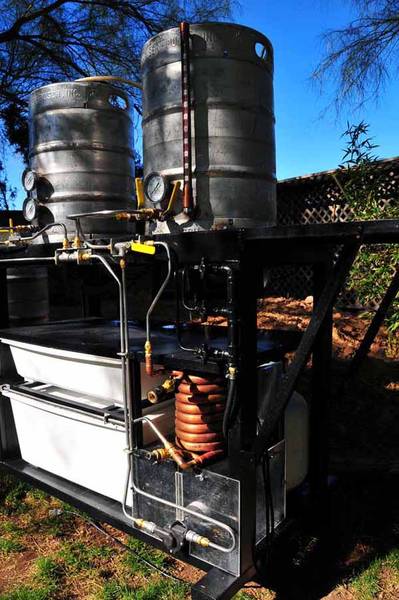
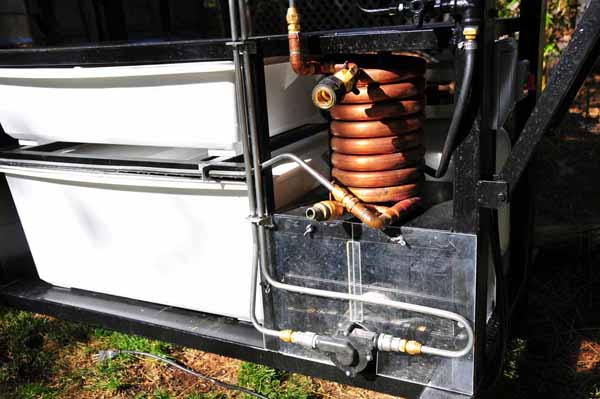
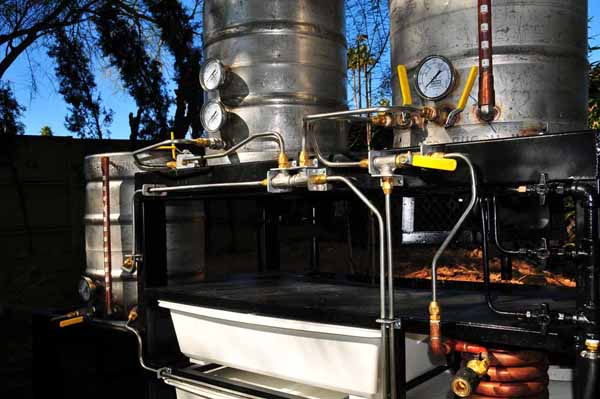
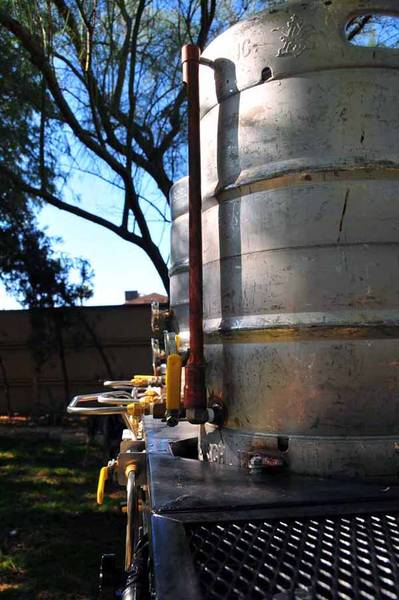
Stainless tubing has to be bent and flared with higher end tools. Not the junk you buy from an auto parts supplier. They are worth buying if you like to fabricate too.
I used 3/8" tubing and wish I used 1/2" tubing. 3/8" moves fluid too slow and eats up a lot of time when transferring fluids. Cost would not be much more either.
All my tube steel was free but weighs a bunch when assembled. I would use thinner wall and smaller tube next time.
I would start out with the largest burner system I could reasonably use for both the HLT and boil kettle. I originally had the little jet engine sounding noise makers on there before and they did not provide enough BTU's.
Other than that, the system runs awesome!


