Hey everyone. After many hours of drooling over some of the DIY Single tier systems on this site, I have decided to start building my own. It is inspired by the many projects and ideas on this forum. I'm going to build a 3 pump design like JonW; I just like the simplicity the extra pump provides. Been working on the stand for about a month now. Stay tuned for more updates.
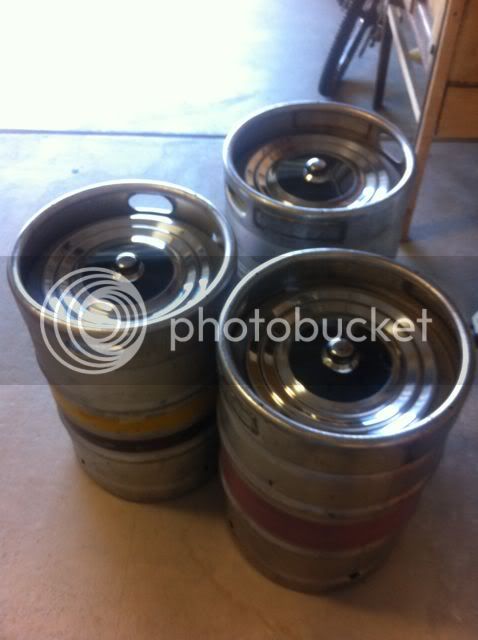
Getting three kegs from a local brewery at $10 each inspired me to start the project. I was on the waiting list for 3 months.
http://i1247.photobucket.com/albums/gg640/bensomogyi/IMG_0131.jpg
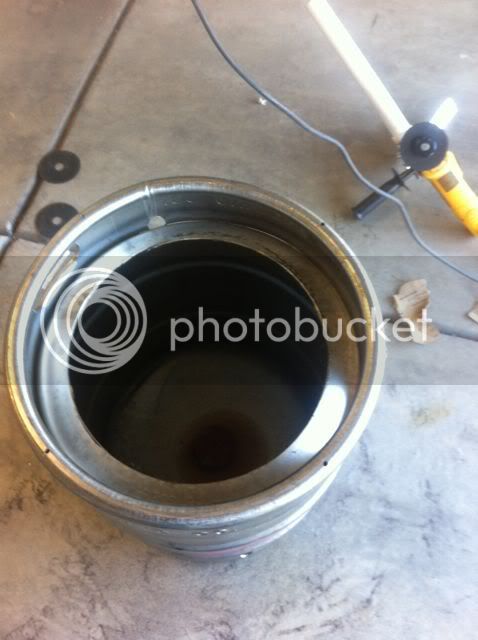
First Keg is cut
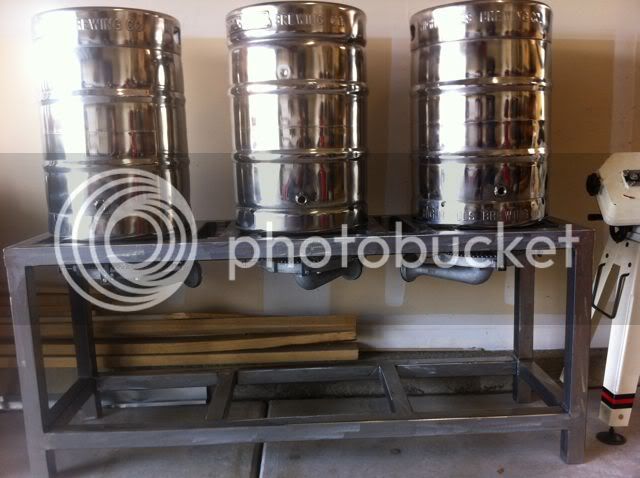
All three kegs with lids.
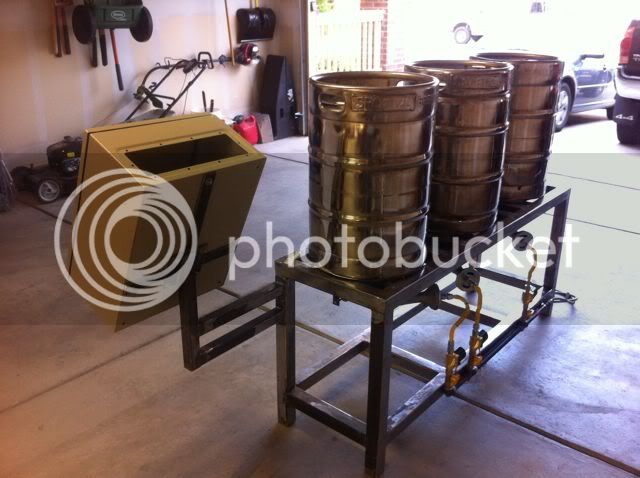
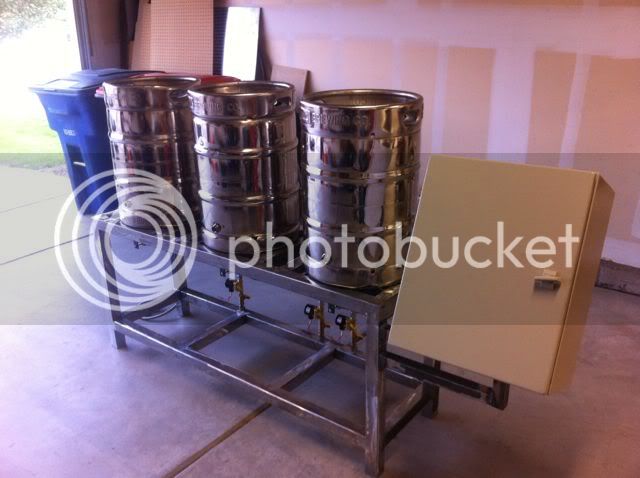
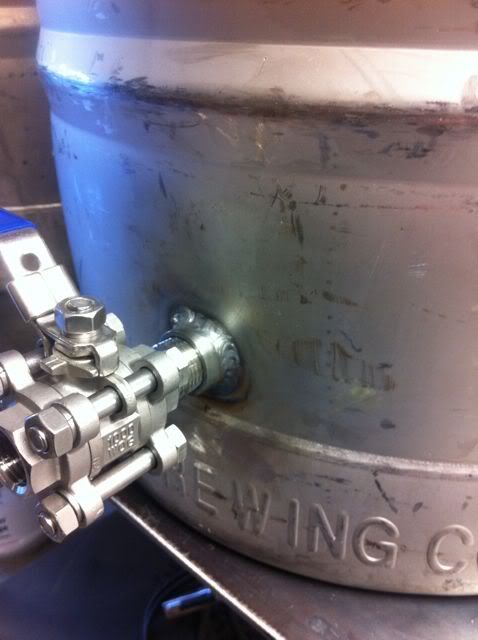
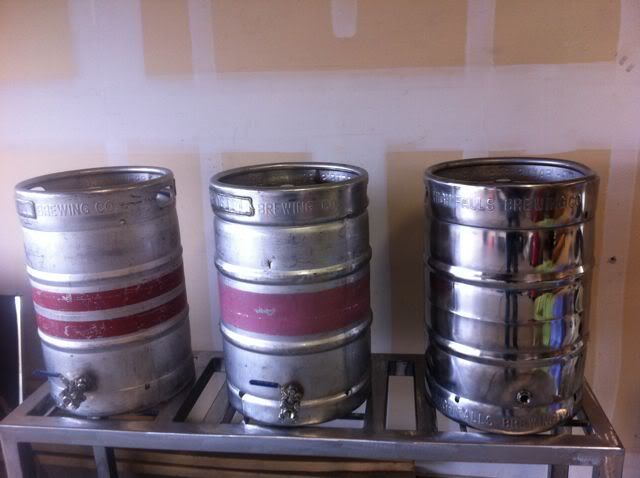
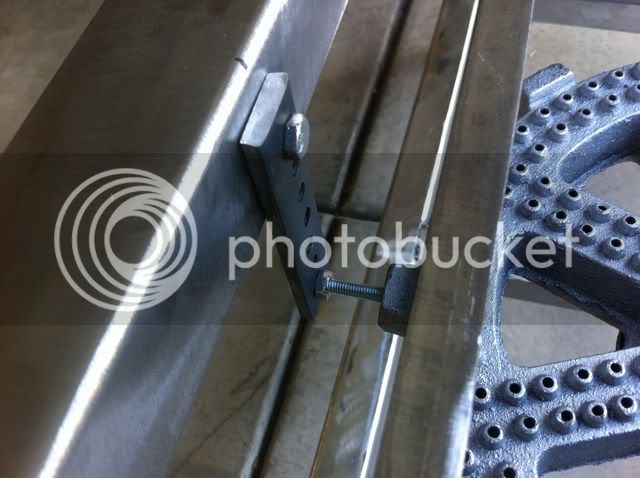
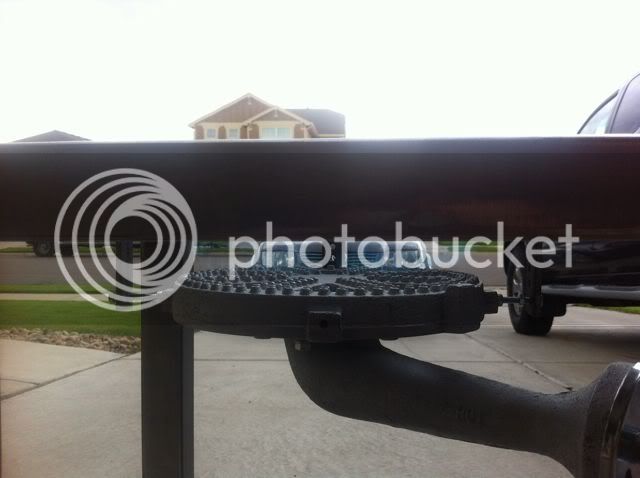
Welded in couplers for bottom valves.
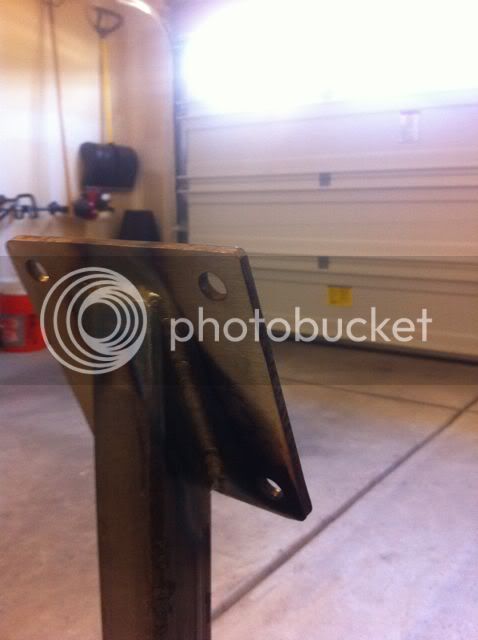
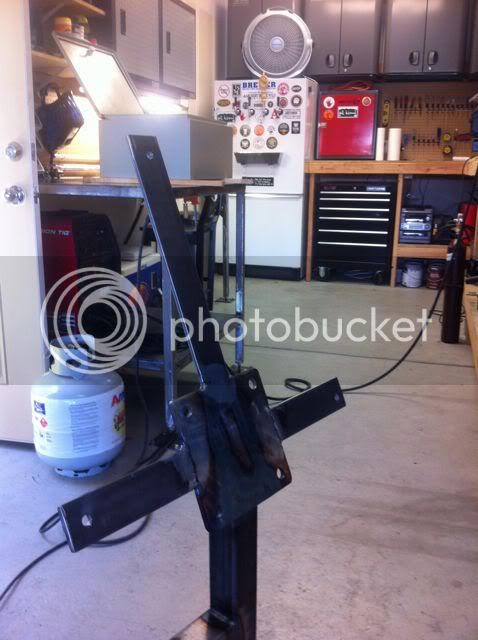
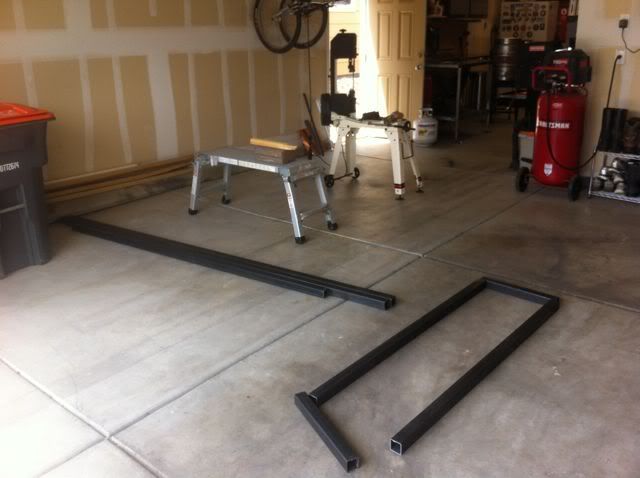
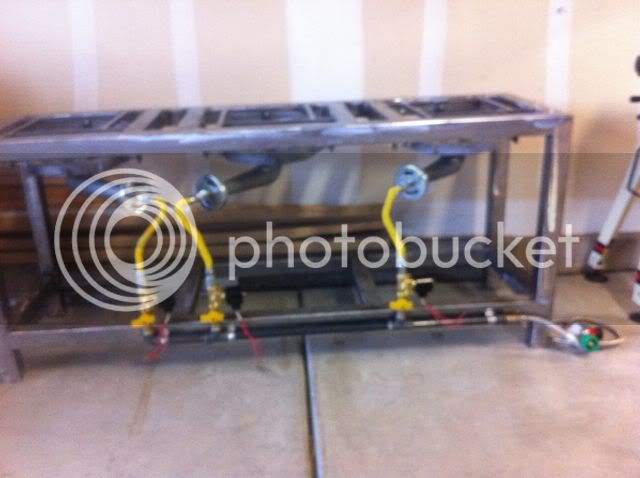
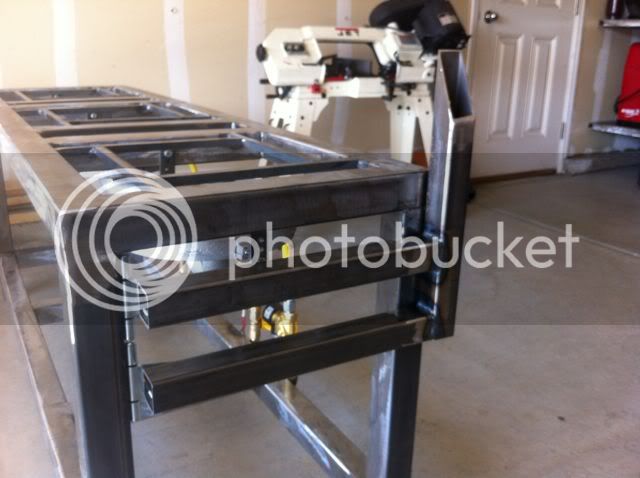
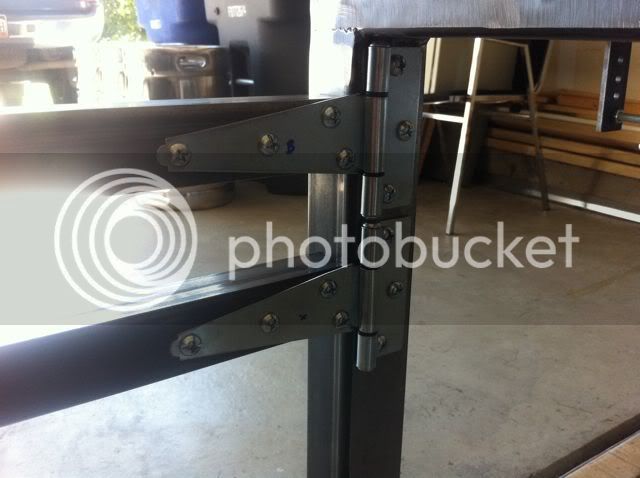
Picked up the steel for the stand. Decided to go with 2x2x.109 It will be bomb proof.
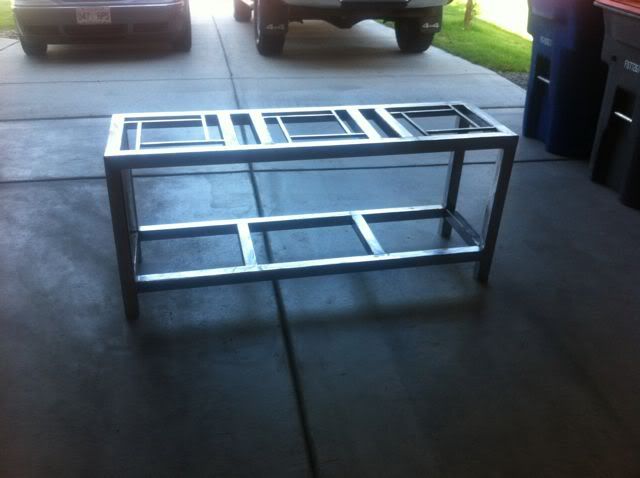
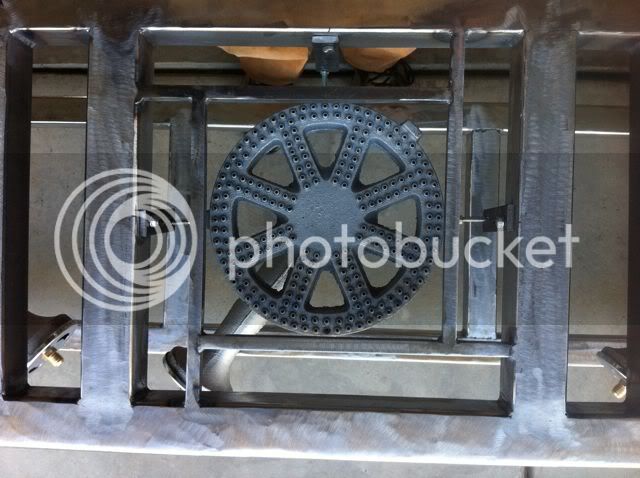
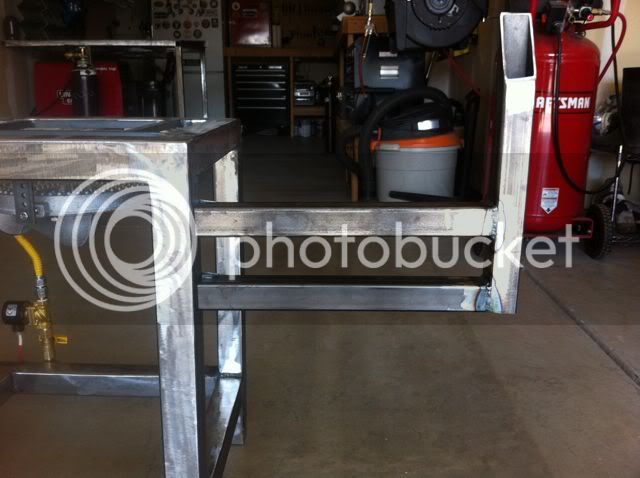
Stand is welded and cleaned up.
Getting three kegs from a local brewery at $10 each inspired me to start the project. I was on the waiting list for 3 months.
http://i1247.photobucket.com/albums/gg640/bensomogyi/IMG_0131.jpg
First Keg is cut
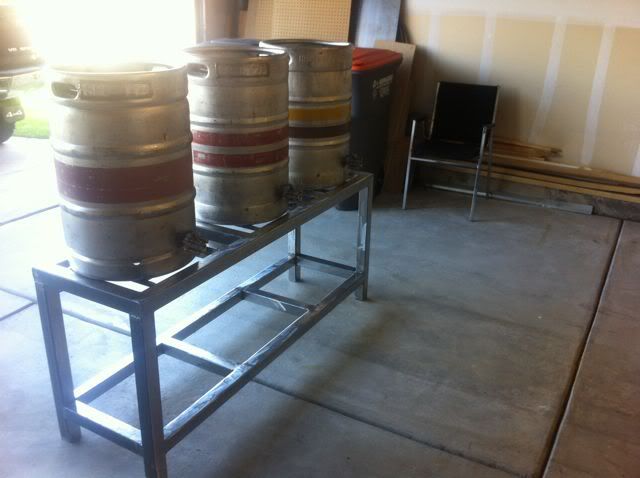
All three kegs with lids.
Welded in couplers for bottom valves.
Picked up the steel for the stand. Decided to go with 2x2x.109 It will be bomb proof.
Stand is welded and cleaned up.
")