First off, I'd like to pass along a big thank you to all the posters and veterans who have made this board an incredible resource for those of us getting started. I've been brewing small BIAB batches on my stovetop for the past 6 months and have officially caught the bug. Unfortunately my electric stove is seriously under powered and I have trouble maintaining a good boil. After following many threads here I've decided to take the electric plunge and am planning an eBIAB set up.
Since I'm a renter in a small NYC apartment, I cannot really modify my electrical options, so I'm going to be going with a 120v setup. I figure this will be plenty of power, as I keep my batches under 3 gallons. I enjoy the brew day and experimenting with new things, so small batches will probably be my go to for quite some time.
With that said, here's what I'm planning:
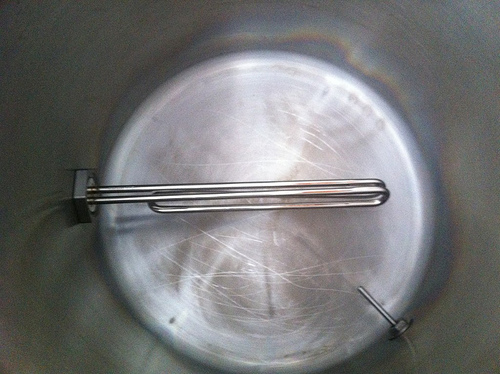
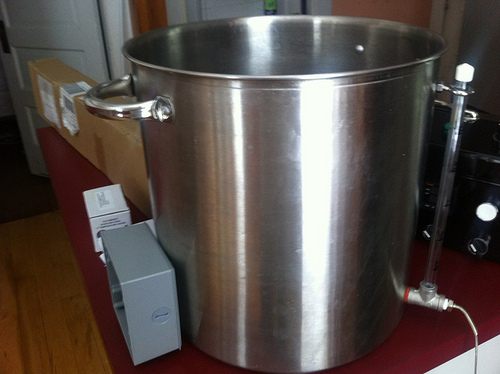
- Modify existing 7.5 gallon kettle with a 4500w / 240v heating element (running it at 120v, but for such a small batch I figure that's enough power)
- Follow Kal's method for attaching the element to the kettle
- Flexibility to add a recirculating pump to the system at a later date
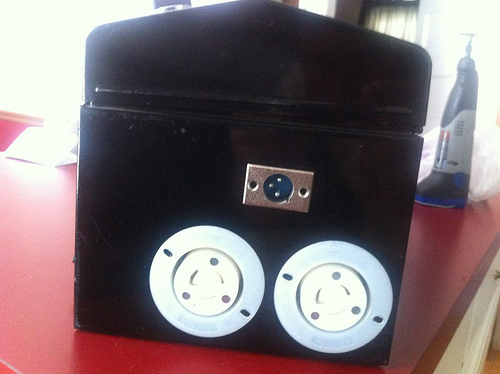
- Toolbox control panel
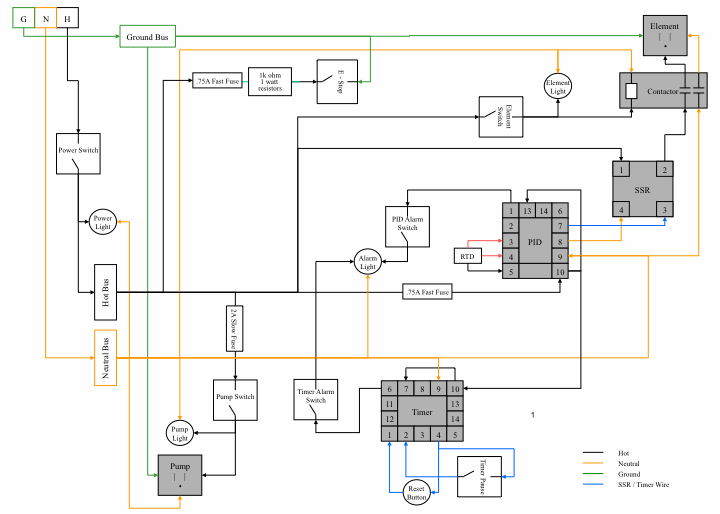
The toolbox control panel plan includes the following:
- 120v power in from a GFCI protected outlet
- Master power switch + light
- Emergency power off switch
- Pump on/off switch + light
- Element on/off switch
- Alarm wired to both PID and Timer
- Auber PID SYL-2352 to control the element when "on"
- Auber Timer ASL-51 with reset button and start / pause switch
After researching previous builds and combining lessons learned from many of the members on this site, I feel like I have a pretty good idea of what I'm doing. The one major aspect I wanted to run by folks was my control box wiring diagram. I have a degree in Mechanical Engineering, but it's been a while since I was taking electrical engineering classes. Just thought it'd be a good idea to have some experts double / triple check on my work.
Below is an initial draft of the wiring diagram and I'd appreciate any comments or suggestions. If I've forgotten any details, please let me know! Thanks again for all the help thus far!


