Copbrew133 said:After a year ++, I can finally put my rig on this thread.
Can you share dims and materials? I'm new but looking to build a single tier from scratch

Copbrew133 said:After a year ++, I can finally put my rig on this thread.
NewJersey said:i've been brewing for a year and a half now and am at a loss when looking at all your setups. i brew all grain 5 gallon batches. i have one floor burner and two pots. mash in one boil in the other. i have no pumps or any stand and do not understand how it would really simplify the process. i have two kegs i will convert into keggles soon, but my process will remain the same. is there any kind of "brewstand for dummies" anywhere
NewJersey said:i've been brewing for a year and a half now and am at a loss when looking at all your setups. i brew all grain 5 gallon batches. i have one floor burner and two pots. mash in one boil in the other. i have no pumps or any stand and do not understand how it would really simplify the process. i have two kegs i will convert into keggles soon, but my process will remain the same. is there any kind of "brewstand for dummies" anywhere

as soon as I can get out from under some of the honey-do items.


brewin4994 said:Future plans for a single tier stainless stand (Need to expand welding knowledge).
If it we me I'd learn to weld quickly.
AlleyBrewer104 said:Agree 100%. Welding was fun to learn, really easy (flux wire), opens up a ton of construction options and I've used that new skill on lots of other projects now that I've got it. Lots of good, lightly used welders are available at a good price on Craigs List. My rig is made with 1.5X1.5 square tube and has zero flex even when full. If the wheels were bigger, I could hitch it to the car and drag it down the road.

Even though I learned to weld so I could build my own 2x2" square steel single tier stand with a Blichmann Tower of Power to run the mash, I completely agree with you. It is easy and expensive (and fun!) to get swept up, but there are few things you can't do on your setup that you could do on a $10,000 rig.
If I didn't need to do multi-step mash (I use almost 100% wheat for malt) I would have stuck with my old rig which was about the same as yours.
Pumps are nice so you don't have to lift and move heavy hot pots, can pump out the HLT to mash, recirculate mash, sparge, transfer to BK, push the hot wort through a CFC or plate chiller to cool while whirlpooling, and the pumping PBW solution through everything to clean.
than at the end of the boil... this poor guy jumped in to the wort
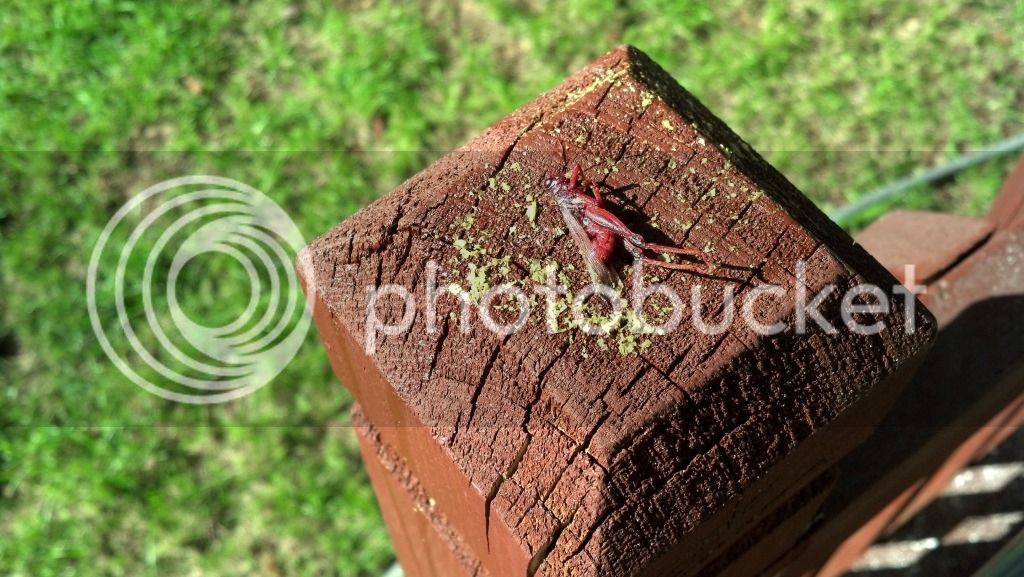
Rivenin said:Brewing for my birthday, finally was able to break it in a few times over the past few weeks. being awesome! than at the end of the boil... this poor guy jumped in to the wort
Rivenin said:Brewing for my birthday, finally was able to break it in a few times over the past few weeks. being awesome! than at the end of the boil... this poor guy jumped in to the wort
Brewing for my birthday, finally was able to break it in a few times over the past few weeks. being awesome!
than at the end of the boil... this poor guy jumped in to the wort
A little extra protein won't hurt and now you have a Great name for your beer. Grasshopper Ale
.


Just need to get my HLT set up. Sight glass, therm and valve. Can't wait.
View attachment 154179
Just need to get my HLT set up. Sight glass, therm and valve. Can't wait.


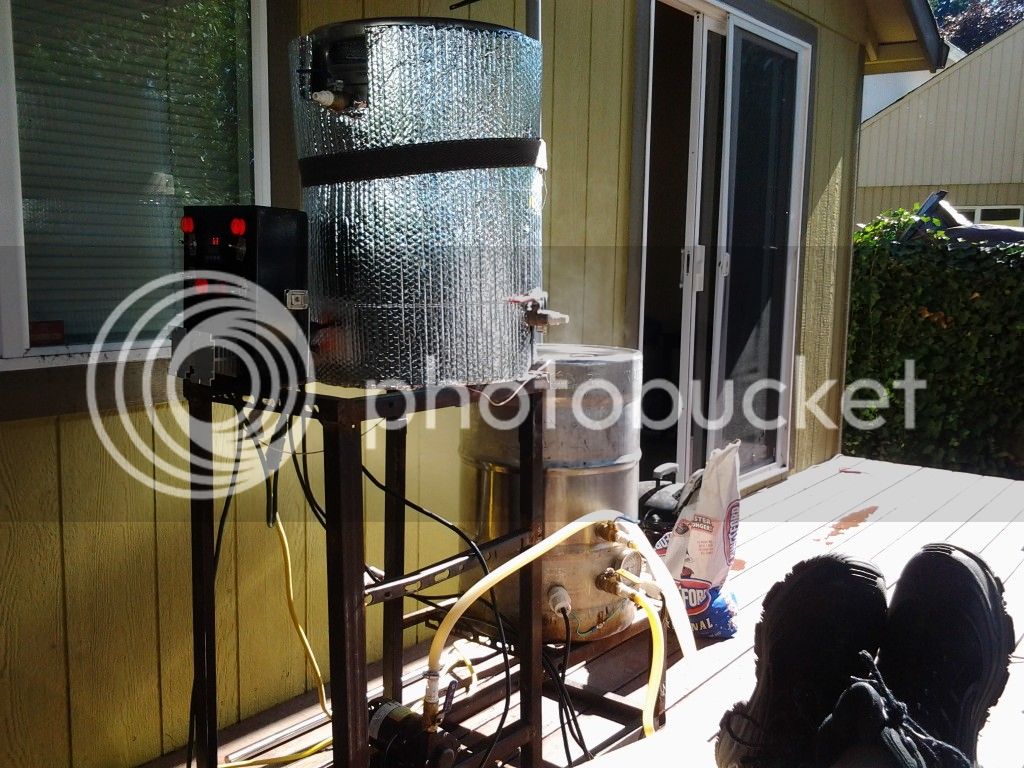
Where did you get the velvet shield?DWhitwell said:Man, I totally forgot I could finally post this! Direct fire on all three vessels with 10" banjo burners, LP hose manifold with needle valve orifices. Used velvet shield carbonized fiber welder's blanket for insulation on the MLT, and haven't mounted the chugger pump because I'm not sure yet where I would want it - so far I like having it portable. Whirlpool port on the boil kettle with an immersion chiller, get great cold break that stays in the kettle. Lots of props to BobbyM for the hardware!
Where did you get the velvet shield?

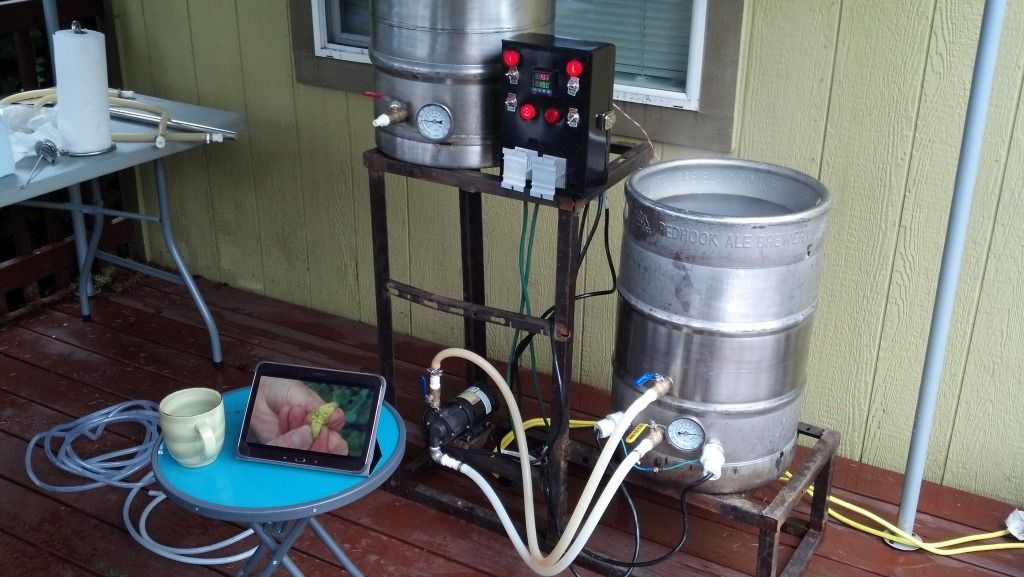
Here's my manual herms system
View attachment 154722[/QUOTE
Gumby...you are a brave man having that burner so close to wood surfaces! very clean rig, though!
Here's my manual herms system
View attachment 154722[/QUOTE
Gumby...you are a brave man having that burner so close to wood surfaces! very clean rig, though!
Thank you, but no not that brave...or dumb haha. On actual brew days i pull the rig out from the walls.

Here is my new one, complete. May need to adjust burners, but looking good so far.


Moved BG-14 burners down to 4-1/4" below top edge of stand, so about 4-1/2" from bottom of bottom of keg.


Enter your email address to join: