quattro004
Member
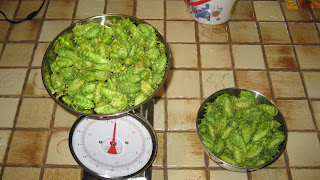
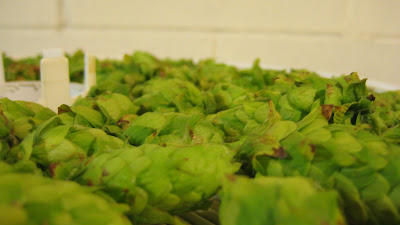
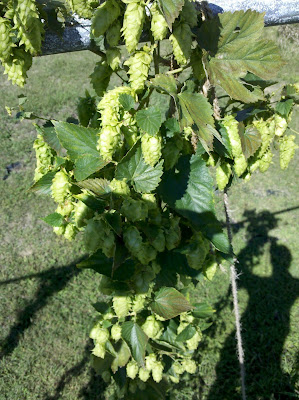
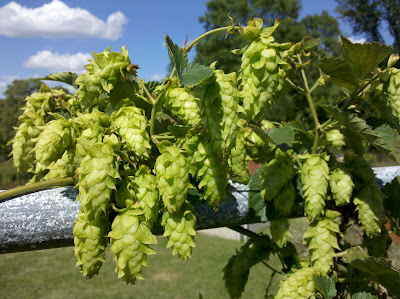
My brewing friends and i decided to grow our own hops this summer to use in our homebrew. We are really excited to get the rhizomes in the ground and start harvesting our own homegrown hops!
Here is the link to Part 1 of the build posted on our blog.
Here is the copied post from the blog for those who want to read it here.
Hop Yard Build 2012 - Part 1
This past winter, the idea of growing our own hops to use in our home brew recipes came up several times. We were debating on where and what we could plant and whether or not it would be successful in a place like Minnesota.
My main resource for planning the hop yard
After a substantial amount of time and effort put into researching and reading up on methods and tips for growing hops at home, it turns out Minnesota is in fact a great place to grow many common hop varieties available to the public. We came across a family-owned and operated hop farm by the name of Northwest Hops located in Hubbard, Oregon, "Home of the Hubbard Hop Festival". They are a great resource for the home brewer or anyone looking to start planting and growing their own hops. Some of their strains of rhizomes have been said to be traced back over 80+ years so you know you are receiving quality product from them and the knowledge that comes with generations of farmers.
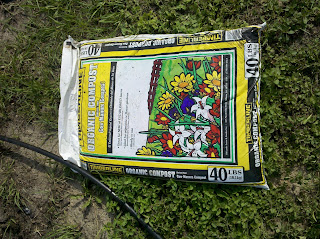
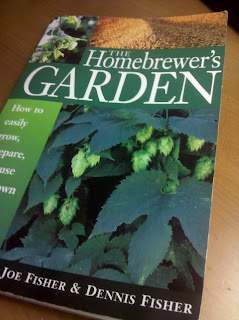
I borrowed a book from Philip which does a great job of outlining everything needed to successfully grow your own hops at home. It is called The Homebrewer's Garden, which can be purchased from Amazon as well as other bookstores. It has been a great resource for planning the hop yard.
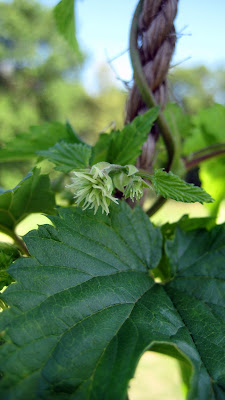
I chose to start with Cascade and Centennial rhizomes. My reasoning for this was they are relatively resilient strains and do well in most climates. They are also fairly resistant against diseases like powdery mildew, downy mildew and some common virus strains that can affect hop plants as they grow.
Cascade and Centennial hops are also known for their citrus and floral aromas and flavors in beer. They are commonly used in American & English-style Ales as well as IPAs, Porters and occasionally in Wheat beers. Our home brew recipes are often one of these styles and thus it was an easy decision to start with these two types of hops.
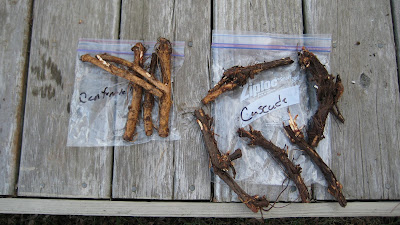
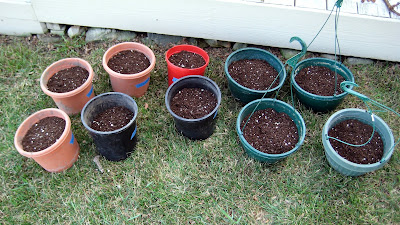
5 Centennial & 5 Cascade Rhizomes ready to be planted.
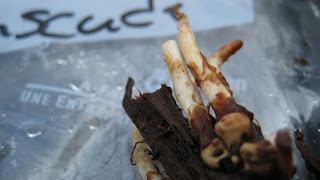
Close up: Cascade eyes
The rhizomes arrived in early March, within a week or two of ordering. According to Northwest, rhizomes usually begin to ship out around the end of February into March depending on the weather and harvesting. They arrived wrapped with a damp cloth in plastic bags along with 60 feet of coir hop twine that is rated for approximately 75-100 lbs which should be plenty for each hop vine.
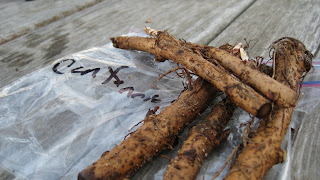
Centennial rhizomes just after unpacking.
In general, rhizomes can be kept in the refrigerator with a damp cloth prior to planting to prevent them from drying out. Two much moisture however is not ideal so it is best to limit excessive amounts of water in the bags they are kept in. Northwest Hops also suggests planting the rhizomes as soon as possible after receiving them to give yourself and the plants the best chance for success. They also recommend starting the rhizomes in standard, one-gallon pots filled with normal potting soil with the rhizomes planted eyes-up or horizontally in the soil about two inches or so below the surface.
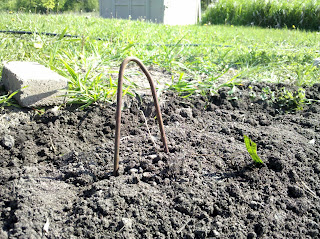
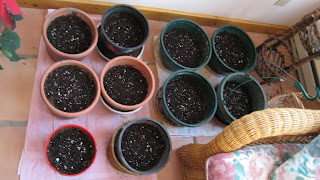
Rhizomes planted
Although the weather has been unseasonably warm this year for March, I wanted to keep the pots indoors until they were well underway growing before transplanting them to the permanent hop yard out back. Fortunately we have a room on the south side of the house with two stories worth of windows that works great for growing plants or in this case, hops.
First day in soil.
The rhizomes will stay in the sun room until they have all broken the surface and the threat of frost is gone outdoors. This way they will get all the warmth and sunlight they need to grow.
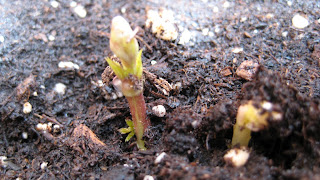
First Cascade
After a week or so, many of the pots already have sprouts breaking the soil surface. The Cascade was the first to come up as I expected since they tend to do well in Minnesota. About a day later two of the Centennials begin to sprout up along with a few more of the Cascade pots. So far things are going very well.
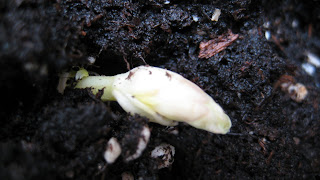
First Centennial
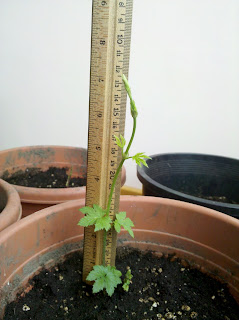
Height as of today..Over 7" tall!
On to the hop yard itself..
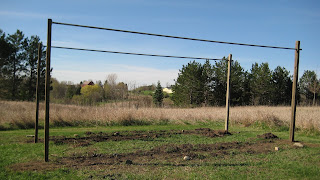
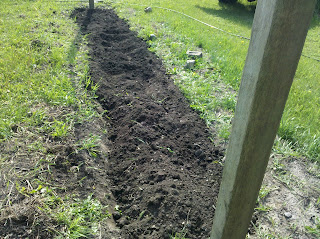
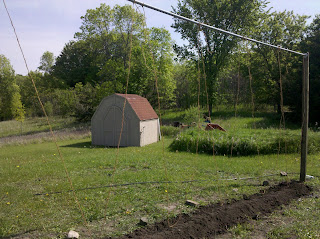
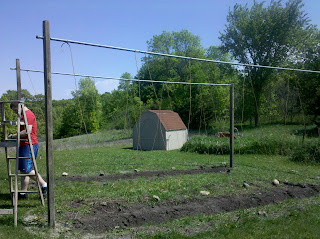
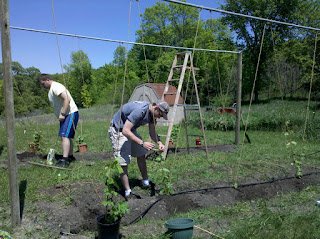
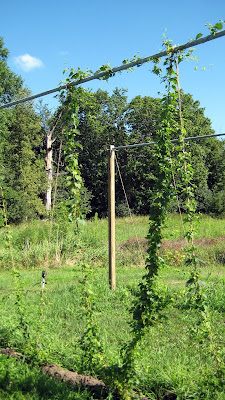
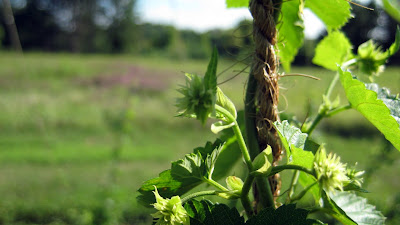
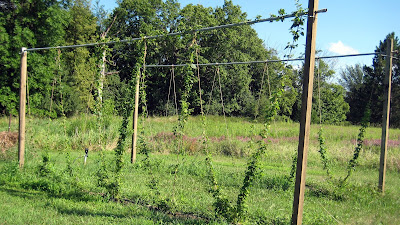
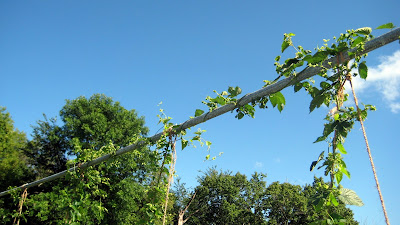
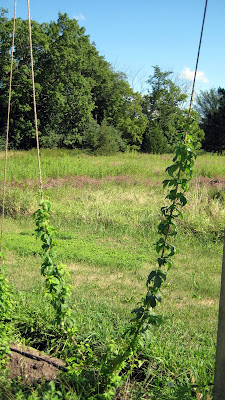
The hop yard will be constructed out on the back side of the property over what has been used as a vegetable garden for close to 20 years until recently. The design consists of two 20ft long x 3ft wide rows with a 12 ft green treated 4x4 post at either end that will be sunk into the ground in holes 2-3ft deep. Twelve feet is a bit short of what is normally suggested (16ft.) but for our purpose at this point, the slightly shorter posting will make it easier to maintain and harvest the hops and since it was laying out back behind the shed I didn't have to go purchase new stuff. A cable or galvanized steel tube will then run the length of the row connecting to the top of each 4x4. This will allow 4-5 hills with rhizomes spaced roughly 4ft apart to grow up the heavy duty twine which is sunk into the ground near the base of the plant.
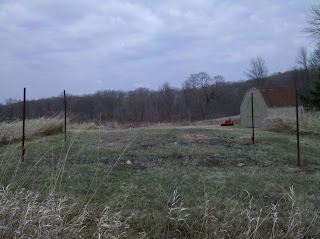
Initial layout and dimensions
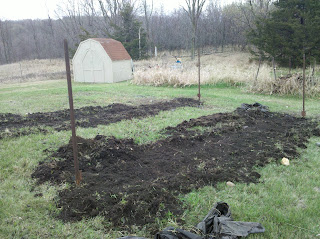
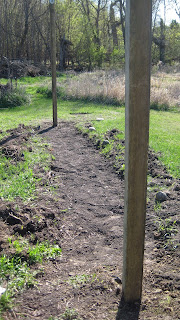
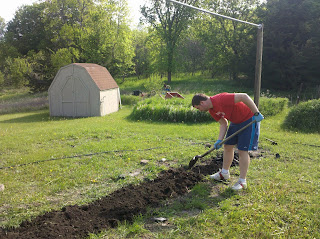
Digging up grass, weeds and existing weed liner
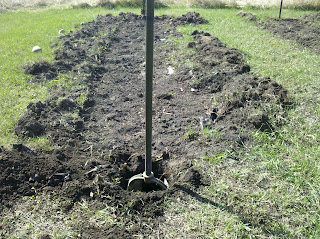
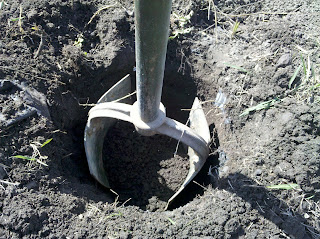
Post hole digging
The current layout allows for expansions in the future if we need them. I left approximately 7 feet between the rows to allow for walking space and, since we are growing two different types, this should be enough separation to keep the vines from mixing.
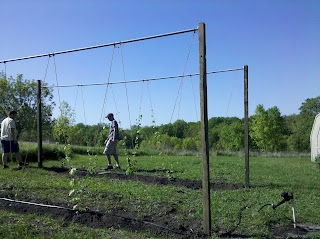
If we do decide to grow more there is room for new rows on the outer side of each current row. Twine can then be run up to the main overhead cable at a 45 degree angle allowing 4-5 more hop hills to grow on each existing trellis.
Work.
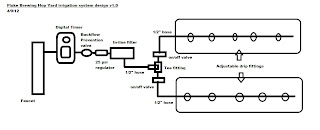
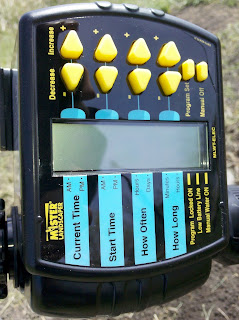
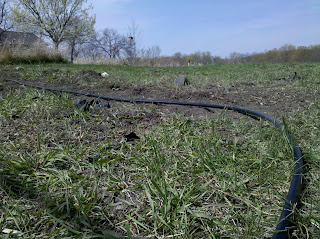
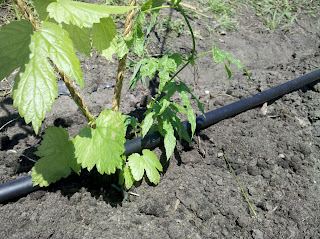
This area is also far enough from any substantial tree cover so it gets sunlight nearly all day long, which is great for hops! Also, since this was previously used as a garden area, water systems and piping are already in place and will make for easy watering.
This should be the first of many posts throughout the summer so look for updates once the trellis is completed and the hops are transferred to the ground!
Cheers!
-Adam
Here is the link to Part 1 of the build posted on our blog.
Here is the copied post from the blog for those who want to read it here.
Hop Yard Build 2012 - Part 1
This past winter, the idea of growing our own hops to use in our home brew recipes came up several times. We were debating on where and what we could plant and whether or not it would be successful in a place like Minnesota.
My main resource for planning the hop yard
After a substantial amount of time and effort put into researching and reading up on methods and tips for growing hops at home, it turns out Minnesota is in fact a great place to grow many common hop varieties available to the public. We came across a family-owned and operated hop farm by the name of Northwest Hops located in Hubbard, Oregon, "Home of the Hubbard Hop Festival". They are a great resource for the home brewer or anyone looking to start planting and growing their own hops. Some of their strains of rhizomes have been said to be traced back over 80+ years so you know you are receiving quality product from them and the knowledge that comes with generations of farmers.
I borrowed a book from Philip which does a great job of outlining everything needed to successfully grow your own hops at home. It is called The Homebrewer's Garden, which can be purchased from Amazon as well as other bookstores. It has been a great resource for planning the hop yard.
I chose to start with Cascade and Centennial rhizomes. My reasoning for this was they are relatively resilient strains and do well in most climates. They are also fairly resistant against diseases like powdery mildew, downy mildew and some common virus strains that can affect hop plants as they grow.
Cascade and Centennial hops are also known for their citrus and floral aromas and flavors in beer. They are commonly used in American & English-style Ales as well as IPAs, Porters and occasionally in Wheat beers. Our home brew recipes are often one of these styles and thus it was an easy decision to start with these two types of hops.
5 Centennial & 5 Cascade Rhizomes ready to be planted.
Close up: Cascade eyes
The rhizomes arrived in early March, within a week or two of ordering. According to Northwest, rhizomes usually begin to ship out around the end of February into March depending on the weather and harvesting. They arrived wrapped with a damp cloth in plastic bags along with 60 feet of coir hop twine that is rated for approximately 75-100 lbs which should be plenty for each hop vine.
Centennial rhizomes just after unpacking.
In general, rhizomes can be kept in the refrigerator with a damp cloth prior to planting to prevent them from drying out. Two much moisture however is not ideal so it is best to limit excessive amounts of water in the bags they are kept in. Northwest Hops also suggests planting the rhizomes as soon as possible after receiving them to give yourself and the plants the best chance for success. They also recommend starting the rhizomes in standard, one-gallon pots filled with normal potting soil with the rhizomes planted eyes-up or horizontally in the soil about two inches or so below the surface.
Rhizomes planted
Although the weather has been unseasonably warm this year for March, I wanted to keep the pots indoors until they were well underway growing before transplanting them to the permanent hop yard out back. Fortunately we have a room on the south side of the house with two stories worth of windows that works great for growing plants or in this case, hops.
First day in soil.
The rhizomes will stay in the sun room until they have all broken the surface and the threat of frost is gone outdoors. This way they will get all the warmth and sunlight they need to grow.
First Cascade
After a week or so, many of the pots already have sprouts breaking the soil surface. The Cascade was the first to come up as I expected since they tend to do well in Minnesota. About a day later two of the Centennials begin to sprout up along with a few more of the Cascade pots. So far things are going very well.
First Centennial
Height as of today..Over 7" tall!
On to the hop yard itself..
The hop yard will be constructed out on the back side of the property over what has been used as a vegetable garden for close to 20 years until recently. The design consists of two 20ft long x 3ft wide rows with a 12 ft green treated 4x4 post at either end that will be sunk into the ground in holes 2-3ft deep. Twelve feet is a bit short of what is normally suggested (16ft.) but for our purpose at this point, the slightly shorter posting will make it easier to maintain and harvest the hops and since it was laying out back behind the shed I didn't have to go purchase new stuff. A cable or galvanized steel tube will then run the length of the row connecting to the top of each 4x4. This will allow 4-5 hills with rhizomes spaced roughly 4ft apart to grow up the heavy duty twine which is sunk into the ground near the base of the plant.
Initial layout and dimensions
Digging up grass, weeds and existing weed liner
Post hole digging
The current layout allows for expansions in the future if we need them. I left approximately 7 feet between the rows to allow for walking space and, since we are growing two different types, this should be enough separation to keep the vines from mixing.
If we do decide to grow more there is room for new rows on the outer side of each current row. Twine can then be run up to the main overhead cable at a 45 degree angle allowing 4-5 more hop hills to grow on each existing trellis.
Work.
This area is also far enough from any substantial tree cover so it gets sunlight nearly all day long, which is great for hops! Also, since this was previously used as a garden area, water systems and piping are already in place and will make for easy watering.
This should be the first of many posts throughout the summer so look for updates once the trellis is completed and the hops are transferred to the ground!
Cheers!
-Adam