
I've got an idea...tell me if I'm being stupid....
I'm currently doing extract brewing in my kitchen. I started out with a smaller pot boiling 3 gallons and adding 2 gallons to make a 5 gallon batch, but my girlfriend got me a 32qt brew kettle for Christmas so i could do full 5 gallon boils. Here's the problem, my stove is old, and it take forever to get 5 gallons of water boiling.
I had the idea of adding an electric heating element to my brew kettle like This, but I live in an apartment and don't have a 240v circuit and don't really want to go through that much trouble, so i'm stuck with normal 120V outlets. I'm assuming that a 120V electric heating element wouldn't pack the punch to get things boiling, so there's no point in that......but what about together?
Rig up a 120V heating element to use as a boost to my crappy stove top?
picture of crappy stove
-------------------------------------------------------
Finally get to follow up on this post
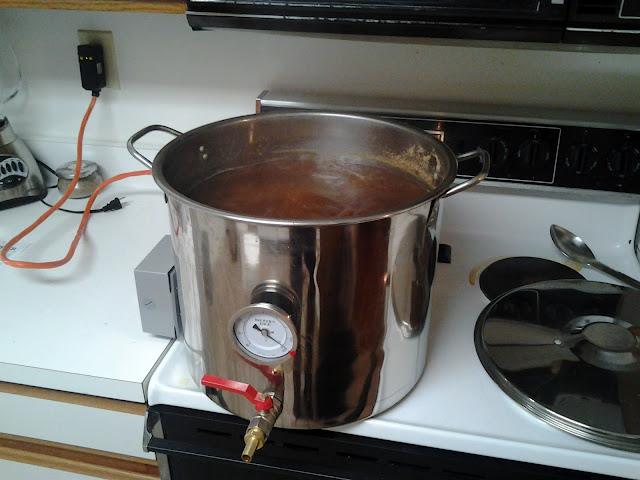
I completed the modifications yesterday and brewed 2 batches with it. Everything went great
here she is in action
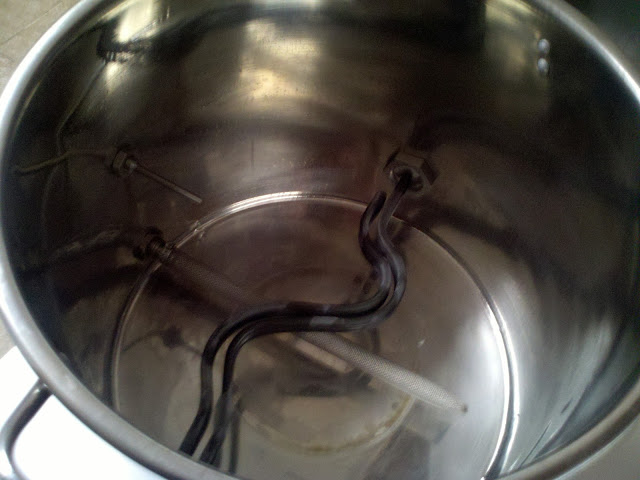
inside
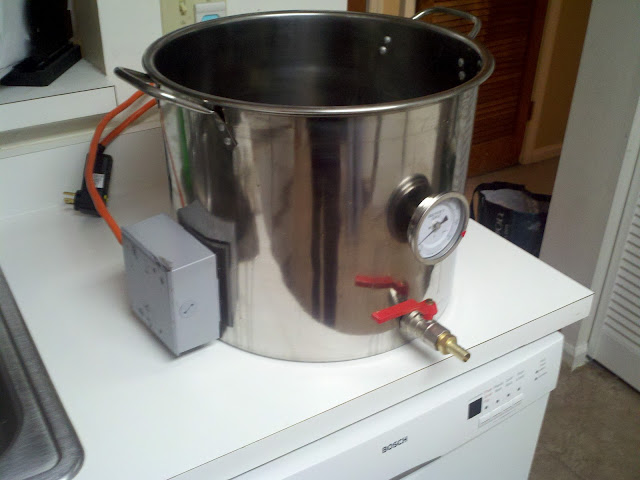
outside
Basics
-Brewer's Edge 32-Quart Brewkettle
-Kettlevalve
-3/8" Kettlescreen for Kettlevalve
-Brewer's Edge Weldless Thermometer
Camco 02963 5500W 240V 14-Inch Screw in Lime Life Ripple Element Water Heater
-various other parts listed at The Electric Brewery
I basically followed the instructions from The Electric Brewery except i used a 120V GFCI plug. The only complaint i have is that the cord is too stiff. I'm going to have to replace that. I also want to put some high-temp paint on the outlet box to make it look better
as far as brewing technique, the only issue is that i don't think dumping LME into the pot would work to well, so what i do is heat up 2 gallons in my old kettle and mix in the LME with that and dump it into this pot and brew as normal. Without the heating element, my stove struggled to barely hold a boil. With it, I had the stove turned down to medium.

I'm currently doing extract brewing in my kitchen. I started out with a smaller pot boiling 3 gallons and adding 2 gallons to make a 5 gallon batch, but my girlfriend got me a 32qt brew kettle for Christmas so i could do full 5 gallon boils. Here's the problem, my stove is old, and it take forever to get 5 gallons of water boiling.
I had the idea of adding an electric heating element to my brew kettle like This, but I live in an apartment and don't have a 240v circuit and don't really want to go through that much trouble, so i'm stuck with normal 120V outlets. I'm assuming that a 120V electric heating element wouldn't pack the punch to get things boiling, so there's no point in that......but what about together?
Rig up a 120V heating element to use as a boost to my crappy stove top?
picture of crappy stove
-------------------------------------------------------
Finally get to follow up on this post
I completed the modifications yesterday and brewed 2 batches with it. Everything went great
here she is in action
inside
outside
Basics
-Brewer's Edge 32-Quart Brewkettle
-Kettlevalve
-3/8" Kettlescreen for Kettlevalve
-Brewer's Edge Weldless Thermometer
Camco 02963 5500W 240V 14-Inch Screw in Lime Life Ripple Element Water Heater
-various other parts listed at The Electric Brewery
I basically followed the instructions from The Electric Brewery except i used a 120V GFCI plug. The only complaint i have is that the cord is too stiff. I'm going to have to replace that. I also want to put some high-temp paint on the outlet box to make it look better
as far as brewing technique, the only issue is that i don't think dumping LME into the pot would work to well, so what i do is heat up 2 gallons in my old kettle and mix in the LME with that and dump it into this pot and brew as normal. Without the heating element, my stove struggled to barely hold a boil. With it, I had the stove turned down to medium.
Last edited by a moderator:


