You are using an out of date browser. It may not display this or other websites correctly.
You should upgrade or use an alternative browser.
You should upgrade or use an alternative browser.
Single Vessel, All Electric, NS, NC Brewery
- Thread starter ScubaSteve
- Start date

Help Support Homebrew Talk - Beer, Wine, Mead, & Cider Brewing Discussion Forum:
This site may earn a commission from merchant affiliate
links, including eBay, Amazon, and others.
ftlstrings
Well-Known Member
Ha....finding your brewing equipment on the front porch can either be a good thing or a bad thing.....
My first thought too!
ScubaSteve
Well-Known Member
- Joined
- May 21, 2007
- Messages
- 3,673
- Reaction score
- 91
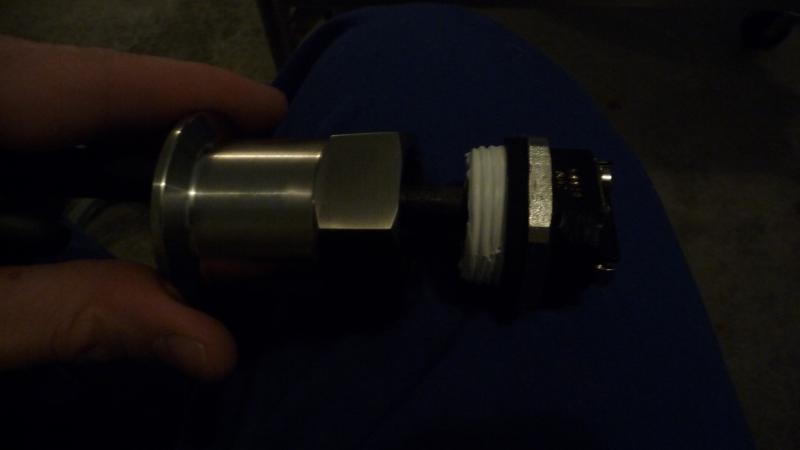
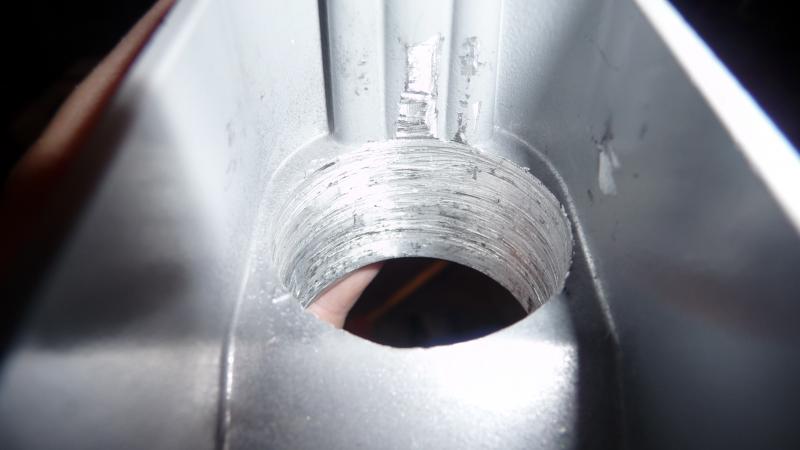
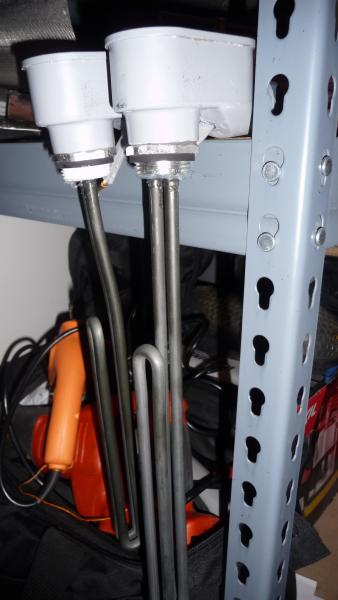
Okay guys, a little more progress....today I set up the elements. I used 3 wire dryer cords, SLB conduit elbows (pretty slick, I think), and potted them hardcore with JB Weld. I ran the ground through a hole in the body which I will seal with silicone in addition to the backplates and conduit fittings.


ScubaSteve
Well-Known Member
- Joined
- May 21, 2007
- Messages
- 3,673
- Reaction score
- 91
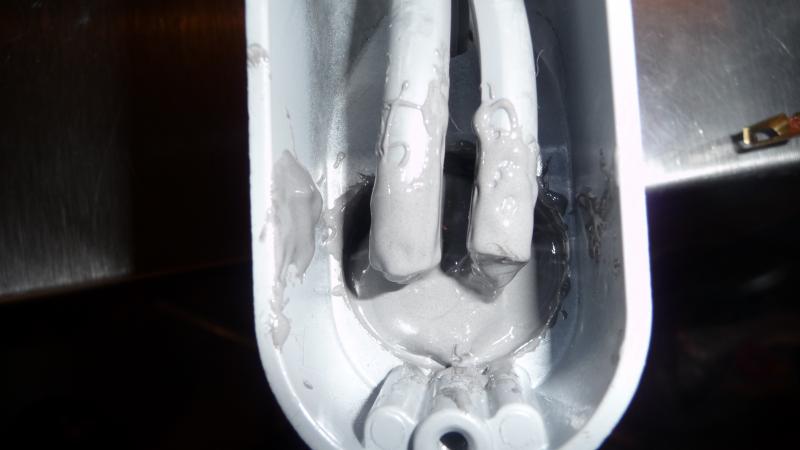
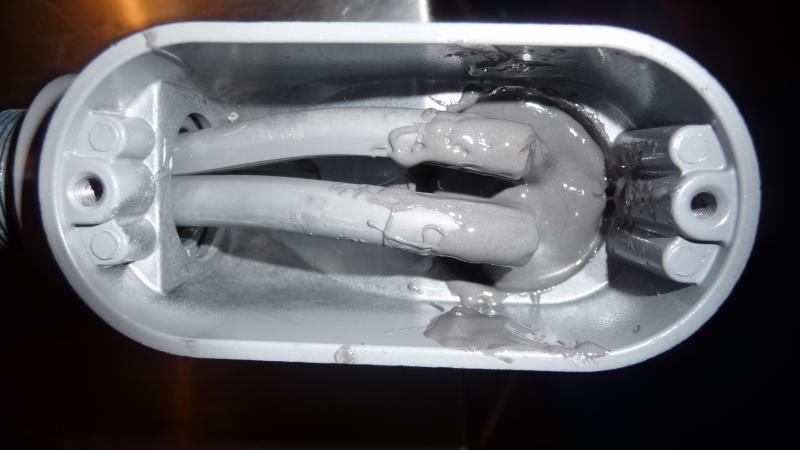
Here's the epoxy.....much easier this time vs messing with the screen!


ScubaSteve
Well-Known Member
- Joined
- May 21, 2007
- Messages
- 3,673
- Reaction score
- 91
I also changed my plumbing a bit, I've been racking my brain about how to integrate the water filter in a clean fashion...so I chopped it and dropped it. It's now the perfect height for drainage. I have plans to integrate a 40 plate chiller in a unique way...more to come on that 
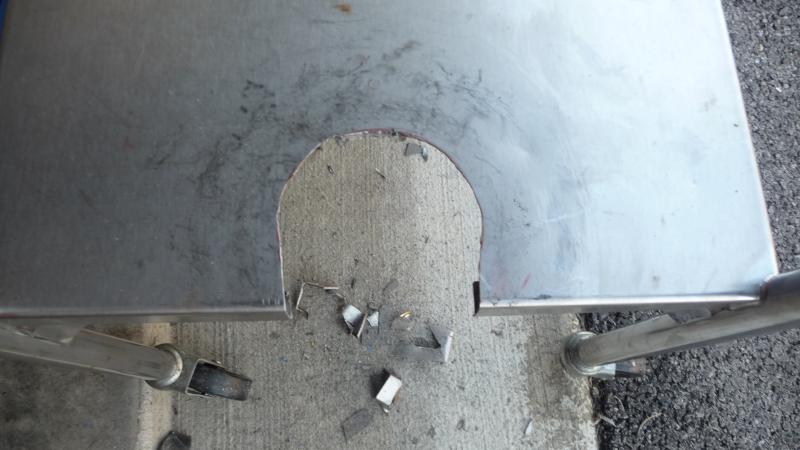
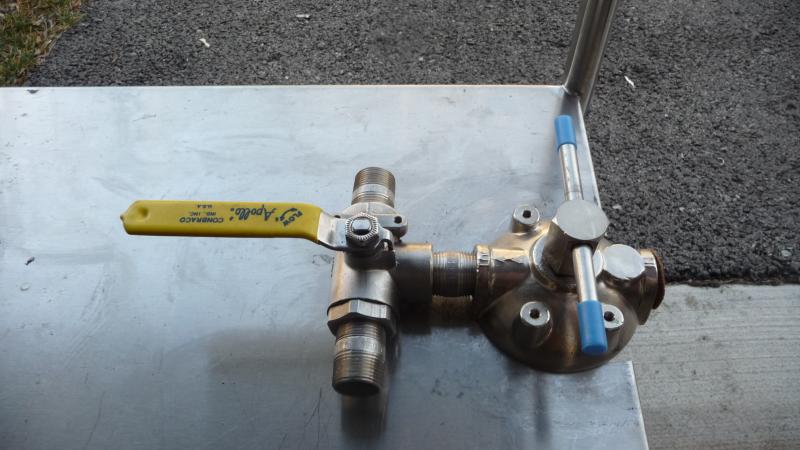


ftlstrings
Well-Known Member
Nice!
OEHokie
Well-Known Member
Looks like some great progress so far! I'm curious if you ever picked up a PID. I'd recommend a BCS-460 if you want to automate some stuff in the future, it's been working great for my applications. You'd need to pick up some SSR's (see PM).
On a separate note though... your fitting on the bottom of the kettle. I'm looking at going that route now... what tips do you have and can you go into more detail for the process. What pieces did you pick up to jury-rig a "hole bender"? Did you use a soldering iron and lead-free solder or a silver braze it or what?
Cheers,

ScubaSteve
Well-Known Member
- Joined
- May 21, 2007
- Messages
- 3,673
- Reaction score
- 91
I did get a PID...an SYL-2352...I was originally going to use 1 PID and switch it between elements like PassedPawn did in his toolbox thread but I decided to just go with 2 PIDS and switch 1 element at a time using contactors and a 3PDT toggle. I'm also going with an ASL-51 timer....they look sweet.
As far as the kettle...I couldn't leave well enough alone an did more work on the fittings....I used propane, lead free solder, and a keg-tool...you should really read the homebrewer's soldering bible if you haven't already....paying special attention to Nostalgia's method....which creates BEAUTIFUL joints. If I could do it again, I'd just go 3/4" instead of 1"...it was too big to control and the hole wasn't flared evenly so soldering was a pita. The trick is to make a tight pocket and the solder just pools perfectly. Amazing how the price in fittings >3/4" jumps too. At least I'm set if I ever go to mega size batches
As far as the kettle...I couldn't leave well enough alone an did more work on the fittings....I used propane, lead free solder, and a keg-tool...you should really read the homebrewer's soldering bible if you haven't already....paying special attention to Nostalgia's method....which creates BEAUTIFUL joints. If I could do it again, I'd just go 3/4" instead of 1"...it was too big to control and the hole wasn't flared evenly so soldering was a pita. The trick is to make a tight pocket and the solder just pools perfectly. Amazing how the price in fittings >3/4" jumps too. At least I'm set if I ever go to mega size batches
ScubaSteve
Well-Known Member
- Joined
- May 21, 2007
- Messages
- 3,673
- Reaction score
- 91
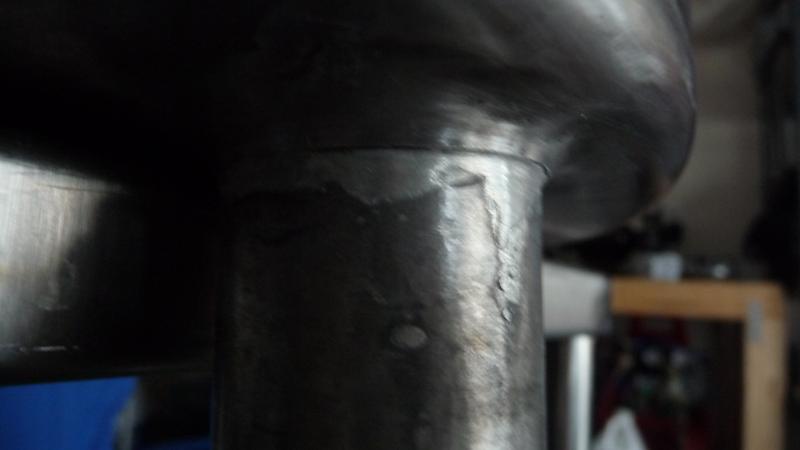
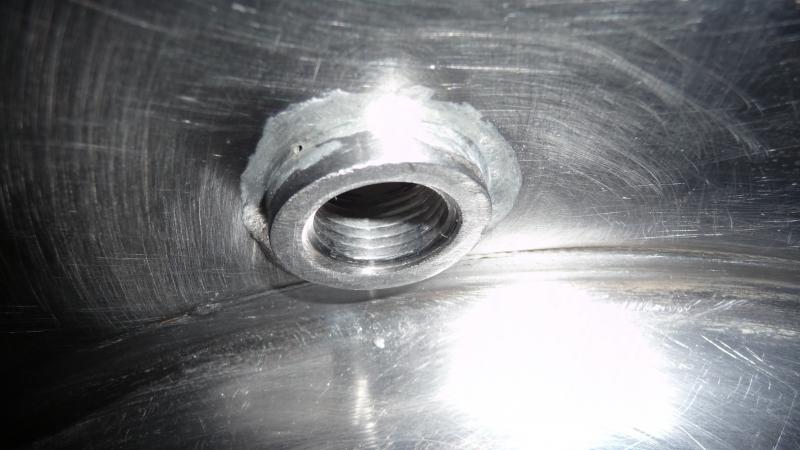
So here's some shots of my kettle revision....I just couldn't leave the bottom drain alone and so I redid it. This one has a small groove in it (first pic), which I eventually filled with silicone for 100% drainage (second pic). The solder drizzled through this time, which was a PITA, but I eventually figured it out and I think it's stronger now because I know the solder is completely penetrating and filling the joint. If I could do it over, I think I would have practiced the flare technique on some scrap...it was a mistake to try it with a huge coupler...especially jury-rigging the tool with PVC. It would have been better to get a cheap galvanized fitting and clean up with BKF....
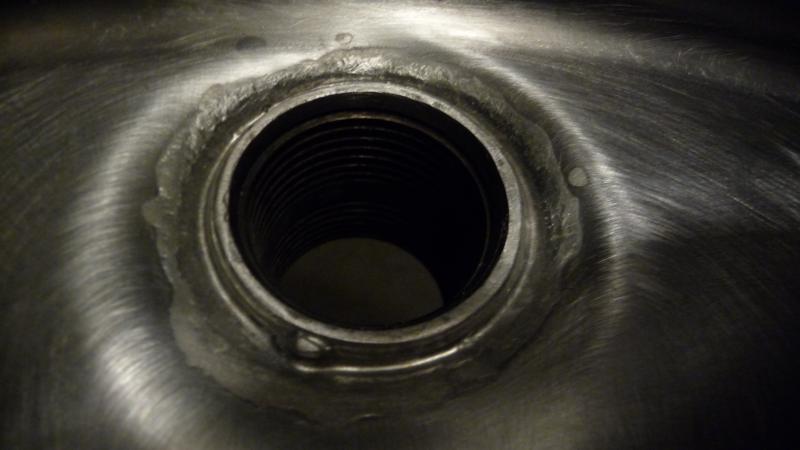
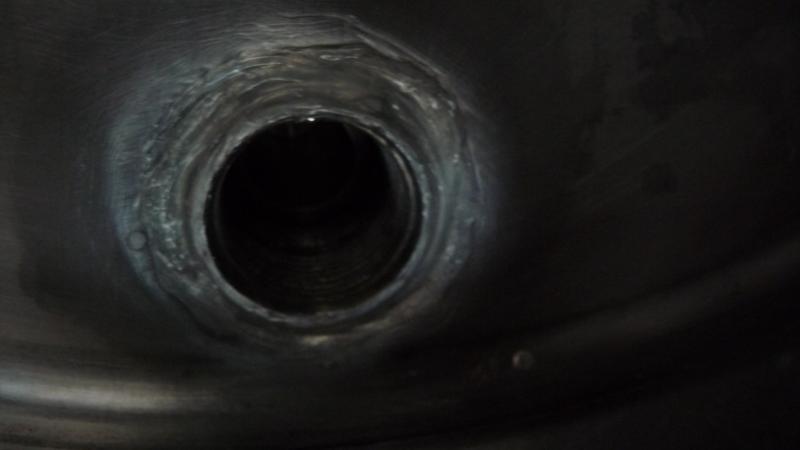


ScubaSteve
Well-Known Member
- Joined
- May 21, 2007
- Messages
- 3,673
- Reaction score
- 91
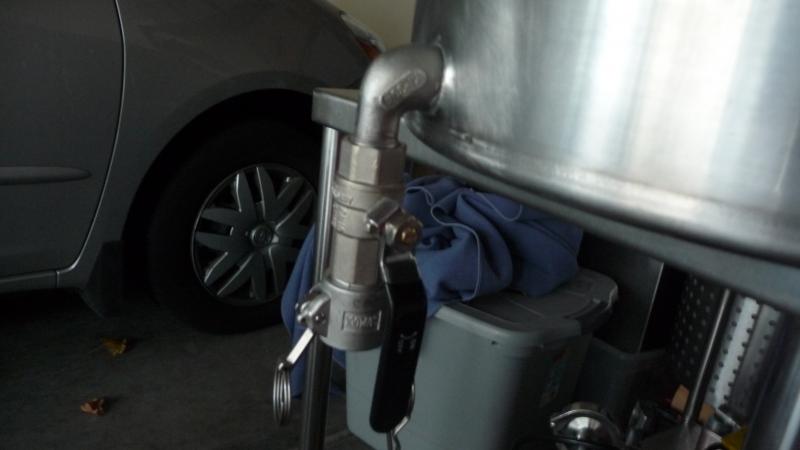
Here's the street elbow on the left. It's going to be for whirlpool return. The shoulder made it really easy to solder, and it's hella strong.



ScubaSteve
Well-Known Member
- Joined
- May 21, 2007
- Messages
- 3,673
- Reaction score
- 91
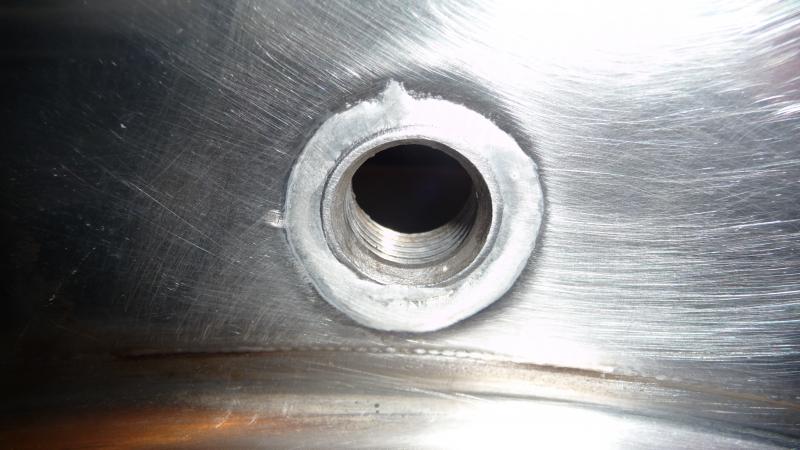
And here's the coupler on the right that'll be used for the RTD probe. This one came out great and was really easy to do.



ScubaSteve
Well-Known Member
- Joined
- May 21, 2007
- Messages
- 3,673
- Reaction score
- 91
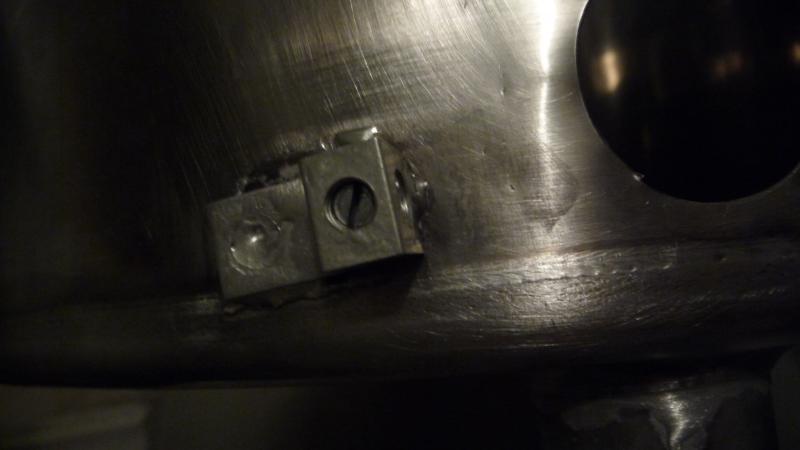
I also soldered ground lugs onto the RIMS chamber and the BK, respectively:



ScubaSteve
Well-Known Member
- Joined
- May 21, 2007
- Messages
- 3,673
- Reaction score
- 91
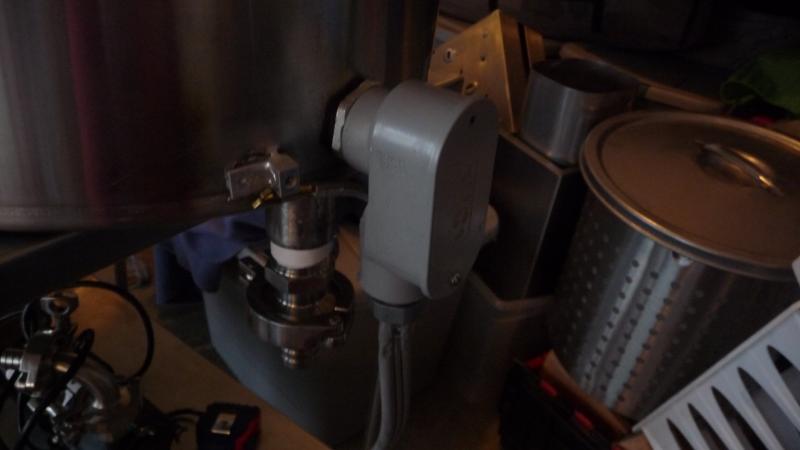
And here's some pics of the big guns, and their placement! I threw some silicone adhesive around the conduit gaskets, strain reliefs, ground wires, and faces of the elements (to prevent rusting). I may very well put some on the element's NPS threads since they don't properly seal in the FPT coupler.



ScubaSteve
Well-Known Member
- Joined
- May 21, 2007
- Messages
- 3,673
- Reaction score
- 91
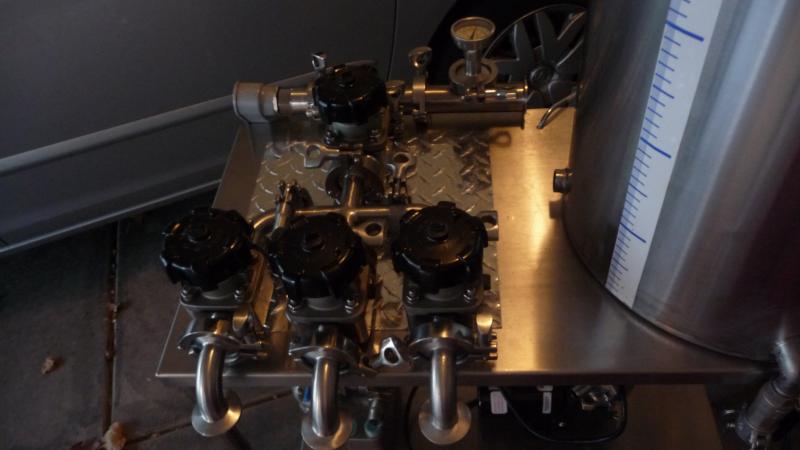
And here's a pic of what I *think* the final valve configuration will be (right side in front)....I hated the hopback module in front...it looked too phallic  Plus, I think it looks kinda like catback exhaust. Another reason why triclovers rule, they're like legos for toughguys :rockin:

OEHokie
Well-Known Member
That looks awesome!
klyph
Well-Known Member
I'm curious about the whirlpool return. You won't be able to thread in an elbow with it that close to the bottom. Will you be using a flare/compression fitting and some bent tubing?
ScubaSteve
Well-Known Member
- Joined
- May 21, 2007
- Messages
- 3,673
- Reaction score
- 91
I should be able to put another street elbow in there...it's about 1/2" from the bottom....if not, yeah....I'll probably use copper.
klyph
Well-Known Member
Ah, I was envisioning the long end of the street elbow swinging around, but I guess it would be tough to thread FPT into FPT.
derr...
derr...
ScubaSteve
Well-Known Member
- Joined
- May 21, 2007
- Messages
- 3,673
- Reaction score
- 91
Well...there's other websites that show you how to do that 
ScubaSteve
Well-Known Member
- Joined
- May 21, 2007
- Messages
- 3,673
- Reaction score
- 91
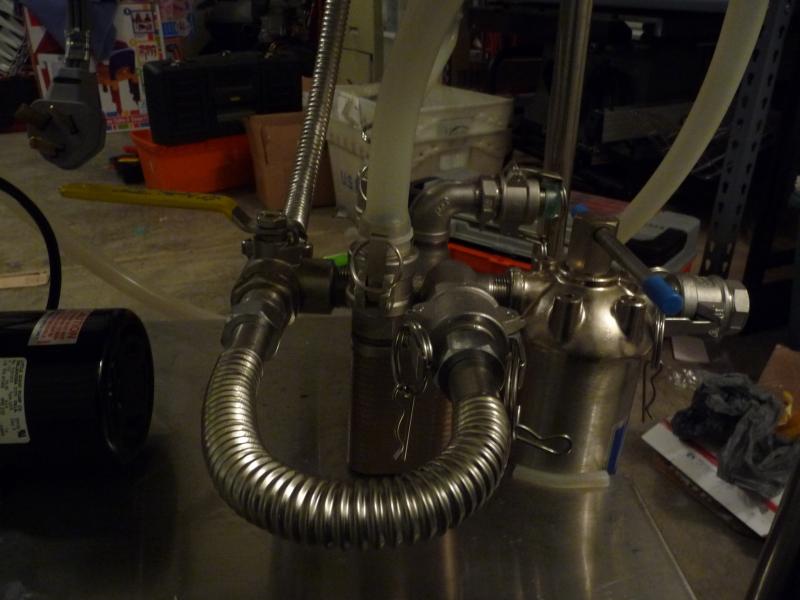
Funny you might ask  I got more fittings for the chiller and attached tubing in a few places. I used stainless flex line for the water supply for extra bling....what you're looking at is the filter canister in front of the chiller, where the filter output is a SS pipe laid across the chiller body split with a 3 way valve and the lines bend back to the chiller water input. There's still a few more triclovers to buy, as well as some electronics...but the end is in sight



ScubaSteve
Well-Known Member
- Joined
- May 21, 2007
- Messages
- 3,673
- Reaction score
- 91
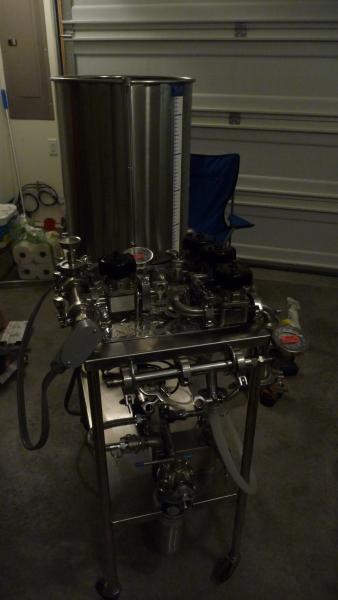
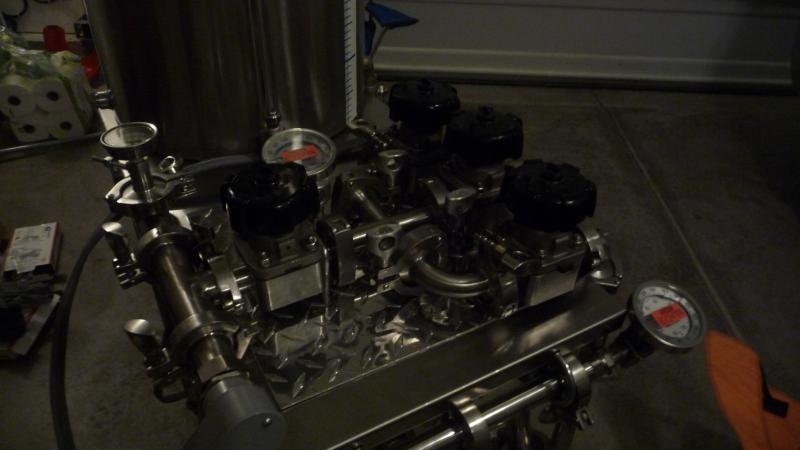
I also mounted the oxygenation chamber, bolting it on in such a way that I can later add an inline sight glass. The output of this chamber can hook into the bottom right port on the kettle for recirc/whirlpool, and then be disconnected for draining to the fermenter.



klyph
Well-Known Member
Stand back folks, new king of bling in town.
BrewBeemer
Well-Known Member
The bottom dark photos look to me like a SBC, (small block chebbie) engine. Choke I said it being a FE diehard.
Gearhead here.
Gearhead here.
ScubaSteve
Well-Known Member
- Joined
- May 21, 2007
- Messages
- 3,673
- Reaction score
- 91
Sorry guys... the pics ARE dark...this time of year there's no light and I do most of my work in the garage where the wind can't get me. I didn't want to wash things out with a flash....
ScubaSteve
Well-Known Member
- Joined
- May 21, 2007
- Messages
- 3,673
- Reaction score
- 91
You bet. But I'm gonna wait till she has hot wort coursing through her veins...the plumbing is hard to understand from still pics.
BrewBeemer
Well-Known Member
Al KEY HALL drip what can go wrong?
Sounds great go for it, one learns by past mistakes also gets lucky at times.
Sounds great go for it, one learns by past mistakes also gets lucky at times.
ScubaSteve
Well-Known Member
- Joined
- May 21, 2007
- Messages
- 3,673
- Reaction score
- 91
More to come, gents! Got some major stuff in...xmas is an awesome excuse to get SWMBO to open the budget for brewing. On another note, I AM SO PUMPED!!!!!! Got 125 feet of 10/3 stranded THWN/THHN at Lowe's for 11 CENTS/FOOT!!!!!!!! With the military discount it came to 10 cents/foot. I only needed 10 feet, and saw the pricetag....checked and double checked, and I said screw it, give me the whole roll! 220v welder, here I come!!!!
ScubaSteve
Well-Known Member
- Joined
- May 21, 2007
- Messages
- 3,673
- Reaction score
- 91
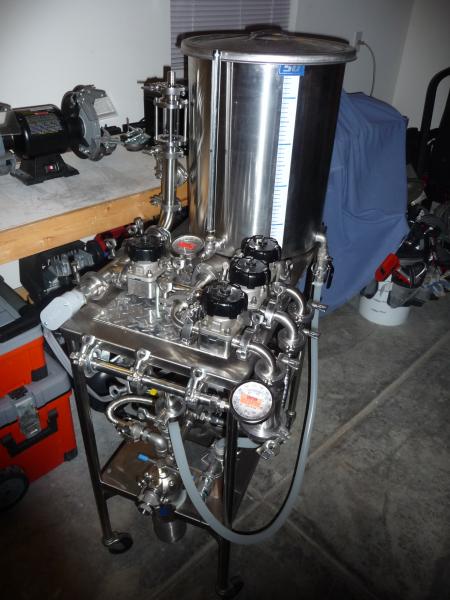
So here's the latest...I've been busy! I've got most of the parts, but I keep having unforeseen "connection" problems....e.g., I naively bought panel style breakers when I should have gotten DIN mountable. So I got the plumbing done, and this is the final product (until I change it again  )
)
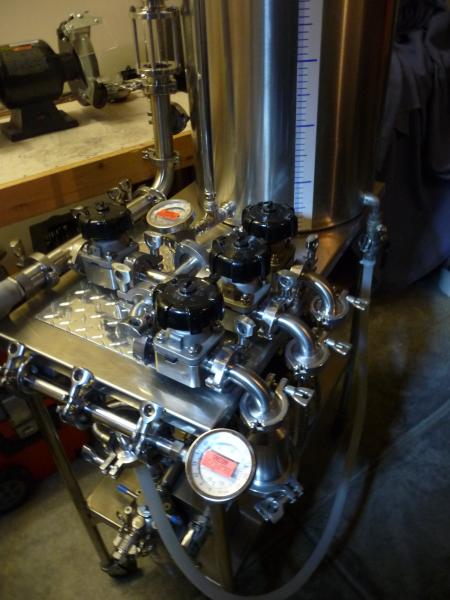
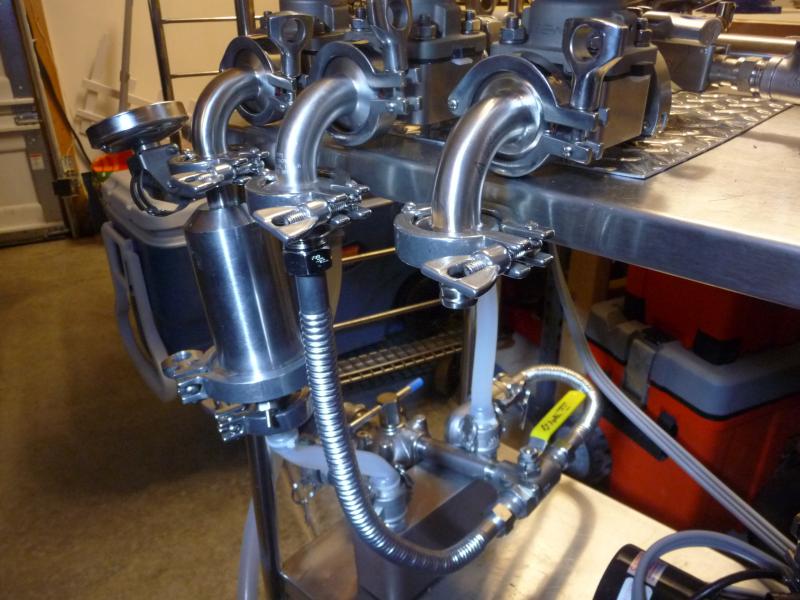


ScubaSteve
Well-Known Member
- Joined
- May 21, 2007
- Messages
- 3,673
- Reaction score
- 91
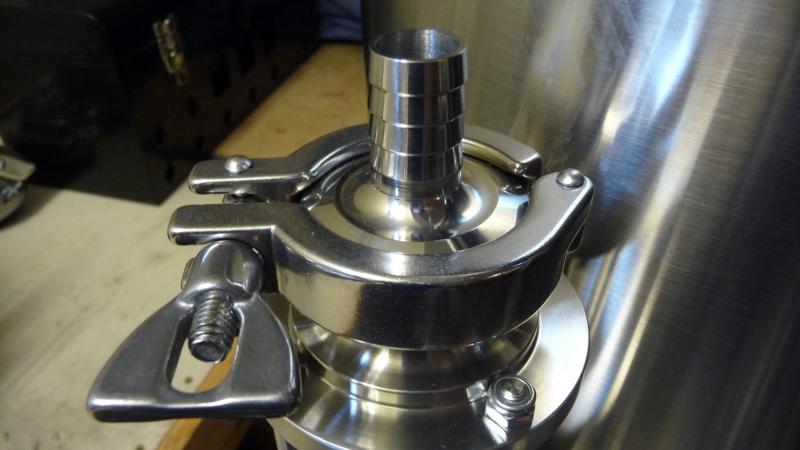
And here's a few more:
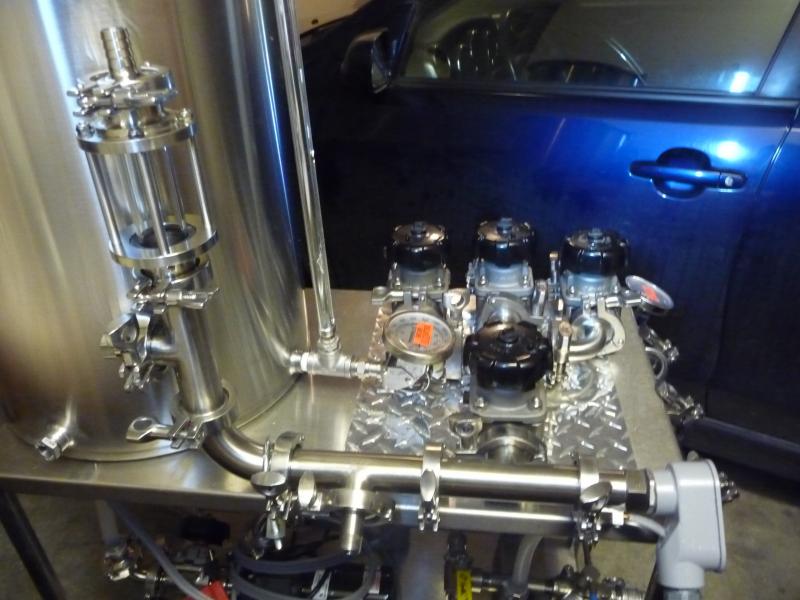
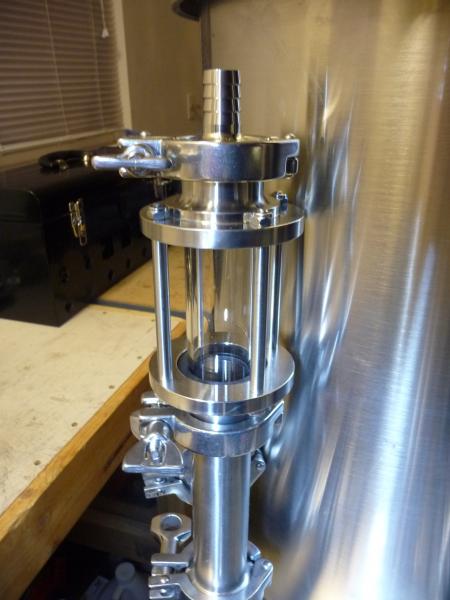


ScubaSteve
Well-Known Member
- Joined
- May 21, 2007
- Messages
- 3,673
- Reaction score
- 91
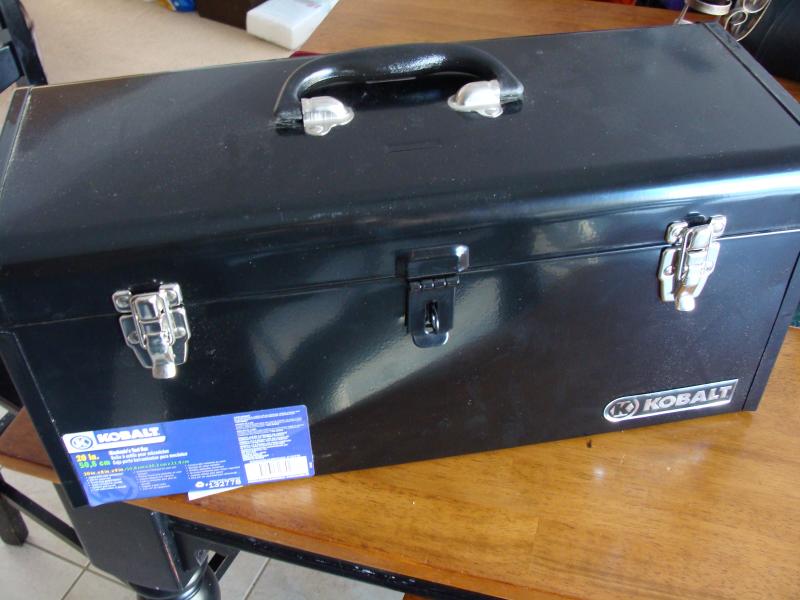
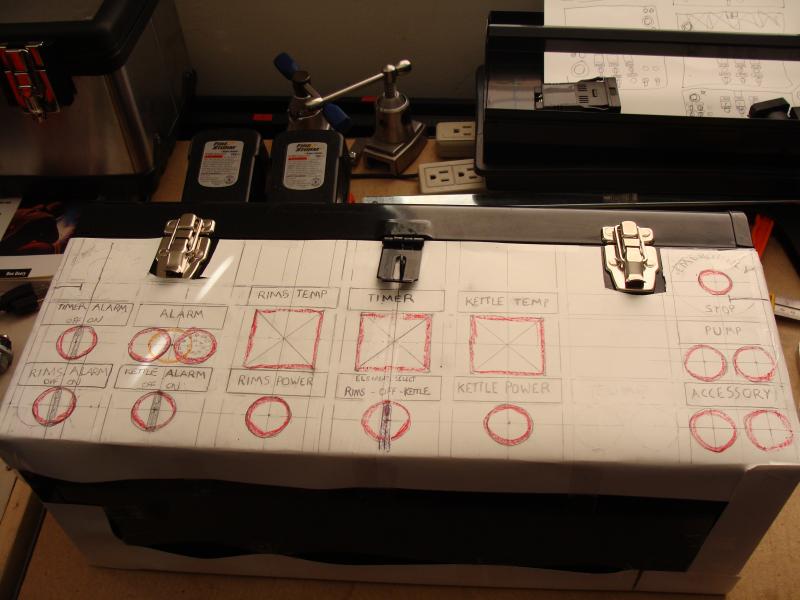
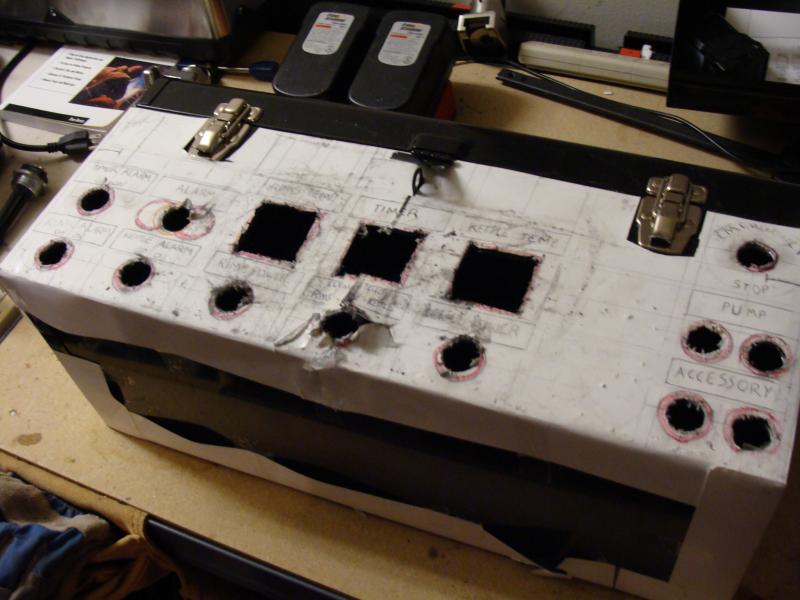
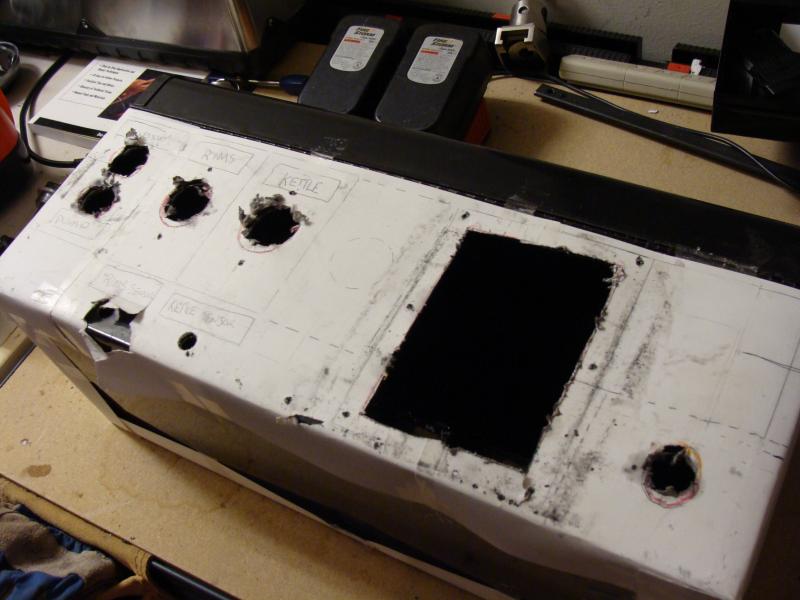
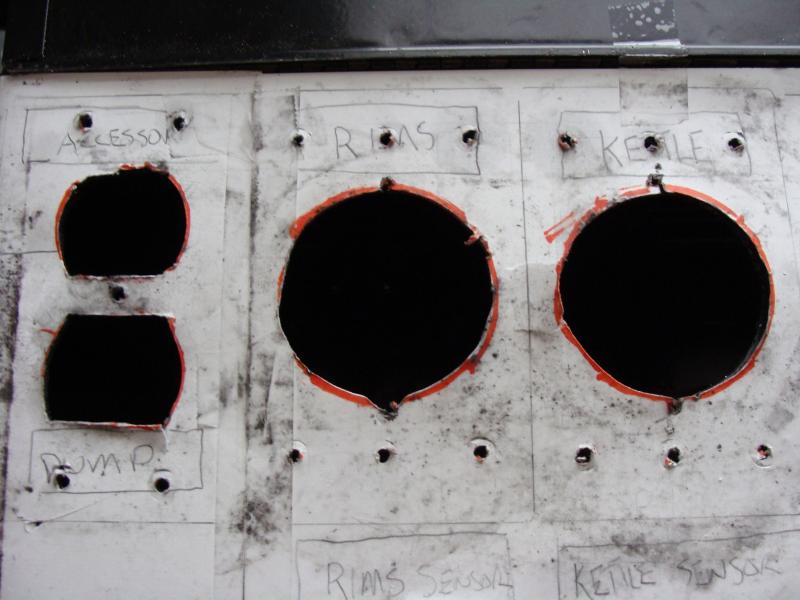
And here's what I've done with the control box...I actually went a different route and followed Boerderij Kabouter's lead with the TOOLBOX. The Homak SS toolbox had too much plastic and not enough room for all the switches and lights....in these pics you can see how I laid out things on paper I taped to the box....it REALLY helped. Once I was sure of how I wanted it (be absolutely sure you leave room for the future, if you want to add another PID, etc.....I planned for the addition of another PID and outlets in case I ever go back to a multi vessel system), I drilled pilot holes then carefully finished with a step bit.


ScubaSteve
Well-Known Member
- Joined
- May 21, 2007
- Messages
- 3,673
- Reaction score
- 91
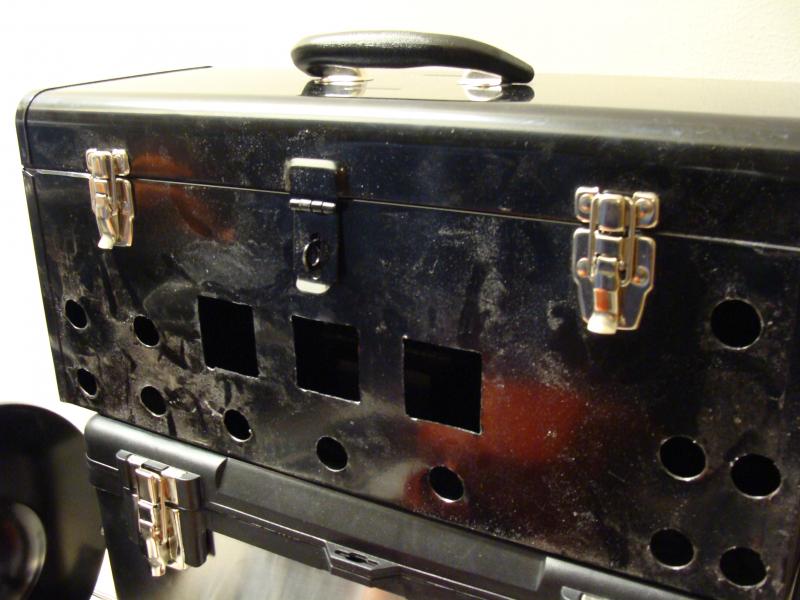
And here's a few more....I CAREFULLY used step bits, dremel, and scroll saw to cut the holes. I went smaller and used a file to finish the holes out...there's no turning back if you make them too big! Also be sure you protect the box from scratches; the metal filings will be everywhere. The paper I used was very thick and held up to all my abuse:


ScubaSteve
Well-Known Member
- Joined
- May 21, 2007
- Messages
- 3,673
- Reaction score
- 91
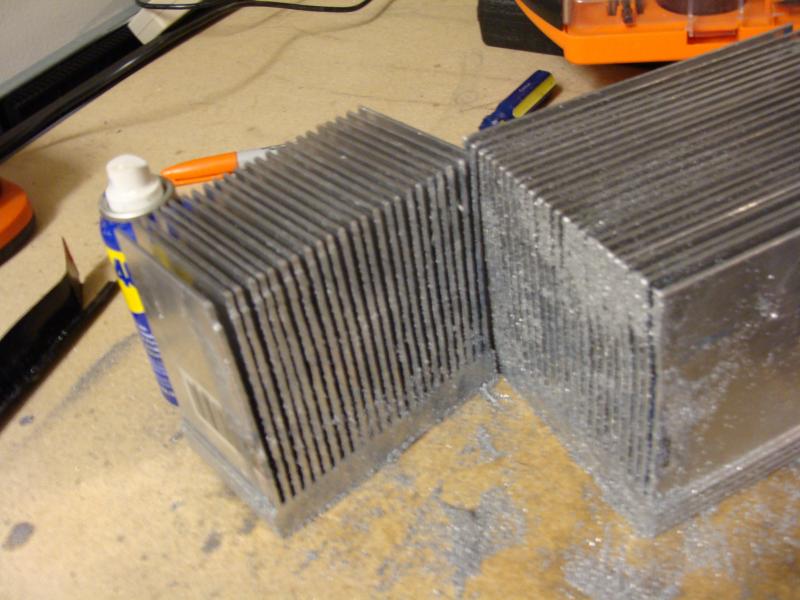
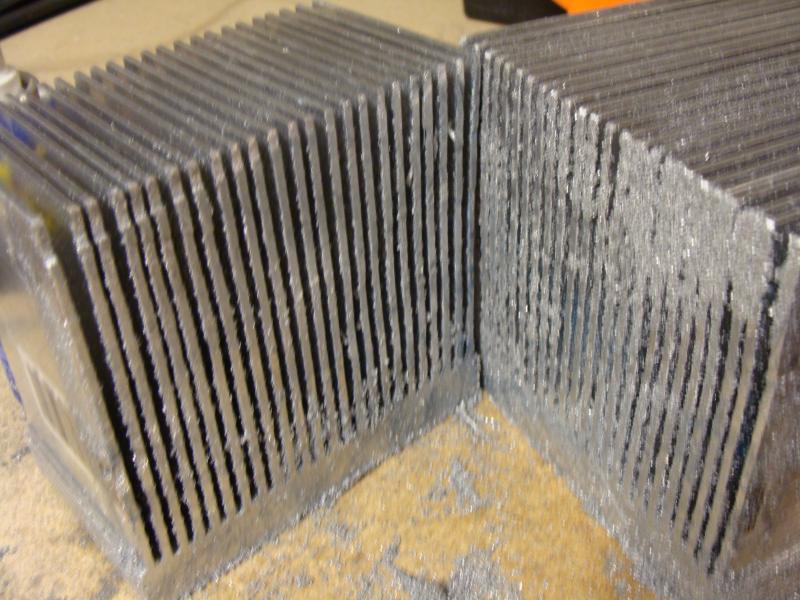
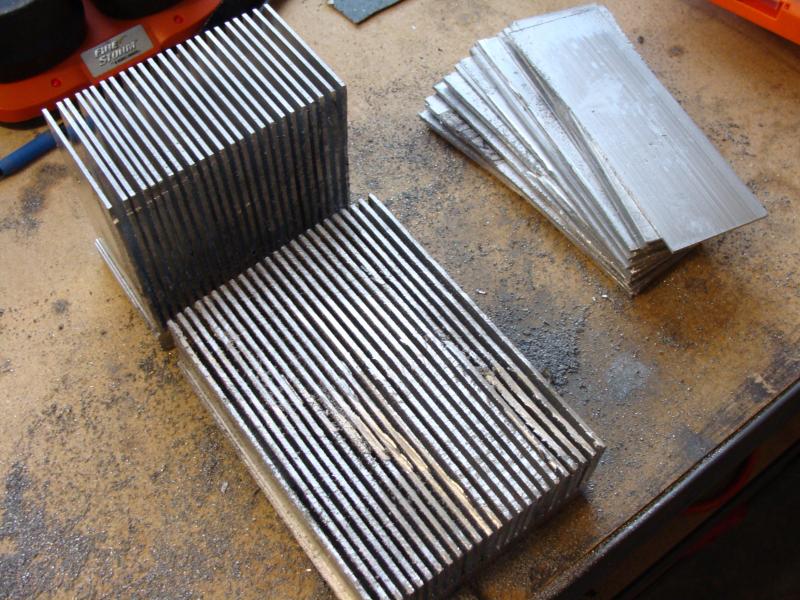
Lastly, the heat sink. I already purchased this thing, thinking it'd be light because it was aluminum. NO...it was 10 lbs! No way could I stick this on a PORTABLE box, and no way was I going to mess with selling it on ebay and purchase inferior stuff. SO, I decided to chop it down which took me no less than 6 hrs with a hacksaw and sawzall...it is some kind of alloy and dulled all my blades! I was completely sore the next day. Now it is a much better match to the box's profile...it can fit up to 6 ssr's if I ever get away from using my SSRD's....and it's still way overkill with the conductive mass it provides. The base alone is probably 1/2" thick! In the final picture, you can see the finished product....it is the longer slimmer piece.


XXguy
Well-Known Member
details on that sight glass ? looks like the real deal.
BTW - nice build. I've been subscribed for a while now.
BTW - nice build. I've been subscribed for a while now.
I've got a chubby right now
wyzazz
Well-Known Member
Can't wait for the wiring! Looking Good Man!
wilceaser
Well-Known Member
Excellent! Release the Hounds!
Similar threads
- Replies
- 1
- Views
- 478
- Replies
- 1
- Views
- 380
- Replies
- 2
- Views
- 742
- Replies
- 7
- Views
- 334
- Replies
- 0
- Views
- 409

