jetlink1983
Well-Known Member
- Joined
- Nov 20, 2008
- Messages
- 59
- Reaction score
- 5
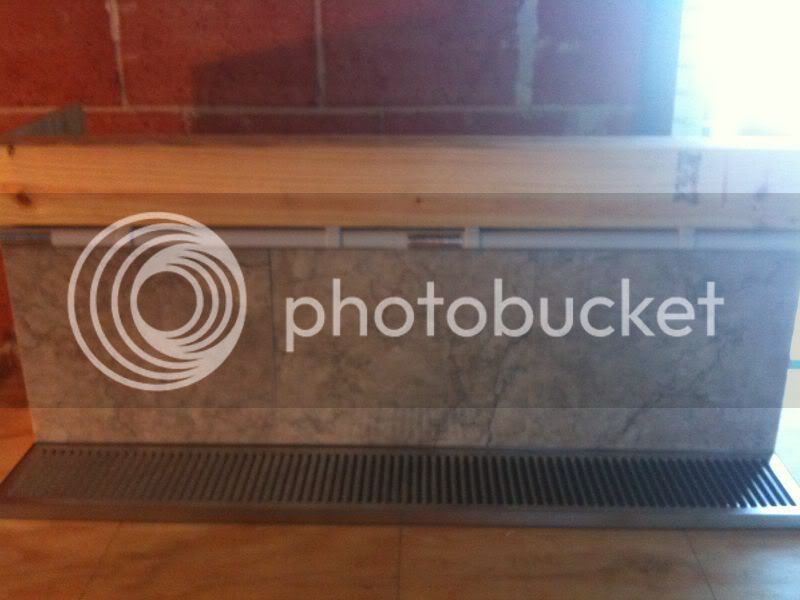
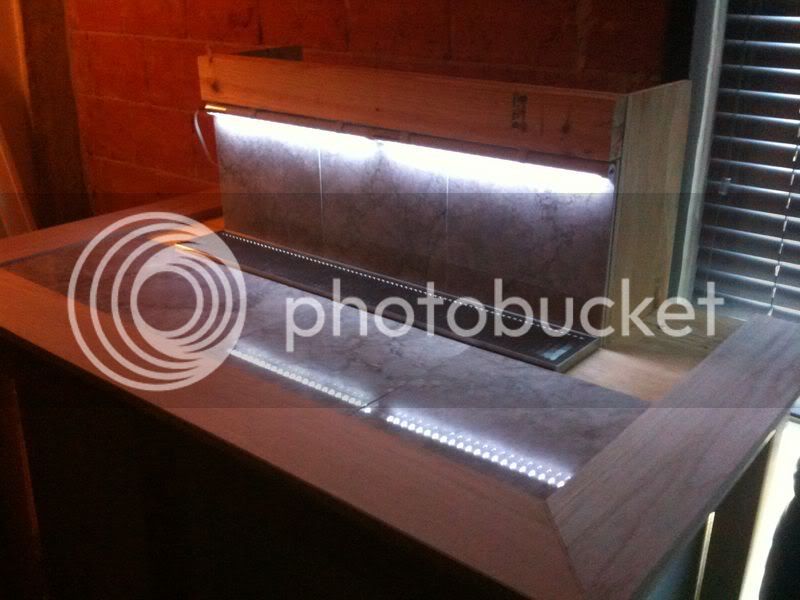
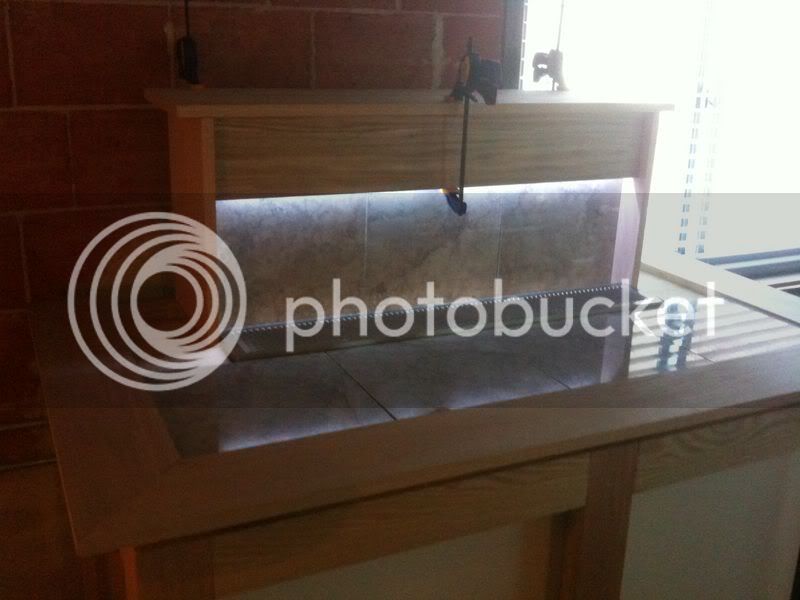
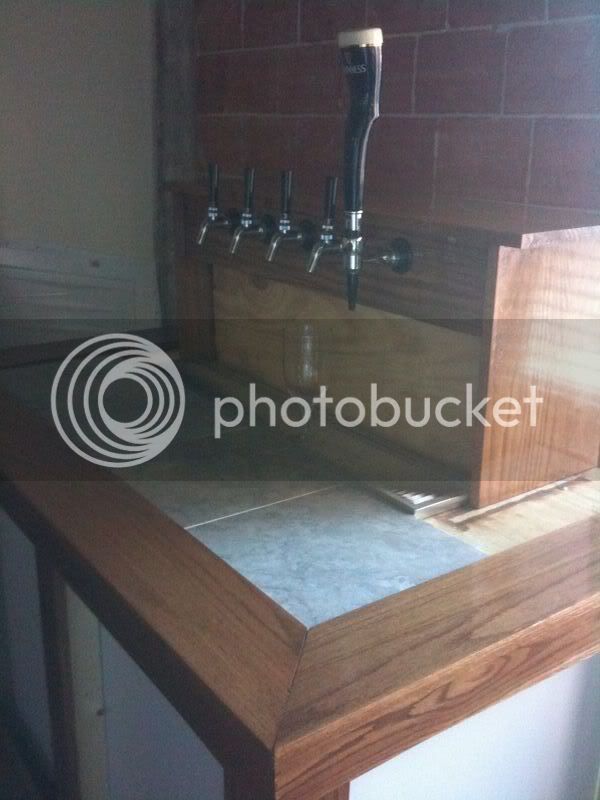
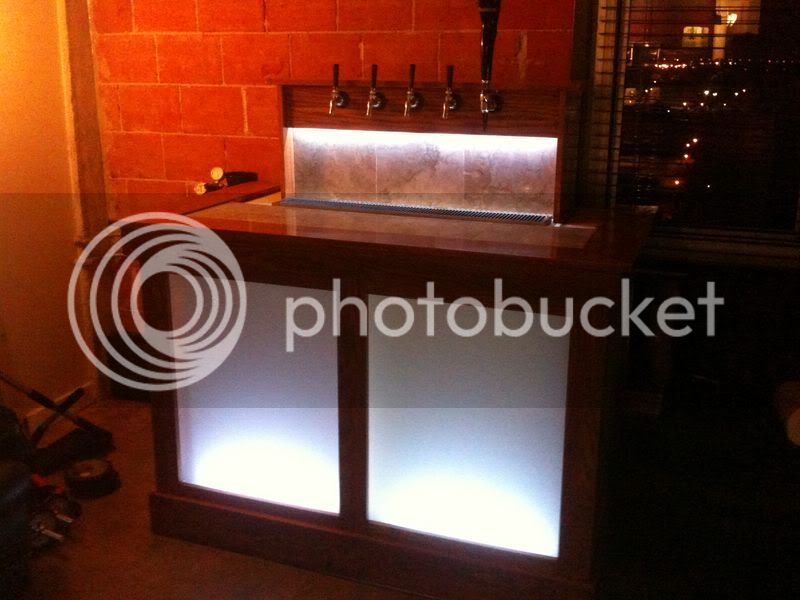
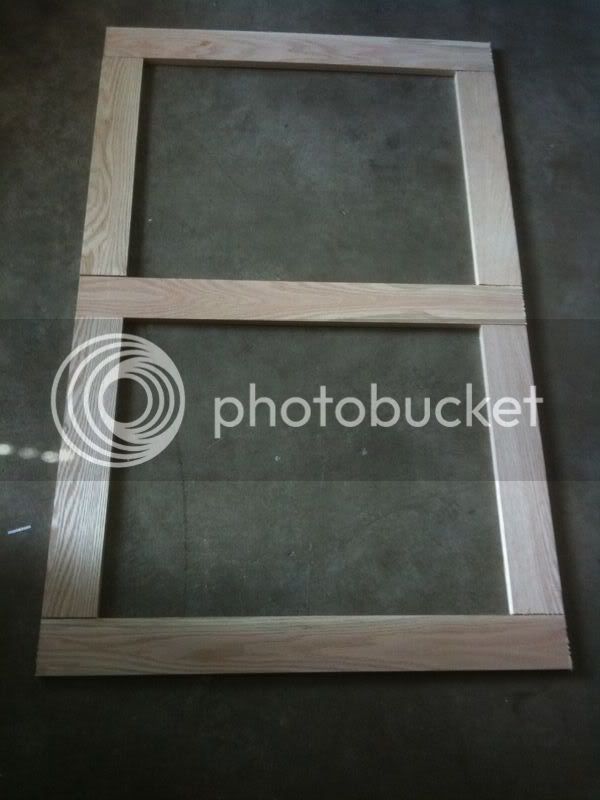
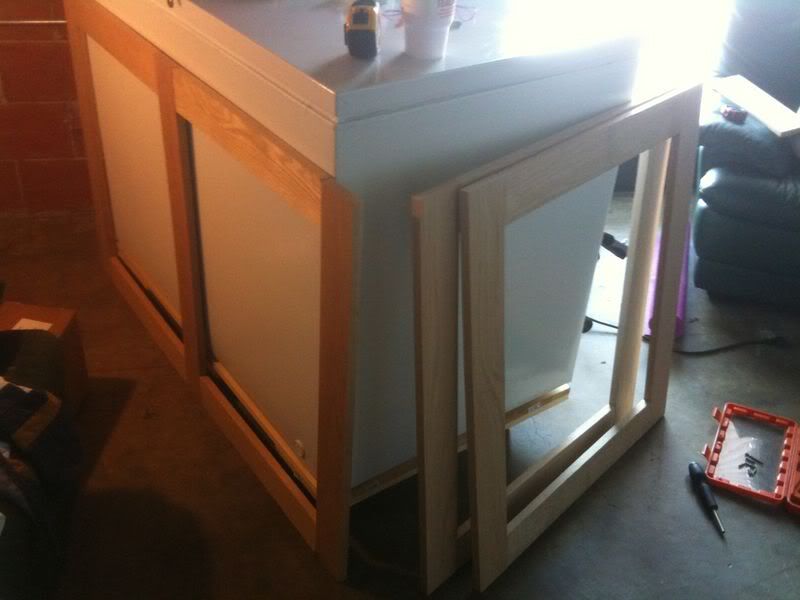
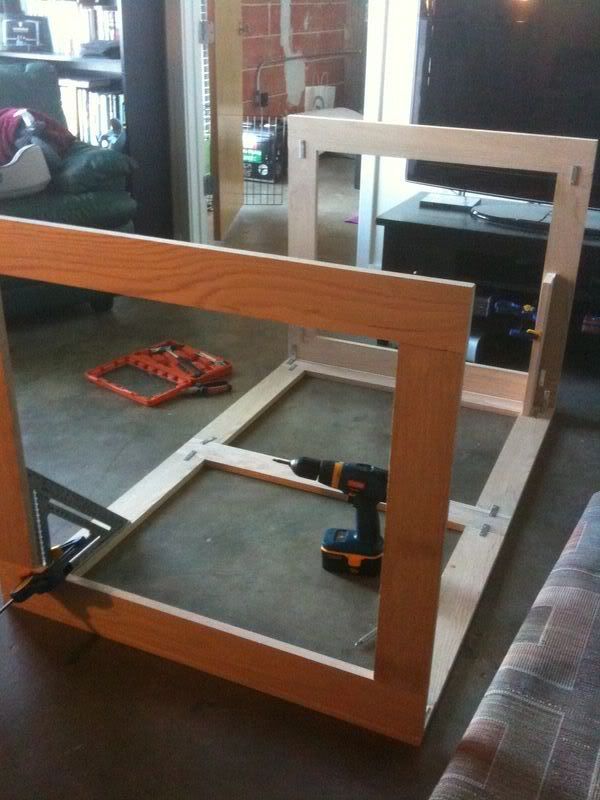
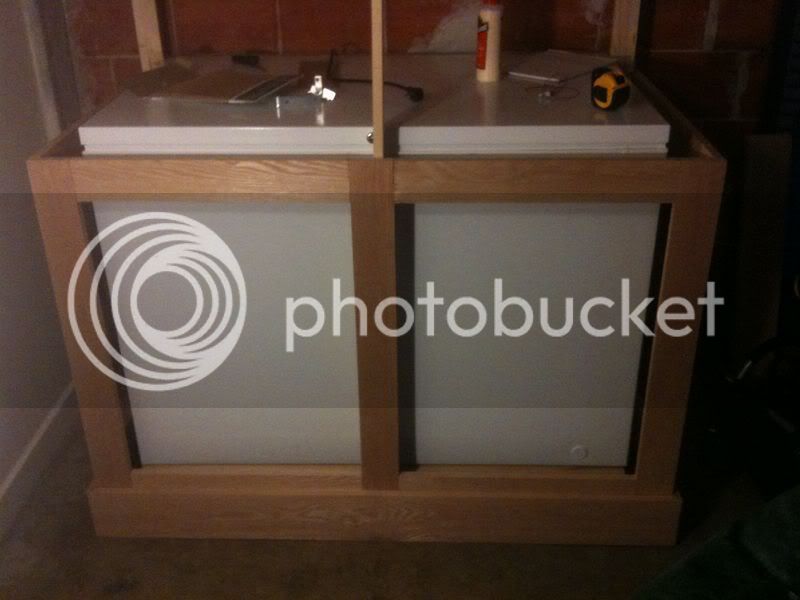
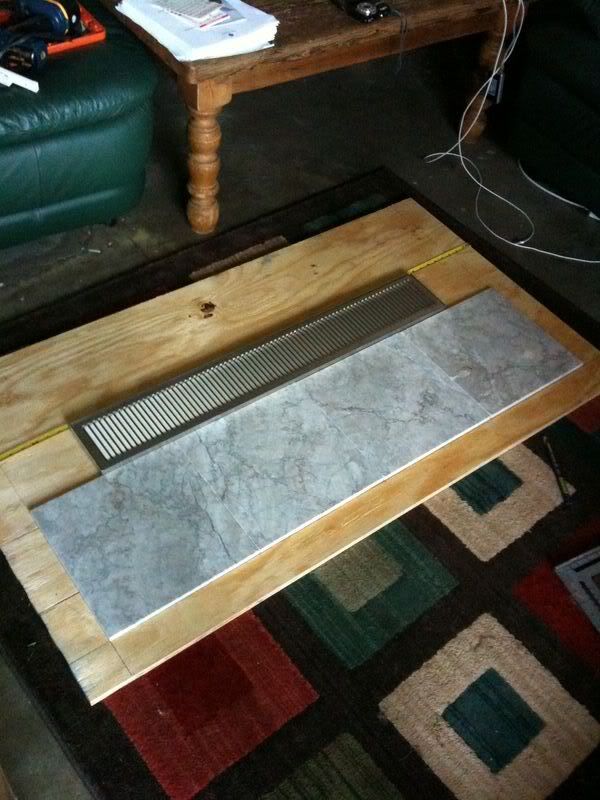
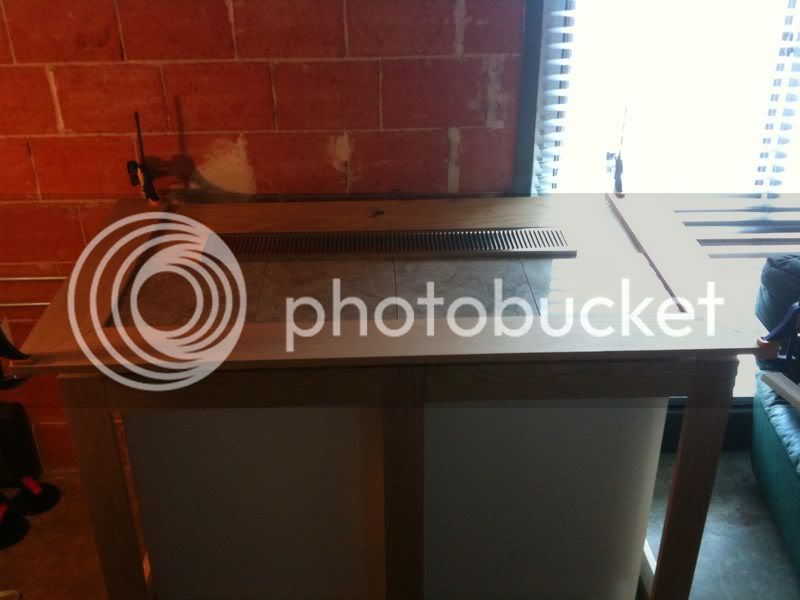
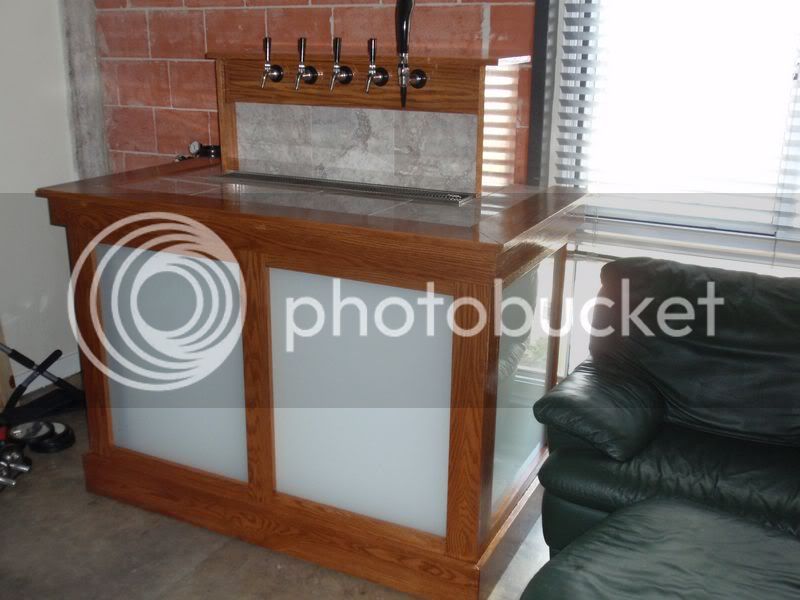
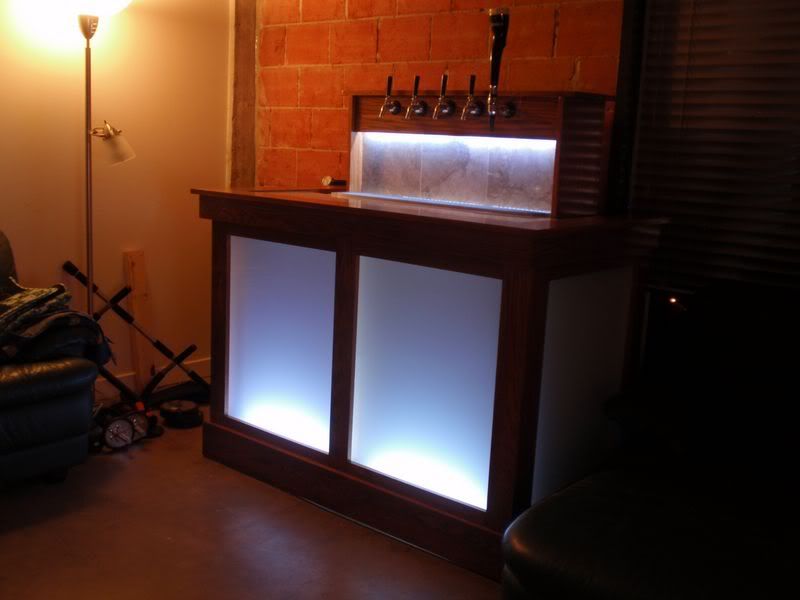
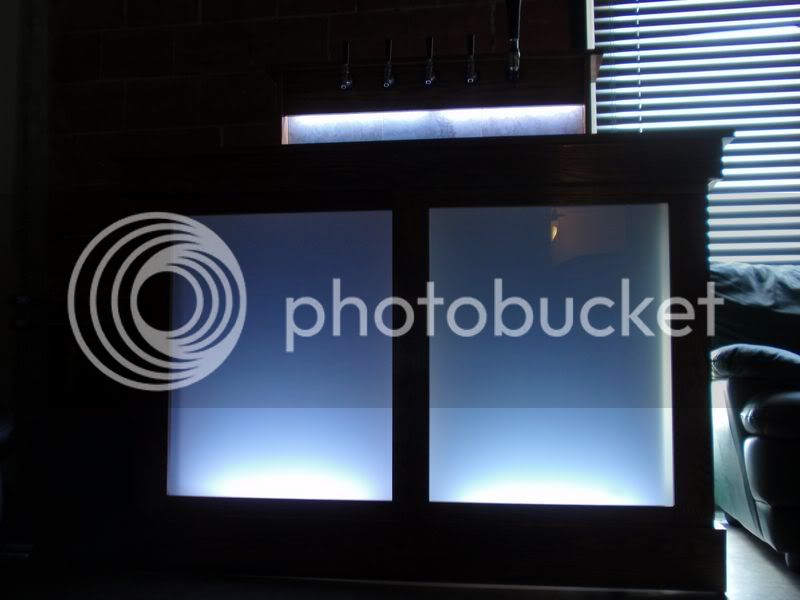
Props to Jester for inspiration. Had some fun making it unique. 100% red oak and frosted glass sides!

")

Thanks! $400 for the freezer from lowes, about $400 for the other materials not including the draft beer parts as I already had those. Two months to build mainly because I had to build it in my 1200 sq ft apartment which meant cutting the wood in the parking garage and assembling upstairs. This was the only way the wife would allow a keezer in the living room
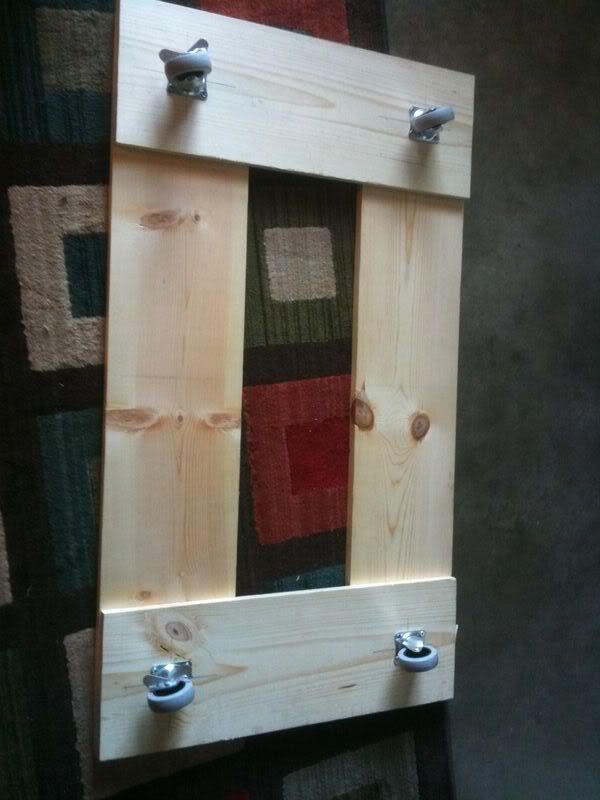
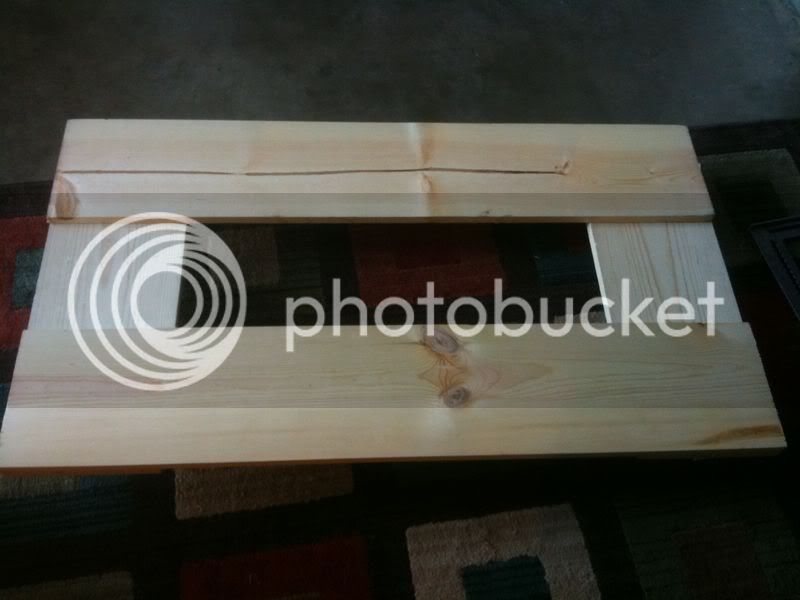
Nice job. The bottom part (support with wheels) - is that also red oak? What dimensions on that wood?

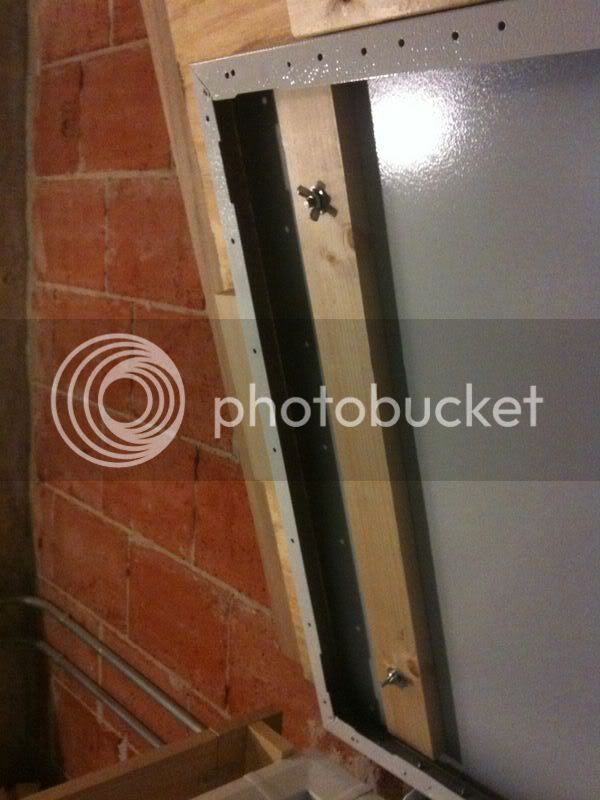
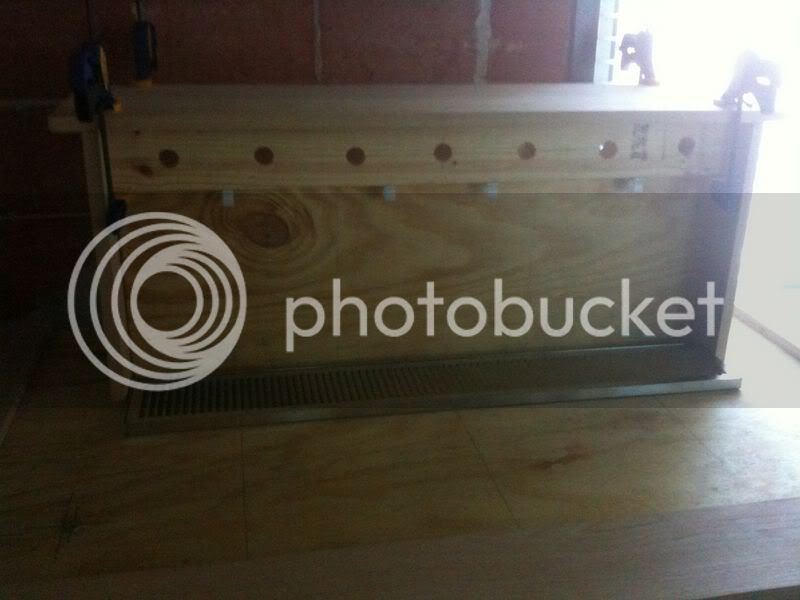
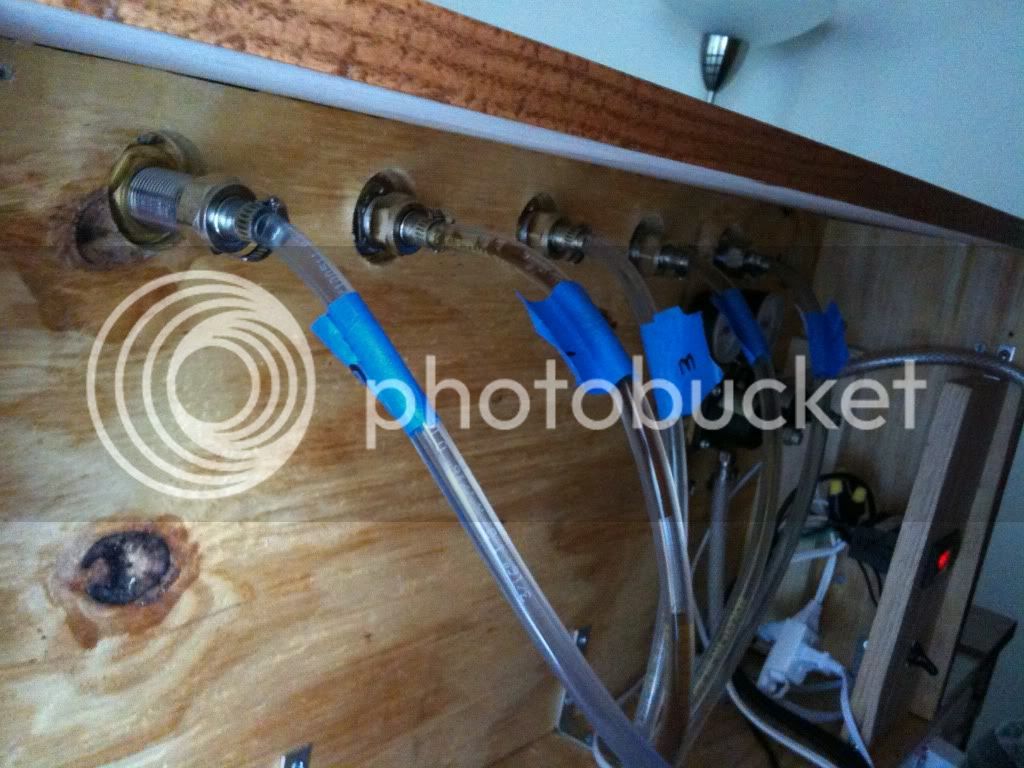
Any pictures on how you ran your lines?
I'm in the design stage of a jester style build too. The frosted glass is another thing to consider. I know you said you had the serving equipment already but where did you get it? I've been trying to find some decent prices for faucets, shanks etc.
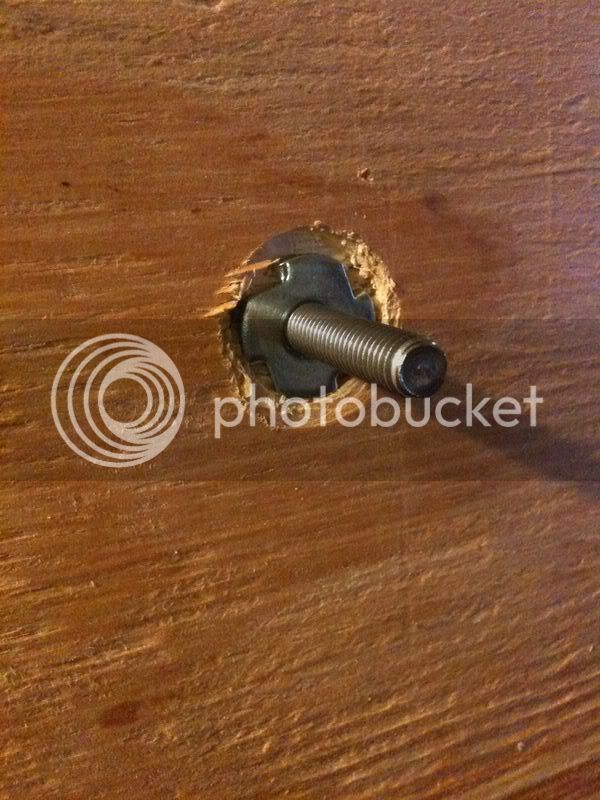
How do you open it to refill your kegs?
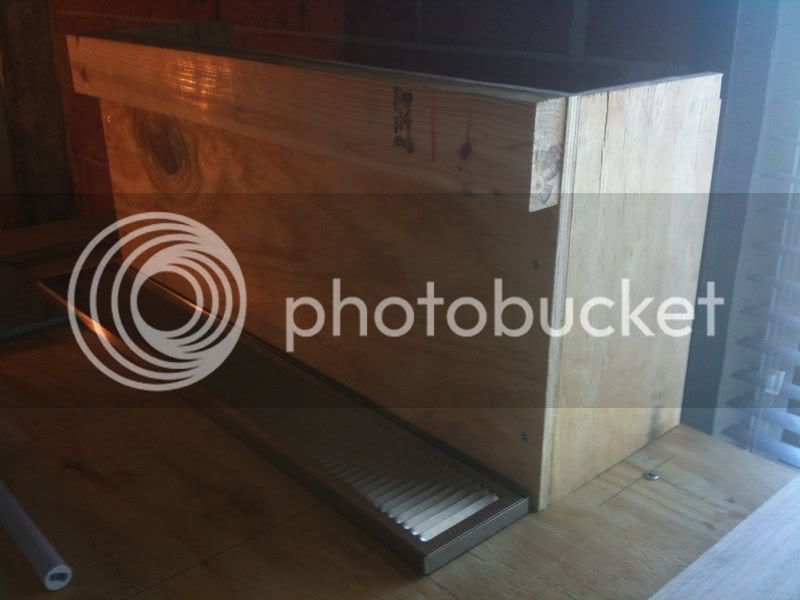
The drip tray is 36 inches, so it fits against the 3 back tiles perfectly. Came from beveragefactory.com and was kind of pricey but is amazing quality.
Can't wait to get the rest of mine done now. Great work! 
Enter your email address to join: