Nate's Fermentation Chamber

Homebrew Talk - Beer, Wine, Mead, & Cider Brewing Discussion Forum

Help Support Homebrew Talk - Beer, Wine, Mead, & Cider Brewing Discussion Forum:

This site may earn a commission from merchant affiliate links, including eBay, Amazon, and others.

kegtoe

Supporting Member
HBT Supporter
Joined
Sep 11, 2009
Messages
1,231
Reaction score
26
Location
Stevens Point
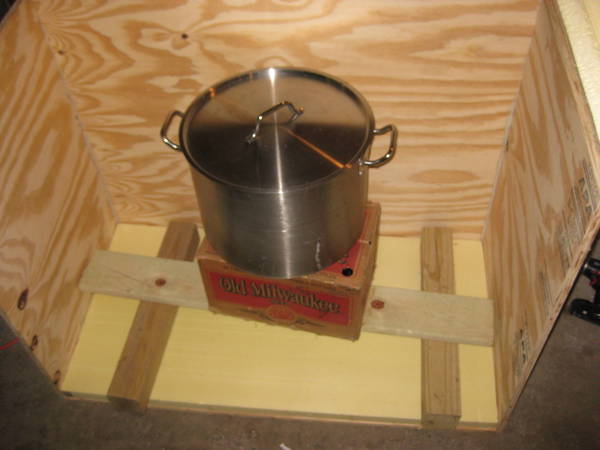
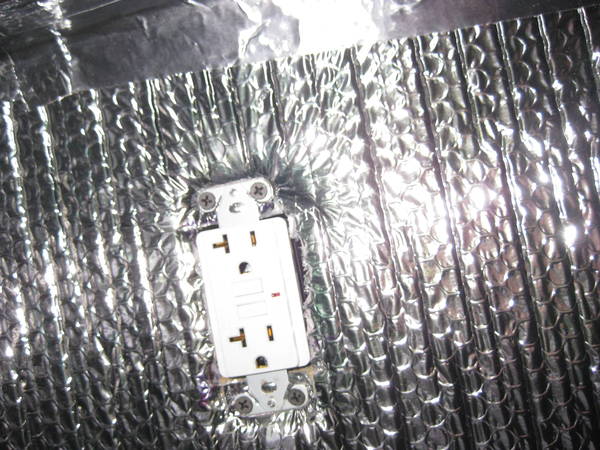
Alright...I've been drooling over all those fermentation chambers you folks are building. I've finally decided to bite the bullet and waste another pile of money on some homebrew gadget that i'll no doubt; over design and over spend. I've got a pretty good jump on the project tonight. I'd like to finish it this weekend. Eventually, i'd like a cooling port.

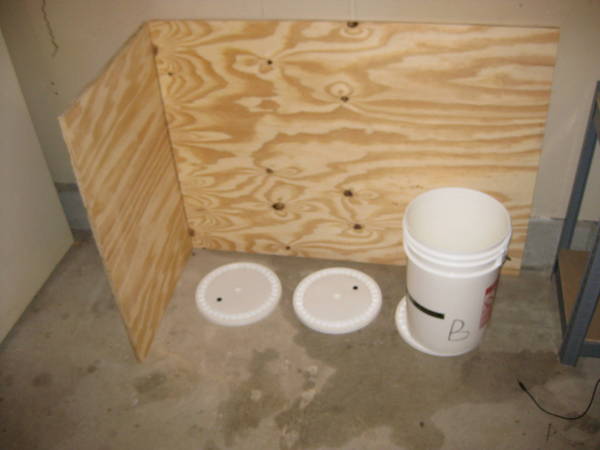
The boards on the following pictures are B grade 3/4" sanded plywood.

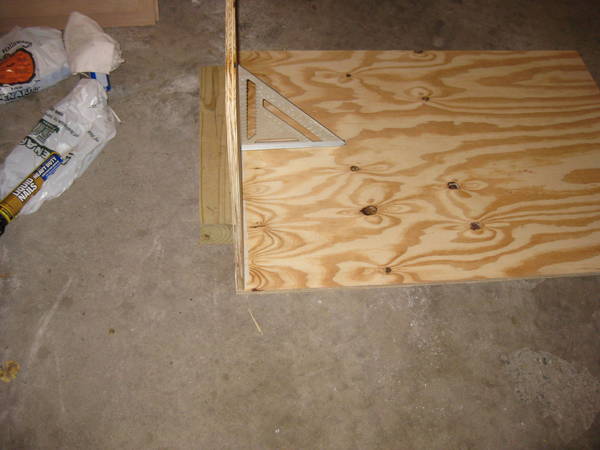
Sizing the chamber spot.
IMG_07672.JPG


Putting the sides up, a bead of liquid nails then some screws.
IMG_0768.JPG


IMG_0769.JPG


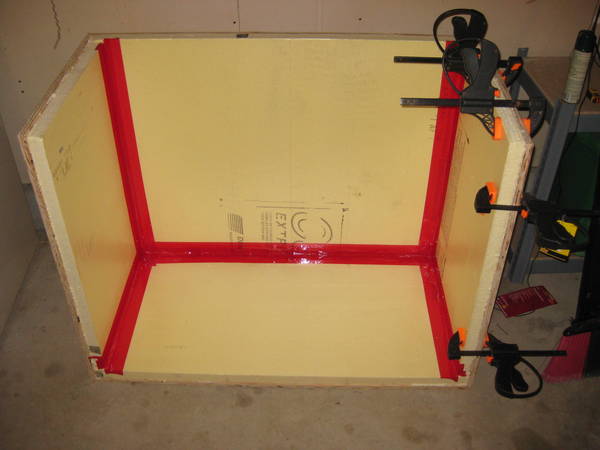
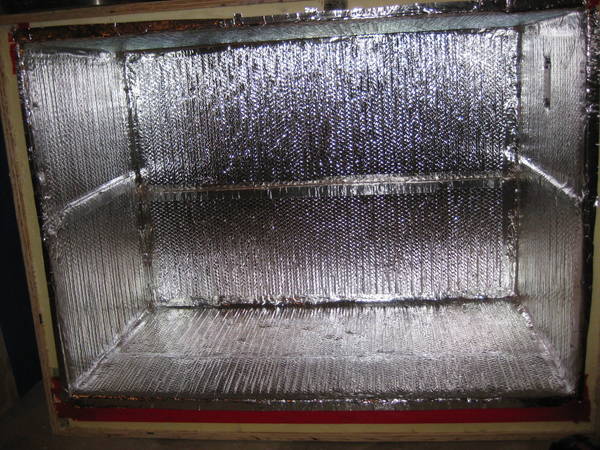
Tiped it forward, added a bottom, and then dry fit the first part of 1 1/2" water resistant extruded insulation.
IMG_07713.JPG
 
Looking good, I used expanding foam insulation when I built mine...wish I had used the foam board.
 
glueing in the bottom foam
IMG_07722.JPG


sidewall panels in place and taped
IMG_07731.JPG


checking fit. pails are wider than carboys. wo checking for widest scenario.
IMG_07742.JPG
 
what are you going to use for a heat source? I'm in the planning stage of a very similar project. Don't have much problem cooling (not counting any lagering), but i need to warm up to temp in the winter.
 
I know it's probably too late now, but how high is that chamber? Once you put the front and top on it, it's going to be hard to lift them in/out with 30+ lbs. of beer in them. Just my $0.02.
 
2 more words: I'm stupid.

I couldn't tell where you were going with it since it's not complete yet. I'm fairly new to this and haven't seen a front loader. I'm thinking along the lines of loosing your coolness quickly if you open the front and not the top. But I guess we are not talking refrigeration or freezing temps to matter that much.

Looking good and keep us posted. I'm in the finishing stages of my first chamber myself.
 
Hey all, been on a bit of a stall here. it got really cold in N Minn. The snow starting coming and i wasn't prepared. We also had a death in the family so things havent been busy with my brew world until late.

I have had to start cleaning the garage to get the plow on the 4-wheeler and and get hte summer stuff ut away. That also means i need to finish my fermentation chamber ASAP. Attached are a few of photos of some more porgress. Comment of ask questions as you'd like.

2nd layer of insulation on the floor, all joints sealed, then a layer or two of reflective insulation.
IMG_08081.JPG


reflective tape to cover seams and joints
IMG_08091.JPG


20 amp gfi outlet
IMG_08102.JPG


IMG_08111.JPG
 
havent posted much follow up pics, but then agian there hasnt been much follow up. Too cold in the garage, too many honey-do projects, and too much time at work.

Here is a pis of the power.
IMG_0813.JPG


A couple of the tray that will line the bottom in case of spills/eruptions
IMG_0807.JPG


IMG_0816.JPG


IMG_08193.JPG
 
Dang, you do nice work.
I'm following this since my basement is a bit too cold for fermenting in the winter, as well. I was able to build a foam box and install a light bulb underneath it for heat, but this looks way better than what I built.
Keep it coming.
Kirk
 
kirk, you might just want to buy a small freezer and add a temp controller. This thing is becoming a pain in the butt - but i like to build stuff. Id go with the freezer but this is going agains the back wall of my garage and i plan on building a shelf all the way across the back wall, this should fit in nicely cabinet style.
 
Thanks for the tip, but, there's already a keezer on the books to replace the 2 keg small kegerator that I have...I'm thinking I want to go 9 ft3 so I can get more kegs in there and maybe a carboy from time to time. And yeah, the chamber I have is flawed, as well.

I'm using a temp controller to keep the heat from getting above a setpoint, but that's going to get repurposed when the keezer gets born.

Kirk
 
I use a small heater fan hooked up to a controller and it works great
 
Very nice! This is very similar to what I am looking to make. Does the extruded insulation sheathing you have hold up to a lot of weight? I'm planning on fermenting 10 gal batches in sankes...
 
I use an old waterbed heater with a couple layers of ceramic tile in top and an air gap under the contents. I didn't use plywood...just the foiled board in 1/2" and real aluminum duct tape. Then I stuck a thermometer through the side about half way up. The waterbed control lets me see when the heat is on from across the room on my occasional trips to the basement. I use mine mostly for the first 2-3 weeks of bottle conditioning (I'm in Maine...it's cold in here!). I like having a carboy on the table next to my TV! I've also considered putting a 1 gallon jar of water with a cheap aquraium heater in it...but I hate to introduce moisture for fear of mold.
 
I use an old waterbed heater with a couple layers of ceramic tile in top and an air gap under the contents. I didn't use plywood...just the foiled board in 1/2" and real aluminum duct tape. Then I stuck a thermometer through the side about half way up. The waterbed control lets me see when the heat is on from across the room on my occasional trips to the basement. I use mine mostly for the first 2-3 weeks of bottle conditioning (I'm in Maine...it's cold in here!). I like having a carboy on the table next to my TV! I've also considered putting a 1 gallon jar of water with a cheap aquraium heater in it...but I hate to introduce moisture for fear of mold.

If put a lid on the jar of water you won't have to worry about moisture, or it tipping. Drill a hole in the lid, insert probe and then seal the hole with silicone. I don't have much space in mine so i recycled a White Labs tube. An additional plus to this way is you don't have to worry about the water inside evaporating and leaving you with an empty jar. (add a little star-san to the water in the jar so weird stuff doesn't start to grow!)
 
20 amp gfi outlet
IMG_08102.JPG

Sorry to dig up an old thread, but how did you mount that outlet? Did you just use some long screws and screw it in to the plywood on the outside or is it just screwed in to the insulation? I am building a similar chamber and would like to put outlets on the inside of it instead running the wires in to the inside. Any insight would be appreciated.

Thanks,
Chad
 
used different screws than what came with the outlet. Small long screws with a nice point. Went through the insulation and into the wood. I never did finsih this project. Twin Boys this summer. My life hasnt been the same and put some of these projects off. To be totaly honest, there are a lot of times i wish i would have bought an old freezer instead.
 
used different screws than what came with the outlet. Small long screws with a nice point. Went through the insulation and into the wood. I never did finsih this project. Twin Boys this summer. My life hasnt been the same and put some of these projects off. To be totaly honest, there are a lot of times i wish i would have bought an old freezer instead.

I can understand how things come up, and wow, twin boys, can't fully understand that but we have two boys of our own. I was considering a chest freezer too but I like to do the DIY stuff. I think I may have made my chamber a little large but you know what they say, go big or go home right.
 
I think I may have made my chamber a little large but you know what they say, go big or go home right.

I always wish i would have done it bigger shortly after building or purchasing something - Mashtuns, boil pots, keezer, etc. So building it a little bigger just leaves room for you to grow. :mug:
 
Back
Top