Monkey Wards Chest Freezer to Keezer Project

Homebrew Talk - Beer, Wine, Mead, & Cider Brewing Discussion Forum

Help Support Homebrew Talk - Beer, Wine, Mead, & Cider Brewing Discussion Forum:

This site may earn a commission from merchant affiliate links, including eBay, Amazon, and others.

BakerStreetBeers

Well-Known Member
Joined
Feb 25, 2008
Messages
306
Reaction score
5
Location
Petaluma, CA
Having recently broken up with my girlfriend and moved out, I found myself with the space and time to take up homebrewing again. I brewed quite a bit in the early to mid 90s -- probably about 150 gallons over 3-4 years -- but since then I have used my brewing equipment exclusively to take up space in garages, closets, sheds and moving trucks.

My financial resources being much improved over 1994 levels, I determined that I could free myself from bottling chores. Yes, I was ready to move up to kegging my brews. Over the course of a month in which I brewed my first two batches, I studied this forum and scoured craigslist for kegerators and potential kegerator/keezer conversion candidates. My "first" brew (an AG IPA) having been in a secondary carboy for close to a couple of weeks, it was finally time to stop waiting for the deal of a lifetime to appear and pull the trigger.

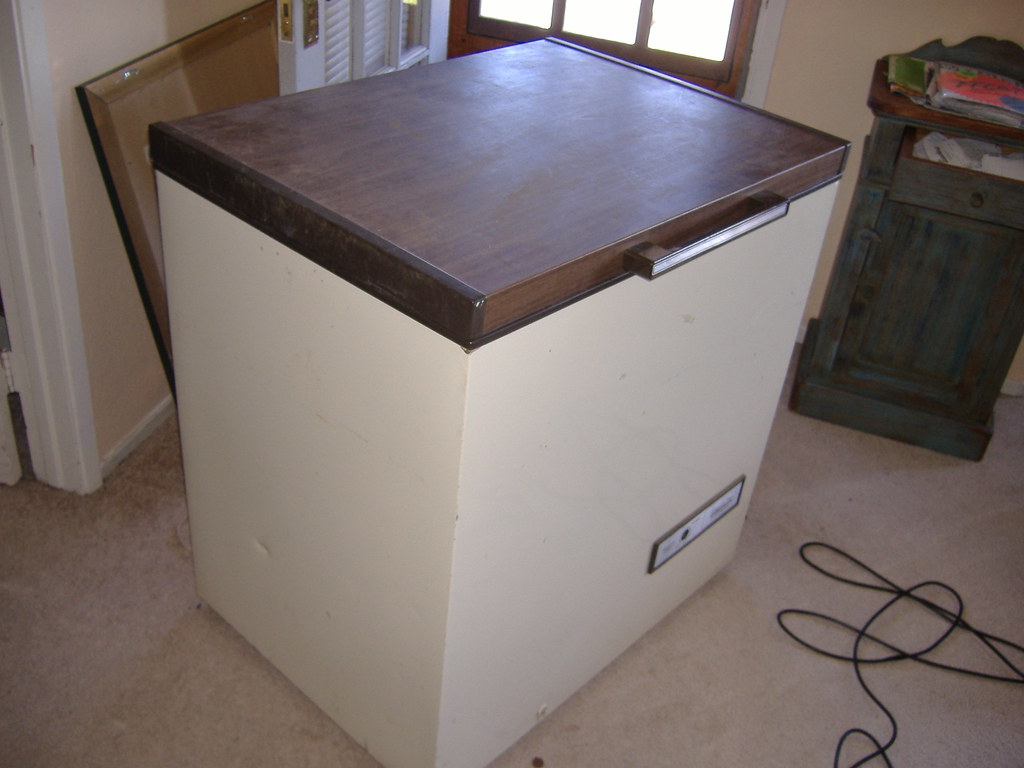
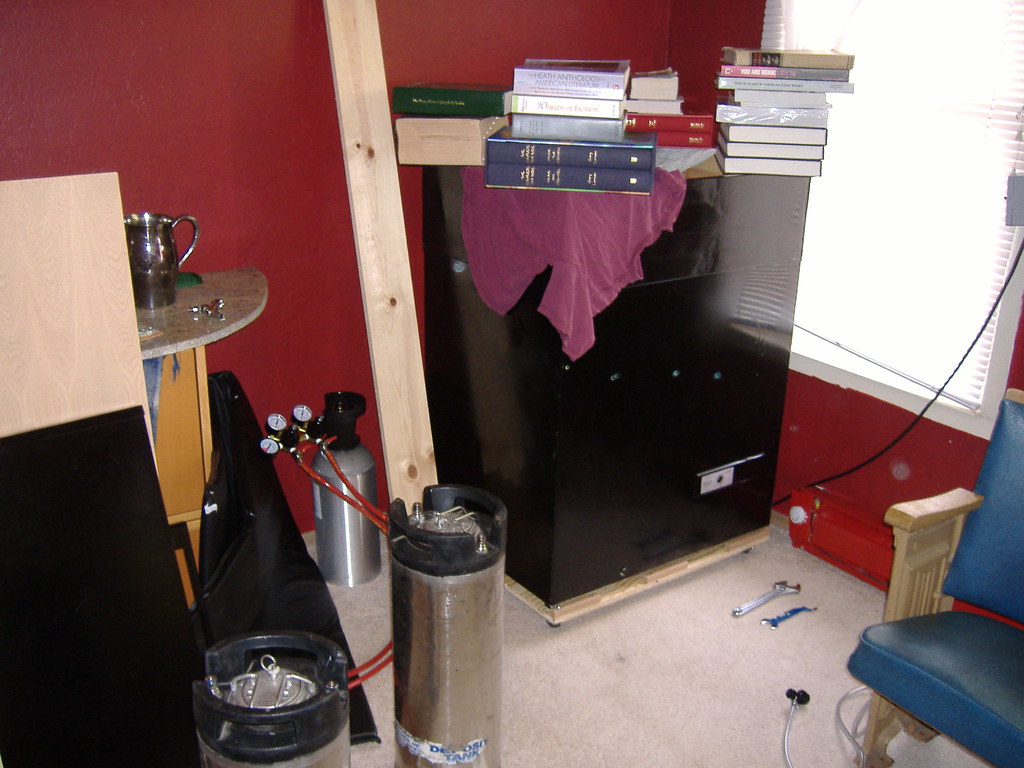
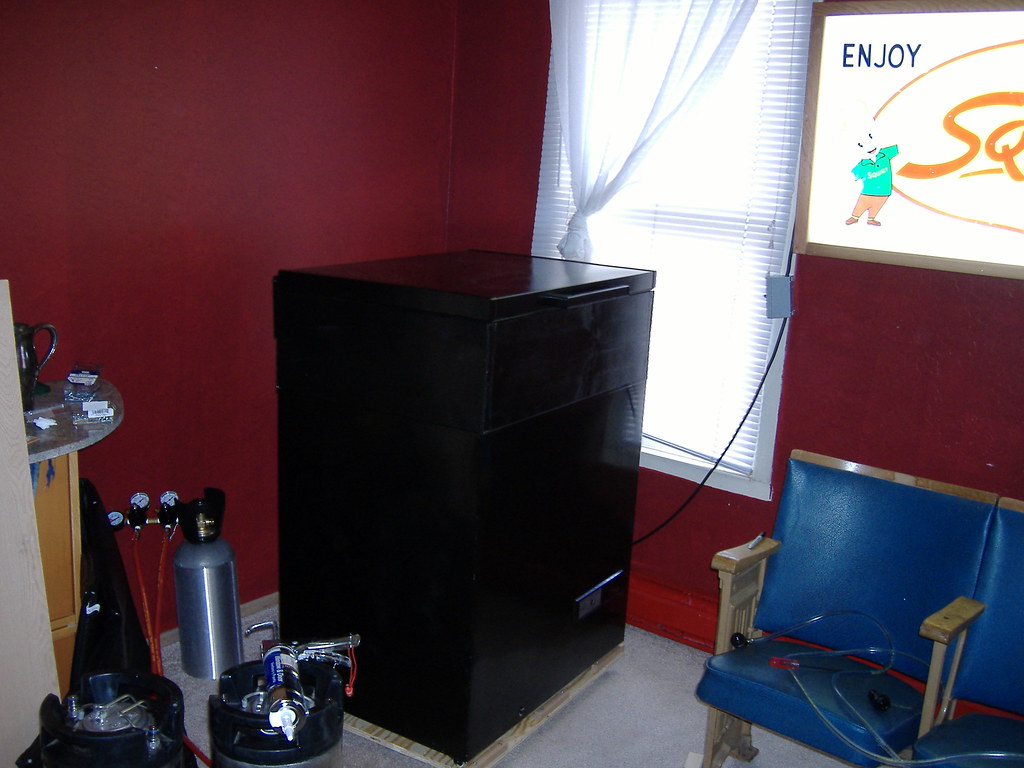
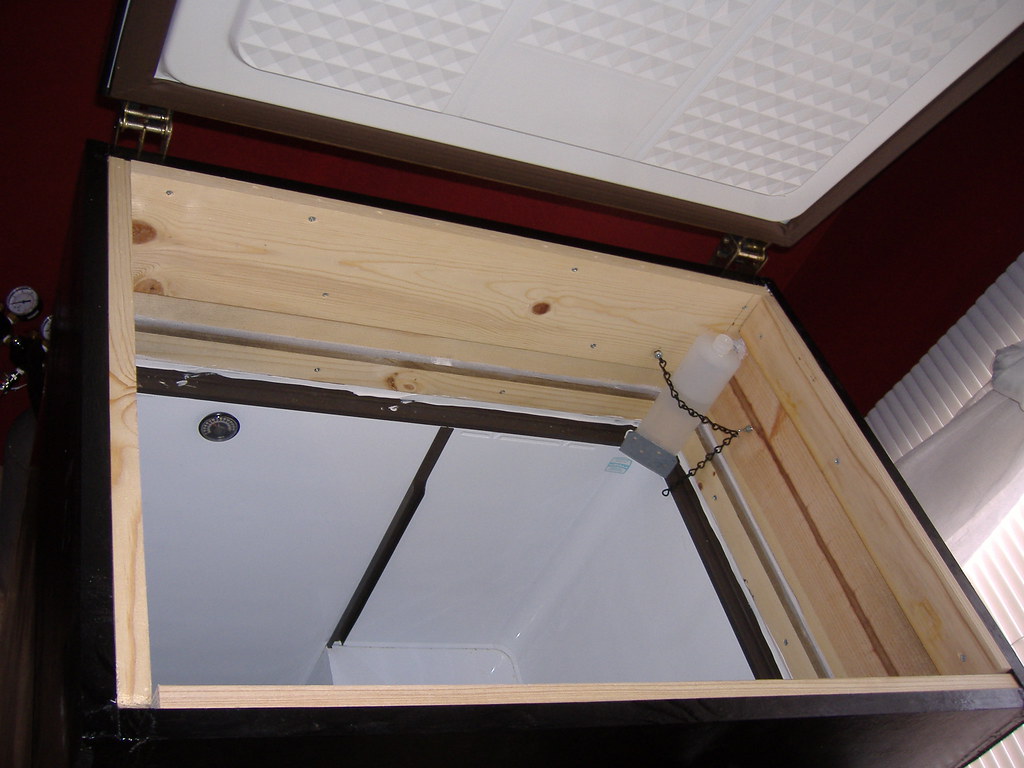
Last Friday I ordered a deluxe 2 corny conversion kit from kegconnection (expected next Monday): two Perlicks, dual body reg, etc. On Saturday I picked up a craigslisted Montgomery Wards freezer for $50 from Uncle Crusty in Santa Rosa. I don't know the cubic feet, but it's probably about 7 or 8. There is room for two cornys "off the hump" -- possible, but not likely that you could squeeze a third one in there. However, from the hump to the lip of the freezer compartment is just about 19 inches so I decided to go with a taller than usual collar, 10", which (I think) will give me enough clearance to put two more cornys on the hump when I am ready to expand my tap count. In the meantime I am looking forward to using that space to do some lagering, something I have never had the opportunity to do.

Here's the freezer in its original state:
2345066668_0ecbb62bfe_b.jpg


So, after I picked up the freezer, I wandered around Lowe's a while and picked up lumber and hardware for the collar. I'm going with 1 X 10, which I plan to reinforce at the top and bottom (and wherever else it seems appropriate with 1 X 2 or 1 X 4.

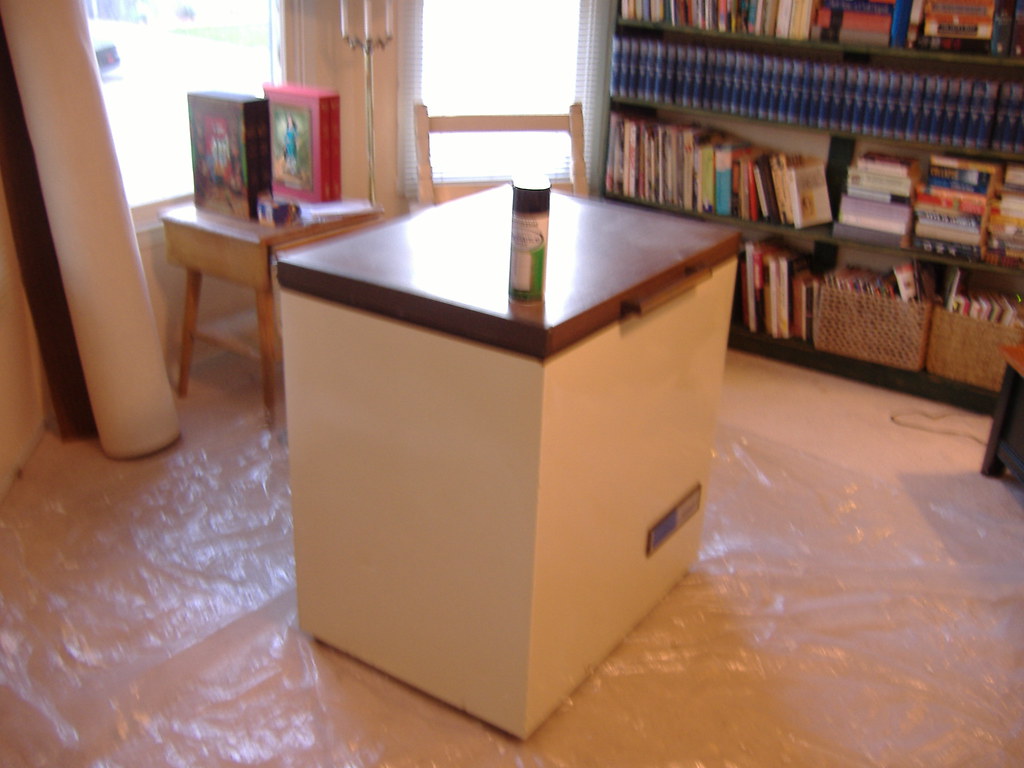
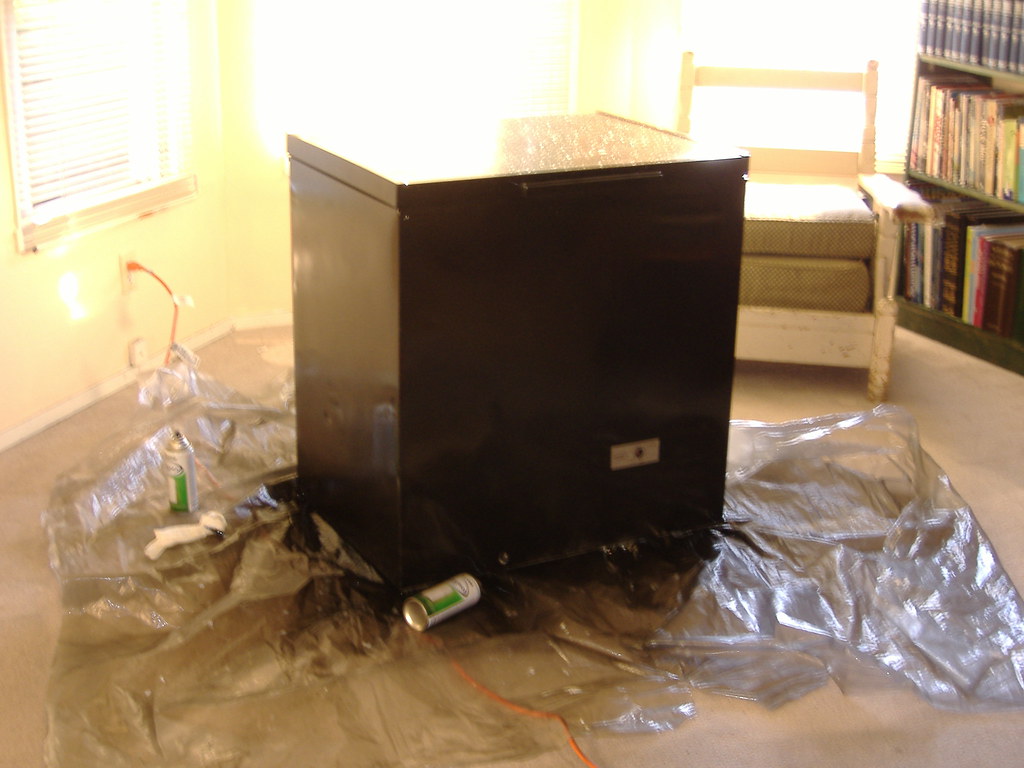
Next up, a very poor decision . . .
 
The Montgomery Ward freezer runs great, but looked, well, like a Montgomery Ward freezer: off-white body, wood grain metal lid, brown trim. (Pictures coming soon.) Having seen some of the beautiful rigs people have created, I was inspired to class the thing up. So on my collar material Lowe's run Saturday afternoon, I picked up a couple cans of appliance spray paint, black.

Errands done, I took off for my parents place Saturday evening and then spent a great day Sunday at Gilroy Gardens with them, my sister, her husband and my 8 month old nephew.

Before I get to the next part, I want to explain that I am a reasonably intelligent guy. But, as you will see, I am also the world's biggest dumb@ss.

It was quite breezy most of the day on Sunday, so on the 2 hour drive back from my folks, I was a bit put out that I wouldn't be able to paint the freezer. Then I had a thought: if I put down a tarp, couldn't I paint it in the house? Why not? Why not right in the living room where I'd left the thing after carrying it in and cleaning it? Throw down a tarp and put the freezer on it, paint the thing and then open the windows and turn on some fans, should be fine, right? I am not sure that I have ever been more wrong.

When I got home, the wind was actually not that bad, but there wasn't a lot of daylight left. And I'd already got the indoor painting idea in my head, and yes, I was lazy. Move some furniture, tarp down, read the instructions on the can, shake it up baby and let the painting begin.

I wasn't even drunk.

Here was my inspired setup (inspired by what, I don't know):
2344253127_273d33b89f_b.jpg


I was just about done when I happened to move the edge of the tarp with my foot and WOW! look at that, the carpet under the tarp is still nice and off-white, while the part not under the tarp is . . . considerably darker. Considerable cursing of myself and consumption of alcohol followed. Every inch of carpet that wasn't covered by tarp or furniture had received a nice dusting of paint. Nothing was close to black, but the contrast between protected and unprotected areas was like BMC and IPA.

I phoned an old friend, selected because she lives far away and couldn't tell anyone around here how stupid I was and confessed my sins. I finished by explaining that the worst part was that there were parts that needed more coverage and so I was going to have to overcome my laziness and move the thing outside anyway to touch it up. She pointed out that at that point, I may as well touch it up where it was -- how much more damage would it really do? Her logic was sound and so I finished the thing off. By the way, the paint job is frickn hot!

Here is a (poor) picture of the results:
2345083928_56018d6698_b.jpg


This morning, I cleared out all the furniture as well as the freezer and the inadequte tarp. I had enough enough sense (somehow) to close off all of the doors to the other rooms to keep the fumes out so the carpet painting was limited to that room and part of a hallway. After work I went to my local equipment rental place and rented a steam cleaner. I had found the names of a couple of likely cleaning products via Google, but figured I would start with the spot remover they sold me. Took it home and experimented, ran out to the hardware store and bought a couple quarts of citri-solv type stuff and a push broom (large scale scrubbing without getting on hands and knees). Long story short, four hours of labor later, the carpet is almost entirely paint free! The machine didn't do a great job on the edges and there are a couple of areas with some spots that show stains if you look closely, but overall the cleaning job was pretty remarkable. I may have to get professionals in when I move out, but it's plenty presentable until then. By the way, if my landlord happens to be reading this, this post is entirely fictional.

Probably no one besides me would be stupid enough to attempt such a thing so I don't think there's much chance anyone can learn a valuable lesson from this. But I think there's a fair chance someone will get a good laugh at it.

Coming soon, more actual keezer construction . . .
 
I hate working with paint. It always manages to get all over my freaking hands and what not.

I'm pretty paranoid about working with it so I tarp down just about everything.

Spray paint in my opinion should never be used indoors. It is just too unmangeable. You are lucky that you didn't get it on your furniture.

Post some pictures of your keezer when you are done. :)
 
don't forget, you'll need to get a temperature controller.
 
Thanks SRM. Forgot to include that on my list of things I ordered from kegconnection. They only sell the lower end Ranco ($60) and not the one that I've seen elsewhere and in some of the builds posted here that runs close to $100. Hope I don't regret not spending the extra.

njnear, I am sure I got some paint particles on everything in that room, furniture, books, piano, pictures, cell phone, walls . . . but in amounts too small to be really visible.
 
Far past time for an update.

First off, here is a picture of the painted keezer in its designated spot in my "entertainment room":
2361442155_72b5d142b7_b.jpg


My plans to have the collar mounted and ready to accept the kegging hardware when UPS delivered it didn't pan out -- just too much other stuff going on -- including brewing a batch of Orfy's Mild Mannered Ale on Easter Sunday. I did however get it mounted on a plywood platform with swivel casters. I bought some moulding to hide this with, but that won't go on until I'm pouring pints.

As of this afternoon, the collar is constructed, painted (yes, I did it OUTSIDE) and has been mounted with silicone on the freezer. Currently it's under a load of books while it cures. Looking like this:
2361445335_7debf2463d_b.jpg


You will note the assorted kegging/dispensing hardware strewn about the area. I had to go buy a crescent wrench today because I did not have one big enough for the CO2 tank. I was thinking about kegging up my IPA and my Golden Lemon 3-Grain, but figure there isn't really much rush until I have the keezer ready to chill them down.

So next steps (once silicone has cured):
- Seal inside seam between collar and freezer (what I did already was just the edges, the connecting surfaces.
- Use the 1X6 in picture to install reinforcement for the lid hinges and the faucet shanks
- Install the temperature controller. One thing I'm still noodling on is where/how to put the sensor probe. I like the idea that I saw somewhere on this board, of putting it in a sealed tubelike container with the goop from inside a blue ice pack. I will probably try to rig up something like that and mount this tube to the collar in an out of the way place

This will get me to the point where I can turn the thing on and let it come to temp so I can keg those two beers and get them started chilling. Still aspiring to finish this in time so that I can pour cold beer on Friday after work.
 
Late evening update . . .

As long as I was waiting for the silicone union between freezer and collar to cure (thereby forming the new entity we call KEEZER) I went ahead and put my two done beers into cornys.

While it is definitely and nearly infinitely easier than bottling, it still took me quite a while, mostly because I had to read, reread and refer back to the instructions for my PBW cleaner and StarSan as I have not used either of these before.

As to the beers: My #1 Baker Street IPA has good bitterness and decent hop character but seems to lack the body to support the IBUs and the alcohol. Mostly I think the mash was too cool, but recipe probably could use some work too. The Golden Lemon 3-Grain was overall a better experience. A healthy dose of Saaz/Tett bitterness combined with a little spicy kick from the rye. At this point, both of these elements were just a bit overpowering for the "light session beer for warm spring days" thing I was after. But likely they will mellow a bit as time goes by.
 
Cool Build!

I'd definitely wait for carbonation to set in on the beers you kegged before judging them. (I'm not sure what method of force carbing you are doing, but if it's Set&Forget I'd wait a week before saying how they turned out)
 
Thanks conpewter. I will be force carbing as there is no way I have the patience to wait a week before using those lovely taps. Just have to hope that chilling and carbonation will improve the beers now!
 
Major progress today, especially toward the most important goal (pulling myself a pint of homebrew).

Silicone cured and collar and freezer now one. I added some wood on the inside to provide reinforcement for the lid and the shanks as well as some extra edge area for the lid to seal against.

That done I attached the lid and voila:
2364496853_c5c6d3c024_b.jpg


2364498575_d5d9ce0d80_b.jpg


Next I set about getting the temp controller up and . . . controlling. You can see the bottle I want to use to hold the probe in the corner of the last picture. I had to move it from that spot to one that is lower and more in the middle-- at least for the time being -- because the freezer thermometer (visible on the left) was down to 10F. I think once the temperature equilabrates a bit it might be ok up there. Anyway, here's the freezer controller:

2365334562_783cbdd02c_b.jpg


Plugged it in and off it went. I was very impressed with how fast it dropped temp.
 
Now came the best part yet, installing the shanks and faucets. Ran some numbers on how I wanted to space the taps out . . . for a max buildout of 5 taps or only 4. As it is now only 4 will fit in there, but I think a small mod could easily get this up to 5 . . . or more. If I exceed 5 I will have to start adding them to the front :rockin:

And here she is:

2365336324_f50f98b511_b.jpg


and with my short lil drip tray installed:

2364504693_044eff47a1_b.jpg


Definitely not the prettiest thing in the world, but I think this will soon be my most valued possession. Those last pictures in particular show off my poor carpentry skills. I'm thinking maybe some corner molding to at least cover up my crappy "joinery" work. But I can think about that once I have a draught homebrew in my hand.

Cornies are now in the kegerator chilling. Tomorrow I will force carbonate them and unless I'm mistaken, pull myself a couple after work.
 
My friends, it is done. Tonight I added my manifolds and the rest of my taps to complete my keezer project. Somehow I feel just a little bit empty inside . . . NOT!

Here she is:
2423905411_82ebdc52f4_b.jpg


A few weeks ago, I painted the top with some chalkboard paint that I already had. Once I got my barproducts.com drip tray I moved the original two-tap tray to the front and turned it into a chalk tray. Added the three additional Perlicks tonight. Here's what on tap:
2424719118_591e6f7893_b.jpg


And here is the guts:
2423906489_68d42e9a0e_b.jpg


Yes, she will hold two more cornies. I built a shelf next to "the hump" to accomodate them. Obviously I need to look into some sort of hose management strategy. And God help me if I have any (more) leaks in my gas system.
 
Holy spagetti tubing batman! Seriously tho...nice work...now if I can just get SWMBO to sign off on the $400+ I'll need for mine :). Quick, post a pic of a flower vase on top :mug: .
 
whats the purpose of the wooden collar? i dont see why you couldnt just drill through the side? im asking because i have been scouting craigslist for sometime and when i find one i figured i was just gonna drill right through the side and put the taps in....
 
The collar is there to add height to allow room for more than two kegs. There's a hump in the bottom where the refrigeration mechanics are hidden. If you set a keg on the hump, it's too tall to close the lid. By adding the collar, you can put 5 kegs in the keezer instead of 2 :D

If you can find one tall enough to fit kegs on the hump without adding a collar, all the better :mug: Then you can just put the shanks through the wall of the keezer.
 
byersj said:
The collar is there to add height to allow room for more than two kegs. There's a hump in the bottom where the refrigeration mechanics are hidden. If you set a keg on the hump, it's too tall to close the lid. By adding the collar, you can put 5 kegs in the keezer instead of 2 :D

If you can find one tall enough to fit kegs on the hump without adding a collar, all the better :mug: Then you can just put the shanks through the wall of the keezer.

Also, not putting holes in the actual freezer would (hypothetically) allow me to return it to it's original condition. Not sure why in the world I would want to do that. There is also the chance that coolant lines may run through the sides -- this varies from model to model -- if you hit one of those it's basically all over.
 
Ahh, I hadn't thought of that. Haven't hacked on a chest freezer yet, wasn't aware they might run coolant lines through the walls. I'll have to keep that in mind when I have the money to build out one myself. :mug:
 
get out some white silicon sealant and go to town putting it into the grooves and bumps with your finger and smoothing it out. Then paint over it. Viola, much smoother joints!

I have a built-in bookshelf that I couldn't afford higher quality lumber for. With silicon, wood putty, and some time, I made 1x spruce look like hardwood. You have to paint it, of course, but it's much nicer looking. Caulk is your friend.

Awesome build, though!
 
BakerStreetBeers said:
There is also the chance that coolant lines may run through the sides -- this varies from model to model -- if you hit one of those it's basically all over.


Much more than a chance:

If you drill, refrigerant will spill! Don't men to sound cryptic, but the chilling and evaporative lines are averywhere in those walls.
 
First off, thanks for showing all of the steps in your process - it has really helped me in prepping for my own project.

One thing is not clear to me though - did you use ONLY the caulking / silicon to attach and seal the collar to the freezer? No screws / glue / anything else at all?

I realize the danger of piercing the outer shell of the freezer due to the lines that may run below the skin, but isn't the caulk / silicone kind of flimsy to hold the whole collar on? I ask because I really want to emulate what you have done so far - that's just awesome - but I don't want to have to recaulk in 6 months if not necessary, nor do I want to worry about someone bumping into the keezer and breaking the silicone seal.

Thanks!!!
 
phat_groom said:
First off, thanks for showing all of the steps in your process - it has really helped me in prepping for my own project.

One thing is not clear to me though - did you use ONLY the caulking / silicon to attach and seal the collar to the freezer? No screws / glue / anything else at all?

I realize the danger of piercing the outer shell of the freezer due to the lines that may run below the skin, but isn't the caulk / silicone kind of flimsy to hold the whole collar on? I ask because I really want to emulate what you have done so far - that's just awesome - but I don't want to have to recaulk in 6 months if not necessary, nor do I want to worry about someone bumping into the keezer and breaking the silicone seal.

Thanks!!!

Only silicone sealant. I see how it could seems a little unstable, but having read quite a bit myself on this site about other projects, this is apparently the way things are done. It is quite sturdy. The outside of the collar is 1 x 10, but it's doubled up in many places, including the connection with the freezer rim. I used quite a bit of silicone in the join, a thick zigzag around the whole thing. Then, as nathan suggests, I did beads of the sealant along every seam and corner on the inside. It would definitely take a huge bump to dislodge it -- think defensive lineman hitting a tackling dummy. I put the whole thing onto a piece of plywood with casters on it and would definitely be comfortable grabbing the collar to roll the thing around.

The only further steps I have planned are to put some moulding around the bottom -- attached to the plywood base -- so that it looks like it's sitting on the floor instead of on a piece of plywood with wheels. I may also put some more moulding on the corners and possibly horizontally along the seam between the collar and the freezer body and the collar and the lid -- to hide my questionable carpentry.

Thanks for the kind words everyone. I did not originally plan on having a five tap setup. I wanted to get something with at least three or that would be expandable to three at some point. I spent weeks scouring craigslist for a used kegerator that fit the bill, but no luck When it finally got to the point where I had two batches that needed to be put up, I opted for the buildout. When I picked up the used freezer I was still thinking only three taps and room for lagering and chilling, but then I realized that with a tall collar I could get five cornies in there and that was that.
 
Back
Top