Another Kegerator build GE Dorm Fridge

Homebrew Talk - Beer, Wine, Mead, & Cider Brewing Discussion Forum

Help Support Homebrew Talk - Beer, Wine, Mead, & Cider Brewing Discussion Forum:

This site may earn a commission from merchant affiliate links, including eBay, Amazon, and others.

waazupdoc

Well-Known Member
Joined
Nov 2, 2009
Messages
59
Reaction score
1
Location
NYC
2-GE-Fridge-Start.jpg

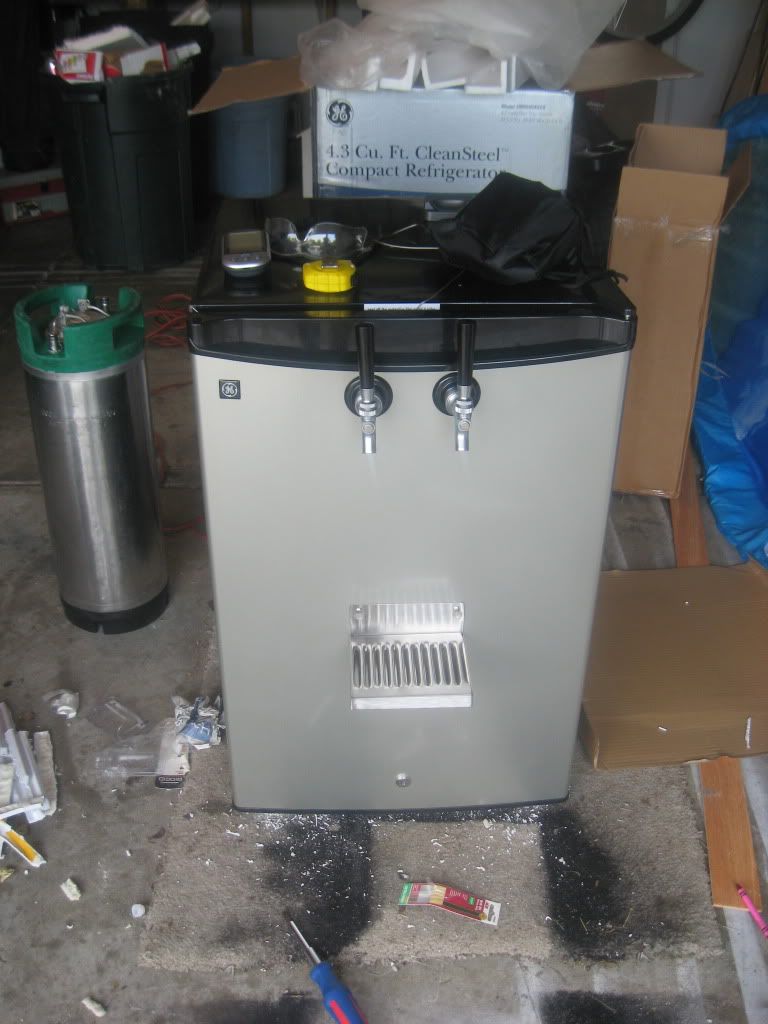
Okay I finally finished my kegerator. Thanks to all here who inspired me to do this. I had never messed with anything like this before so decided to try doing it myself. So I started with my purchase on Craigslist of a GE Dorm sized fridge.
19-GE-Fridge-Front.jpg

I realized getting into it that it would quite be what I wanted and I was looking for a project so I decided to go radical on it. My end goal was to fit 3 corny kegs or a 1/2 keg so I was going to need to do a serious overhaul on it. My first obstacle was going to be the Hump on the bottom.
5-Fridge-Hump.jpg

So I removed it very carefully.
6-Front-Hump-removed.jpg

Then there was the issue of building a base for it to stand on and the compressor to be re-positioned.
8-Fridge-Compressor-Reposition.jpg

I then bolted that all down after I re-soldered all my lines for the coolant and after letting it sit right side up for a while. Then plugged it in and found that it was working properly and that i would now have to re-insulate the are and enclose it.
12-Compressor-Reposition-Lining-Installed.jpg

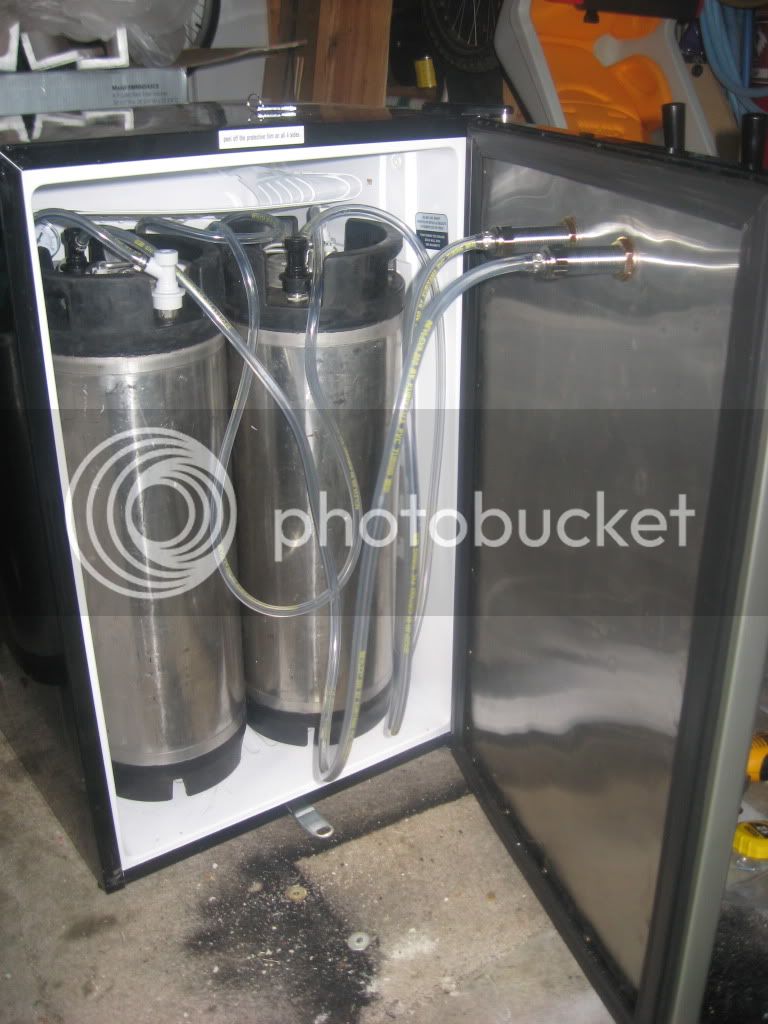
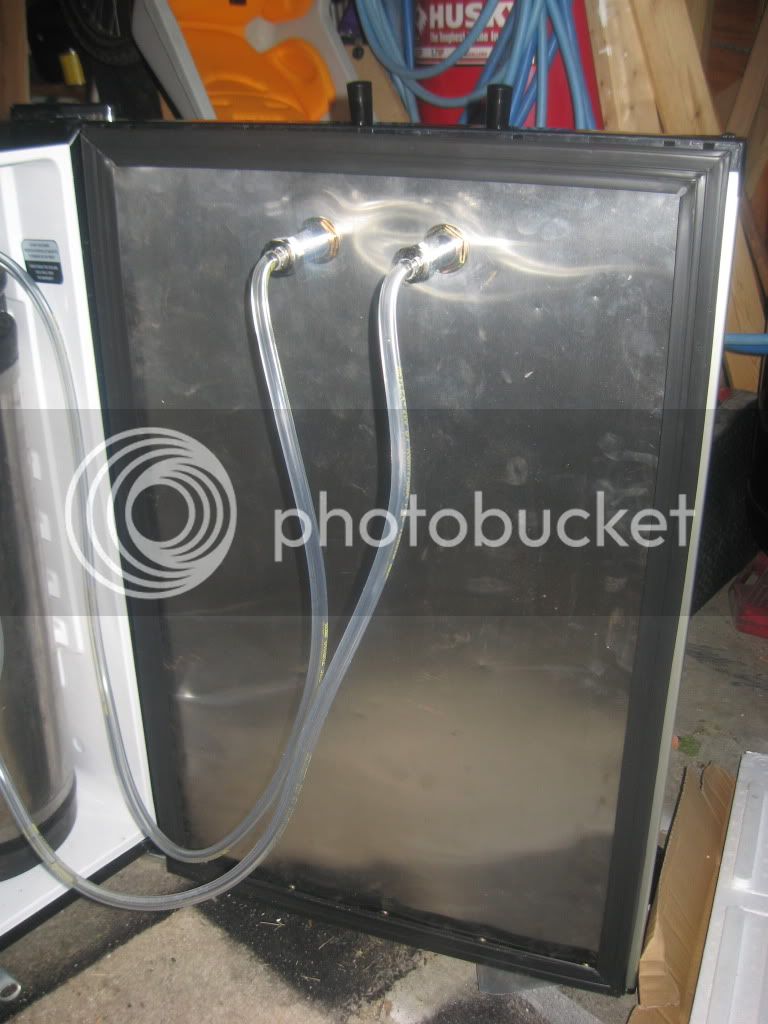
I put a piece of Stainless for the base and wrapped the inside with aluminum then sealed it all off with silicone. Once that was done I routed the lines and started to insulate with expandable foam the cavity. I then made a piece of metal wrap around the external cavity then filled that with foam.
14-Cap-put-on-back-insulation-filled.jpg

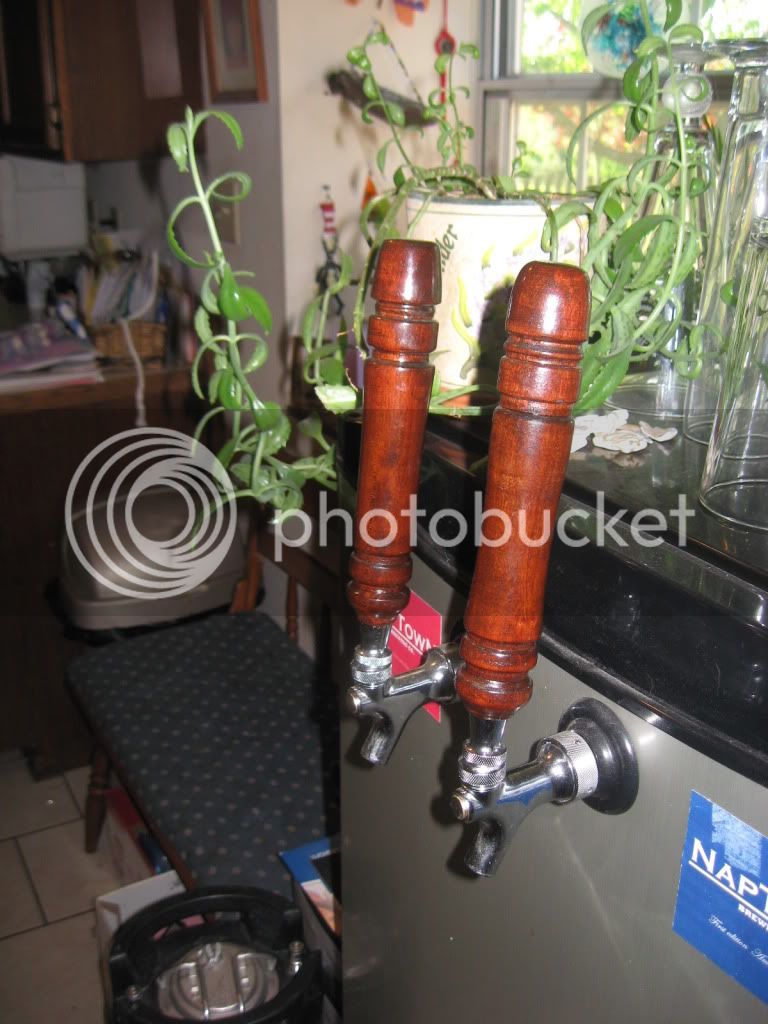
I had to do a little inside work to make it all fit but in the end I got the results I was looking for.
10-3Keg-setup.jpg

You can see that I had to remove some of the inside lining to make it all work and I had to scrape away some of the insulation. Once that was done I was able to put my aluminum lining in. Then once that was in I reinsulated the inside to give it a little more padding.
1-GE-Fridge-Finish.jpg

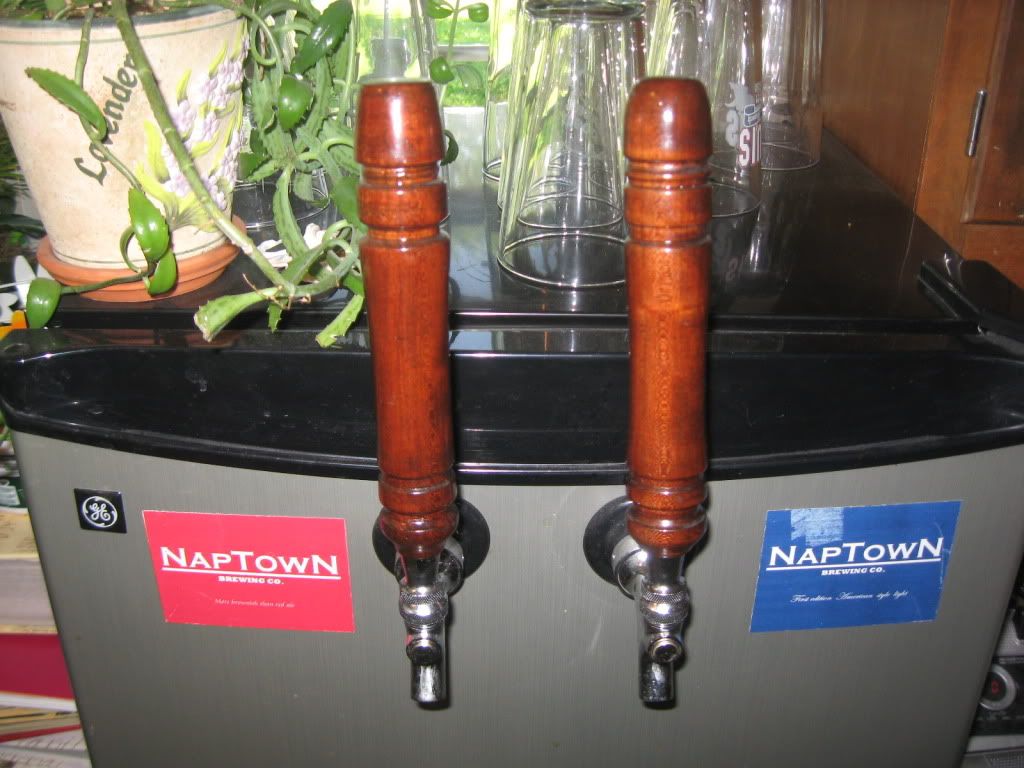
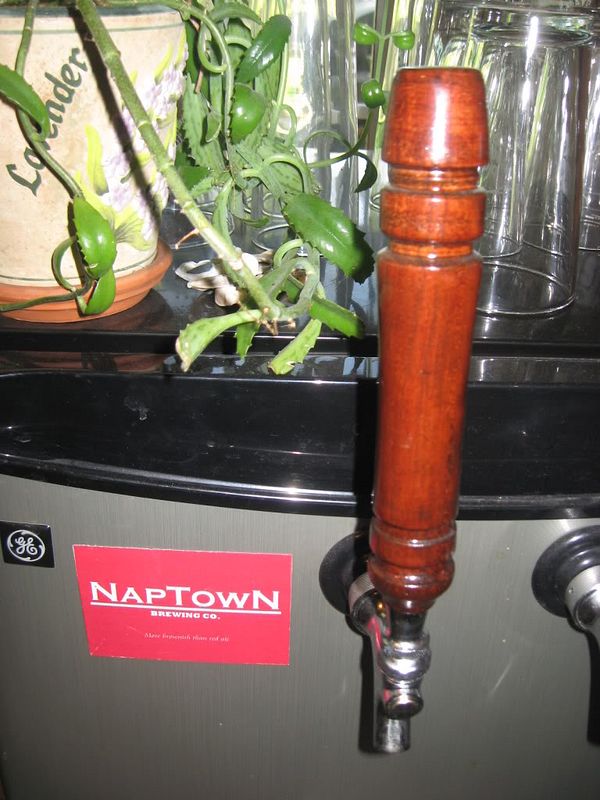
But all in all I am happy I got to keep the freezer for my .3L mugs and its big enough for 15 gallons of my own home brew. Thanks everyone
For a full write up or more pics you can go to www.joelnrebekah.com
Please share any kegerator info you can provide as I am constantly looking to improve on my design or even amazed by some very innovative ideas.
 
Yeah I was a little scared of starting it but I figured hey if I blow it then I can always start over on another one ;-)
 
I can't fit 4. i could have modded it to do it but i was just lookin for 3 cornys and a 1/2 keg. with the mods i did i is about 3/4 - 1" from fitting. i do think i could fit a 3 gal in there somewhere.
 
That's amazing! I see that you were very careful not to break any of the lines, but you also soldered in a T-fitting. How were you able to do this without leaking coolant?

Thanks for the post!
 
I had the T already soldered in place when I made the switch. It wasn't that bad actually then I just pressure tested and it was fine.
 
Well poured my first one from this thing and boy was it tasty. Has anyone else been doing the same thing with their dorm fridges? I am curios to see some pics
 
I am wanting to see what others have done with this fridge. Have you tried the same type of conversion if so what did you do? and post some pics or hand out some advice :mug:
 
Same fridge but only needed to put 2 cornies and a 5# CO2 so not quite the mod that you did
IMG_1593.jpg


IMG_1589.jpg


IMG_1591.jpg


Only changes since these (other than use) is the tap handles, my parents have a wood lathe and had a piece of cherry from a tree knocked down during Katrina so they turn some handles for me.
 
I am looking as well for some different tap handles. I am probably going to make my own out of something. I would love to see what yours looked like when your done.

I noticed that you bent that sides down on the freezer section did you find that it affected your freezer area at all. Like it wasn't freezing certain area's of your freezer tray?

Nice build though. Has anyone out there done the same?
 
No problem with the freezer section my only problem is it's really close to the beer lines and has a tendency to freeze smaller beers in the lines. I'll take some pics of the tap handles when I get home.
 
Here's a couple of pics of the "new" tap handles

IMG_2576.jpg


IMG_2577.jpg


IMG_2578.jpg


they are actually darker than they look in the pics did a mahogany stain on them with a gloss poly top coat.
 
I like the handles. Getting back to the kegerator did you ever take a temp reading of your fridge? i am trying to find out what the deal is with mine I am getting to around 36 degree's but its needing to be turned up all the way. Has anyone else had this issue with there GE fridge?
 
No problem with temp other than it getting too cold and freezing the beer. Of course that was some pretty weak stuff (was trying to make something the wife would drink).
 
Actually checked the temp setting on the fridge when I got home yesterday and I have it set almost on its warmest setting and was still freezing barley water errr I mean beer.
 
Checked out my temp on the fridge the other day and decided that I am in need of a Ranco Temp controller. I bought one and have yet to install it. I believe it should save me a little on electricity because its been staying on for to long. I may have damaged my controller in the fridge I will have to bypass it. Has anyone else tried this?
 
Checked out my temp on the fridge the other day and decided that I am in need of a Ranco Temp controller. I bought one and have yet to install it. I believe it should save me a little on electricity because its been staying on for to long. I may have damaged my controller in the fridge I will have to bypass it. Has anyone else tried this?

The Ranco's are stupid expensive. There is a build in the DIY thread (I cant find it for the life of me) where a guy took a $20 thermostat from wal mart, a SSR, and some simple wiring and built a temp controller for I think it was $34 all together. Seems like it'd fit nicely next to your compressor too.

If I can find that damn post Ill add it to this post.
 
That would be great but unfortunately I already bought one. I got it off ebay and the shipping was fast. I found this Ranco but I haven't put it in yet. NoNothing its good to have you back in the forums. I PM you about your fridge a while back and your fridge inspired me as you can see ;-)
 
Im glad I could inspire someone, but what you did is miles more awesome than my fridge.

The ranco will be of better quality than the DIY solution I think, but Im cheap :D

Plus, to save only $10, well worth it to just buy the Ranco you found!
 
Great build. Looks like the way to go. I can mount taps on door and they should be at a nice height with base underneath.
 
Well installed my Ranco box and am having an issue. Can someone help me determine the best placement for this temp prob. I thought about doing the water glass thing but didn't know if that was truly the best.

A Problem I am having currently is also strange. I have my 2 creamer faucets hooked up and found that i am getting a excruciatingly slow pour out of both. Has anyone ever had issues with these types of beer faucets? maybe i have them hooked up wrong? i don't know. Thanks for any help.

Where is your probe currently? I suggest the goop from an icepack in a yeast vial. That keeps me with pretty consistent temp readings. It doesnt fluctuate a lot, turn on and off a ton a day.

As far as your creamer faucets, how long is your beer line, and what is your serving pressure?
 
Awesome idea on the yeast vial I may have to try that. As for the faucets.... I have my CO2 set at 20psi and the lines are about 4' on the Co2 and 4-5' on the beer lines. As for your yeast vial where did you place it in your fridge?
 
The yeast vial idea I stole from someone else here, name isn't coming to me roght now sadly.

Mine is placed on the back of the fridge on the top of the compressor hump, might not be ideal but it was easy to place there from the outside and its near wherethe beer comes from, so its the temp I care most about.
 
what do you think about those beer lines? any thoughts as to if that may be why i am getting a slow pour?
 
I honestly dont know about the slow pour. That pressure seems a bit high TBH, but I dont know whats different about creamer faucets.

With my perlick's I serve at ~10 psi and my flow is fine.
 
I shortened my line last night on one of my taps. I found that it did not help at all. When I stick a picnic tap on it works great but that faucet is just not pouring well for some reason. If anyone out there has some idea's please let me know I am willing to try anything at this point.
 
Well I am thinking of selling it now :-( I need to go bigger I think. I thought 3 would suffice but low and behold it won't. Is anyone possibly interested? I would sell it without anything just the fridge itself.
 
Same fridge but only needed to put 2 cornies and a 5# CO2 so not quite the mod that you did
IMG_1593.jpg


IMG_1589.jpg


IMG_1591.jpg


Only changes since these (other than use) is the tap handles, my parents have a wood lathe and had a piece of cherry from a tree knocked down during Katrina so they turn some handles for me.

Seems like people know a lot about this fridge. I have a couples questions. I already have this fridge converted with a one tap tower. I want to put a CO2 line coming from the outside somehow but I don't know if there are lines on the sides or back of this thing. Does anyone know if there are lines? Also did you add a steal plate on the inside of the door? Where did you find one that fit or did you cut it yourself? Do you need that to put taps on the door or can you just put them on as is?

Oh and I don't want to put the CO2 line through the door for aesthetic reasons.

Thanks
 
Back
Top