Wooden Brew Stand Build

Homebrew Talk - Beer, Wine, Mead, & Cider Brewing Discussion Forum

Help Support Homebrew Talk - Beer, Wine, Mead, & Cider Brewing Discussion Forum:

This site may earn a commission from merchant affiliate links, including eBay, Amazon, and others.

horseinmay

Well-Known Member
Joined
May 16, 2011
Messages
228
Reaction score
13
Location
Lakewood
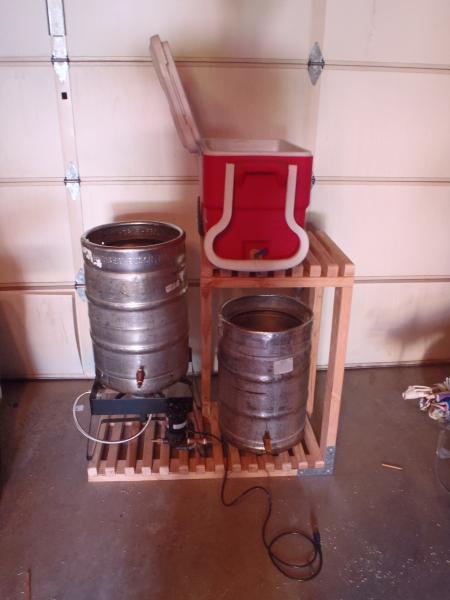
Here are a couple pics of my new brewstand. My friend Jeremy helped me design and assemble it, and I think it turned out really well.
I still have to put on the wheels, and plan on doing some permanent electrical and plumbing on this baby. When it's complete, I hope to wheel it out of the garage, and then just plug in a hose, extension cord, and propane tank and let 'er rip.

The HLT will be heated with a bucket heater. It takes a long time, but it works. I usually set it up the night before with a timer and wake up to a kettle full of water ready to brew with.

The diagonal brace makes the bottom deck more open, and looks pretty cool if you ask me.
P7090073.jpg


P7090075.jpg


P7090070.jpg
 
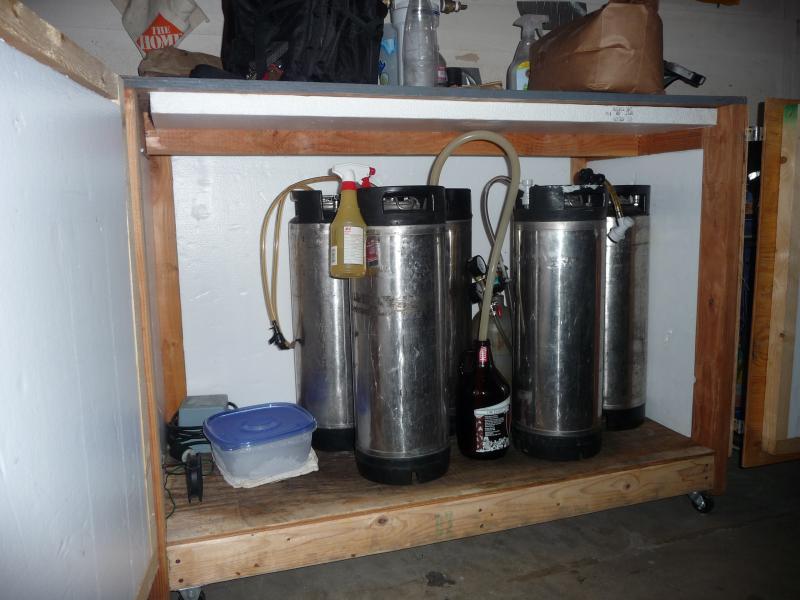
The next project will be to attach a minifridge to my fermentation cooler so I don't have to exchange any more jugs of ice. It will be a dual temp box that I can ferment in and serve out of.
 
Nice. I am mentally preparing for a similar build. About how heavy would you say it is without the equipment? Also, I might be concerned about overheating the wood under the turkey fryer. I have scorched many a wooden decks in my days..
 
Nice. I am mentally preparing for a similar build. About how heavy would you say it is without the equipment? Also, I might be concerned about overheating the wood under the turkey fryer. I have scorched many a wooden decks in my days..

It is definitely less than 50# without the gear on it. I had a line on free 2x4's so that's what I built it out of. A lot of thought went into slimming it down and keeping it light. 2x4 construction tends to be really bulky, and it can definitely hold as much weight as I could ever put on it.
I'm not too worried about the wood scorching, since my burner is low pressure. I can stand right next to it and it doesn't scorch my legs.
 
So I finally got around to brewing on my new wooden stand. Everything went smoothly and no children were scalded in the process. I have an 18 month old that very much wants to see what all this homebrew business is about. She'll learn it all in good time. On to the pictures. . . .
1. The brewstand. I squeezed it into a tight spot on the patio so it would be out of the way. Right next to the water supply.
2. Closeup of the brewstand and the gear. I still need to mount the pump.
3. Some implements and my Mash tun manifold. Just a copper whip with holes punched in it.
4. Inside of the HLT. Heated with a 1000W bucket heater on a timer. I set it so that the strike water is ready when I wake up on the weekend to brew.
5. The fermentation chamber with my beer tucked away. That's a 1/2" silicon tube on the gas post for a blowoff. I just take the poppet out so it can flow freely. I need to seal this up better and hook up a minifridge to keep it cool.

P1100795.jpg


P1100803.jpg


P1100805.jpg


P1100807.jpg


P1100809.jpg
 
Back
Top