OP
OP
Shhhhhh.

Don't do it: Zinc Metal Fume Fever : A Case Study : Blacksmithing How-to on anvilfire iForge
I actually found that link after I finished mig welding some galvanized unistrut into a brew stand in my garage. I never had any symptoms that I can tell but it's still a scary situation.
Bobby_M said:One of the advantages to a direct fire tun is how quickly you can make temp moves. Herms relies on a single burner to apply heat to twice as much thermal mass so it's slower. The other advantage an insulated direct fire tun is that I don't have to run my pump for an hour. It runs 5 minutes during the heating and that's it.
IMHO, constant recirculation is a good thing for keeping the entire mash temp homogeneous but it requires an automated temp control system due to the heat loss that comes with it. My manual system would need to be babysat to know when to light the fire and it would be often if recirculating.
Yes it is.Yeah it's not that simple.
Which will replace the $60? analog thermometer.If it were that simple you could say a $40 PID, $20 temp probe
Not RIMS, direct fire. You have a burner under the pot, right ? Install a gas control valve.$10 heating element.
Then you need a box to house the PID controller, switch, relay, and outlet.
It could go where your thermometer was OR it will take a Tee to mount it in the recirc line. A single Tee.Fittings to mount the temp probe
Use the burner already under it to direct fire it.and heating element.
Which is made from a short piece of 3/16" copper tubing. And which provides a lot of safety should you have a boil over that puts out the burner while you are in the house chatting up your SWMBO.If you are doing gas you need to install a pilot light.
That can be solved with a $40 PID controller and a $70 gas control valve. This setup then pretty much automates step mashes too.
gas shouldn't run through copper.
Not trying to "get" you, but if you can made due with a single digital thermometer, then yes, it can be done.If I can buy everything I need for $110 then you got me.
In my situation, I have no desire to automate using gas. The long term goal is pure electric so I'm not spending any money on an interim gas system.

Yes it is.
Which will replace the $60? analog thermometer.
Not RIMS, direct fire. You have a burner under the pot, right ? Install a gas control valve.
If the control panel is housed away from liquids a metal sheet will do. The PID controller has a relay already in it to turn the gas control valve on and off. You don't need an outlet. Everything runs on 120VAC like it already does, except the gas valve needs a 24VAC transformer, which you can get from any junked furnace or buy new for about $10.
It could go where your thermometer was OR it will take a Tee to mount it in the recirc line. A single Tee.
Use the burner already under it to direct fire it.
Which is made from a short piece of 3/16" copper tubing. And which provides a lot of safety should you have a boil over that puts out the burner while you are in the house chatting up your SWMBO.
Unless you like being a slave to your burners and brewing process ?
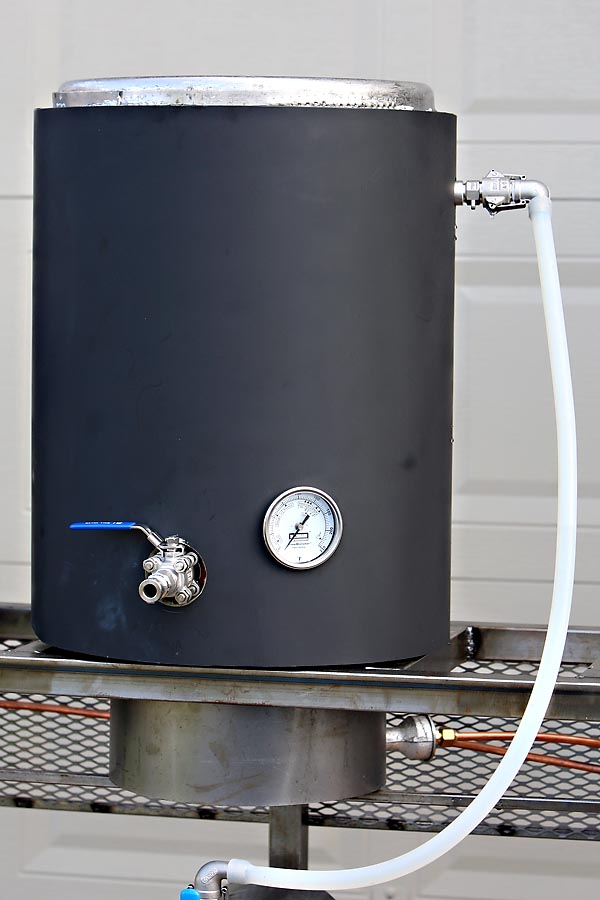
It's been a while since I did it but I THINK I used the precurved flashing to push the wool around the keg. It will crack in a few places because it is semi-rigid but once you have it wrapped well, it will curve around. I did spray some 3M super 88 adhesive on the outside of the wool just so it would stay on the flashing if I needed to remove it but honestly, I don't think I'll ever take it off the keg. I know I didn't use any adhesive between the keg and wool.
When I did mine I used sheet metal that was a bit thicker and harder to work with so it was necessary to prebend it. If I had glued the wool on first I think just the amount of metal bending i was doing would have it crumbling apart.
Bend metal, spray the heck out of it with Super 88 and then use tied downs to hold the metal in place. Drills holes and pop rivot buckles on.
I too have never removed mine from my keg.
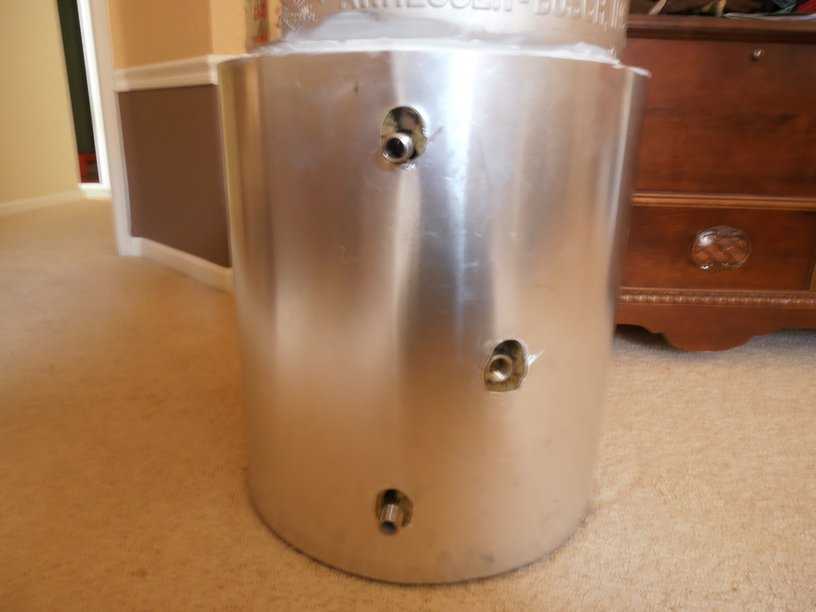
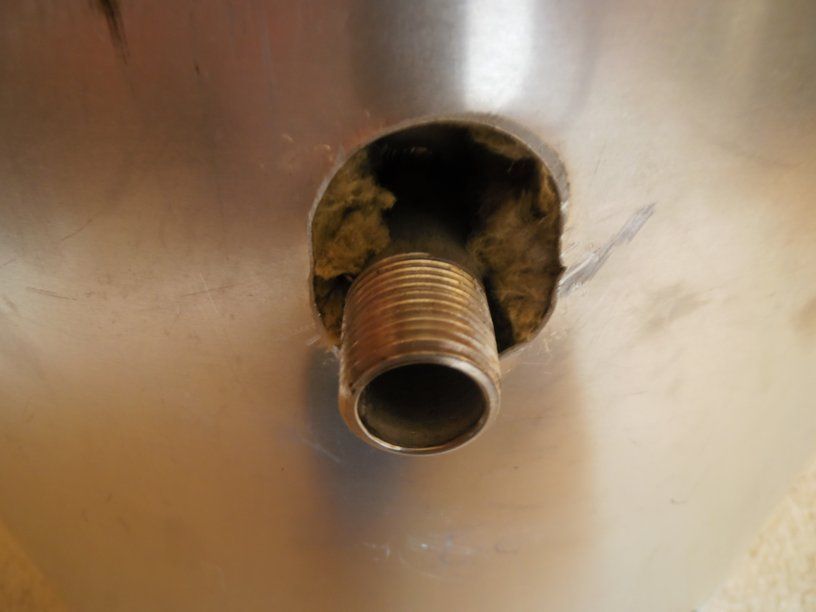
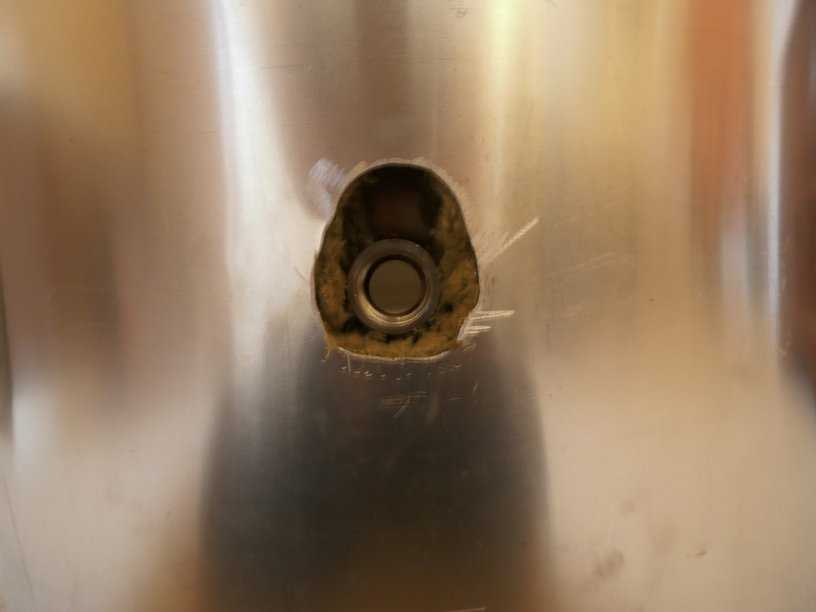
My question is how do I cover these gaps so the wool does not get wet?
Even though I am not direct firing my RIMS, I am watching for ideas on insulating my RIMS controlled MLT.
You just can't direct fire on a keg kozy so it's not necessarily relevant to this thread (not that it doesn't have merit in its own right).

This still holding up, Bobby?
Wonder how it would work out if I wrapped a keg with no holes, and then drilled them. Probably just have to open up the holes in the flashing to accommodate the fittings.
Enter your email address to join: