Three Taps Fermenamber (Fermentation+Chamber)

Homebrew Talk - Beer, Wine, Mead, & Cider Brewing Discussion Forum

Help Support Homebrew Talk - Beer, Wine, Mead, & Cider Brewing Discussion Forum:

This site may earn a commission from merchant affiliate links, including eBay, Amazon, and others.

ThreeTaps

Well-Known Member
Joined
Aug 21, 2009
Messages
520
Reaction score
7
Location
Pacific Beach, CA
Hi all,

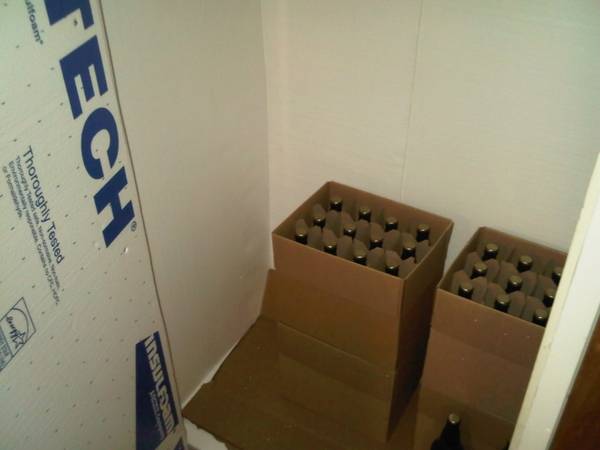
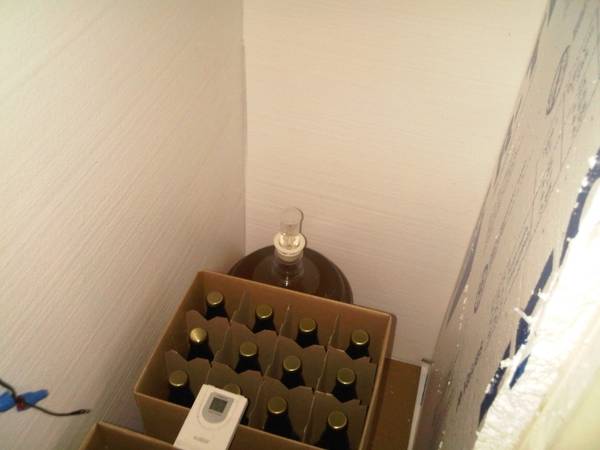
This will be updated with my progress as it goes. Should be done by the end of this weekend. It's my fermentation chamber, made out of the existing closet in my garage. It should hold up to 5 or 6 buckets / carboys for fermentation purposes, as well as all my bottles that are conditioning and my empty equipment. I'll also be putting up an additional shelf in the middle.


09/30/09
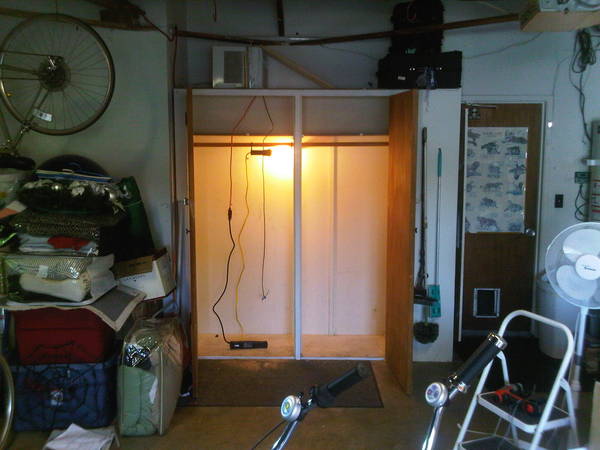
-Cut out attic-style door on top, installed hinges for door and mounted A/C unit.
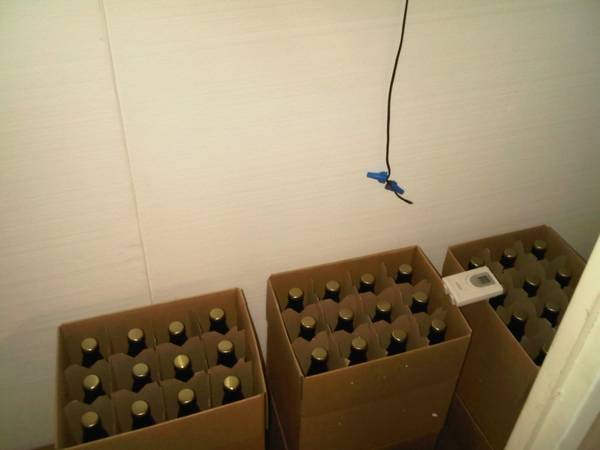
-Lengthened lead wire for temperature sensor of A/C unit by 7' and draped it inside chamber.
-Scrubbed chamber down with bleach solution to remove existing mold spores (last night, then left fan on it until this evening).
-Extension cord for A/C unit is 12AWG 15A 125V grade, and is plugged directly into receptacle. Extra extension cord draping down into chamber for light and additional fan, if needed for circulation.

IMG00115-20090930-1636.jpg


IMG00116-20090930-1636.jpg
 
It's finished (well, most likely, will have to wait for the first brew to see).

I used 2" thick insulation board...that stuff is pretty easy to work with. I have it set up so that the left door is the main access door, and the right door has a big piece compression fitted behind it. There are a few small gaps in the insulation here and there, so I'll have to see how well it retains temperature when I actually do my next brew. Last night on a quick run it got from 69F to 64F in 15 minutes, then I turned it off, and it took about an hour to go back up to 68. Considering the short amount of time running, I would expect it to retain colder temperatures much better when it's actually in full use. If not, I can just use some insulation spray foam like Great Stuff or something to fill the gaps (the gaps have either 1" of wood behind them or wood and concrete, as is on the bottom). I also had to make a sort of ramp for the cold air on the top, as the shelf only allows for the air to flow to the bottom through a 3" gap in the front of the chamber (in between the doors and the edge of the shelf). The ramp makes sure all cold air is diverted to that gap instead of collecting on the shelf.

Outside the chamber:
Chamber005.jpg


Left door open:
Chamber006.jpg


Both doors open:
Chamber001.jpg


Inside left:
Chamber007.jpg


Inside middle:
Chamber004.jpg


Inside Right:
Chamber002.jpg


Inside Top:
Chamber003.jpg
 
Very nice.

You are right, I'd imagine. Once you have it in operation, you will have carboys and bottles in there, and they will be at your "preferred" temp too. That will be a LOT more thermal mass, so it will hold temp a lot longer than your test trial hour. (And if you had stuff in there already when it dropped the temp from 69-64 in 15 min, then that stuff didn't have time to hit thermal equilibrium, so it would have raised your temperature faster!)

I'm willing to bet you'll be fine with small gaps....heat transfer is purely a function of area and heat resistance.....so if 99 percent of the box is covered in styrofoam and 1% isn't, then filling the gaps only gives you a 1% boost at best. (warm air doesn't "seek out" gaps :))

Again, looking great!

Thanks shorty, you're always a great help on the forums.

I'm really excited to try this thing out. The Chargers doing so poorly (well, the defense at least. The offense has always been a 4'th quarter machine) yesterday gave me a good excuse to finish it up. Now I just need to devise a hanging shelf that can hang from the underside of the shelf currently in place, to put all my equipment on (empty buckets, stuff like that).
 
I'm willing to bet you'll be fine with small gaps....heat transfer is purely a function of area and heat resistance.....so if 99 percent of the box is covered in styrofoam and 1% isn't, then filling the gaps only gives you a 1% boost at best. (warm air doesn't "seek out" gaps :))

You're right about the heat transfer part, but don't forget about the fluid dynamics part.

The cold air will seek out gaps, in a way. Since the density of your cold air is more than that of the warmer surrounding air, it will tend to sink, and leak out the gaps at the bottom. That will suck in warm air at the top. It's a vicious cycle!! :eek:

You will gain much more efficiency through sealing a 1% gap than 1%.

It's fairly easy and cheap, just use some caulk or great stuff. Then bask in the glory of your awesome fermentation cabinet!! :mug:
 
Thats looking good!

I used that "good stuff" foam sealant to seal the gaps up in my temperature controlled area in the garage, it works great. If you have any gaps around the door too a little weather striping can help to tighten the seal of the door.
 
i've been considering using that type of insulation for my fermentation chamber vs the foil backed foam, as the thickest foil stuff here is only 3/4". Good to see its working out for you, i may follow suit.
 
Thanks for the kudos and the tips, I'll try out the weather stripping bsquared.

I'll let you all know how it works after my first AG brew this Saturday (most likely, that is). My fittings and sight glass for the mash tun and boil pot just arrived today, so now all that's left are the accessories from AHS and the grains from brewmasterswarehouse.

Woah woah woah....a month ago you said you were done brewing for the year, and now you are going all grain??? (Apparently going all grain well, seeing as you're even getting a sight glass....that's on my "1 year plan").

Have fun man :rockin: :mug:
 
So my first two AG brews went flawlessly, getting 85% and 87% efficiencies thanks to Brewmasterswarehouse.com. As far as the fermentation chamber goes, I filled most of the gaps and edges with Great Stuff Insulation Foam, and it holds temperature very well. Just today the external temp controller came in, so I mounted it outside the chamber and stuck the probe in a 1/2 gallon margarita bottle filled with water (the probe and lead is water proof, according to the CHI Company). I've got it set at 70F right now, so it will probably only go on once or twice a day if that, but it works like a charm when setting it lower.

I'm stoked to have a fully automatic fermentation chamber now! Time to brew my Pecan Scottish Ale (tomorrow) and possibly the EdWort's Bee Cave IPA (Sunday).
 
Woah woah woah....a month ago you said you were done brewing for the year, and now you are going all grain??? (Apparently going all grain well, seeing as you're even getting a sight glass....that's on my "1 year plan").

Have fun man :rockin: :mug:

Yeah, I got a nice bonus at work for the extra stuff I've been doing which funded this whole brewing splurge :)
 
Well, keeping the temp probe in a 2L bottle of water didn't work too well, and neither did taping the probe to the fermentation bucket and encompassing it with insulation. It would make the A/C go on at first for a little bit, but then I would come home a couple hours later and the ambient temp was up to 69F, fermenting bucket was 74F and yet the A/C wasn't on. So I taped it to the side of the chamber, to kick in when the ambient temp rises above 60F. Hopefully that will keep it in under control.

EDIT: After 30 minutes of the A/C going on, I went to check it and it was off. The ambient temp was 68F. I'd love some suggestions as to why the temperature probe isn't reading the temp right. As soon as I close the probe in my hand, it kicks on, so I know it's working, but it's not working how it's supposed to.
 
Back
Top