My 1/2" Tubing Roller Build

Homebrew Talk - Beer, Wine, Mead, & Cider Brewing Discussion Forum

Help Support Homebrew Talk - Beer, Wine, Mead, & Cider Brewing Discussion Forum:

This site may earn a commission from merchant affiliate links, including eBay, Amazon, and others.

CoopDvr

Active Member
Joined
Aug 22, 2009
Messages
41
Reaction score
5
Location
Fort Worth, Texas
I recently purchased a 1/2"x50' coil of 316 SS tubing for a new EHERMS system that I'm building. After reading of many failed attempts to coil by hand, I decided to build a proper roller.

First of all, I have to give a big thanks to V-twin for his roller build. My design is a bit different, but his build was the inspiration for my build. You can see his build here: https://www.homebrewtalk.com/f51/50-foot-1-2-inch-ss-coil-300138/index12.html

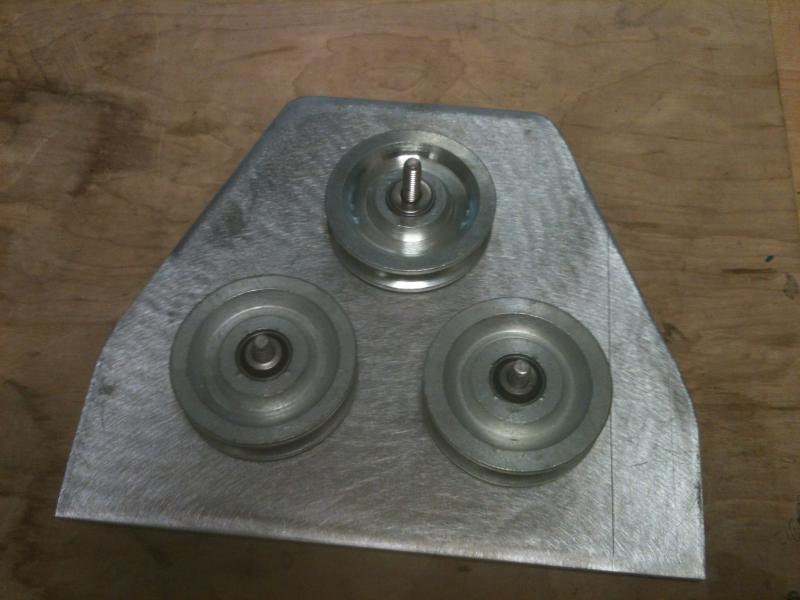
I bought three 1/2"x3" wire rope sheaves from Grainger. These have the bearings, so they roll with ease: http://www.grainger.com/Grainger/Sheave-5RTE0?Pid=search

The rest of the build is with scrap aluminum and fittings from my shop at work.

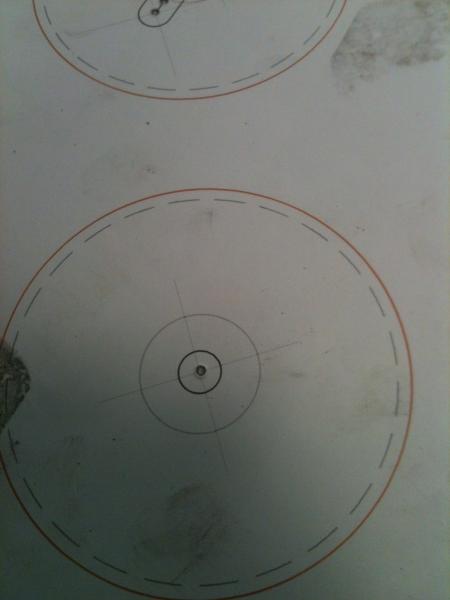
I used 1/8" pieces of aluminum sheet. I took two small pieces and attached them together with double sided tape. I then made a template and taped it to the panels. I cut and drilled the panels together through the template.

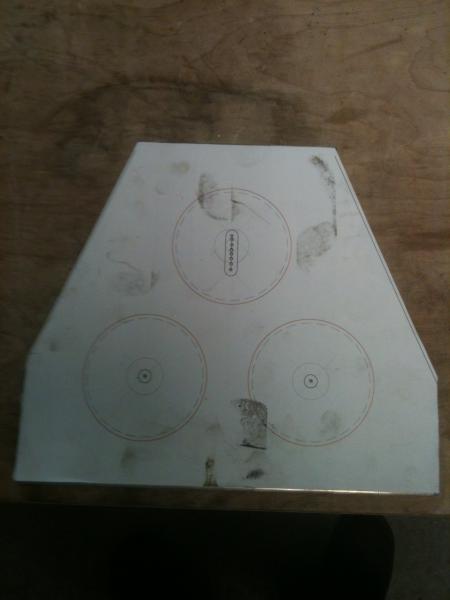
photo 1 (8).jpg


photo 2 (8).jpg


photo 3 (7).jpg


photo 3.jpg
 
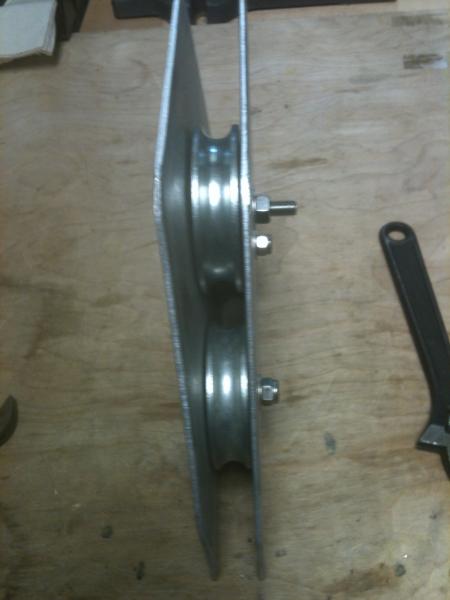
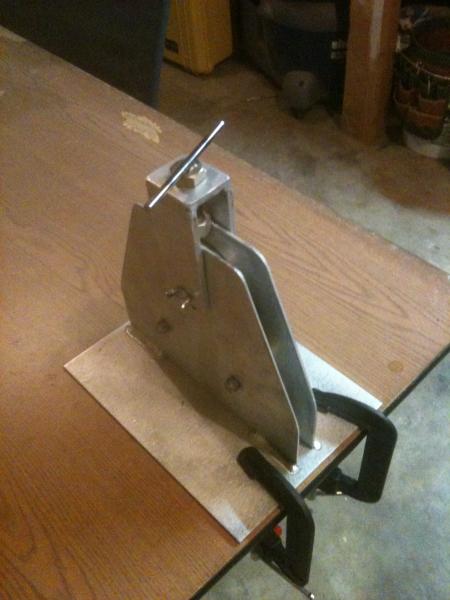
So once my plates were complete, I inserted my new sheaves with 5/16" SS hardware. I then welded a base plate for clamping and an aluminum 5/8" nut at the top.
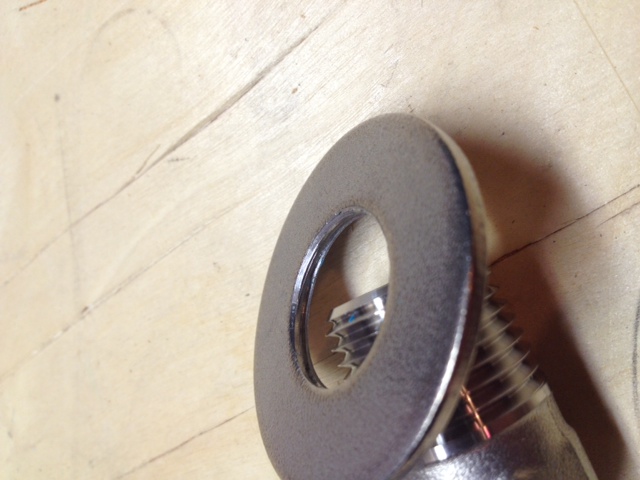
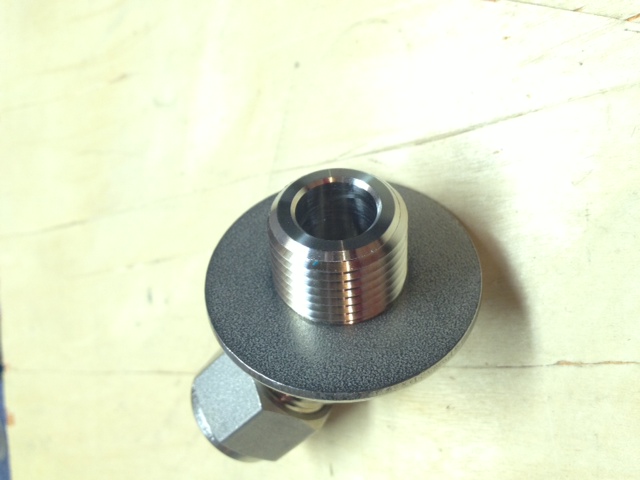
photo 4.jpg


photo 2 (2).jpg


photo 1 (2).jpg


photo 1 (3).jpg


photo 4 (2).jpg
 
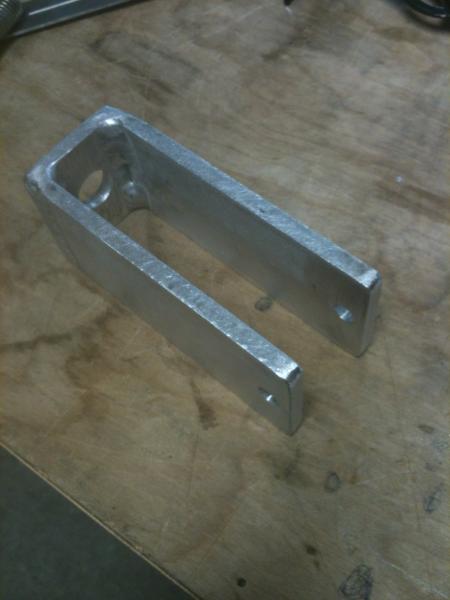
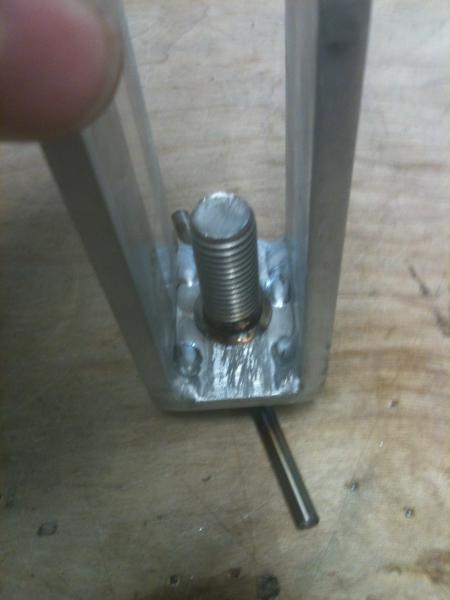
To adjust the roller, I added a fork assembly at the top. It's made from 1/4"x2" aluminum flatbar. I installed a SS 5/8" bolt with a small piece of SS rod so I can make adjustments by hand. I also welded a thin retaining washer underneath so it would pull the sheave back up when I loosen it.

photo 4 (3).jpg


photo 2 (3).jpg


photo 2 (4).jpg


photo 1 (4).jpg


photo 2 (5).jpg
 
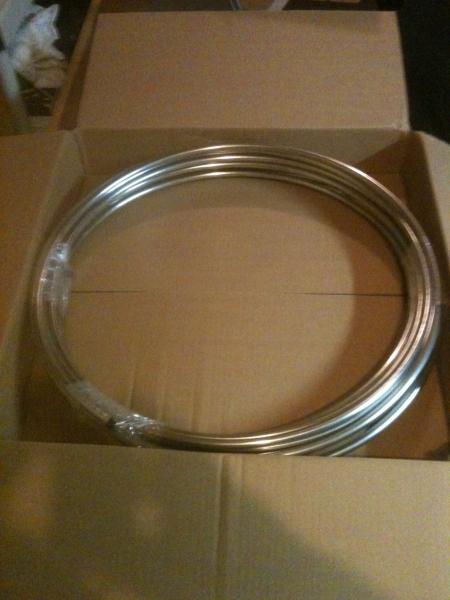
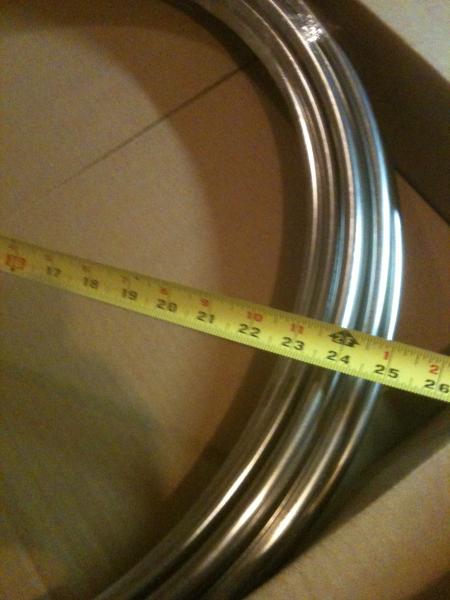
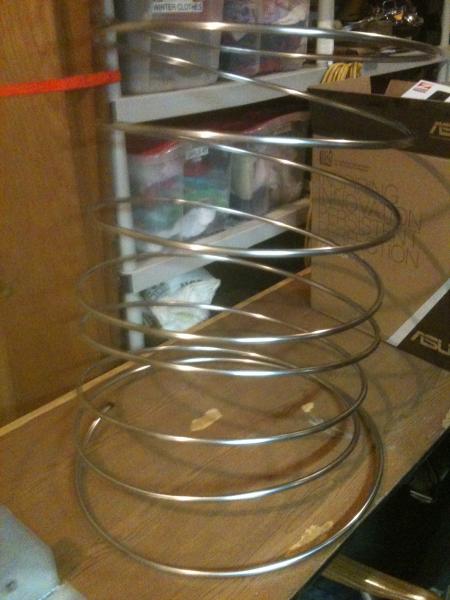
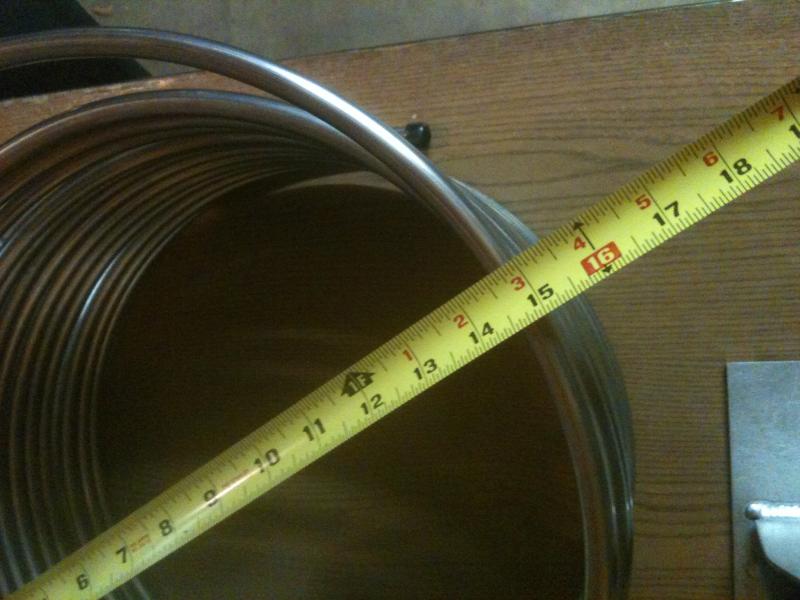
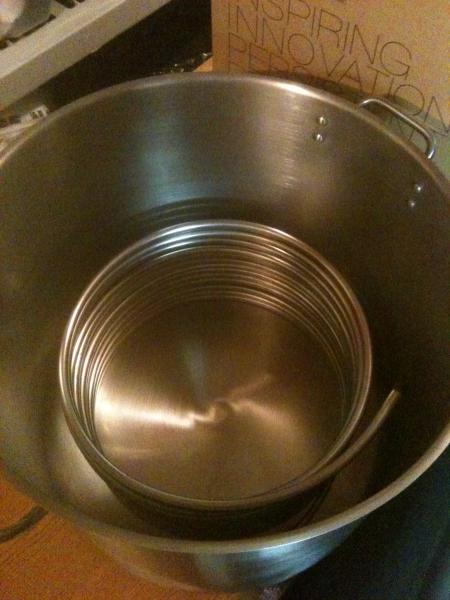
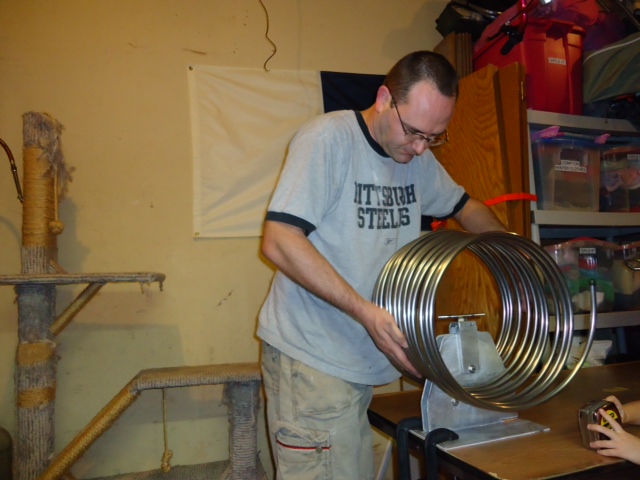
Now to see how it works. Back at home I clamped the roller to a table in my garage and opened my box of tubing. As shipped, the coil is about 24". My 20 gallon HLT is 19-7/8" diameter. I'm looking for about a 15" finished diameter. As you can see this thing sprung out really far once I cut the shrink wrap.... glad I had a hand on it.

photo 3 (6).jpg


photo 4 (5).jpg


photo 1 (6).jpg


photo 4 (6).jpg
 
Success! So the coil rolled up great! It was nice and smooth and not much effort at all. I ran it through about 10 or so times, and tightening the top sheave about a half turn with each run. V-twin and others spoke of significant "elbow grease" required to roll their coils. I don't know why this is unless their sheaves don't have the bearings? But I don't know if that's the case. I do know it's worth a few extra bucks to get the sheaves with the bearings.

Anyway. I got the diameter I needed and the space between coils tightened up with each pass too. You can see from the photos that the ends sweep out further than the rest of the coil. This is intentional as to make a smooth connection into my 1/2" Swagelok elbows that I'm going to install later.

If there's anyting I'd do different if I was doing it again.... I'd maybe hinge one of the side panels to allow for quick changeout of the sheaves for rolling different sizes of tubing. But in reallity, all of my stuff is going to be 1/2" anyway, so not a big deal. I can still change the sheaves anyway if I really want, it would just be a PITA. :D

photo 2 (6).jpg


photo 3 (8).jpg


photo 1.jpg
 
That's pretty damn cool. How does it work?
Oh welds looks awesome too.

Thanks jmz. To be honest I didn't run the welds. I did all the rest, but I fitted it up for a welder that I work with to actually TIG it. A couple of 11% Tripels make for great currency ;)

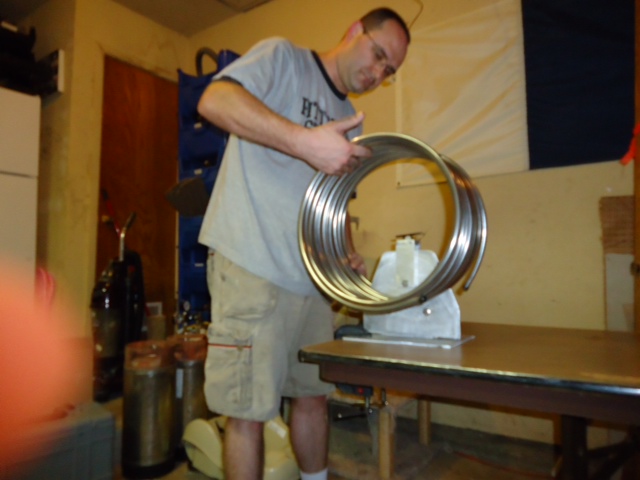
How it works is I start one end of the tubing between the rollers and adjust the top roller down until it contacts the coil. Then I spiral it through the rollers with one arm inside the coil and the other feeding it along. When I get to the other end, I tighten the top roller a little more and roll back the other way. As the coil tightened up, I was able to pull my arm out and just spin it with two hands like I was spinning a cylinder on its side.

I've got some action photos that my 4 and 6 year old daughters took. But those were on a different camera and HBT isn't allowing me to upload them for some reason. I plan to transfer them over to my phone (that's what the rest of the pics were taken from) then back to my computer and see if that works. Hopefully I can get them posted by tomorrow sometime.
 
I know this is an old thread, but this is what Ive been looking for to fix all my coil forming problems. Do you by chance have any action photos or pics of actually using this device. I might be giving it a try. Nice work, Thanks
 
Thanks everty. I meant to post photos of me rolling my tubing, but never got around to it. I'll have to figure out where they're stored. I'll try to post something
 
That would be awesome thanks, Im excited to try this i've got a couple coils i want to make. Cheers
 
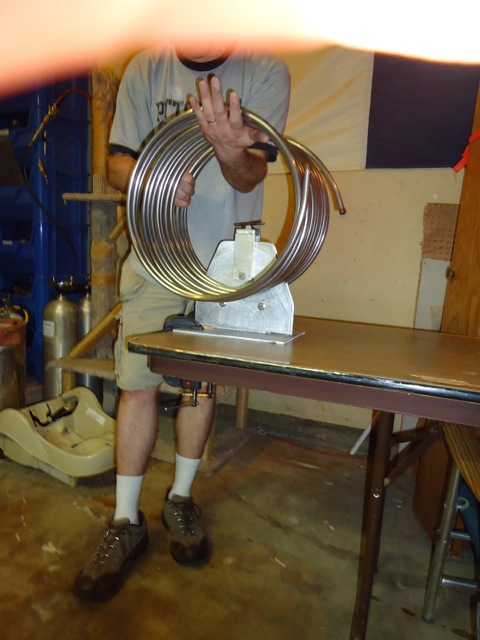
Okay, so I found the photos that my daughters took. You'll have to excuse a few fingers in front of the camera. I didn't get any shots as I was starting, but I got a few after several passes.

photo 1.JPG


photo 2.JPG


photo 3-1.JPG


photo 3-2.JPG


photo 2-1.JPG
 
It's hard to tell from the pics, but I was pulling from one side and pushing from the other. With small adjustments, it was rolling very easily and I was able to pull it through with ease. If I tightened more, then it would take more effort, but there's no need. 2 passes with easy resistance will give you as much or more coil than 1 pass with "elbow grease".

As I got to the ends, I would support the coil by holding it up, or by running my arm through the center. If you want it tight, you'll need to keep it supported. As I neared the center of a run, I could just put my hands flat on each side and spin it like a cylinder.

I hope this helps you out, everty. Feel free to let me know if you have any questions....
 
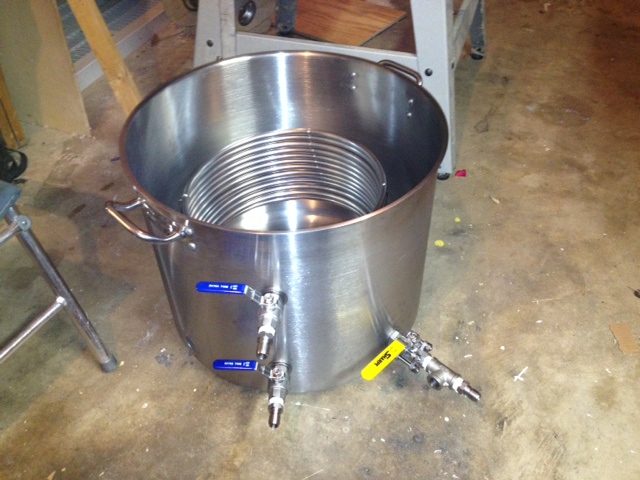
Here's my coil installed in my HLT. Even though the coil was fairly tight after the roll, it was trying to spread out when I installed it. So I wrapped the coils with thin stainless wire to keep them pulled together. It's pretty solid now.

photo 1-5.JPG


photo 2-5.JPG


photo 3-5.JPG
 
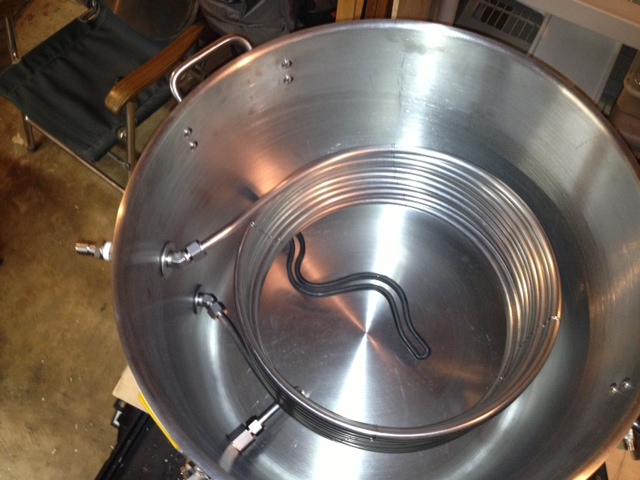
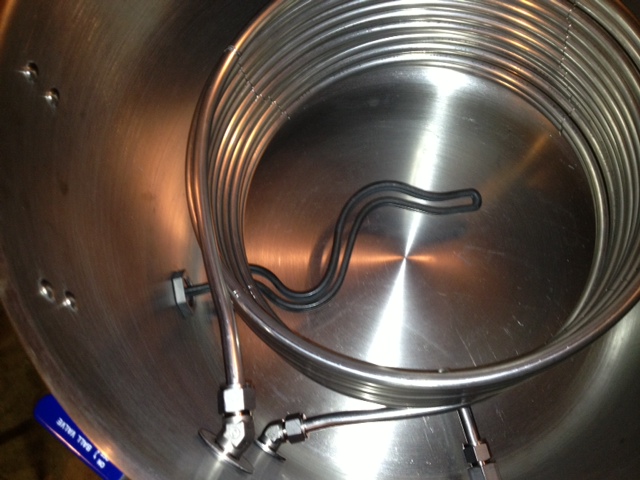
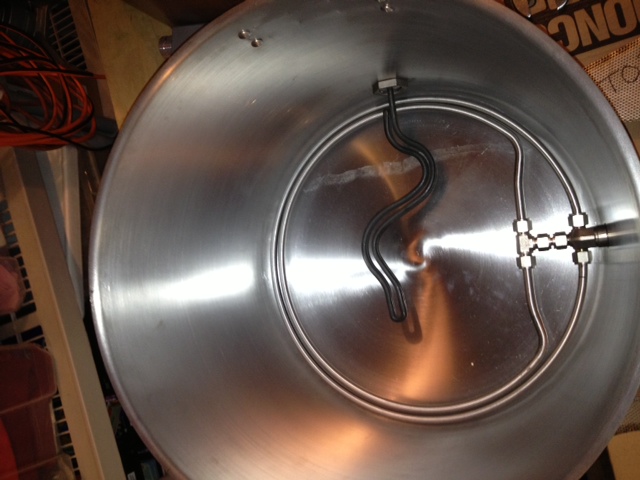
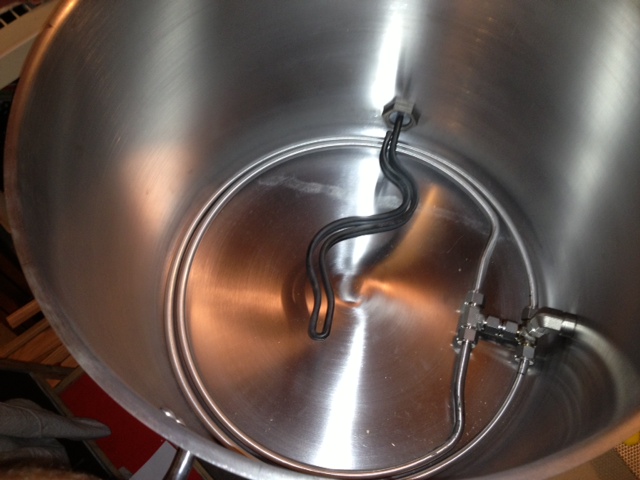
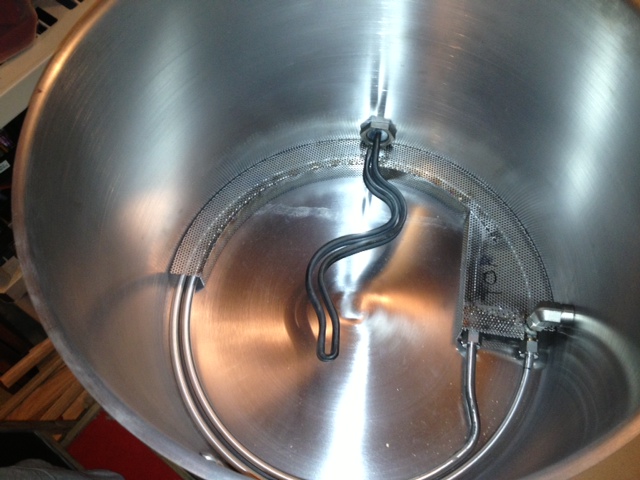
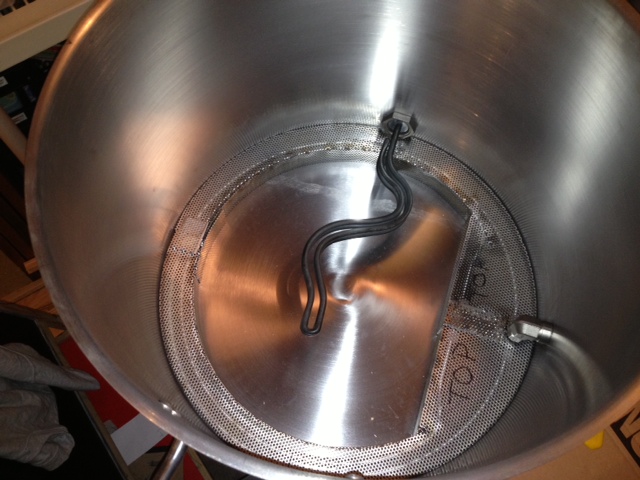
And while I'm breaking out the pics, I might as well show how the roller helped me out in my kettle. I used the roller and a tubing bender to make circumferential drain tubes. These tubes will get slits cut in the bottom about every half inch or so (haven't gotten that far yet - full time job, nearly full time engineering student, and 3 kids... this is a very slow build). Anyway, I digress. The tubes are covered with a perforated screen made from leftovers from my homemade MLT false bottom.

photo 1-3.JPG


photo 2-3.JPG


photo 3-3.JPG


photo 2-4.JPG


photo 3-4.JPG
 
Looks Good, are they 45 weldless bulk head fittings? Where did you get them?
I'm interested in how well the drain system in you BK works. How did you get the bends and curve in the material to fit so well?
I'm debating on using a full FB in my boil kettle verses a hop stopper/spider, but it looks like you may have something with that circumferential drain tube. Reading posts here can drive you nuts on the good and bad points of each one. Most issues seem to be with slow drain times due to the hops clogging up the holes. Do you use pellet or whole leaf hops?
Keep us posted on the flow rate and how well it works.
 
Thanks so much for posting the pics. I love what you did with the boil kettle. Id be interested hearing how the bk set up works out. Thanks for sharing your project.
 
Looks Good, are they 45 weldless bulk head fittings? Where did you get them?


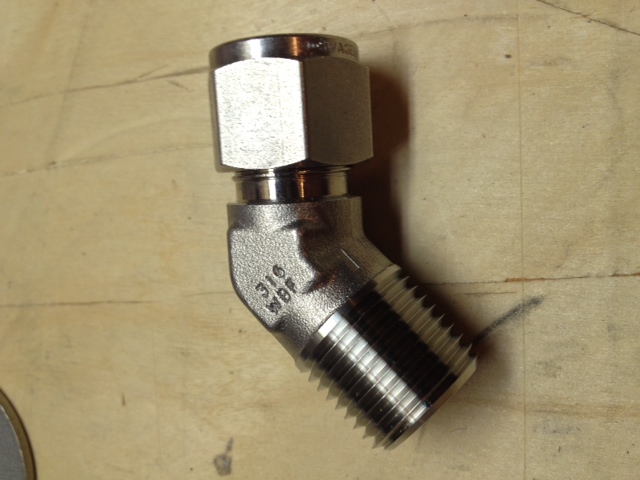
Thanks. These aren't bulkhead. They're standard 1/2" NPTx Tube fittings from Swagelok, part #SS-810-5-8

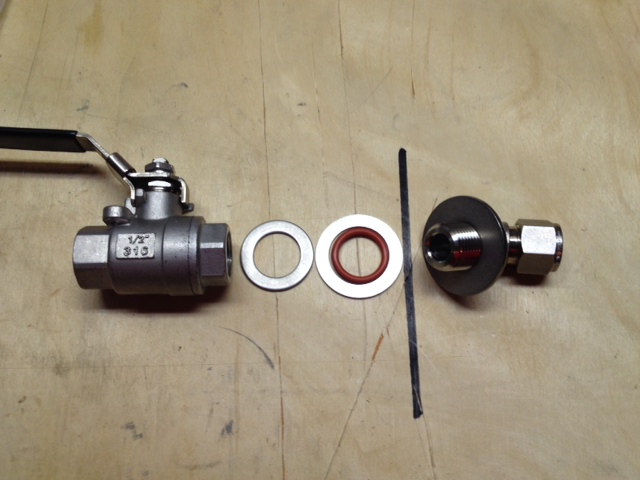
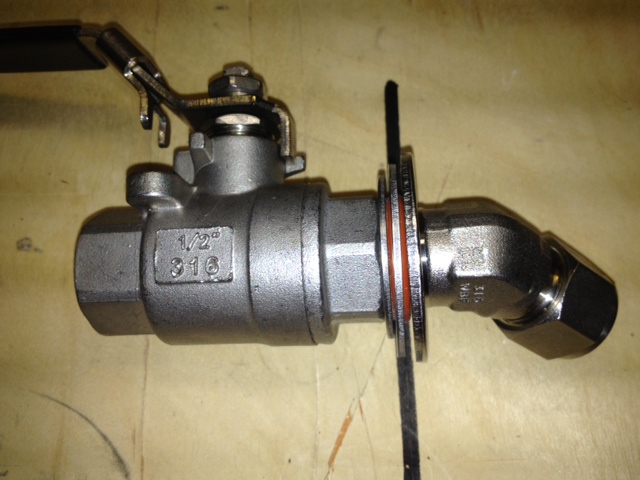
I tapped a 3/4" SS washer with an NPT tap to create a flange on the fittings. This allowed me to essentially turn them into a bulkhead. I couldn't find any 45 bulkheads and didn't want to add excess fittings. Here's how they're configured:

photo 2.JPG


photo 1.JPG


photo 1-1.JPG


photo 2-1.JPG


photo 3-1.JPG
 
I'm interested in how well the drain system in you BK works. How did you get the bends and curve in the material to fit so well?

I have no idea yet how well it will work. I'm still building. This is a long term side project for me. I spent about a year amassing my parts, and now I'm very s-l-o-w-l-y --- putting it all together. I don't find much time to work on it, so it will be a while before I can post results. I'll definitely do a build thread once it's completed. But it will likely be another year....

As far as the bends. I laid out the plan in AutoCAD first, so I had a good grasp of the measurements and radii I needed. The tubing roller performed flawlessly on this and I'm very pleased with it. The trick is knowing where to stop rolling; because the tubing needs to be straight where it goes into the compression fittings.

I initially rolled the outer tube slightly larger than I needed, then did light passes until I got a perfect fit to my kettle. Then, I did the same with the inner tube, until it was perfectly snug with the outer tube. Then I made my bends with a bender. The straight sections on the ends were intentionally left longer than needed; so after all the rolling and bending, I was able to cut the ends off for a perfect fit into the compression fittings.
 
I'm debating on using a full FB in my boil kettle verses a hop stopper/spider, but it looks like you may have something with that circumferential drain tube. Reading posts here can drive you nuts on the good and bad points of each one. Most issues seem to be with slow drain times due to the hops clogging up the holes. Do you use pellet or whole leaf hops?
Keep us posted on the flow rate and how well it works.

I debated the FB as well, but then this idea came into my head. Circumferential drain tubing is nothing new, but the way I did mine is pretty unique from what I've seen. Since I'm using other people's designs for pretty much every other part of my build, I just had to have something of my own.

I will cut slits into the bottom of the tubes. The outer tube will get slits all the way around, The inner tube will only get slits on the outer rolled part, not on the parts that cross over to the fitting.

Anyway, I plan to add a tangential inlet to the side of my kettle. I will fill my HLT with ice water and cycle the wort through it, then back through the tangential inlet to whirlpool. Once I cool to my desired temp, I'll drain to my fermentor.

I use pellet hops mostly. I'm thinking between the whirlpool, screen, and tubing slits, I shouldn't have any clogging issues. I'll post results... someday. :drunk:
 
Thanks so much for posting the pics. I love what you did with the boil kettle. Id be interested hearing how the bk set up works out. Thanks for sharing your project.

Thanks everty. I'd like to see what you come up with. If you post anything, please send me a link. Cheers!:mug:
 
So awesome and over the top. You should consider using your tool to custom build ss coils for other homebrewers with less skill, make a few bucks to spend on your own gear. I love the diy builds on hbt.
 
I have the same sheaves you used. I bought them to make a tubing roller. I just haven't built it yet.

I'm ready to move forward. I'm thinking about doing the same thing you did, or something very close to it.

How tight of a coil we're you able to roll with the dimensions you used for your roller build?

I'm wanting to reduce my coil to somewhere between 11 and 13 inches OD. I could probably go as high as 14" OD, but I think 12" OD would be the ideal for my application.
 
Back
Top