Help me build a fermentation chamber!

Homebrew Talk - Beer, Wine, Mead, & Cider Brewing Discussion Forum

Help Support Homebrew Talk - Beer, Wine, Mead, & Cider Brewing Discussion Forum:

This site may earn a commission from merchant affiliate links, including eBay, Amazon, and others.

rycov

Well-Known Member
Joined
Feb 10, 2010
Messages
1,940
Reaction score
28
Location
conway SC.
please. :D

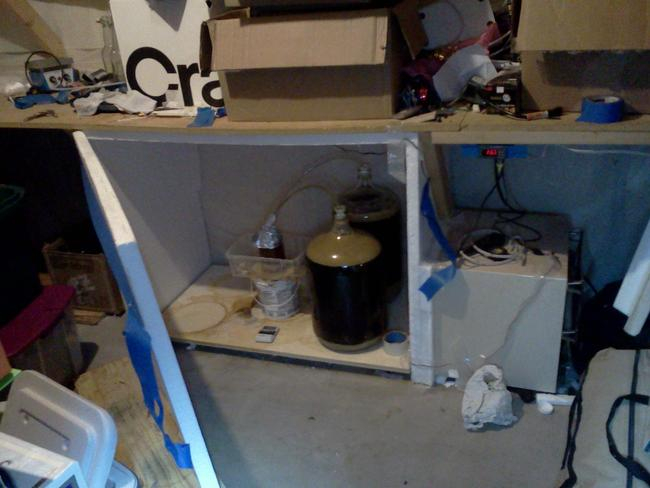
i have a mini fridge. (magic chef if that helps) i was wanting to build a chamber and have this stuck to the side of it with the door off to cool it. how can i tell if it has the power to cool something large enough for two carboys? i guess, what number am i looking for or something. i get the idea of how people have turned these into what im looking for i just dont know very much about electronics

thanks everyone!
 
There is anecdotal evidence (as DIY build threads) that you can create a chamber 2, 3, even 4 times the volume of the existing fridge and still be okay. The fact of the matter is that the compressor WILL need to run more often than under factory conditions. One can justify that this will result in less lifespan of the fridge.

I personally made my underbar kegerator about 2x the volume, and it has been working fine for close to a year now at 36 deg F. Who knows, it may blow out tomorrow, or in 10 years.

I think the key to this type of build is to make sure you are completely air-tight, add as much insulation as you reasonably can, and try not to overload it at any particular time (don't put 5 gallons of near boiling wort in it to chill, etc).

If you are running the fridge at ale fermentation temps with a temp controller it will probably be running less often than factory, so you will be fine.

Be sure to look up all the builds on here (search for coolbox or dorm chamber), and also make a thread when you begin construction!
 
I build a ferment/fridge in my basement brewery. Here is the link

https://www.homebrewtalk.com/f51/modified-keezer-ferment-chamber-aka-beast-218288/

It's not all complete yet but I am using the ferment chamber as we speak to maintain a temp of 68F. Its fully insulated, all i need is the last door and paint. My basement is running around 64F. I have a hair dryer hanging from a nail. My outlet is run through my dual zone Love controller.
 
I think the key to this type of build is to make sure you are completely air-tight, add as much insulation as you reasonably can, and try not to overload it at any particular time (don't put 5 gallons of near boiling wort in it to chill, etc).

If you are running the fridge at ale fermentation temps with a temp controller it will probably be running less often than factory, so you will be fine.

thats what i was thinking. i have a wort chiller so i won't need to use it to chill that. just wanna keeps my temps more regulated. thank you both!
 
i'm guessing the hair dryer is for heating, are you taking that apart as well? or just plugging it in?

also i think i understand. i plug the fridge and whatever i'm using for heat into an outlet that is hooked to a thermostat and this controls which one goes on and off to keep the temperature inside right?
 
There is a link in my sig to a thread that discusses ferm chambers, R-values, mini-fridges, etc.. It lays out some average numbers for mini fridge outputs. Might have some info for you.
 
i'm guessing the hair dryer is for heating, are you taking that apart as well? or just plugging it in?

Yes correct. No i'm not taking it apart. I had another heater that I wanted to use but its in out 11 month olds room. Not sure what I'll use for the primary source. But the hair dryer stays up high away from any blow out that might spill out.

also i think i understand. i plug the fridge and whatever i'm using for heat into an outlet that is hooked to a thermostat and this controls which one goes on and off to keep the temperature inside right?

Yes. I had to do some tweeking on my controls so that the two zones stayed independent of each other. But yes you are right. For my ferment chamber I hooked up an outlet to the controller and for the fridge I connected the guts from a fridge directly to the controller. I have two computer fans and an exhaust fan blowing on the chilling plates to keep down the frost.
 
I have an ancient fridge, like 1.5 ft^3 or something, at least 25 years old. It runs a chamber that holds 6 carboys easily. Chamber goes down to 12*C right now (53.6 F), although I run it at 61 F so the fridge isn't always on. It's running the fridge hard, but it was a free fridge, and when it dies there are many more on CL for free.

This thing is literally taped together. With 2 hrs and some plywood I could make it WAY more efficient, easily, (it leaks like a sieve)...but I'm too lazy. It was about $10 for the 1.5" styrofoam, $1 for the box to hold the temp controller, an old laptop power supply to run my air circulation fans (free), 2 computer fans (free), and about 20 miles of tape, ($0.25....I love working for 3M).

The wooden platform the carboys sit on is on castors, but I never even wheel it out, just easier to reach in and grab carboys.

KYUMG.jpg
 
hey. sorry to ask more stupid questions. but here goes

i get the concept: the thermostat has a temperature probe and the outlet to plug the heating unit and cooling unit are run through the thermostat. then when the temperature gets to hot or too cold it cuts on or off the cooling or heating.

i can't find a diagram for how i need to wire my thermostat and everything. i've done a lot of searches and i cant figure out which one will work for mine. (i got a thermostat). mine has two sides for plugging stuff in, one says heat pump and one says conventional. the conventional side reads in order: Rh, Rc, Y, G, W, then has 3 blank spaces and then, W2, Y2,C,A,W3,H. everything after the w is blocked off with little tabs that i guess i would break if i needed to use the slot. it is a hunter model #44905

please help. i want to get this thing goin but i don't know what the hell im doin
 
i get that much. actually i read and kinda understand what's going on in the link you posted. but his are numbered and mine have the letters Rh, Rc, Y.....and im very not electricly inclinded. actually if i could just get a list of what his numbers mean compared to my letters then i think i would have it figured out.

(sorry my previous post was not well thought out, thanks for straightening me out)
 
ok. i think i attached a picture. the black wire is black, the blue should be white and the green is the ground. the top outlet is for heat and the bottom is for cooling. i tried to make it the same as the guy from the ebay aquarium build that you posted (hope its not too confusing, or just wrong) but the whole right side of the picture is where the thermostat should be, i just dont know where the things should be pluged in.
 
ok. i can't figure out how to put on a picture from windows paint. so **** it. but what i'm saying is i get how the other guys deal is set up, but not where everything is supposed to go to the thermostat
 
Back
Top