I made 2 stir plates based on the original post and both work fine, but I have some questions based on what others are doing:
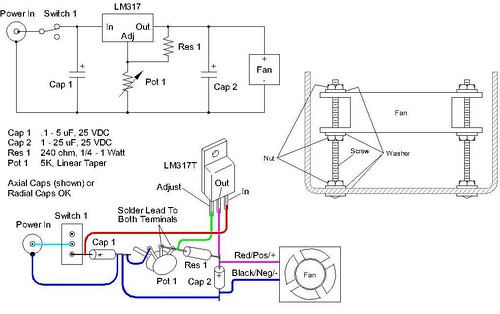
1) why use resistors, capacitors and the LM317T? I didn't and my stir plates work. I just wired up an on/off switch and a pot and the fan.
2) does anyone have a good fan recommendation? I took both of mine from old computers. One came from a Mac and is clearly better-made and has no trouble spinning a 2" stir bar in a 2L starter. The other is a cheapie from a crappy PC and can only spin the 1" stir bar in a 2L starter - the 2" bar can stop the fan from spinning! I tried a third cheapie fan and it's no better, maybe worse.
1) The LM317T allows more control over RPM and depending on the fan can better handle the power dropped, especially if heatsinked. I can' t remember how to do the calculation, but essentially the resistors are wired to the LM317T to set it's current or voltage, where I am confused then is why they are needed when using a pot anyways. maybe it's to get a minimum voltage drop required.
http://users.telenet.be/davshomepage/current-source.htm
A rheostat dissipates the power that is dropped as heat and will eventually burn up. Of course the amount of power dropped using it will depending on the current pull of your fan. For my .12 amp fan, it probably would have worked well enough, but with the circuit I have no I can change fans and still have full control without neededing to change power bricks.
I used a cooler master ball bearing fan, I would not use a cheapo sleeve bearing fan for this design. I used it only because it is what I had laying around but I too am interested on what the prefered speed of the fan is. I have some real nice Panaflo L1A (Legendary but no longer made) and L1BX's that I was tempted to use, but those are like $20 each. I have a few of them that have been running in my PC almost non stop for 7 years and have yet to show any signs of wear, while many other fans have been replaced several times. Hydro Sleeve bearing design seems very reliable from my experience and very quiet. They are quite stout and extra thick I just have a feeling that they would work perfect, unless of course super high speed is preferred. I guess they are a special sleeve bearing but they have outlasted all my ball bearing fans, and are easily my favorite PC fan. They look very plane are seem more industrial quality and less marketing than competitors in the same price range.
http://www.sidewindercomputers.com/pa12ulqu.html
 stir plate
 by
Glamisduner, on Flickr
 stir plate
 by
Glamisduner, on Flickr
 need my stir bar
 by
Glamisduner, on Flickr
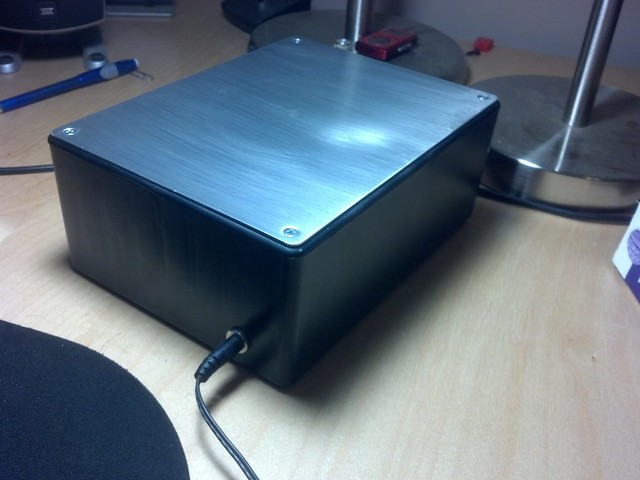
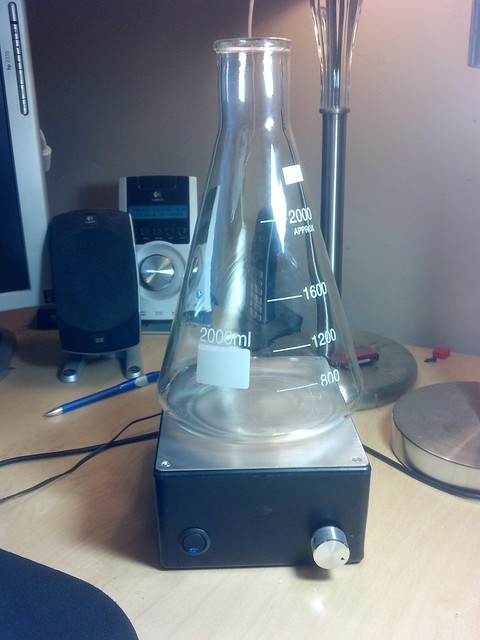
The larger size project box holds a 2L flask nicely.
Unfortunately I think the switch I ordered off deal extreme is going to be too deep to use so I will need to order another one, it might fit depending on if they measured to the ennd of the leads or not. Going to be close though! The switch I have on there now does not have a functioning LED, since it burned out when used for another project. My problem now is that I already have a 3/4th inch hole. I know I had more of these somewhere but I seem to have misplaced them some time ago.
My Local Home Brew shop has 1" stir bars but they want $12 each for them so I think I'm going to order them online.
* NOTE TO OTHERS
If I was going to build another one of these I would put the switch and knob on the wider side of the box, that would avoid clearance issues with the switch being too long and hitting the bolt that holds the fan.

")