runningweird
Well-Known Member
50 amp 220 panel kit from ebrew supply, the wiring inside needs to be cleaned up so it doesn't look like spaghetti, but it's safe and works great, I did end up putting a PWM in it in place of pid boil control because the pid I had won't do ssr output.
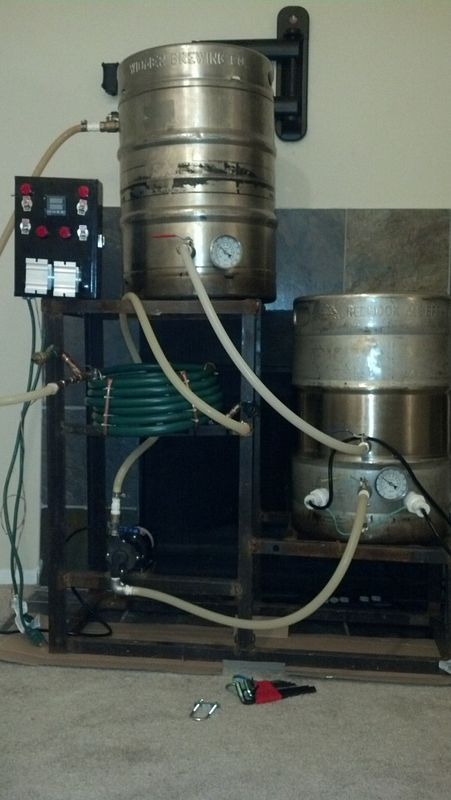
5 batches in, it's great to be able to mash and boil at the same time


5 batches in, it's great to be able to mash and boil at the same time


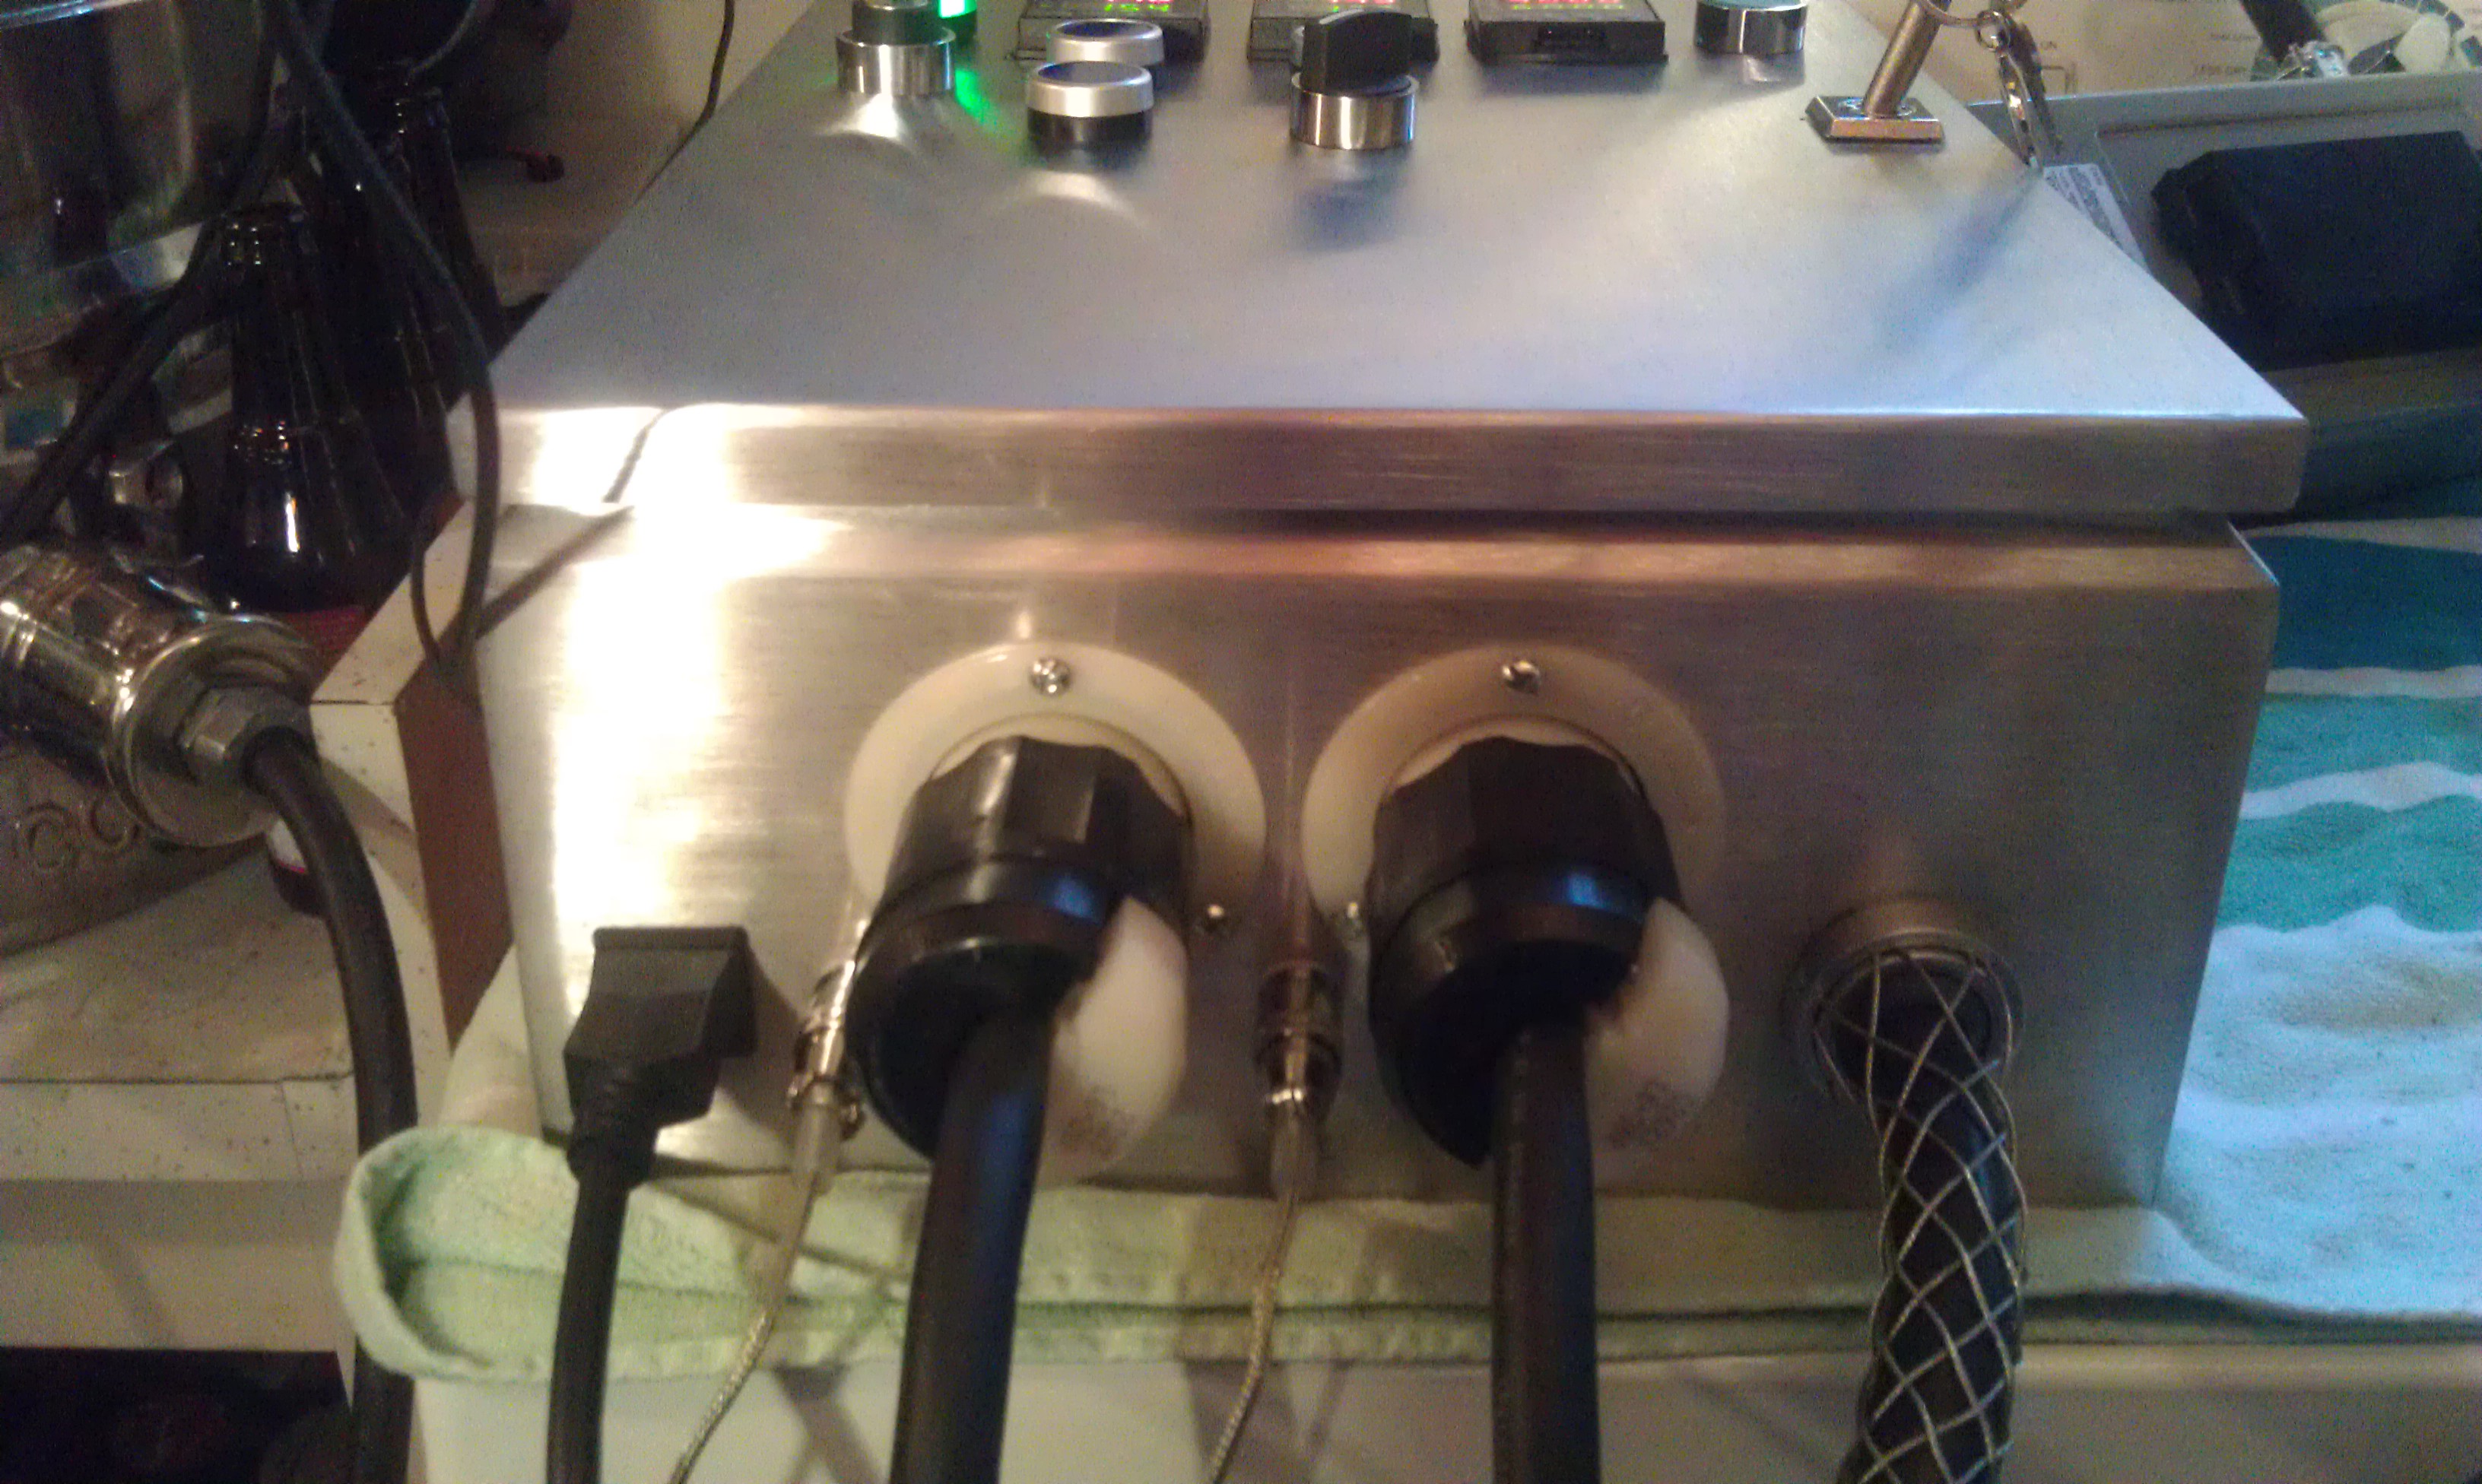
 ) I'd suggest hardwiring the 50a plug... not using the California Connectors... save yourself about $100 and the hole doesn't need to be NEARLY as big

.jpg")


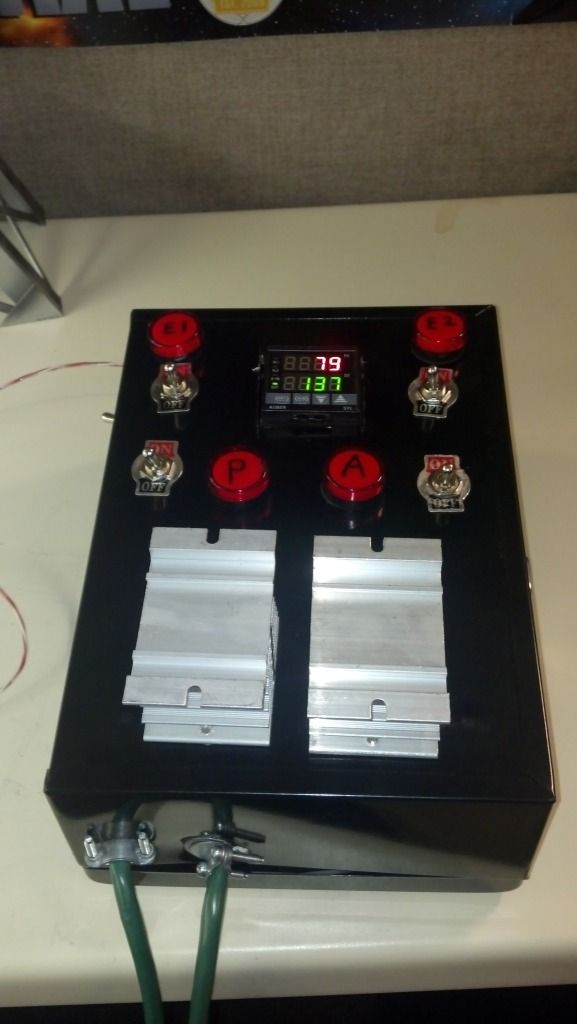


 Lol thanks I kept making changes so the panel layout is not well played out and I have a pile of rotor switches and indicator lights that I couldn't use without making it worse... oh well Guess I'll have to start planning the version 2 panel