Maybe I'm missing something, but one of the REAL values of using a PID is that it "learns" your system - it "learns" how much of a time lag there is between it turning on the heat and it "seeing" the results of it turning on that heat. It then "learns" how long it takes for the temperature to stabilize after turning off the heat, and based on how far it overshot the target temperature, it adjusts it's algorithm and the next time it turns off the heat sooner.
But that algorithm only works if the system it is "learning" is stable. Any variables that you incorporate into the system will throw the algorithm being developing into a electronic tailspin.
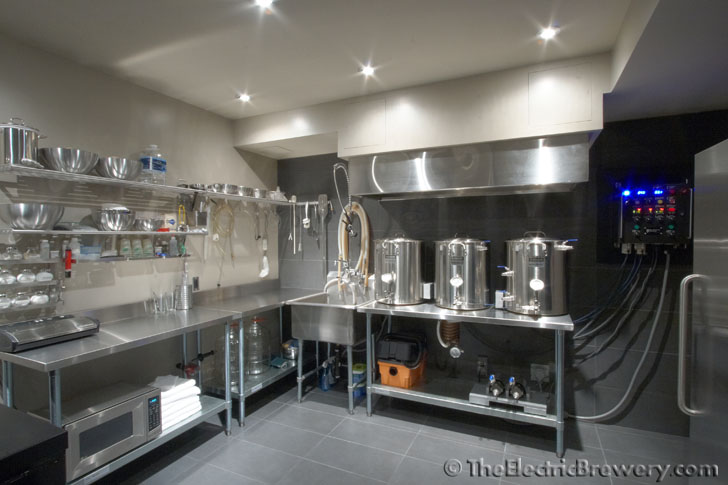
I haven't yet built my control box (all the parts are in - almost), but my system design is different.
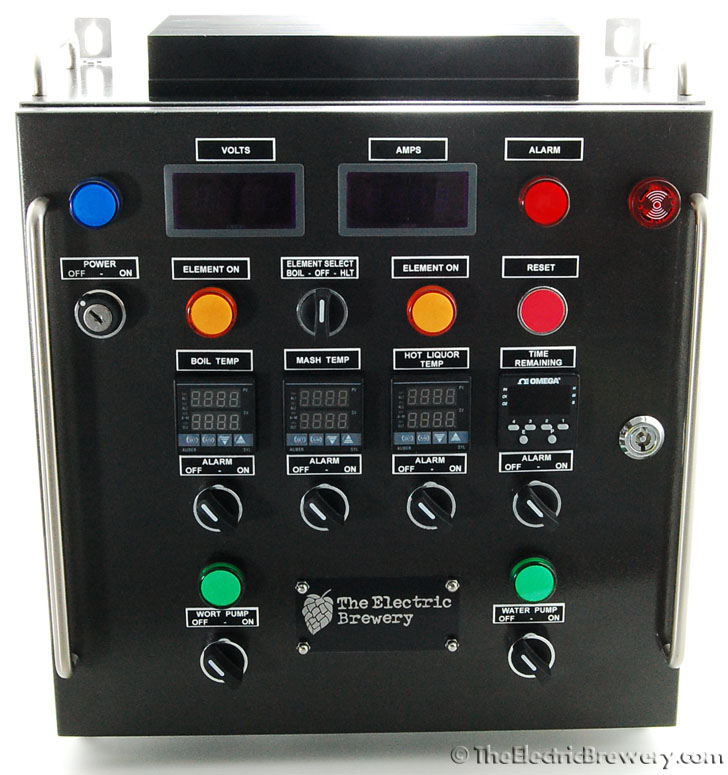
I will have separate PIDs to maintain my HLT, MT, and BK - I sometimes use my BK to pre-heat my sparge/HERMS water while I'm striking in from the HLT, so that when I move the pre-heated water over to the HLT, I want to be able to go immediately to recirculating and mash temp correction after striking in, if I miss my target. I'll have my RTDs at the in-flow (e.g., top) of each kettle, vice having the RTDs in the mass of the water/mash, because the volume and thermal mass changes with each batch (and during a batch) and therefore the amount of heat needed to nudge the temperature up ONE degree changes (especially between a 15 lb. mash and a 40 lb. mash), thereby messing up the algorithm. If I target 150 degrees at the in-flow, then the PID will ensure that the water/wort returning to the kettle is going to be 150 degrees, and my continuously recirculating the water/mash will result in the water/mash temperature to stabilize at 150 degrees. The PID "learns" how much heat was needed to be applied to the volume in kettle in order to give me 150 degrees at the inflow to the kettle (the volume of fluid in my hoses is constant, as is the heat loss), after it starts low (which is why I need to apply heat) at the out-flow (bottom) of the kettle, and then the water/wort looses more temperature flowing through the pumps and hosing on its way back to the kettle.
Using one PID to do everything relegates the lone PID to being a simple temperature controller - all it will know is that the measured temperature is lower than the set temperature, so power will be applied. Once it sees that it hit the set temperature, it turns off. Any subsequent overshoot is beyond its control - it takes several minutes (as much as 15 minutes in a large mash) for the temperature to stop rising. That means YOU have to decide how much lower to set your temperature (below your REAL temperature), and now YOU are performing the work of the algorithm.
I would sure like to hear if someone sees a flaw in my system logic...
")