[YAKB] Yet another keezer build

Homebrew Talk - Beer, Wine, Mead, & Cider Brewing Discussion Forum

Help Support Homebrew Talk - Beer, Wine, Mead, & Cider Brewing Discussion Forum:

This site may earn a commission from merchant affiliate links, including eBay, Amazon, and others.

Yalpe

Well-Known Member
Joined
May 18, 2010
Messages
58
Reaction score
4
Location
Montreal
Hello fellow homebrewers,

After paying my due from 3 years of bottling, I am finally ready to step into kegging. I saw Jeebas' thread with all of those awesome keezer builds and I couldn't resist! I had to build my own. I have close to no woodworking experience, so feel free to comment on my build.

First, here is my current "storage" solution :

keezer_beercrates.JPG


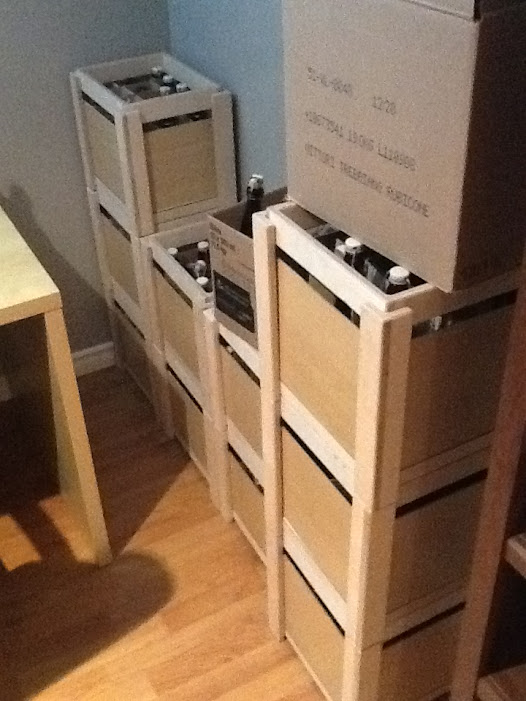
Those are crates I built with my dad using some scrap wood from his new house. I really like them. They old 12x500ml or 9x1L EZCaps. I like that they can stack without putting pressure on the caps :) But that doesn't offset that I hate bottling.

Now with the keezer build. I have already started the project two weeks ago so this thread will contain a lot of pics. However my free time is limited to work on this project so expect slow progress.

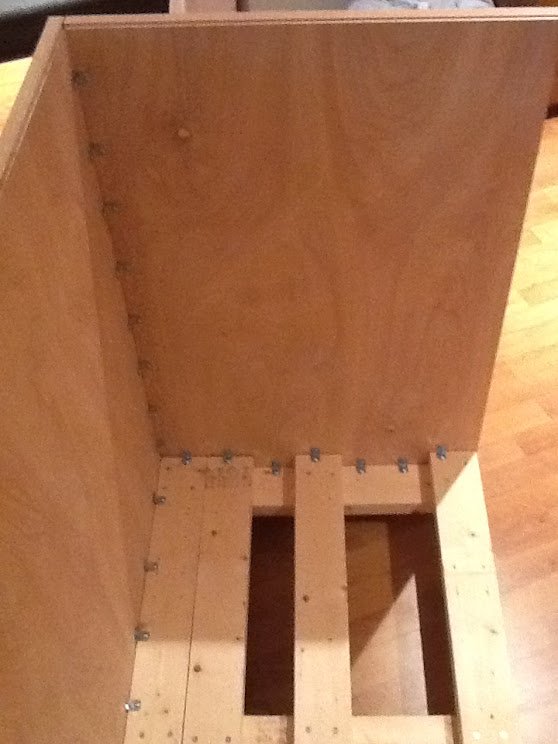
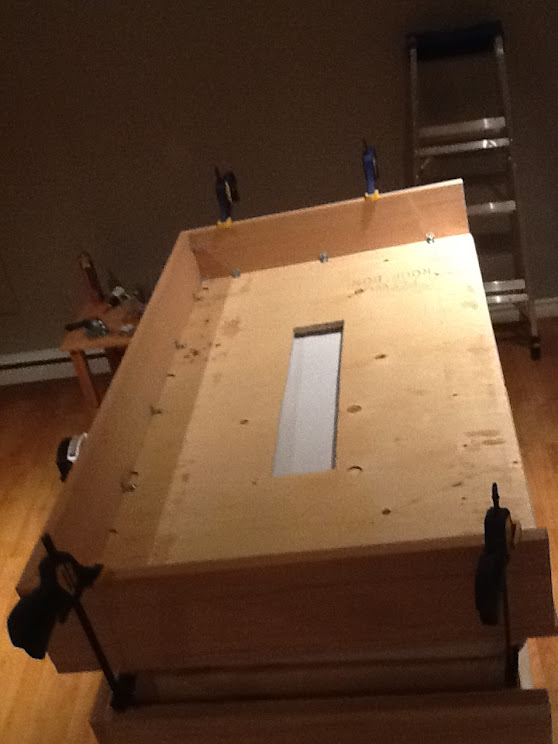
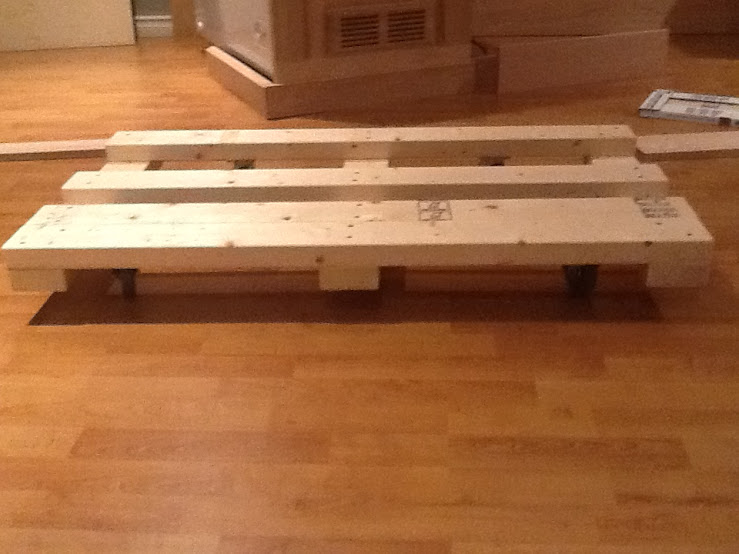
Keezer base built with 2x4s and 3" wheels :
keezer_base.JPG


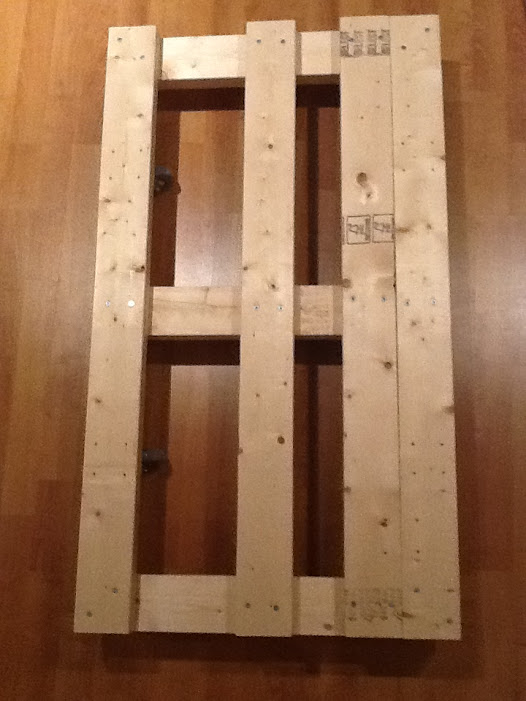
Notice that I had to double the front 2x4 to allow the wheels enough free space to pivot without hitting the front panel :
keezer_base2.JPG


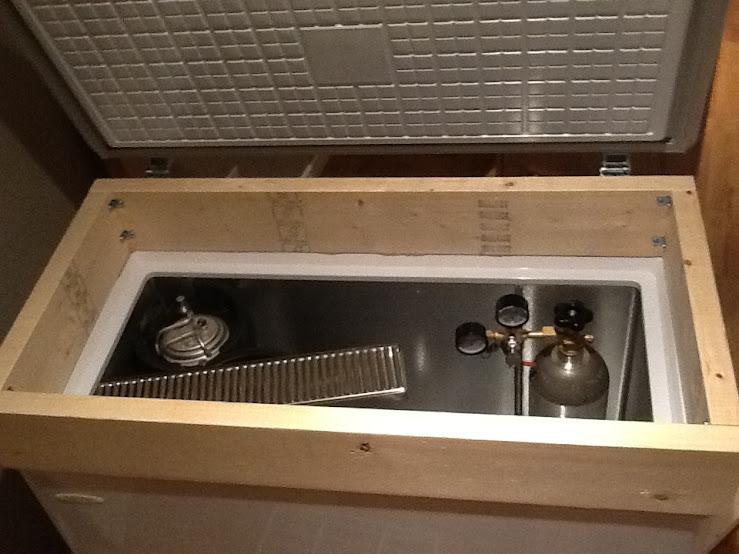
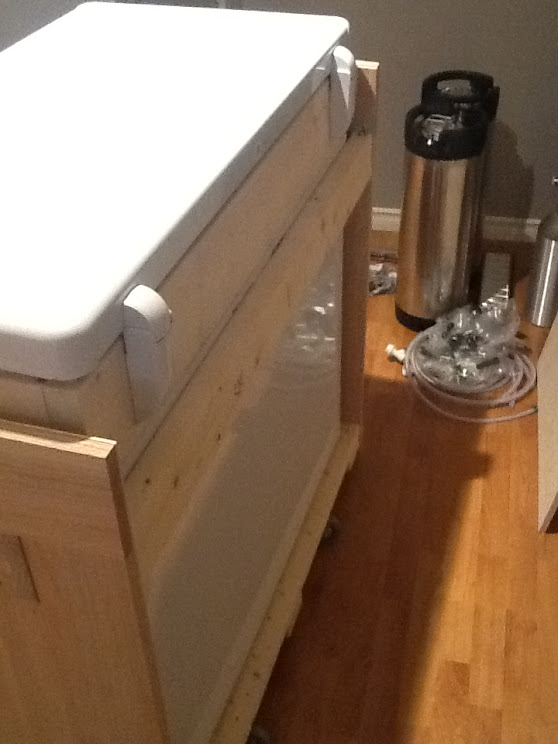
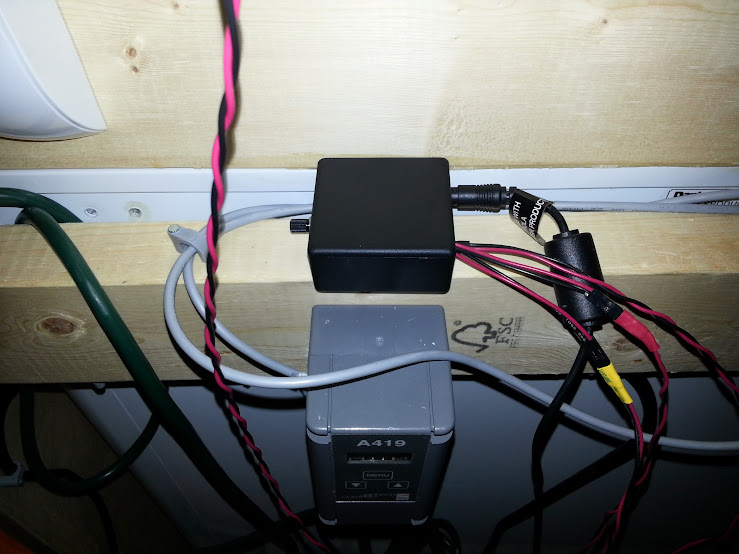
I recently received all my equipment through ontariobeerkegs (good service!) :
keezer_inside.JPG


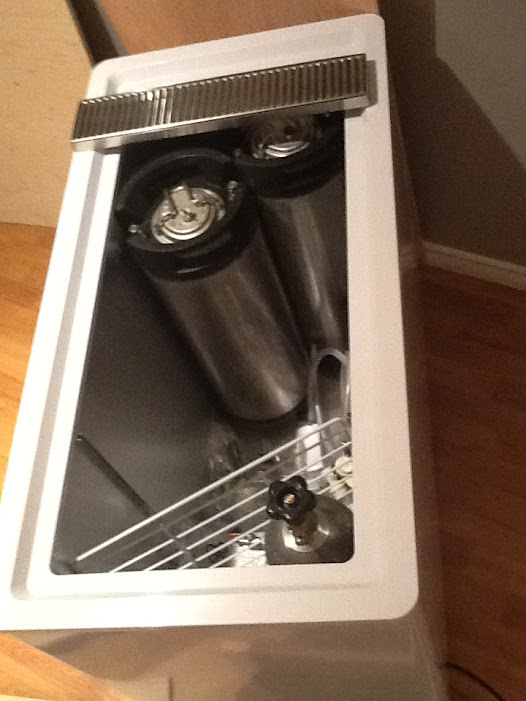
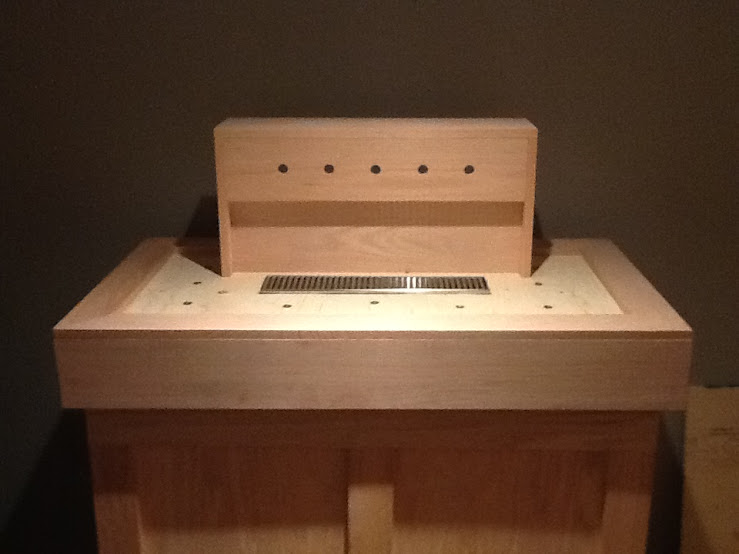
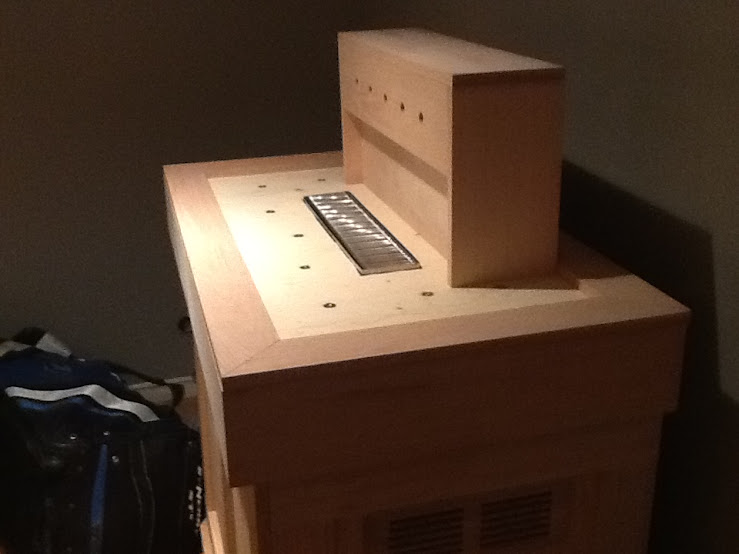
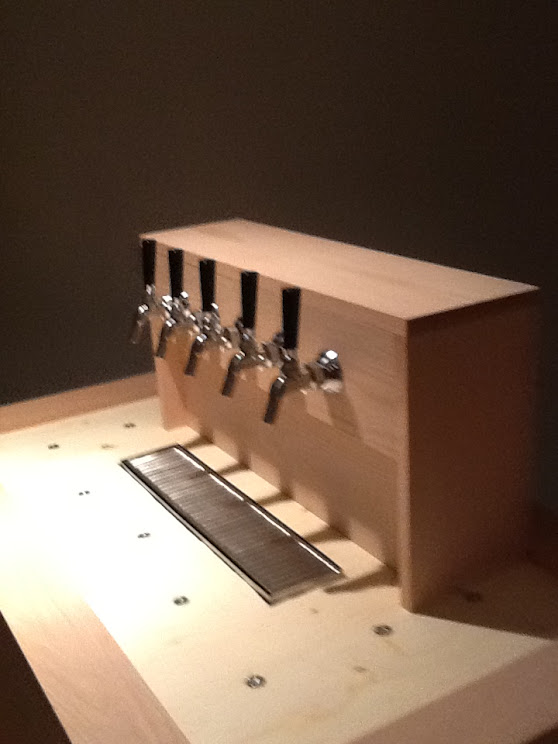
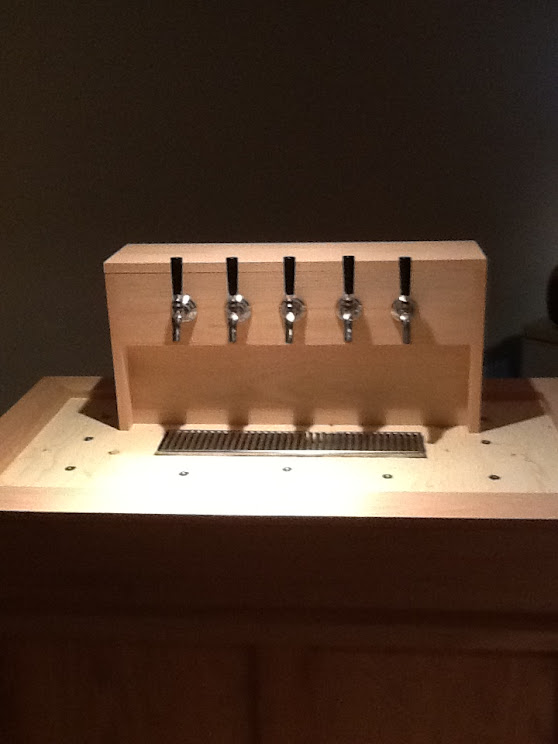
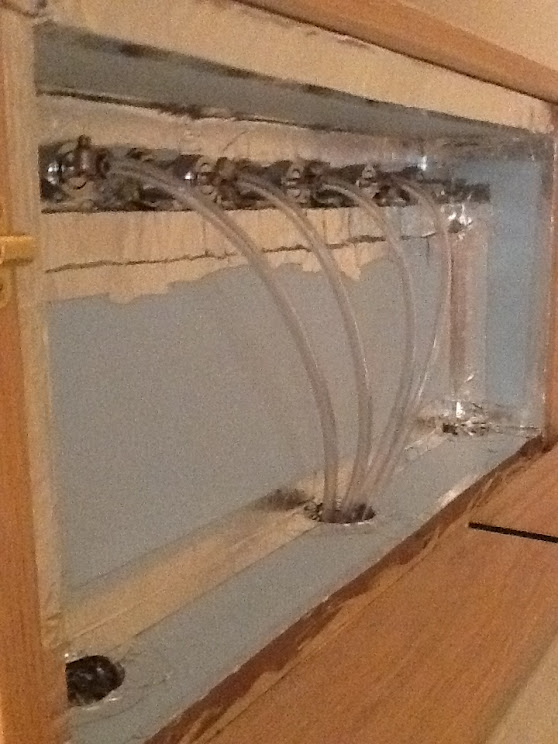
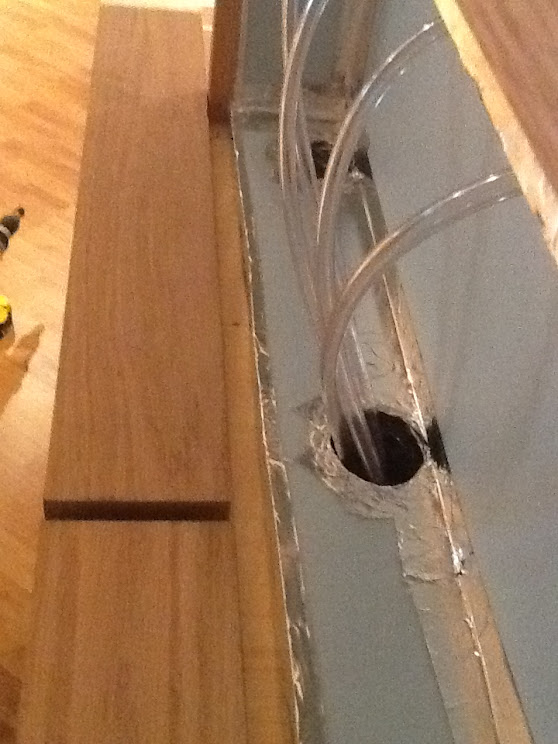
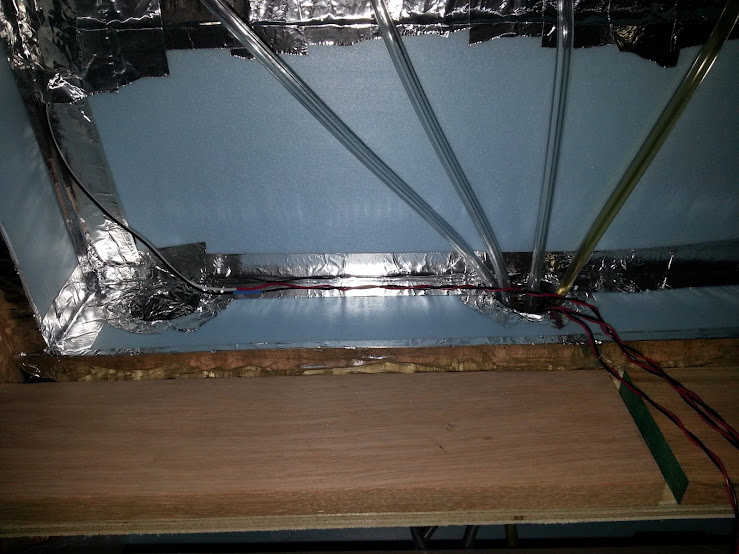
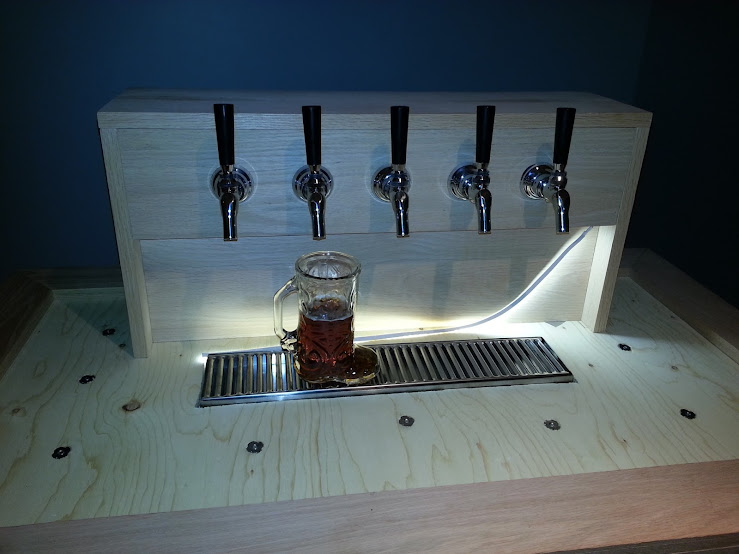
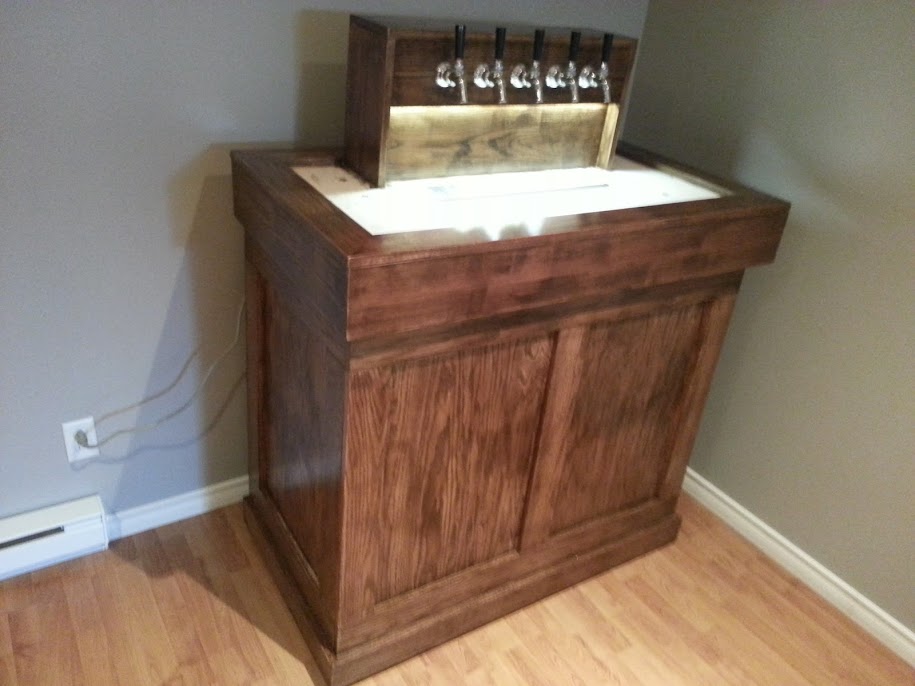
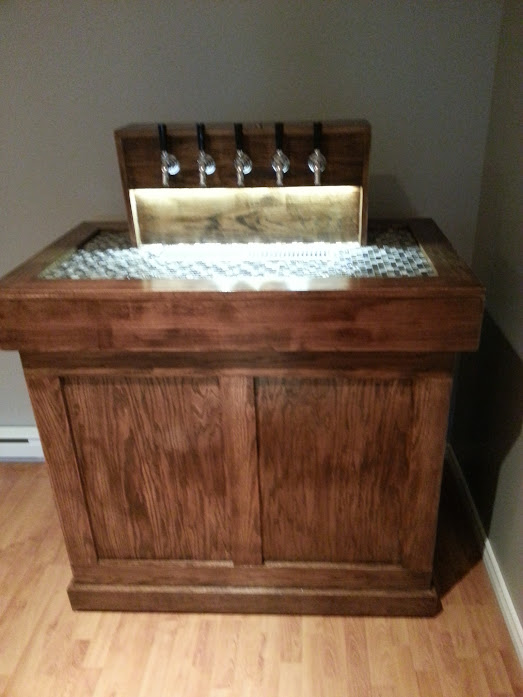
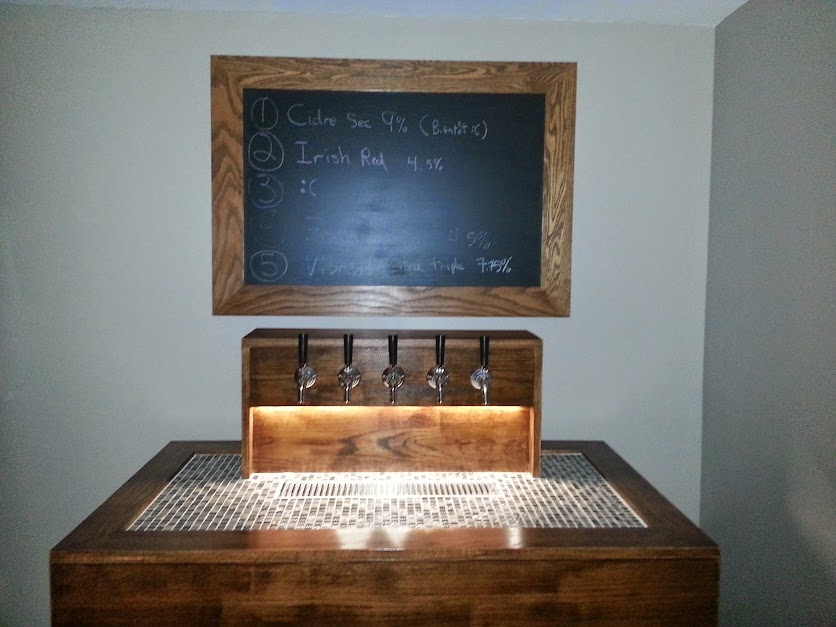
The planned setup is to have 5 perlicks (1 creamer, 4 regulars) with 4 gas lines:
keezer_space.JPG

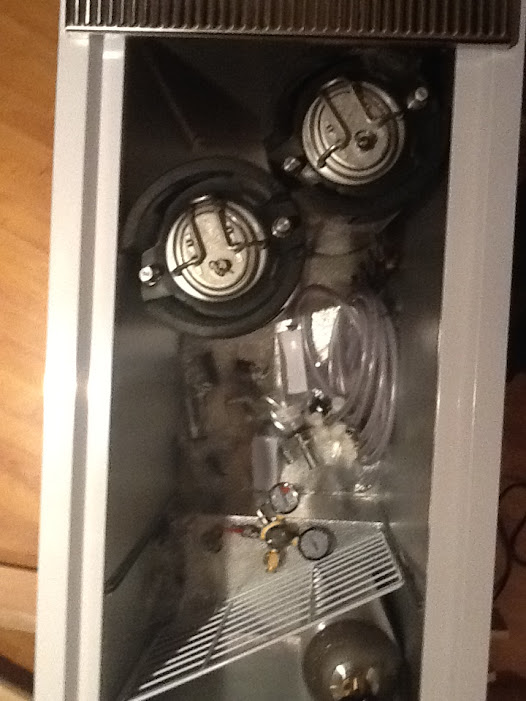
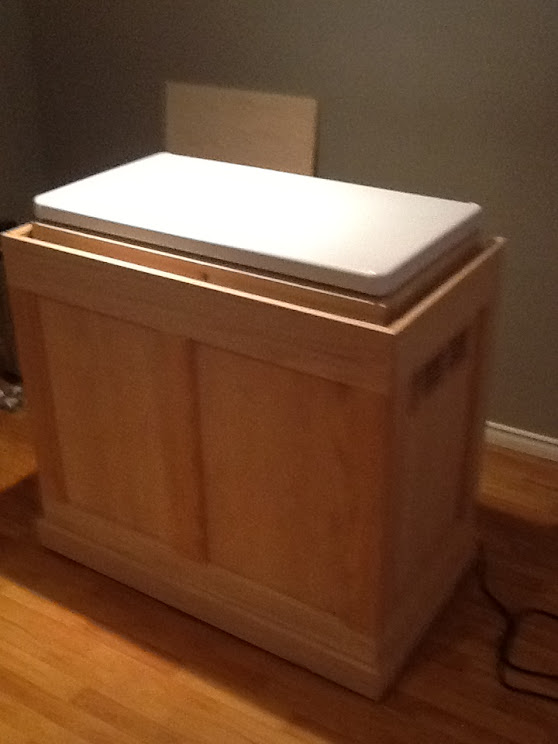
I am starting with 2 kegs to keep the costs down a bit. Total cost for the kegging equipment was 750$ shipped. The keezer will hold 3 5 gal cornies and one 3 gal with a collar.

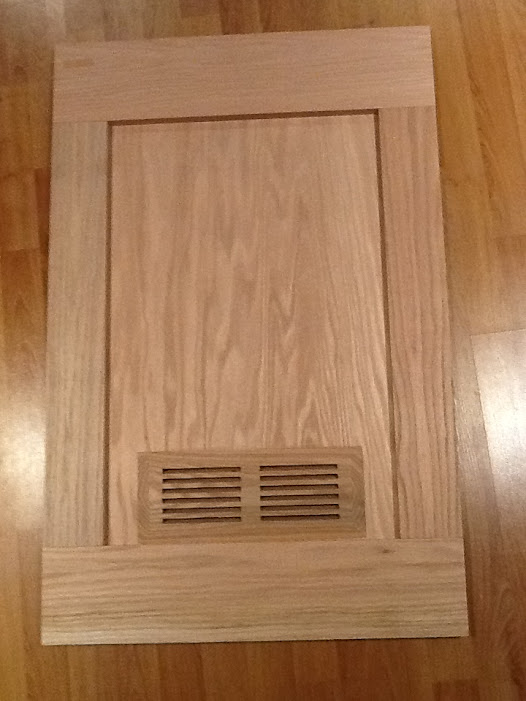
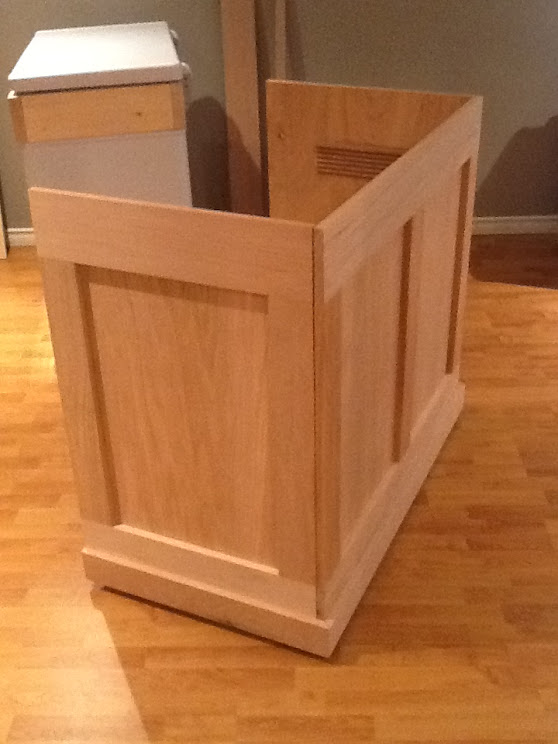
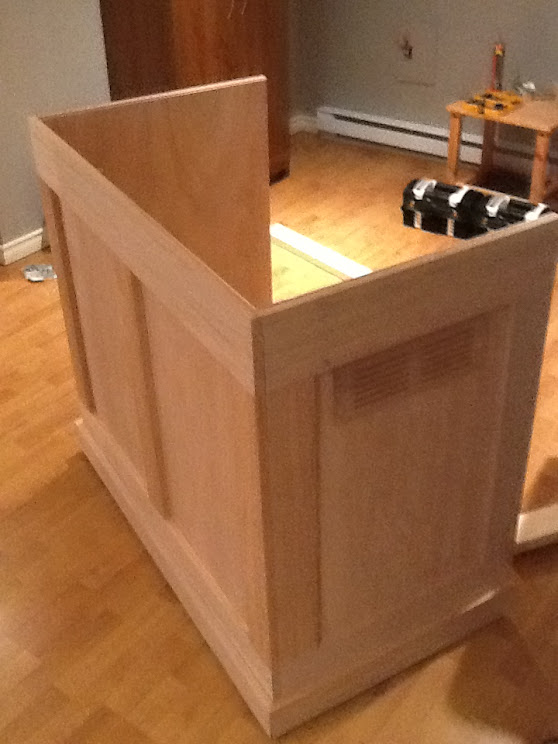
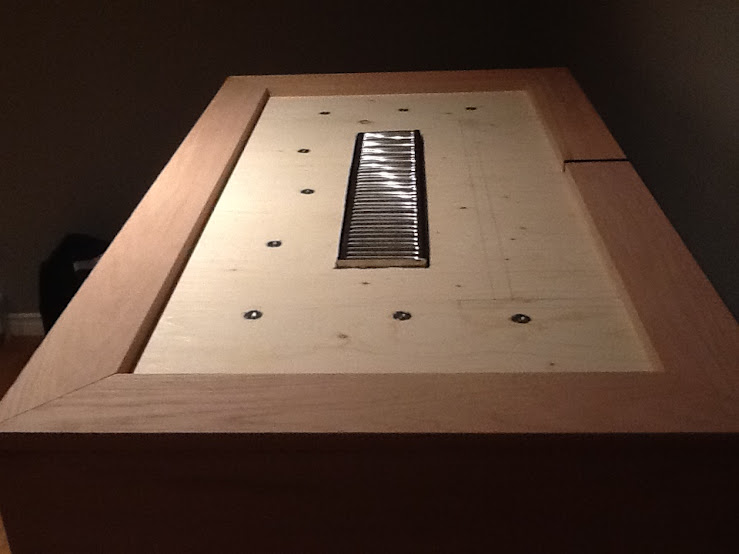
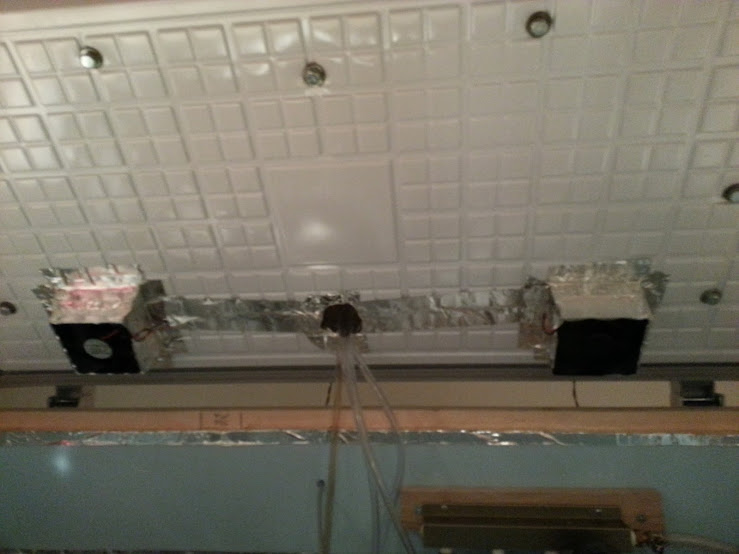
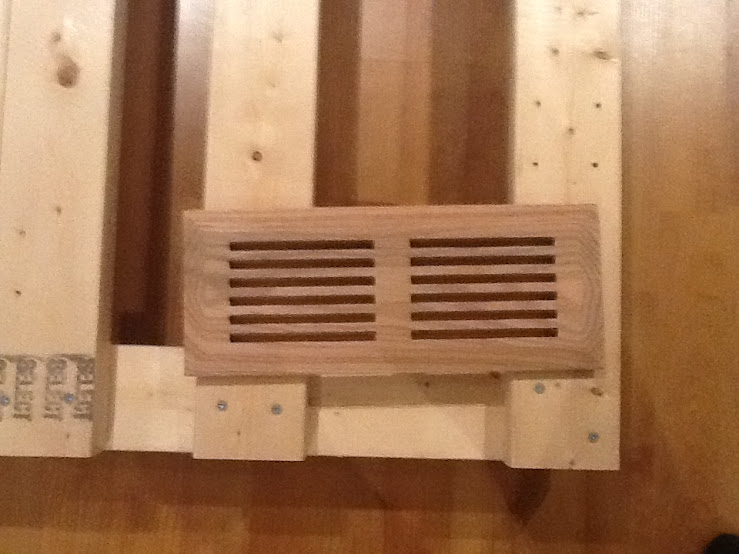
For ventillation I found a red oak floor register at HD :
keezer_register.JPG


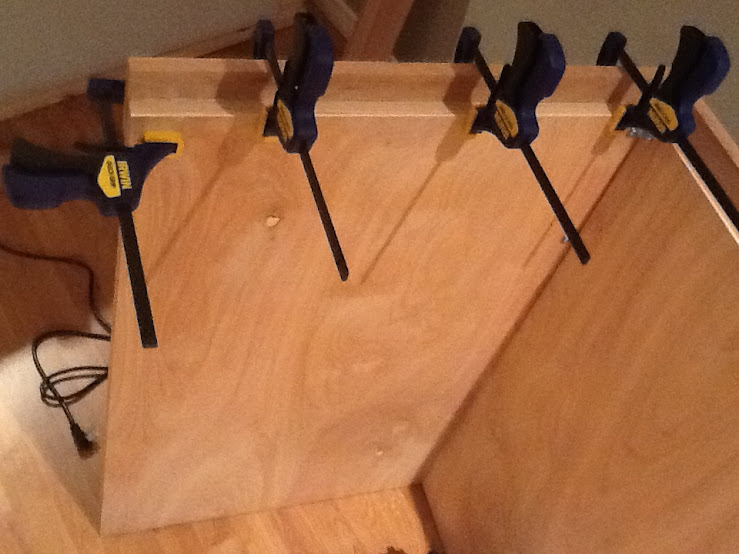
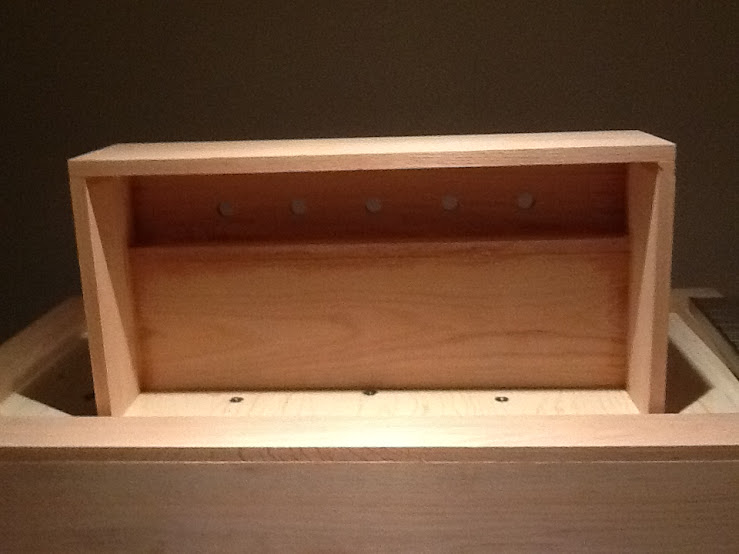
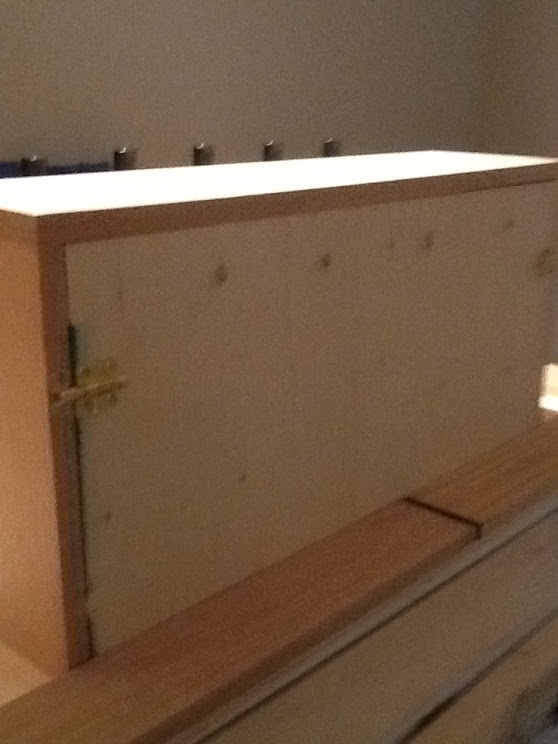
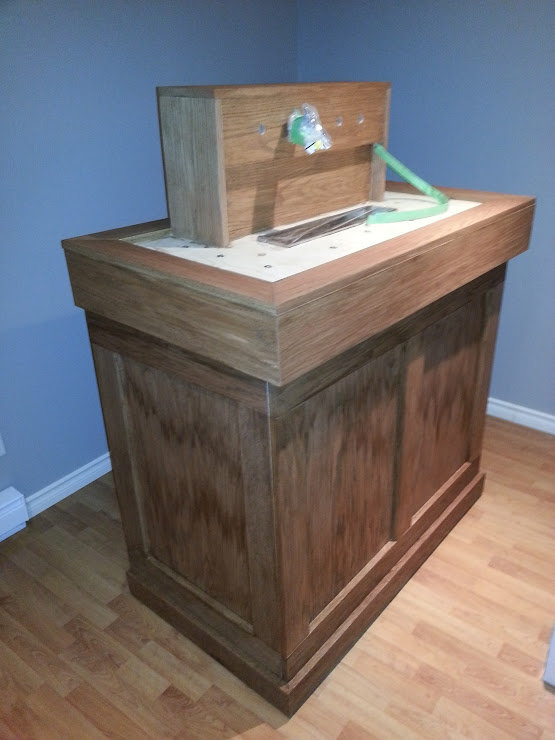
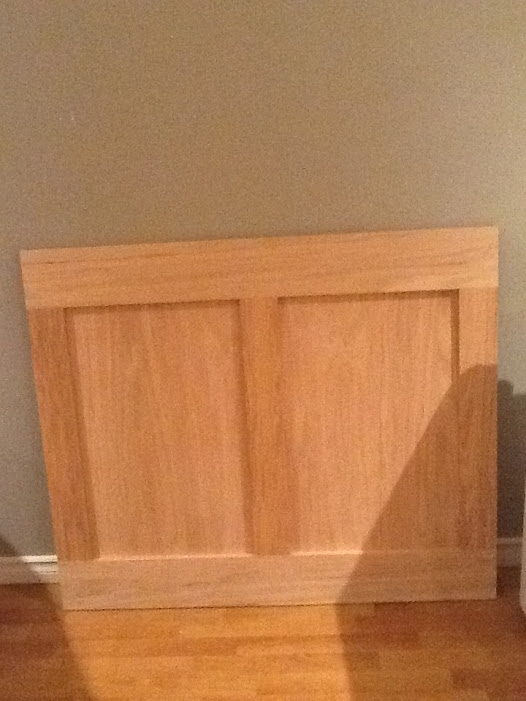
All the wood will be red oak as you can see on the base pannels that I have completed so far :
keezer_frontpanel.JPG

keezer_sidepanel.JPG


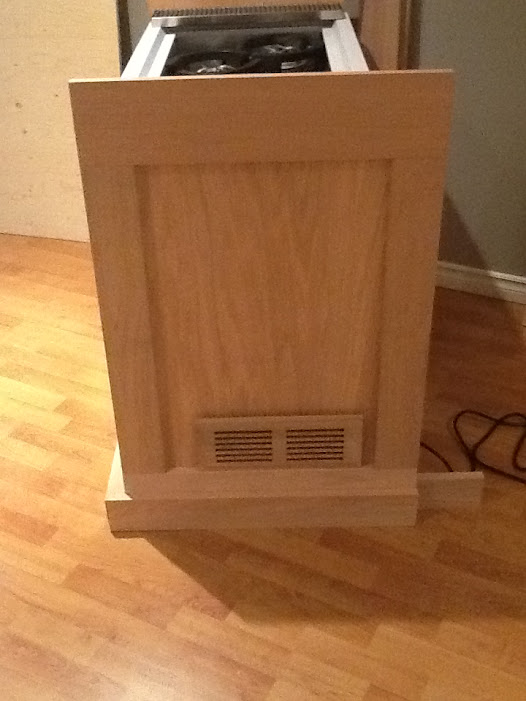
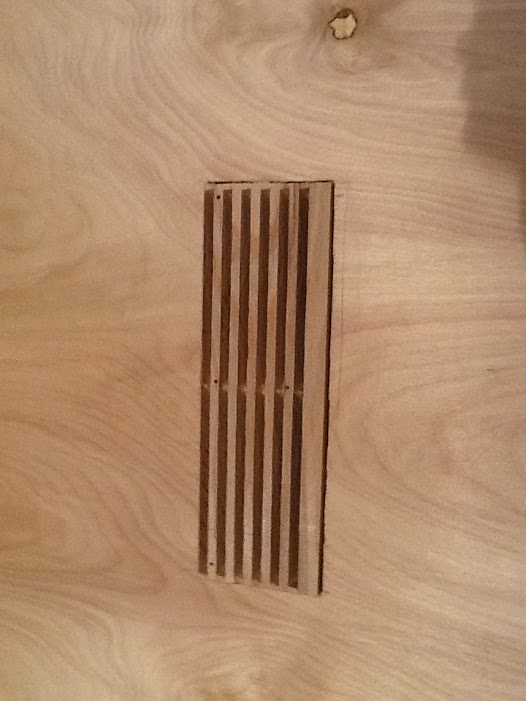
Next I need to finish one more side panel and install the floor register on it. However I have no idea how to cut a rectangle into my 1/4" ply without a router or a jigsaw... Do you guys have any suggestions?
 
Are you leaving any space between the wood and the freezer? Remember that freezers work by heating up the outside metal...most of them say to leave 3" all around for heat dissipation. Lots of people make coffin-style keezers here, but they usually leave some space and some of them even use fans.
 
The plan is to leave 1" on each side. The back will stay open. I will add 1 or 2 PC fans behind the register to provide more circulation where the freezer vent is. Is this enough?
 
Quick update :

I have completed all the base panels. I used old school tools to cut the hole for the vent (hole saw + hand saw).

keezer_SideVent.JPG


keezer_SideVent+%282%29.JPG


Also I started joining the base panels :

keezer_BaseAssembly.JPG


However this is where my lack of woodworking experience cost me. I had to sand the mitter joint a LOT to make it look half decent :

keezer_mitter.JPG


Lastly, I have finished the collar :

keezer_collar.JPG
 
I have just finished assembling the base and even though it is not looking as great as I'd like it to, I am very excited by the result!

keezer_base_assembled.JPG


keezer_base_assembled2.JPG


I used metal plates for the assembly. I was thinking that it would be weak but I am very happing with the strength when fully assembled. Its not built for the zombie apocalypse but it can be pushed hard with no issue.

keezer_base_inside.JPG


Final result with the freezer in :
keezer_base_completed.JPG


Added an extra 2x4 at the back for strength:
keezer_base_completed_back.JPG


Next steps :

-Hook up some fans for ventillation
-Start working on the coffin
-Install the plywood
 
Hello again!

Work has been getting in the way but I've finished most of the woodworking. I'm happy with the result even if it could be better. Next steps are

-Insulation
-Staining
-Getting the taps installed
-Coffin ventilation
-LED strip with dimmer

So here are a few pictures of my latest progress :
keezer_top_under.JPG

keezer_top_done.JPG

keezer_coffin_behind.JPG

keezer_coffin_front.JPG

keezer_coffin_side.JPG
 
Yes it can be done with no/little woodworking experience but in that case I recommend that you plan ahead using sketchup. It helped me tremendously with all the details. Looking back, I realize that it all boils down to good planning and having the right tools.

I can send you my sketchup file if tou want.
 
Time for another update folks. I am making slower progress than I'd like... :mad:

Installed the taps :

keezer_taps_side.JPG


keezer_taps_front.JPG


I also finished the coffin insulation:
keezer_coffin_insulation.JPG


keezer_coffin_insulation2.JPG


I didn't have a real plan for the coffin but it turned out great! On the back plate I used EPDM rubber (for windows) and it seals the coffin quite well once shut.

keezer_coffin_back.JPG


keezer_coffin_shut.JPG


Let me know what you think :)
 
After a long while I resumed work on this project. A friend built a LED dimmer for me and helped me hook it up to the keezer as well as 2 80mm fans for air flow. Since the last post, the keezer is also in function and distributes beer :)

Coffin internals with cables :
keezer_coffin_fan.jpg


LED dimmer + fan connectors :
keezer_dimmer.jpg


Fans for coffin air flow :
keezer_fans.jpg


Dimmed LEDs lighting a pint of joy:
keezer_led.jpg


Leds aren't installed yet as I need to stain+varnish the keezer. More updates to come. Starting the stain coats right after this post.

:ban:
 
I made some great progress on the keezer this week (vacation!). It is now stained + varnished.

Picture of the keezer before applying finish:
keezer_before_finish.jpg


The result!
keezer_notile.jpg


Now I need to find some tiles to the counter top.
 
Yalpe said:
After a long while I resumed work on this project. A friend built a LED dimmer for me and helped me hook it up to the keezer as well as 2 80mm fans for air flow. Since the last post, the keezer is also in function and distributes beer :)

Coffin internals with cables :

LED dimmer + fan connectors :

Fans for coffin air flow :

Dimmed LEDs lighting a pint of joy:

Leds aren't installed yet as I need to stain+varnish the keezer. More updates to come. Starting the stain coats right after this post.

:ban:

Where did you buy your LED light strip? Was it easy to trim and hook up?
 
Nice build. I want to do something similar next spring. Like you, I have no previous wood working experience so this is inspiring. It's a shame that electrical outlet wasn't just two more feet closer to the corner so you didn't have to see your cord dangling there. LOL
 
gjabball:

I got the LED strip from a local retailer in Montreal (Addisson). They also sell powersupplies that are quite easy to hook up. My installation has a dimmer which is a bit harder to get. A friend of mine made a small electrical board to handle it using a potentiometer. The box also has 2 plugs for the fans all hooked up on the LED PS.

Phyrst:

I know right? I might move it someday ;)

Sorry for the delay :)
 
Here is a pic of my latest addition :

20130803_175947.jpg


I was tired of describing my beers to visitors and then having to repeat the whole thing because they forgot the first ones. Problem solved :D
 
Maybe I missed it but how big is that freezer? 7.2?

It is a danby DCF700 IIRC which is 7.0 cu. ft. It fits three 5 gals + one 3 gal + one 5lbs CO2 bottle just fine. With some tweaking it could maybe fit another... to be determined.
 
Thanks! I'm at work right now so I don't have it on hand. I could send you the sketchup file if you know how to use it, it would be more complete/simple.
 
Thanks! I'm at work right now so I don't have it on hand. I could send you the sketchup file if you know how to use it, it would be more complete/simple.

Sure you can send the sketch-up file! ;)
My biggest thing is I have a few tall beer glasses that I want to make fit. I was thinking about going 15 inches to the center of the tap...

Thanks!
 
I am brand new to this site, and I am in the process of finishing a basement storage area into a game room with a bar. I really like the way your keezer turned out. Would it be possible for me to get a copy of the sketchup file?
 
Drip tray is 19"x4" and shanks are 4 1/8". I'll see if I can find the sketchup file.
 
Back
Top