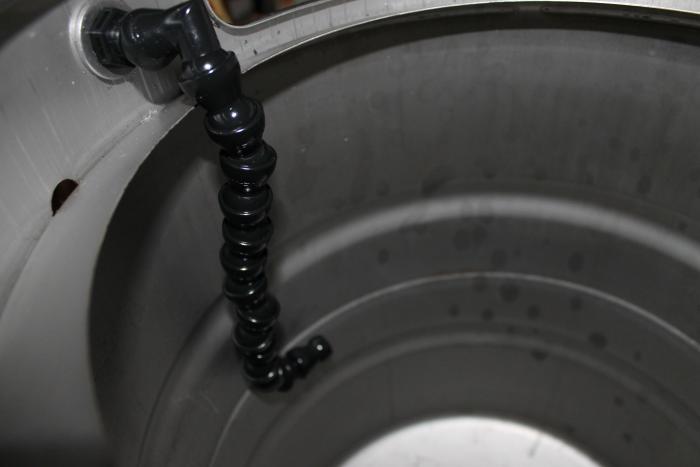
My Brewstand with pics (coming along)

Homebrew Talk - Beer, Wine, Mead, & Cider Brewing Discussion Forum

Help Support Homebrew Talk - Beer, Wine, Mead, & Cider Brewing Discussion Forum:

This site may earn a commission from merchant affiliate links, including eBay, Amazon, and others.

Copbrew133

Well-Known Member
Joined
Jan 28, 2012
Messages
488
Reaction score
30
Location
Tampa Bay area
I have been brewing all grain for a while now and have been checking out all the great builds on HBT for some time. In August I finally made the decision that I wanted and needed to build myself a stand. With so many considerations and variations on these brew plants I decided to begin with the father of these types of systems, Mr. Brutus 10 by Lonnie Mac. I ordered the plans and studied them for about three weeks. I then downloaded a free trial of Google Sketchup and began my drawings and planning out what I needed in a brew system I how I planned to get there. Albeit I started with the Brutus plans I did what I think most people do which is build a hybrid to fit their owns needs. Thank you to everybody who posted their builds on HBT and to Lonnie for the inspiration.

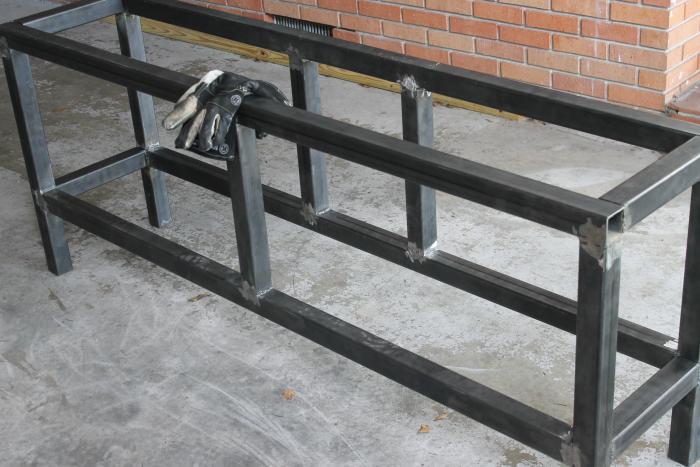
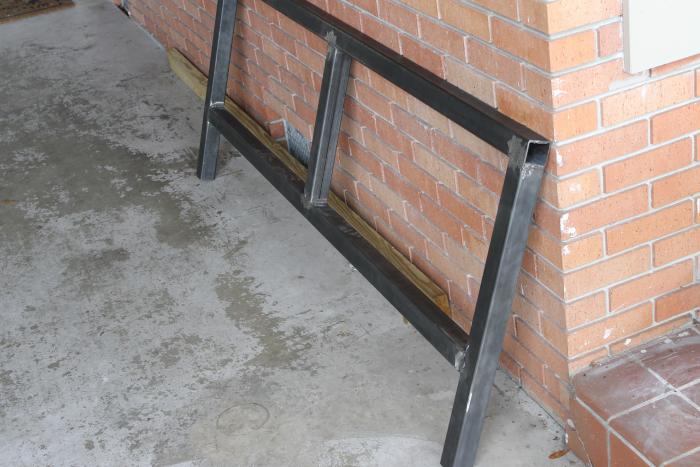
I started by borrowing a buddies welder, free is good, and buying (2) 24ft. sticks of 2x2" square steel tubing. It is 1/8" wall. A bit of overkill probably, but whatever it's 165 lbs of love. I also picked up a stick of 1x1" angle iron to build brackets for a lower shelf. I haven't welded since I was a kid with my dad so I rightly decided the gas beam was not in the cards, I would externally plumb the gas and thus the welding began.

054.jpg


056.jpg


057.jpg
 
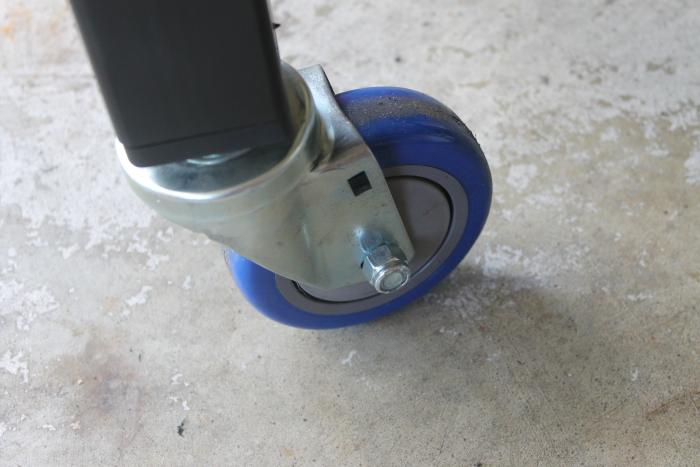
I bought the same inserts and casters as Lonnie did in his build and got them on as this thing is heavy, even for me.

059.jpg


060.jpg
 
I welded in the cross members to support the general of where the pumps will mount to the lower shelf. I welded these appx. 1/8" below the lower portion of the stand so when the shelf is in it is flush mounted. I also drilled holes in the cross members to install the electrical wiring via conduit.

061.jpg
 
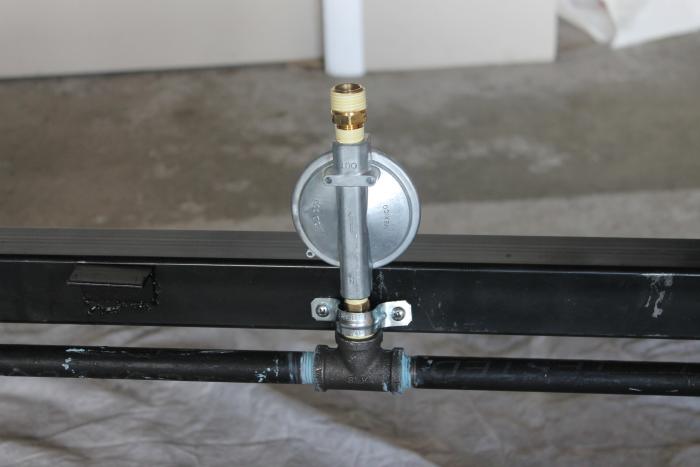
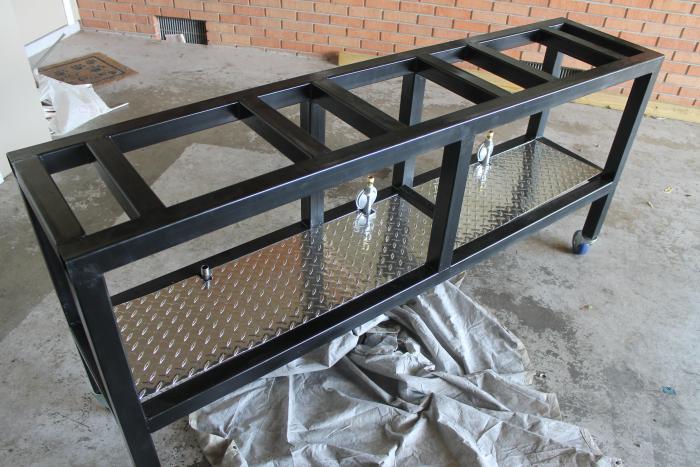
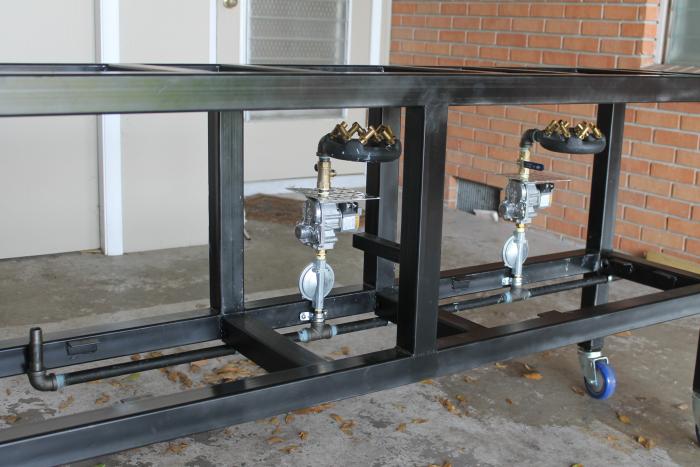
The gas manifold mounted with the black 1/2" ID pipe from lowes and their fittings. I mounted the manifold with metal clamps screwed directly into the stand. Holds pretty strong. Later I would have to remove this to fix a couple gas leaks. Live and learn. I wanted a clean look to the build and installing the gas and electrical under some shiny diamond plate fit the bill. Just notched out the soft aluminum for the regulators and I will drill and screw down the diamond plate "shelf" later. That is where the angle iron "brackets" come into play from earlier.

071.jpg


072.jpg


074.jpg
 
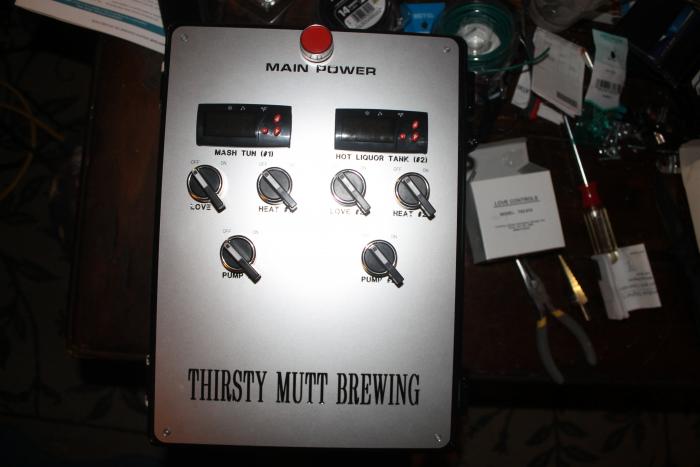
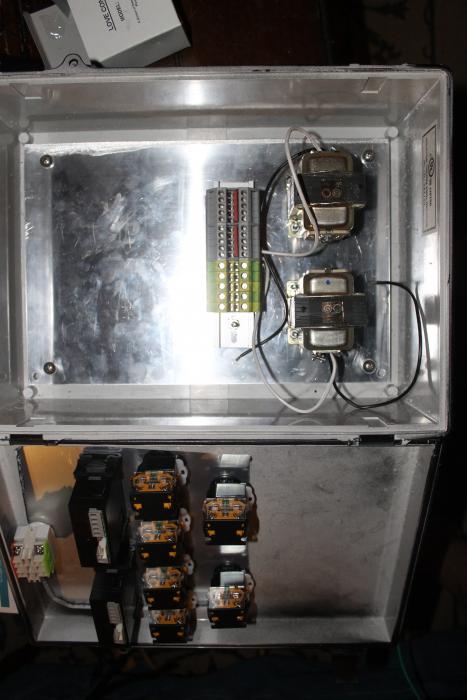
While I was working on the stand I got a delivery from Front Panel Express. Turned out better than I thought it would. Those guys are awesome and I could not wait to start on the control box. I picked up a NEMA enclosure on Ebay for about $40 that was 14"x10"x6" with a hinged lid and designed the front panel around it. I picked up the cheap switches from China off Ebay as well. Two Love TS2 xontrollers with stainless probes and a basic wiring job exactly as it is in the original Brutus design, except I decided to use Honeywell VR82002132 valves for the safety aspect so I had to incorporate transformers at some point. Hell of a thing is I had ordered two Honeywell AT7D1683 transformers off Amazon and installed everything into the control panel and...........the suckers were DOA. Lesson learned, always check electronics before mounting them...DUH! The control box came out well I think.

076.jpg


080.jpg


087.jpg
 
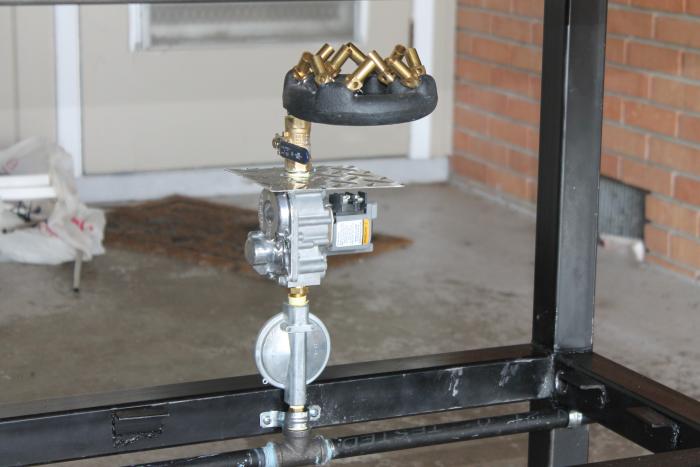
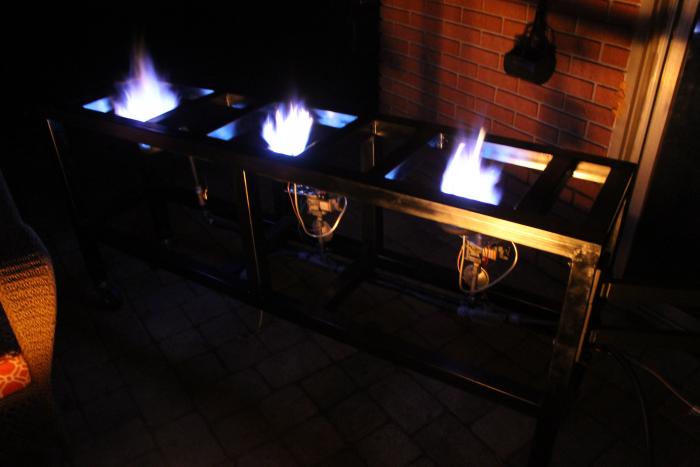
I decided to use two of the gas valves aforementioned, no need for one on the BK, just a ball valve. I put ball valves after the valves for a little burner control, there is also a needle valve off the regulator. Each of the two Honeywell's is fed by it's own low pressure regulator to ensure the main gas manifold is pressurized enough to feed all three burners at once. Doubt Ill use all 3 at once but if it it works for 3 it will certainly work for 2.

089.jpg


090.jpg


092.jpg
 
I decided to mount the control panel onto a swivel TV mount from Amazon, $20, and it's stout. It gives me the ability to move the panel to where I need it and to fold it pretty fluch to the end of the 71" wide stand. Some strain relief fittings keeps me from Mongoing the wires out, lol.

098.jpg


099.jpg


100.jpg
 
I got all my electrical and gas Gremlins worked out so now I just have to be patient......fat chance.....and wait for SWMBO to buy me my pumps and keggles for Xmas. Thanks for checking it out, I'm pretty proud of it so far.
 
Thanks....that's the thing, you look at these systems and go holy crap, but when you break it down to the individual systems.......stand,electrical,gas,burners, valves etc. it is not that daunting. Coming from the generation that graduated high school just before the internet took off I am amazed at the technical information you can pick up online. Take it slow and go for it.
 
That was a busy day. It looks great.

Question. How do you like the mount for your controls? Does it tilt some ?
 
It wasn't all done in one day, lol, as my skills are not nearly that good. I've been working on this thing for a couple of months now. I wish I was capable of doing that much in one shot. The swivel mount is nice as I can position the controls away from the heat. It tilts up to 15 degrees up and down. When I first installed it I thought it too low, but its not a big deal. I may modify it later so it tilts further up.
 
Bad arse man! I have a bit of fabricating background and am dying to get my funds together to build a stand. I really like the idea of partially automated.
 
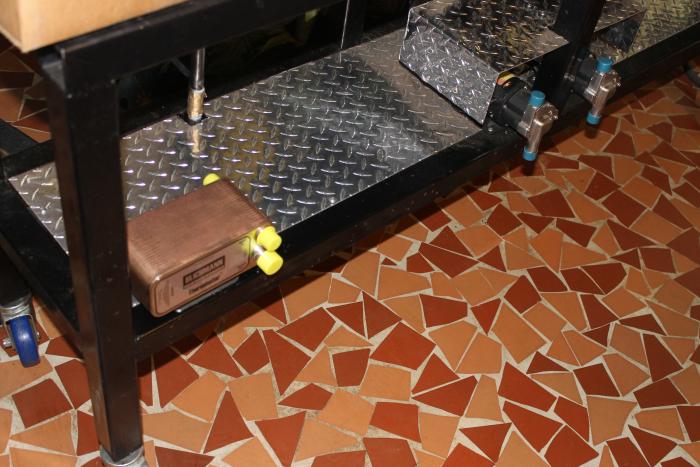
While watching Liverpool suck against Chelsea, I went ahead and mounted the diamond plate lower "shelf". I'm gonna have to find some type of wire wrap for the valves wires coming out from underneath. Any suggestions? I feel like they need a little extra protection as well as to look better.

002.jpg


001.jpg


005.jpg
 
Well, I couldn't wait for Christmas for the Chugger pumps so I ordered them from Bobby at Brewhardware.com. Really impressed with how quickly they got them to me. They came this morning via the mailman and I had to mount them. Ran the power cables through the lower shelf with a couple of strain relief water resistant plugs. I picked up some cheap wire harness from Lowes to use for now. I may replace it for covering the gas valve wires later, but we shall see. I also bought a couple of thick grommets which I cut on one side and siliconed in between the gas valve and the diamond plate splash guard above it. Still have to cut and bend up the diamond plate I have for the splash guard for the pumps but slowly making progress.

007.jpg


006.jpg


001.jpg
 
Finally had time to get by HF this afternoon and picked up one of their 18" metal brakes. Not a bad little brake for thinner metals. I used it to put a couple of 90's on a piece of 1/16" thick diamond plate and got my pump shielding mounted. Took some photos of it.

003.jpg


004.jpg
 
Pay no attention to the road kill under the stand in the first pic. One of the dogs thought their racoon would add a certain something to the photo.
 
subscribed. Looks great. My only real concern with getting my system built is the electronics. I have no problem with the fabrication and welding and gas lines, but I am clueless about the wiring and valves and pumps. Still plan on giving it a shot in the near future.
 
KNOTSANE said:
subscribed. Looks great. My only real concern with getting my system built is the electronics. I have no problem with the fabrication and welding and gas lines, but I am clueless about the wiring and valves and pumps. Still plan on giving it a shot in the near future.

I'm right there with ya. Love this stand.
 
I'd have some concerns on where your gas valves are mounted. A boil over or spill over could kill them as well as the heat wash downward once the kettles are on is pretty hot. Why not mount them under the rig where they're hidden and protected?

Also, your rubber handle on the manual gas valve will melt off on the first use and the internal seals of the ball valve will melt soon after.

Rig is looking good though. Any ETA of first batch?
 
Thanks. Im sure there may be some modification necessary once I get up and running. Ill have to keep an eye on the heat and such. I put some shielding over the top of the valves. As far as a major boil over I dont have a valve under the BK and I use Fermcap religiously, but I get what youre saying. First batch is gonna be sometime in January. The wife is gonna buy my kettles for me for xmas and Ive spent quite a bit on this little "project", so with the holidays coming progress is probably going to slow.

As far as the wiring goes its really not that bad. Im no electrician, so if I figured it out anyone can. All the info needed is on this site. I wired mine as Lonnis wired his, except the wiring going out to the valves has to be stepped down to 24vac through a transformer.
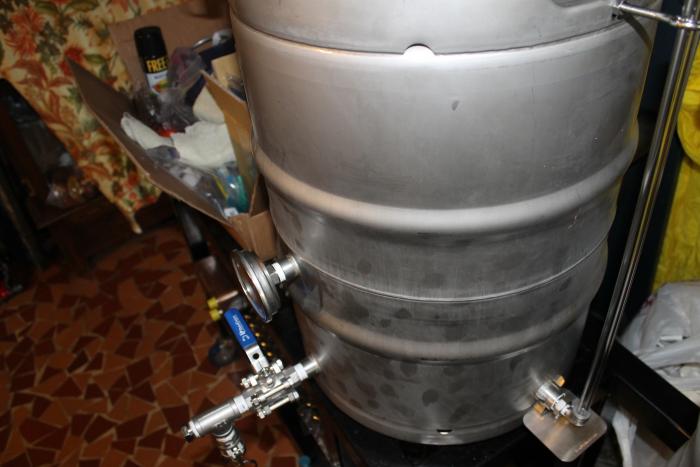
 
Here is a very rough parts list with estimated costs. I emphasize estimated because while I tried to find the best prices I could, I (more importantly my wife) frankly did not want to see the costs tallying up. Buy the Brutus publication from BYO mag. Its cheap and gives you part numbers for just about everything. The gas system is the major difference if you go with the Honeywell valves. Here goes:

(2) 24' sticks of 2"x2"x1/8" square steel tubing.........appx. $125.00
(1) 20' stick of 1"x1"x1/8" angle iron.......................appx. $22.00
(4) casters from Caster City, same ones Lonnie used appx. prices vary based on what you get, I think mine were around $60
(4) 2"x2" inserts from McMaster Carr for threading the casters......appx. $12
(3) cans of Rust Oleum Ultra high heat paint.....Lowes for like $20
(3) 10 tip jet burners LP/LP from Bayou Classic Depot......appx. $84
(3) gas ball valves.appx $20
-black pipe and fittings......around $50 from Lowes
-High pressure LP regulator, needle valve, 4' stainless braid hose, etc....repurposed from my old floor burner.
(2) 11" water column (appx .5 psi) regulators for each Honeywell...appx $15 each
(2) honeywell VR8200a2132......Pex Supply $60.oo each
(2) Honeywell Q390/ Q340 thermocouples 18".....Pex Supply $4 each
(2) Honeywell Q314 pilot burners...Pex...$18 each
(2) Robert Shaw 1/4" x 5' aluminum pilot tubing with fittings...Pex...$9.29 each
(1) 10"x14"x6" NEMA enclosure non metallic, hinged lid...Ebay....like $40
(1) Custom made panel face from Front Panel Express...appx $100.00 (They are cool folks)
(2) Love TS2 controllers with 6' stainless probes....Dwyer...appx. $58 each
-Switches were the cheapo Chinese ones off Ebay.....appx $5-6 apiece x6, one pushbutton (probably replace one day with higher quality ones)
-Wire was 16 gauge I already had on hand
-Flexible conduit & fittings....$40 Lowes
- DIN rail, terminal blocks, jumpers.....appx...$40
(2) transformers $18 a piece, this was after I got a "GREAT" deal on two Honeywell transformers that were DOA.
(1) .063 thickness aluminum diamond brite plate 12"x72" (lower deck)....Amazon...$40
(1) .063 thickness aluminum diamond brite plate (pump shield).....Online Metals...$22

This is all before keggles, silicone tubing, fittings/camlocks, site tubes, chiller, etc.

I tried to upload the Google Sketchup drawings a while back and couldn't get it to work. The total width of the stand is 71", height is 26" w/o casters, and depth is 16". The openings above the burners is 12"x12". Sorry for the delay in listing this stuff and sorry it isn't more accurate, but it has been a crazy week. Hope it helps. If I left something out let me know.
 
^ AWESOME.. I was hoping you would post something like that. This may have to be my project for next year (sure the wife will be happy about that! lol) Always happy to see updated to this thread. You've inspired my obsession haha.
 
Well some good news and some not so bad news. The good first...I finally got around to using the stand (somewhat) to brew my Red Devil English Standard Bitter today. Needed a good session beer to watch Barclays Premier League that wouldn't render me inebriated and useless by mid afternoon. Anyway, I didn't get my keggles as expected for Xmas. I did get some cash toward them and the wife got me a gift certificate to brew one day with the brewer over at Cigar City Brewing in Tampa, as well as lunch with them, some merch and beer....she is awesome. So since I didn't get the kettles today's process involved using my old equipment, typical cooler setup,for a 5 gallon batch. I know opinions vary on the jet burners, but I was very impressed. The heat was pretty even under the pot. I used the BK burner to heat strike and sparge water, then boil. The really good news was that I took temperature readings where the Honeywell valves are and the temps never exceeded 100*F even during the 60 minute boil so that alleviates some worry in regards to heat damage. The max rating for them is 125*F ambient temp if I'm not mistaken. It may be 150*, but I dont have the info in front of me right now. Just thought I'd update this thing a bit and hopefully the beer turns out well, first time using Wyeast 1968.
 
where are you located? Maybe we could get together and brew one day. I built a stand from bed frames and got hold of some kegs and coverted them to keggles.
 
Finally have gotten one keggle, with a second on the way. also bought a Blichmann Therminator yesterday from Southern Brewing in Tampa. Now just have to figure out where I want to mount it. Its nice to finally start making some progress again on this thing. Dont you just hate when real life gets in the way of the hobbies, lol.
 
So I'm looking at doing this down the road but I was curious if the control panel controlled just the pumps or managed the gas pressure and burner operation to maintain the temp in the HLT and MLT?
 
The control panel does both. It runs the pumps by manually turning them on to run and then it will control the temps through the use of the Honeywell furnace valves. They basically turn the burner on and off, via a pilot light, as needed to maintain the temp. set in the Love controllers. It is all based on the Brutus 10 system.
 
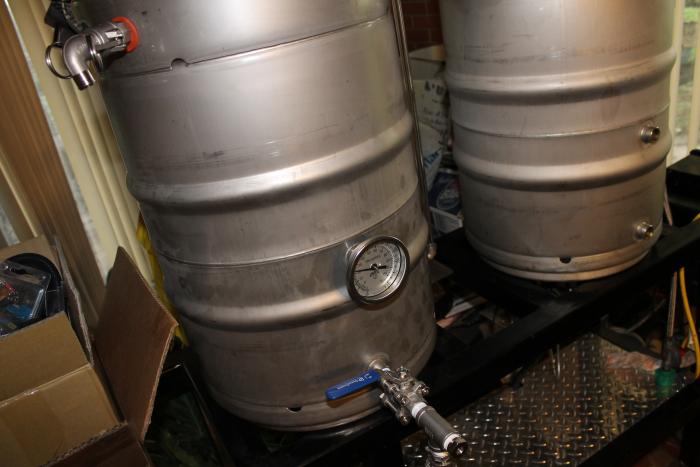
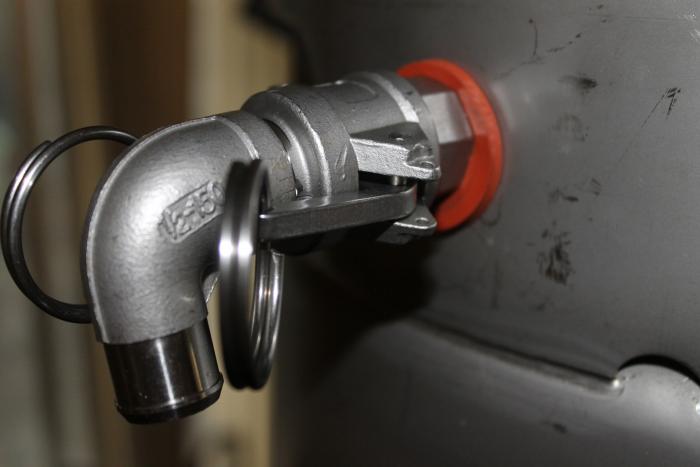
Alright, actually got a little bit of progress to report. I got the chiller mounted and got most of the components onto what will be the mash tun. I still have a lot of cam locks, false bottom, etc. to order but it is slowly coming along. Of course now that I'm getting closer to stepping up to ten gallon brews the cold side, fermentation, is going to have increase capacity as well. So now I'm looking for a larger fermentation chamber of some sort. Never ends, but sure is fun.

207.jpg


209.jpg


211.jpg


212.jpg


213.jpg
 
Have you got a chance to boil with the 10 jet tip burners yet?

if so how is the boil time? im debating on either getting the 10 or 23 its only a 9 dollar difference, but if the 10 will do just as good as a 23 and save me on propane ill go with that one instead.
 
Can you take a pic of how you did your pilot burner on the 10 tip burners? I am going to try to switch my Banjo burner over to the 10 tip and see how I like it, I am struggling on how to mount the pilot.
 
I haven't done a full boil on a ten gallon batch, in keggle, as of yet. I boiled in my old pot for a five gallon gallon batch a few weeks ago. I didn't time how long it took to bring the 7 1/2 gallons from mashout temps to a boil, but it wasn't long. One of the reasons I went with the 10 tip burners was because most people I saw using the larger ones were having to plug some of the tips anyway. I guess if you were doing even larger brews, 20 or 30 gallons, the larger burner makes sense. Just not for me on a ten gallon system. If I ever step up to larger batches I'll upgrade the fuel and burner system, but not now. Once i get the keggles up and running and do a wet test Ill time it and post. Still waiting on the third keggle, plus having to work a long week this week, plus fighting off a cold so it may be a couple weeks.

As far as how the pilots are mounted, they're actually not hard mounted to the burner. The pilot gas tubing is pretty stout and the pilot burner itself is wedged in amongst the bends of the burner. I'll take some pics over the next couple of days and post them. I have rolled the stand over a two inch drop and the pilot tubing showed no sign of movement from it's position. They're pretty stoutly wedged in there, although I have considered somehow attaching them to the outer burner ring, just haven't done it yet.
 
Back
Top