Bigscience
Well-Known Member
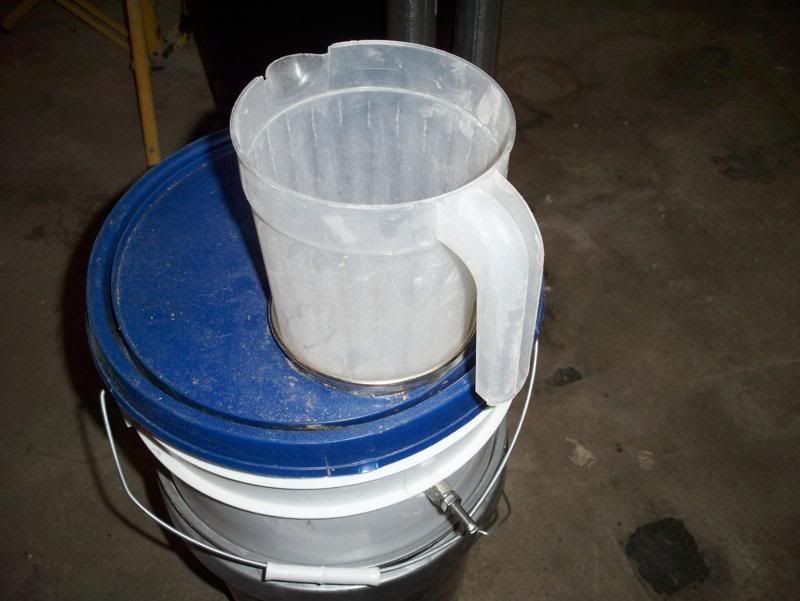
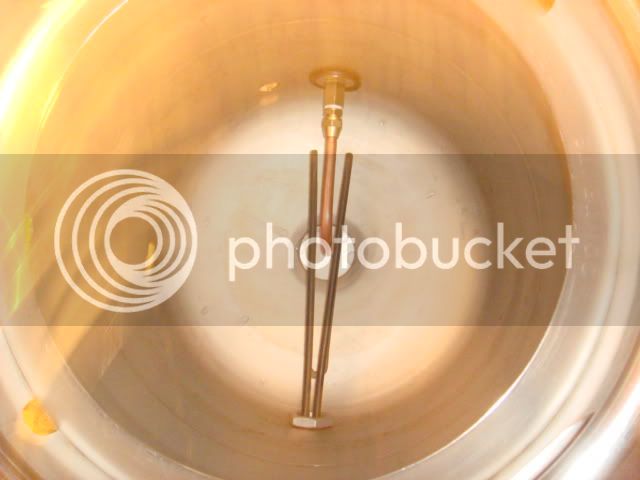
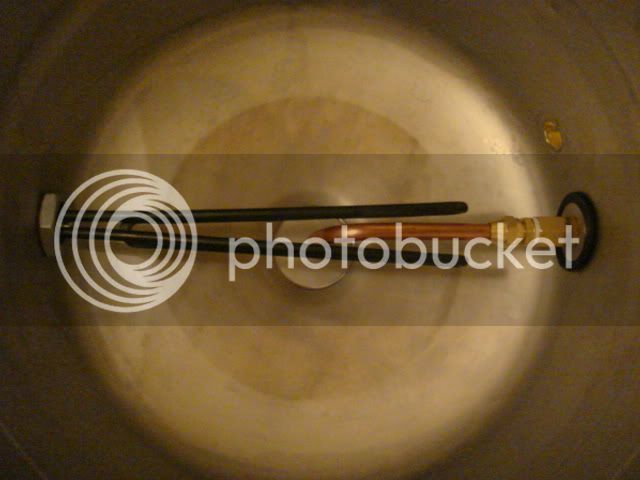
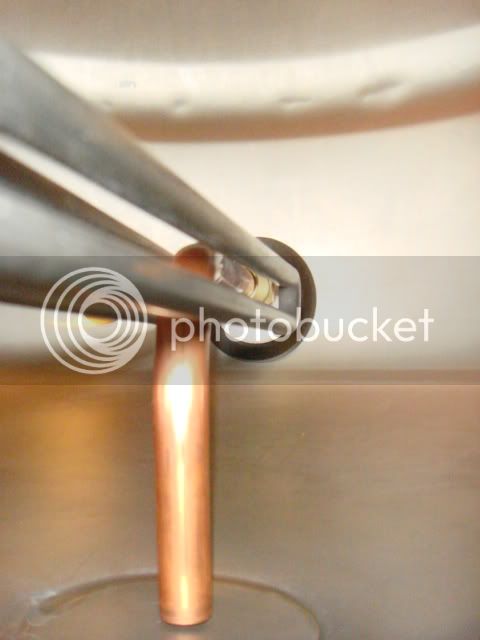
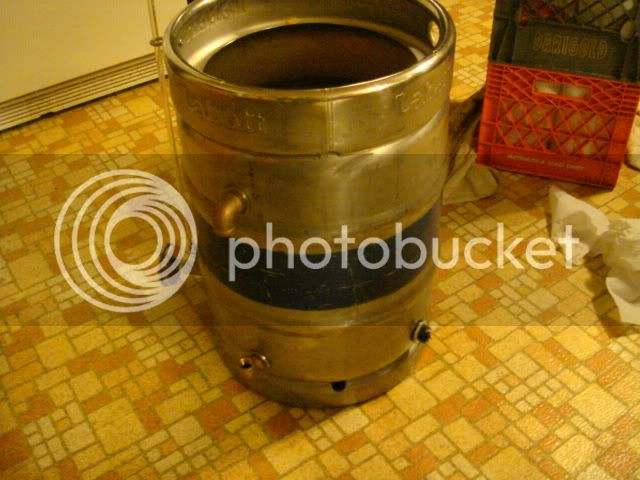
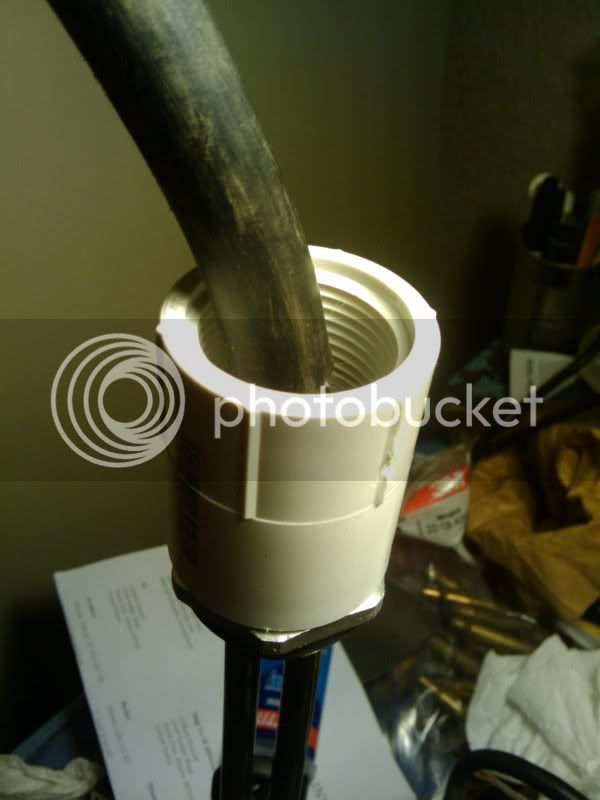
I always recommend fashioning a simple heat shield under a sight glass.
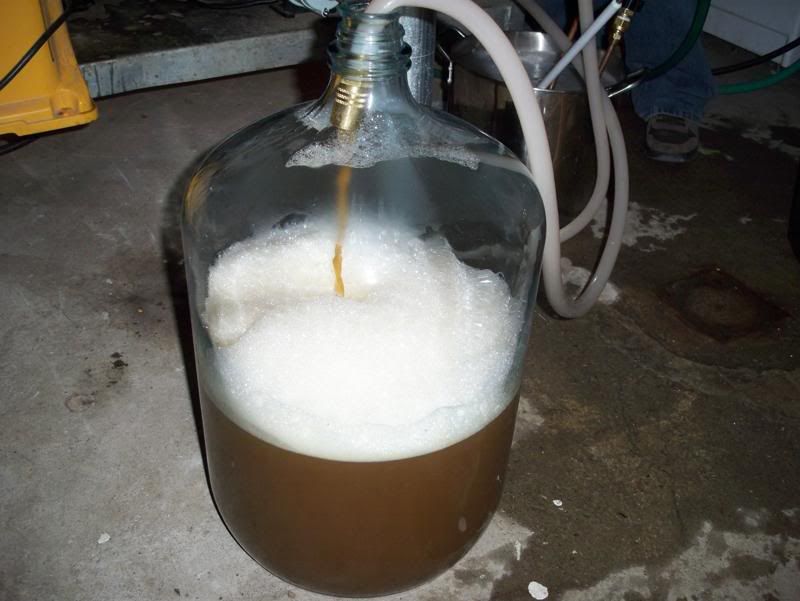
+1 on a heat shield. I would boil wort in the glass and it would shoot out the top like a volcano. Not fun.

I always recommend fashioning a simple heat shield under a sight glass.
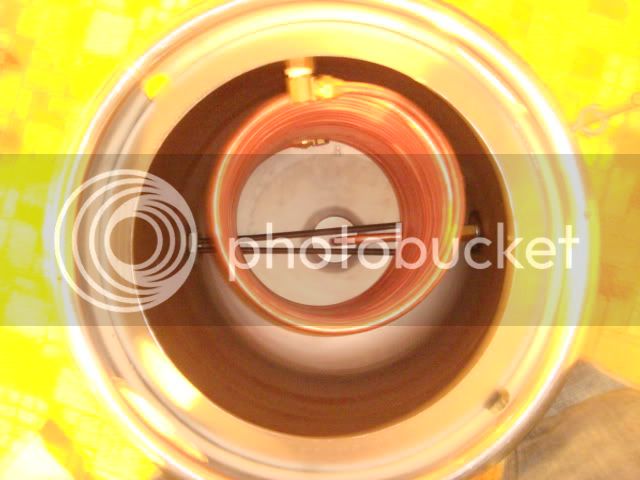
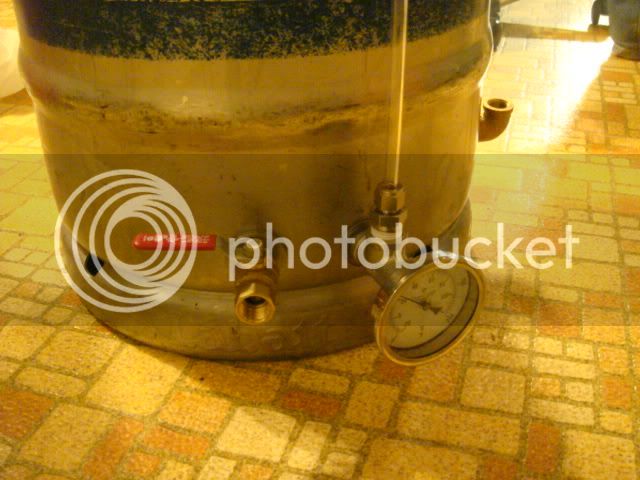
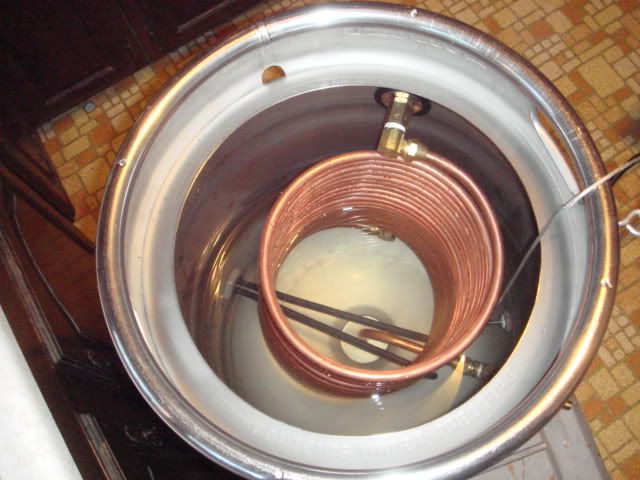
Do you think the thermometer will be affected by the burner since it is fairly close to the bottom of the kettle? I need to drill out my kettle for a therm/sight glass and have been wondering where to drill the hole.
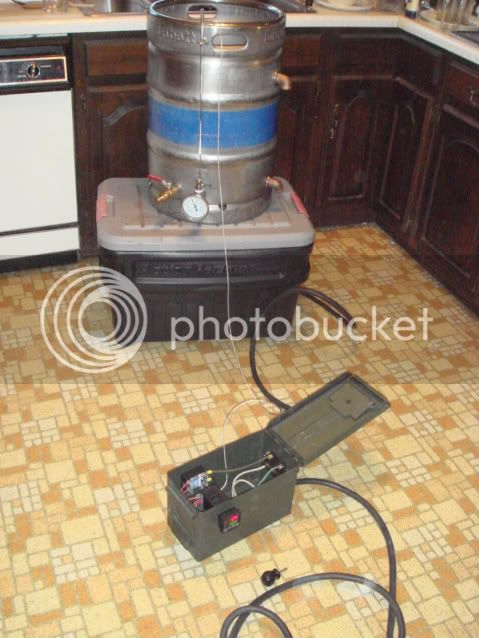
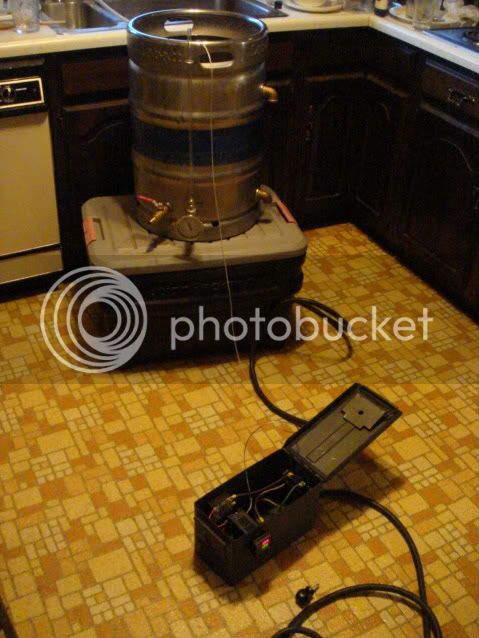

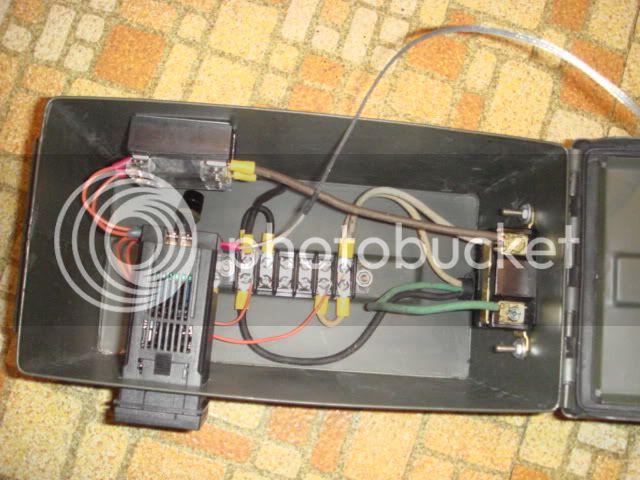
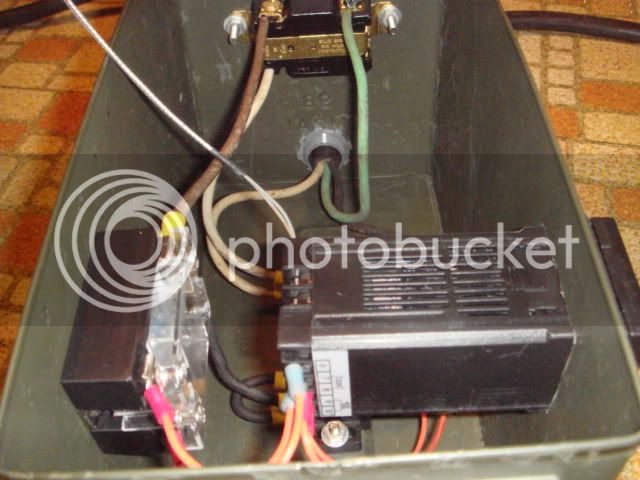


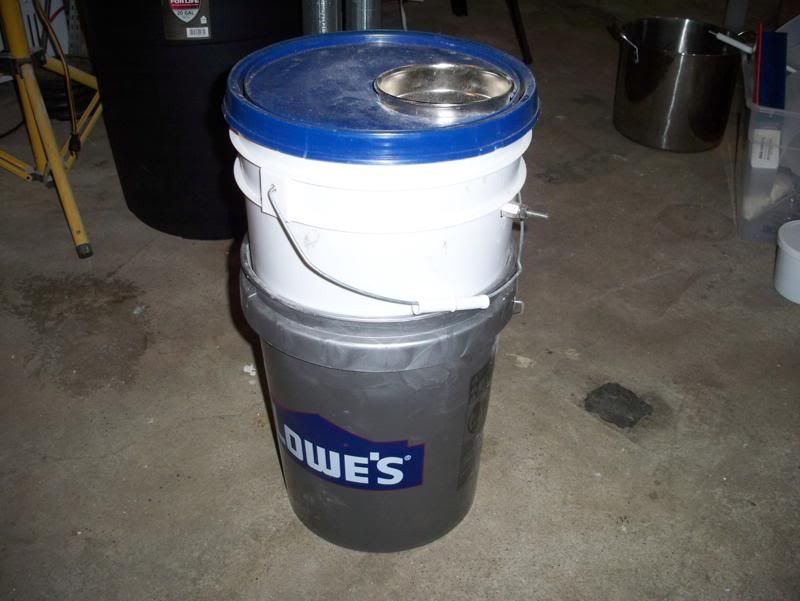
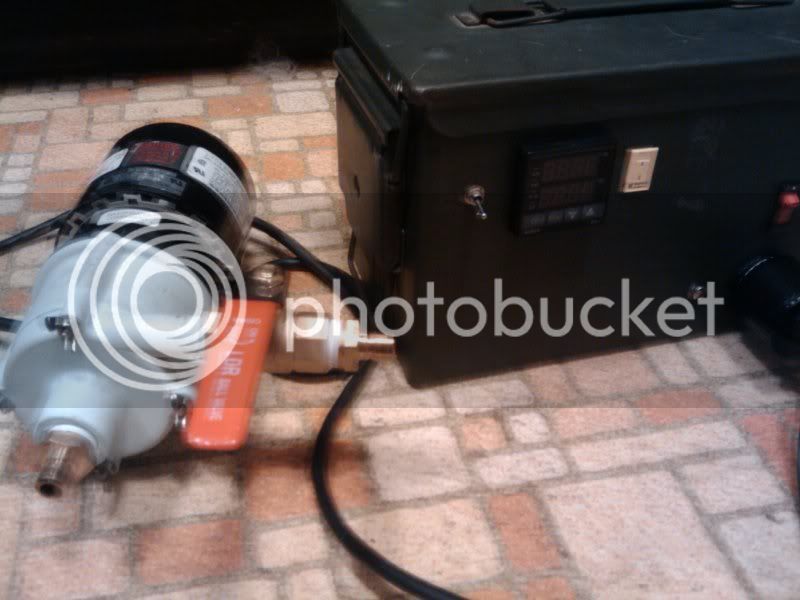
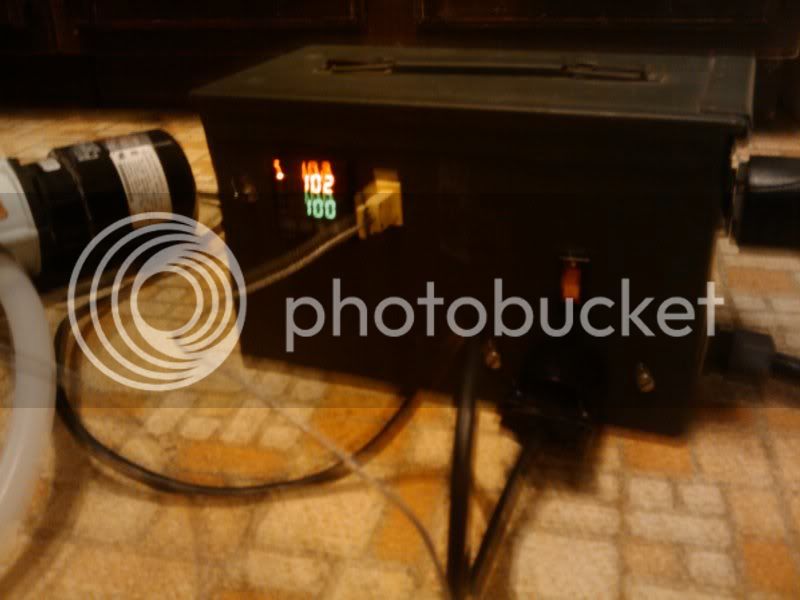
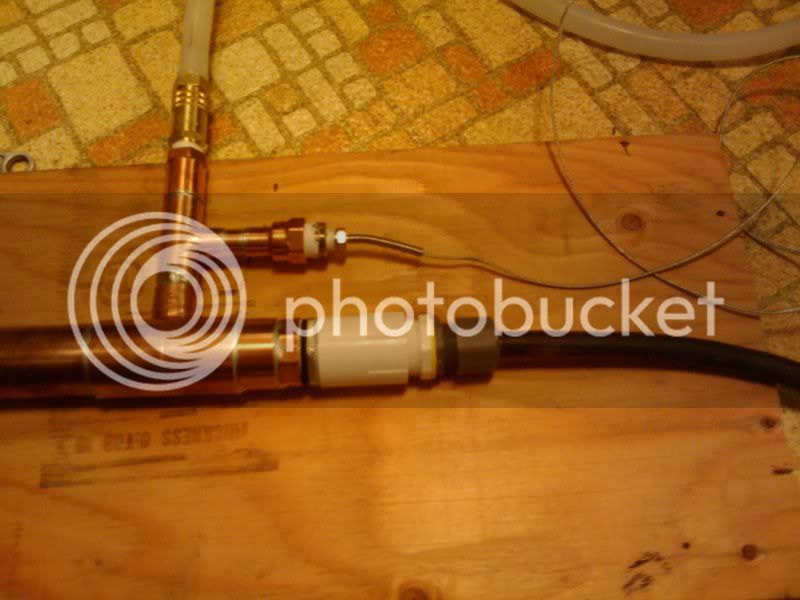
I noticed that you do not have a heat sync for the SSR... how hot did that ammo can get during brew day?? Im supprised it didnt die on you
You clearly have no idea what "anti bling" means.
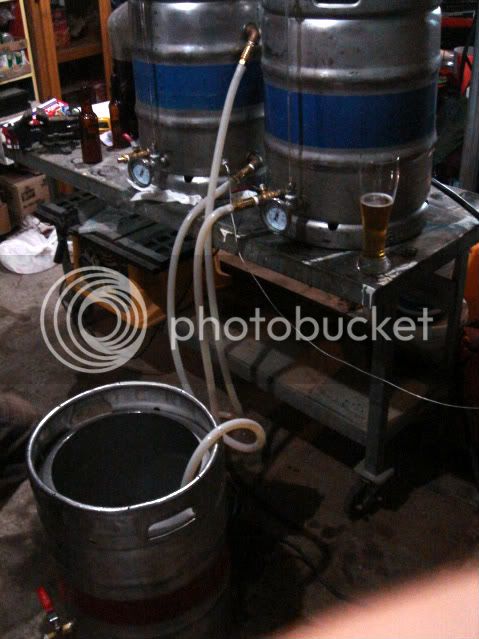
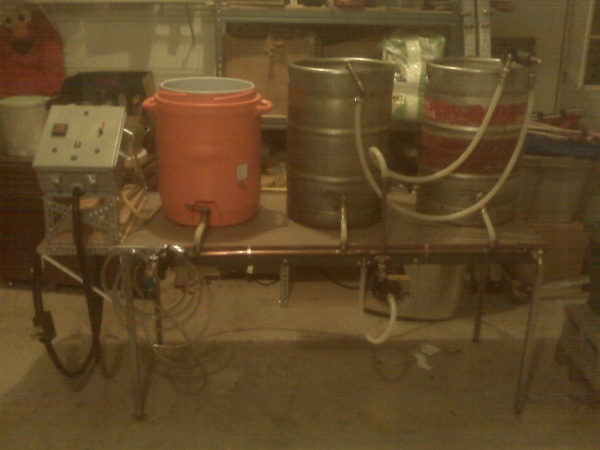
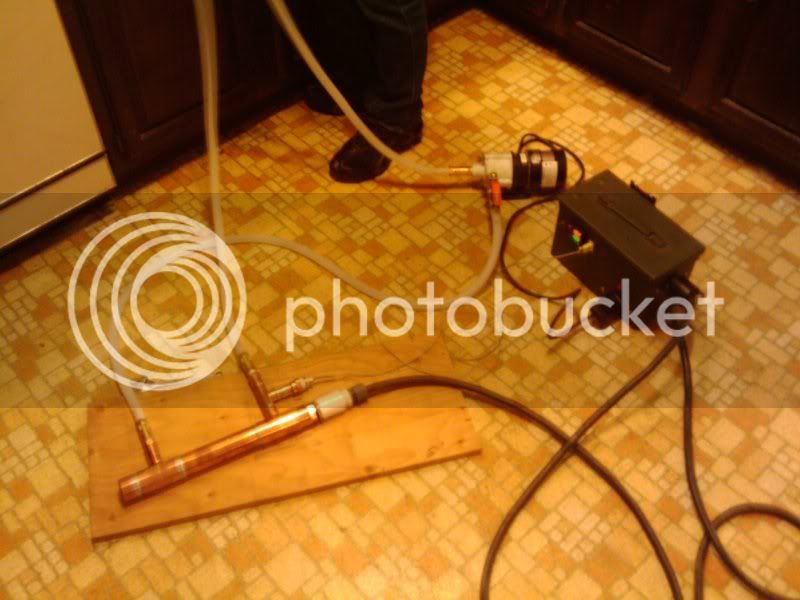
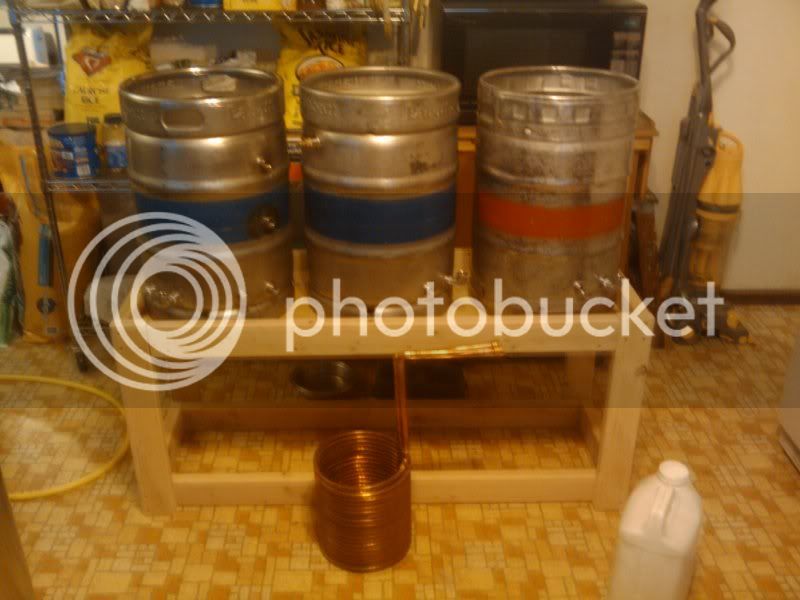
Steel frame table that used to be in a lab at the company I worked for 10 years ago (still has the inventory tag on the back of it, too). They went out of business and sold all the furniture in 2001. Spent $5 on that table.
It sat around essentially unused for the past 5 years and just happened to be sitting in the garage when I started working on the system. Without really thinking about it, I just started bolting and screwing things to it.
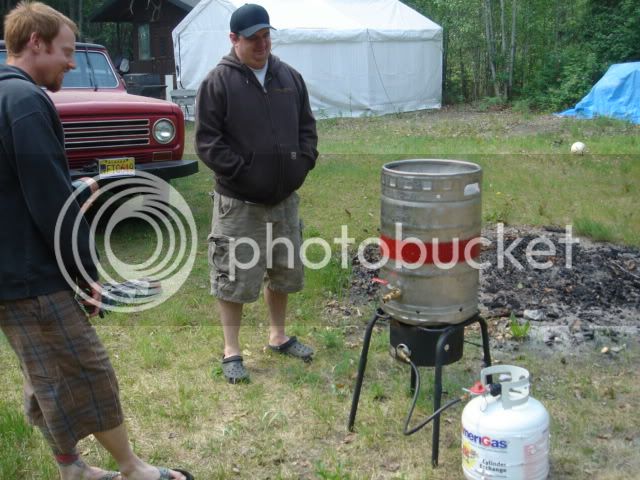
It's my buddy Phil's International Scout. I'm not sure what year, but I'll ask him.

Klyph, did you ever get your on-demand sparge water dialed in? I'd be interested to know how that went.


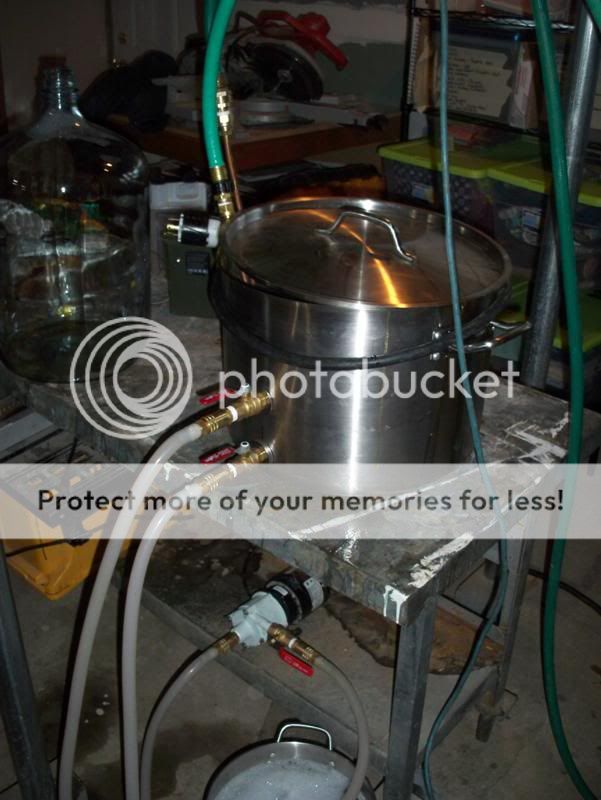


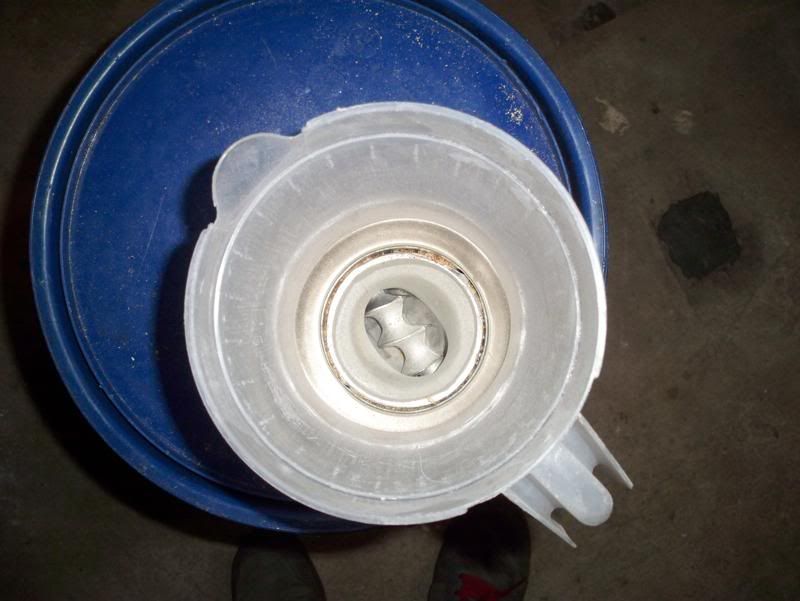
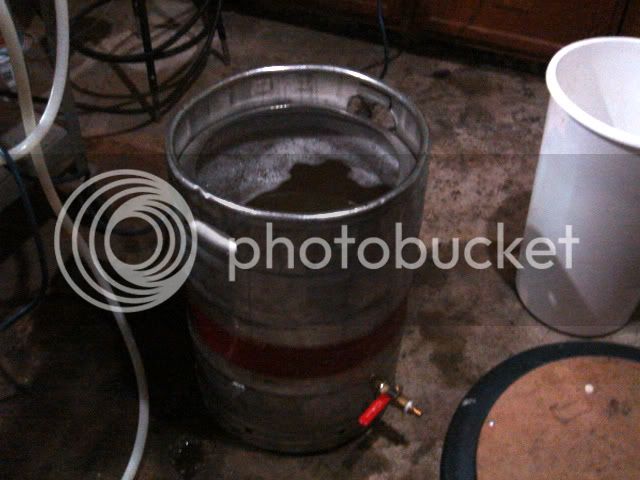
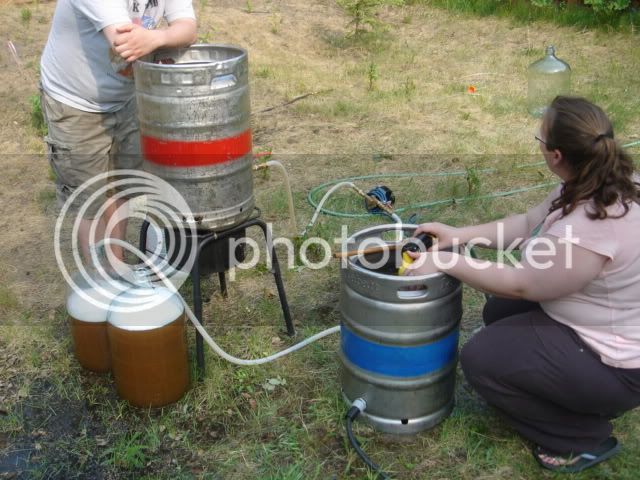
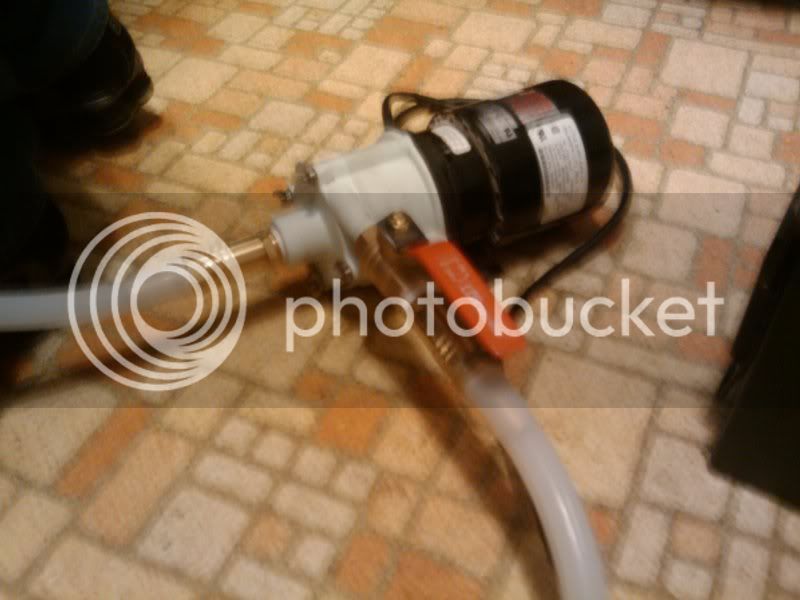
It's my keg/carboy washer that I run with my Little Giant pump. Makes cleaning sankes, corny's, and carboys a breeze.
And, it doubles as a bidet!

Enter your email address to join: