
michaelm
Well-Known Member
I know it's been forever since I have posted anything on here so I thought I would share... Sorry for the wall of txt and pics but... well its worth it ")
Took a break from airguns in the shop and decided it was time to build myself a nice kegarator.... I am so tired of bottleing my beers and quiet honest tired of having that many beer bottles sitting around so it is time to move to kegs
Basicaly I started out with a plain white chest freezer so I had to build a collar for the taps to come through....
I also decided to attach the collar to the lid so the whole thing lifts up instead of the freezer body for 2 reasons as well... First so I didnt have to lift full kegs another 8+ inches to get them into the freezer and second when putting kegs into the freezer I dont have to dodge tap shanks and barbs and maybe break something/knock something loose.... this way when I open the lid the whole collar lifts up moving the taps/shanks and most the hosing right up outta the way.....
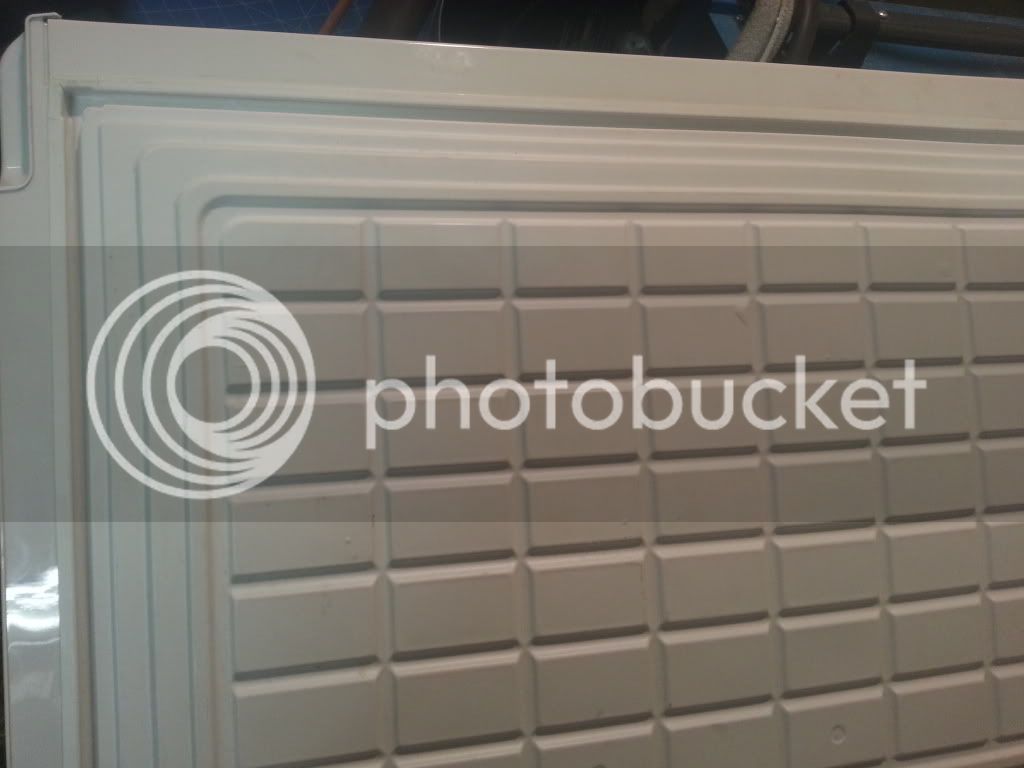
first step was to build the collar and attach it to the lid.... I did this by removing the stock seal around the lid and measuring the groove that the seal sits in.... then I took some 4 inch tongue and groove boards and ripped them down the middle into 2 2inch wide boards one with a tongue one with the groove... the tongue boards got cut to make a box that snaps into place in the stock grooves on the lid..... then around that I measured and cut the 1x8 popular boards that makeup the body of the collar itself then cut the 2 inch groove boards to fit inside the bottom of the box making a new groove for the factory seal to snap in place.... collar snapps into the lid the seal snaps into the collar and it all fits back together like it was made that way
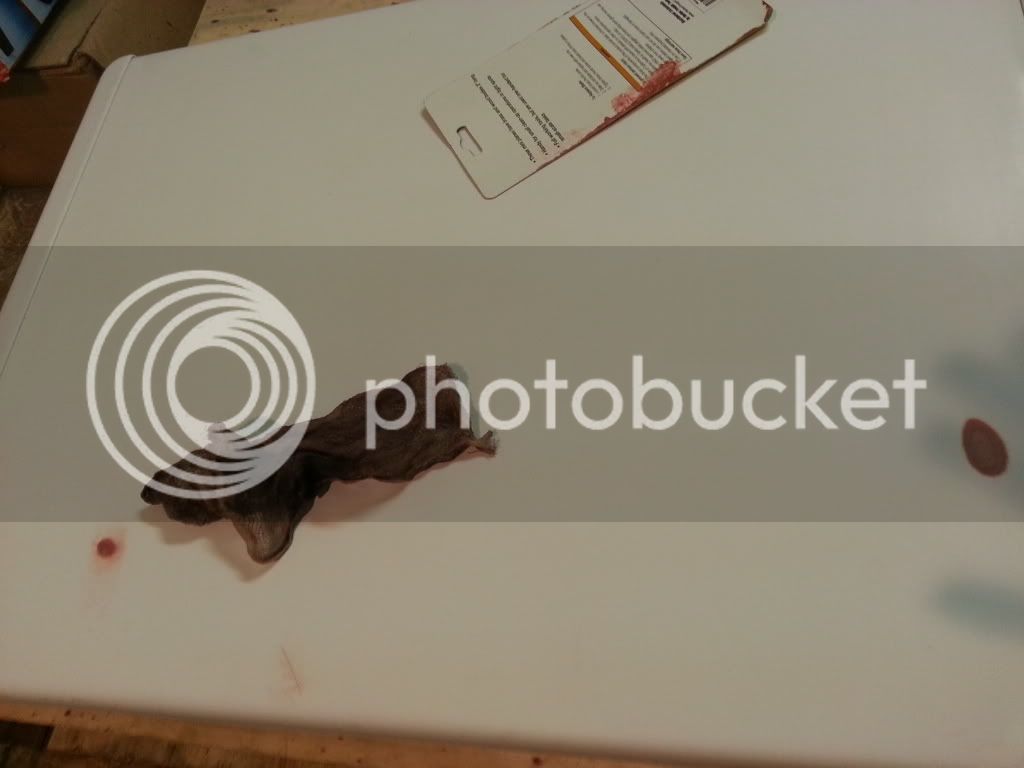
groove in lid
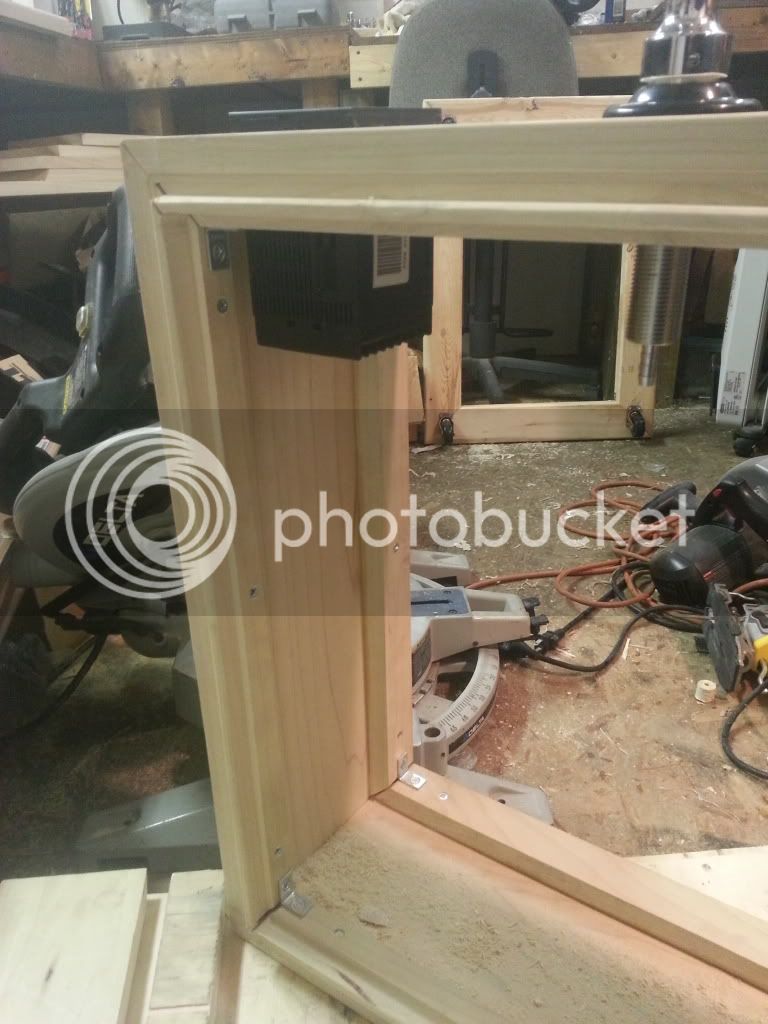
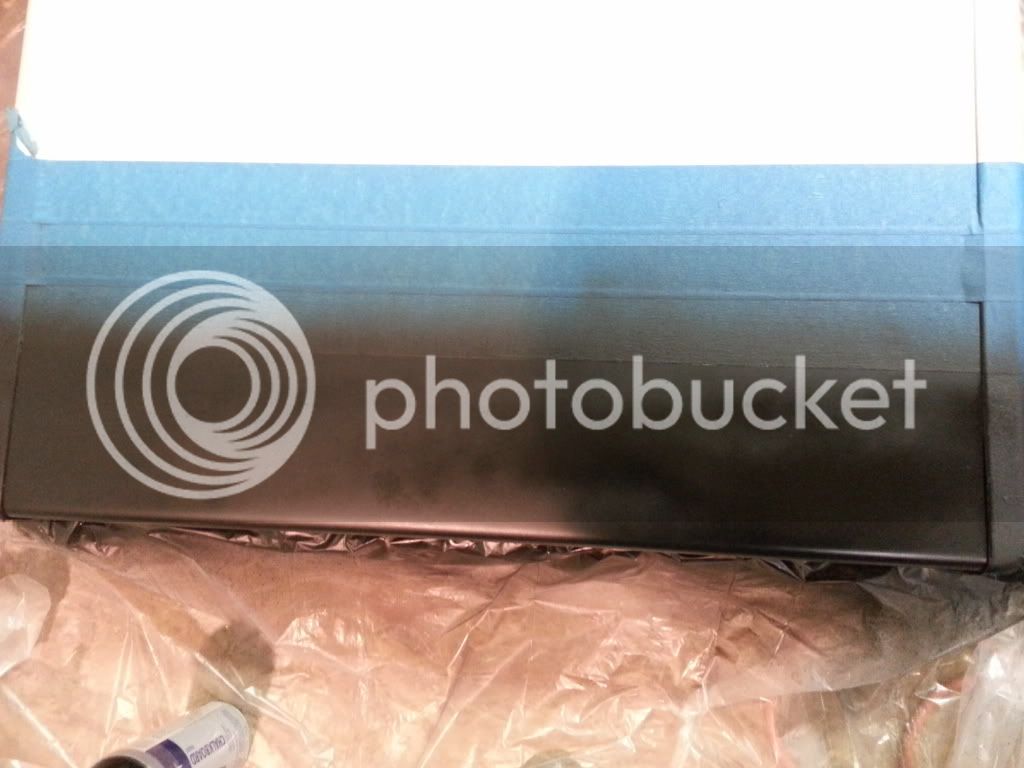
top of collar with tongue
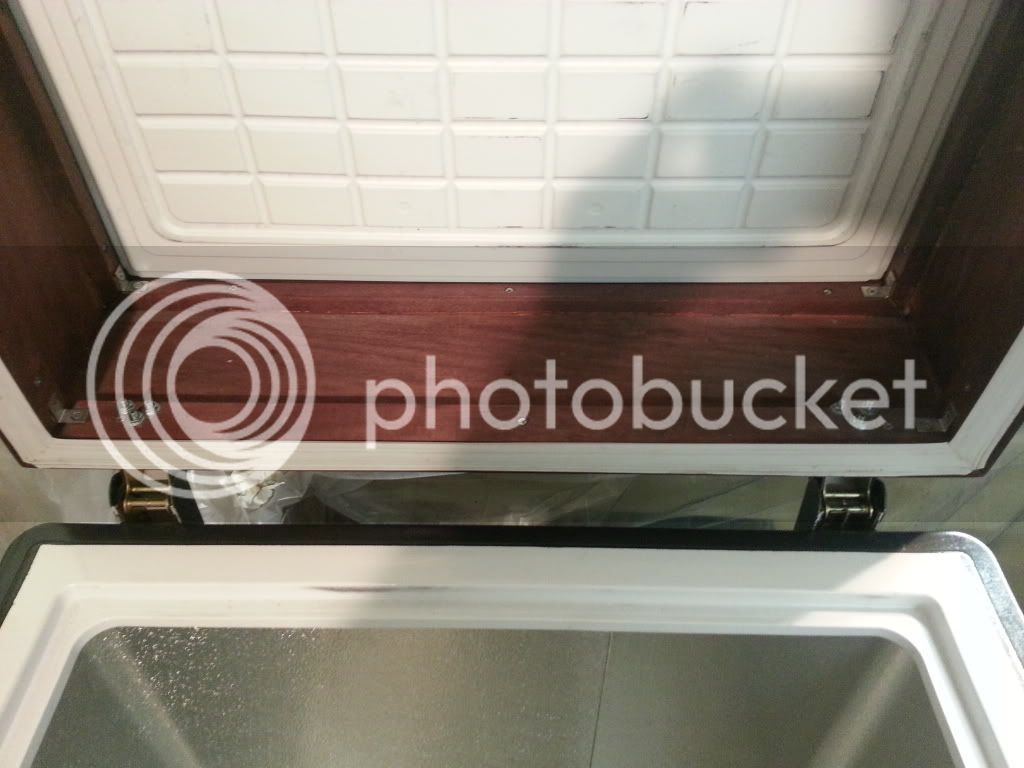
bottom of collar with groove
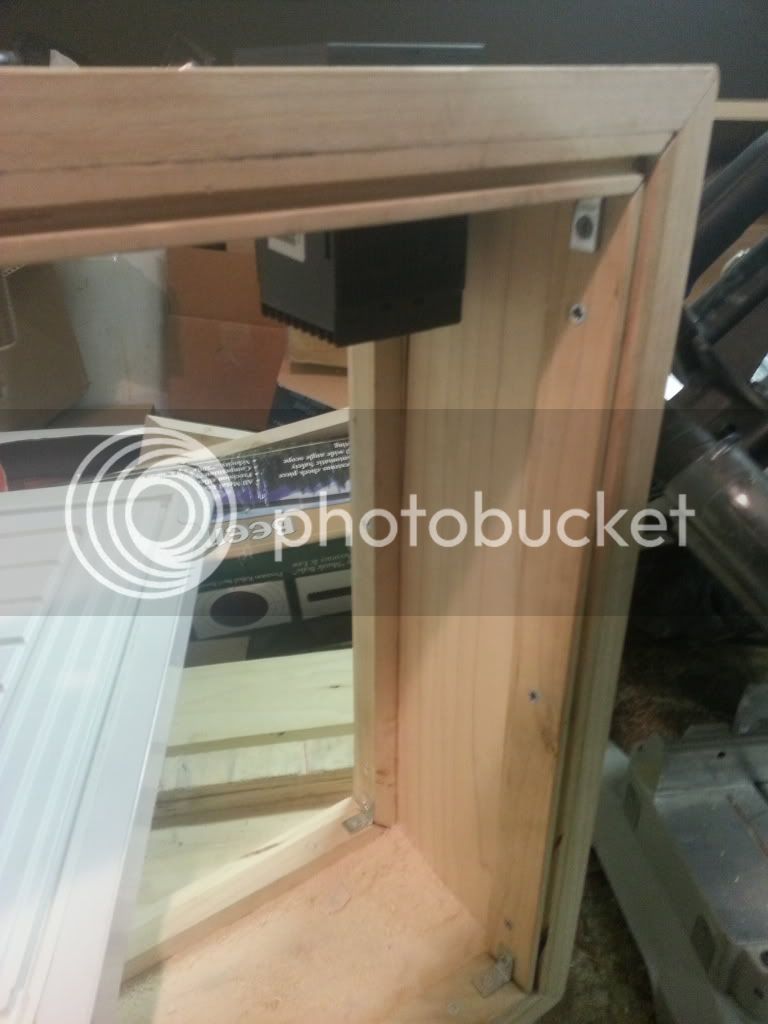
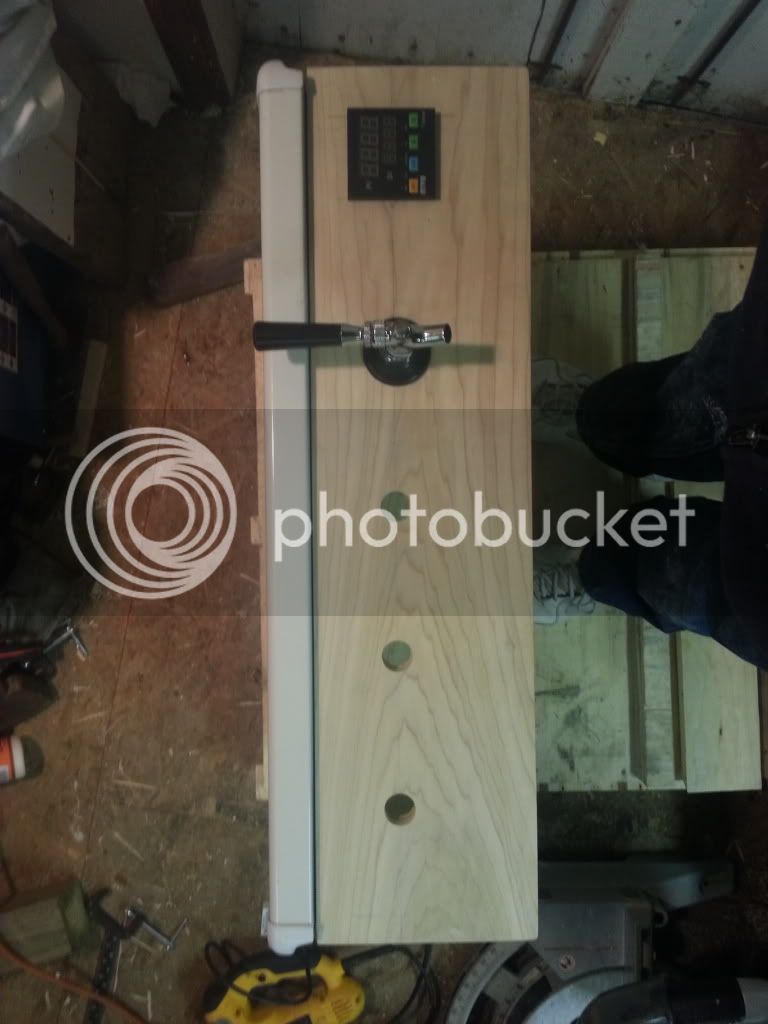
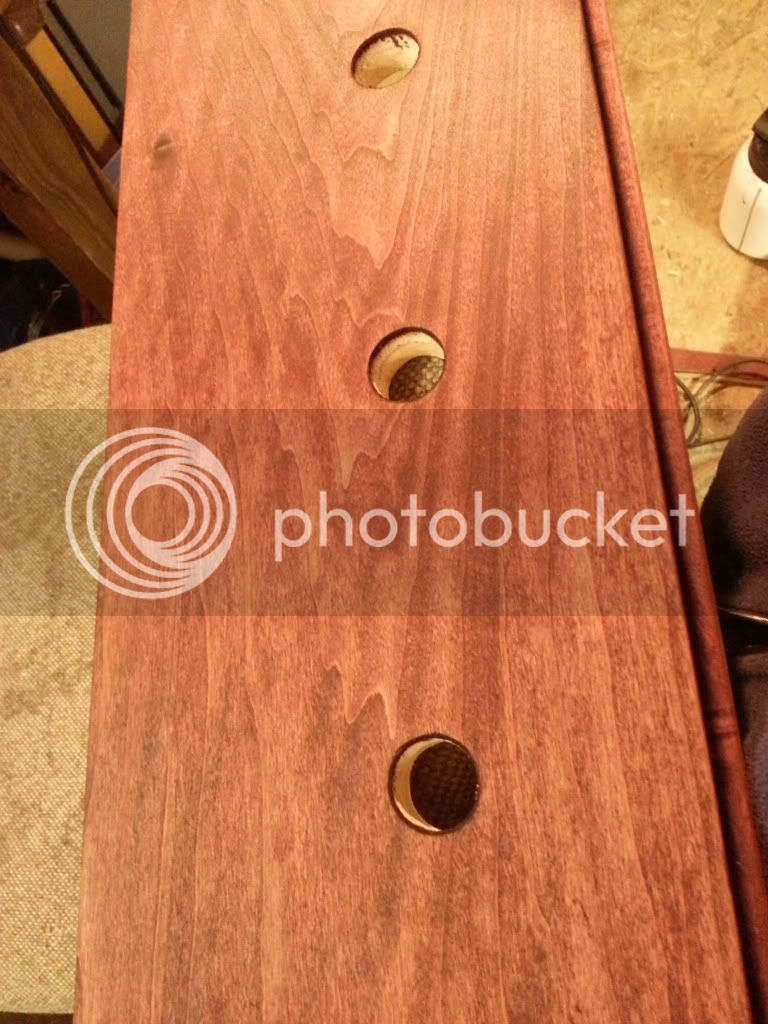
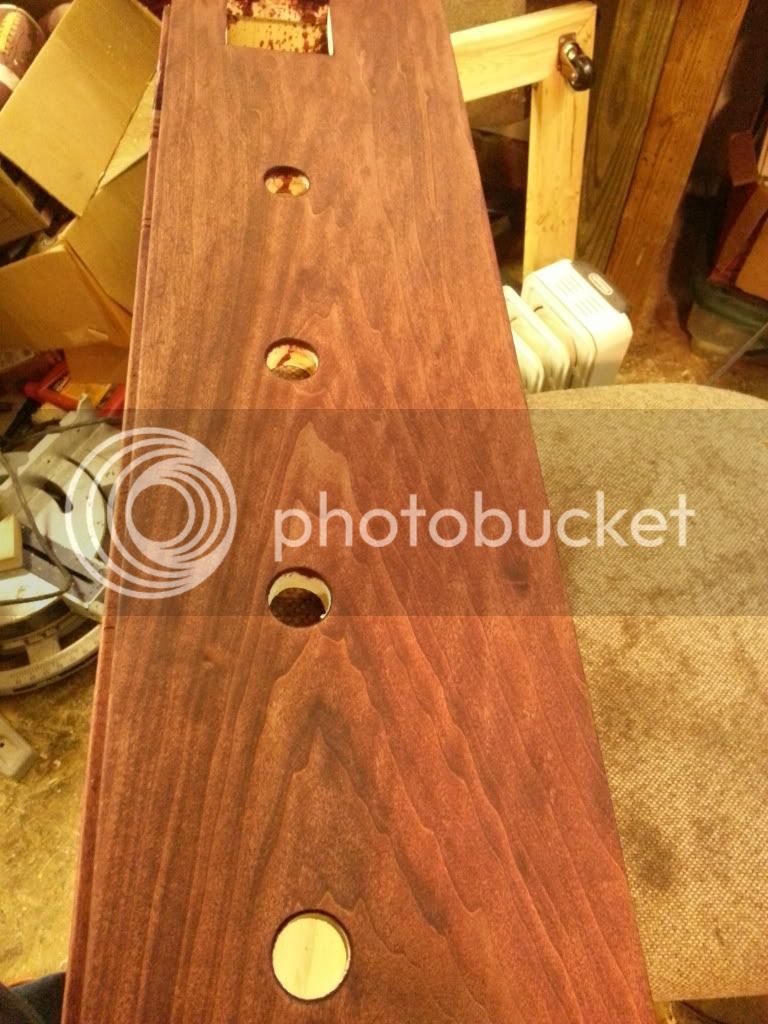
Then I laid out the holes for the tap handles and the cutout for the PID controller I am using to control the freezer temps.... snapped everything together for a test fit.
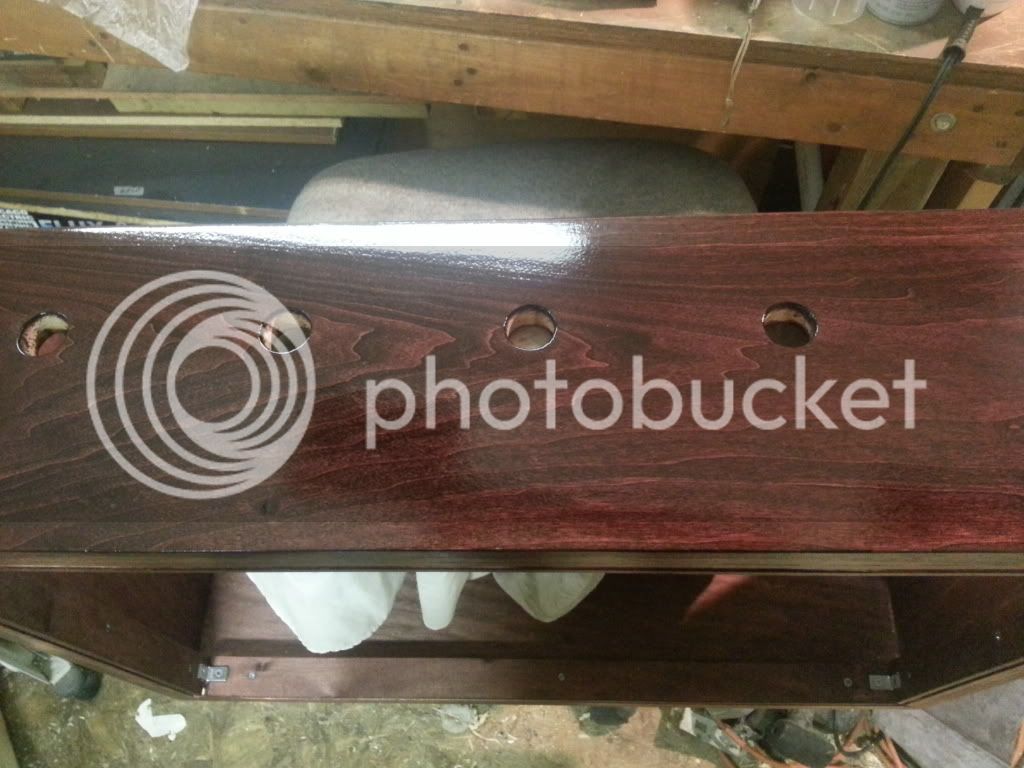
Now I started the stain... after spending alot of money of a high quality stain and testing it on some scraps I was VERY dissapointed.... this popular has some very nice grain but the stain just covered it up and made the wood look "muddy" instead of pretty and nice wood.... so did some research and learned that stains are mostly opaque dyes and have a tendancy to cover the grain and what I needed was a wood DYE they color the wood but keep the grain nice and sharp and make it "pop" .... more research reveals wood dyes are not so cheap either but a great way to DIY it is to mix RIT dyes to get the color you want so thats what I did... 5 bucks worth of RIT dye later and I have this sexy color starting to emmerge
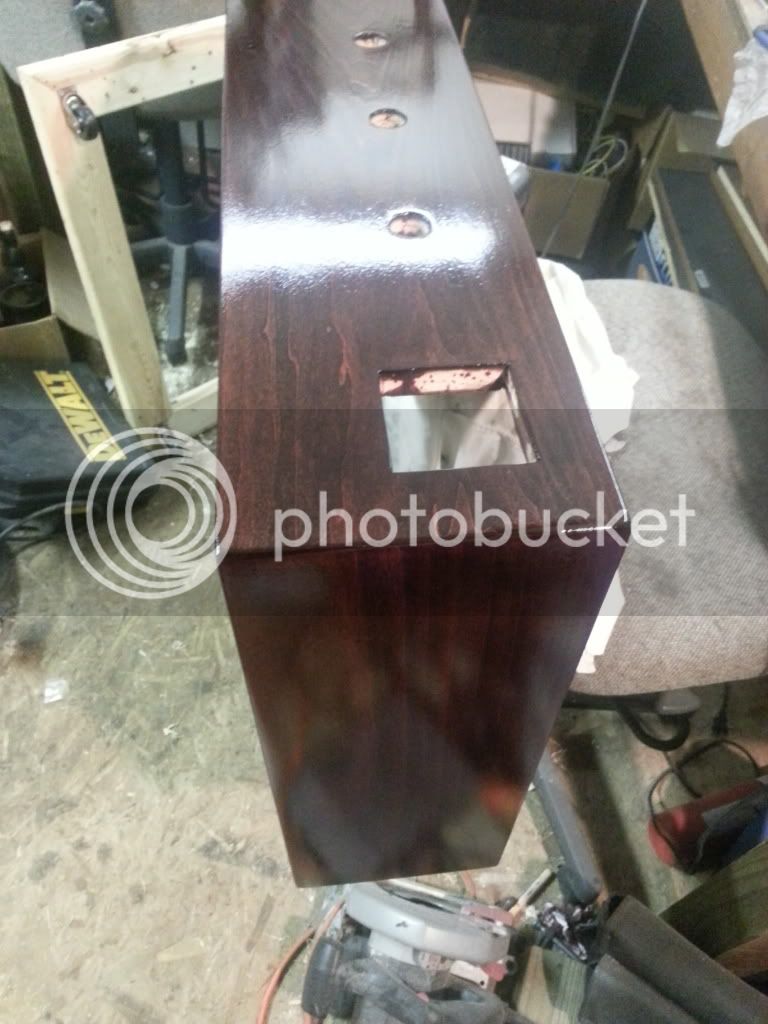
couple more coats of that to get to the nice dark reddish brown I was looking for and time to seal it up
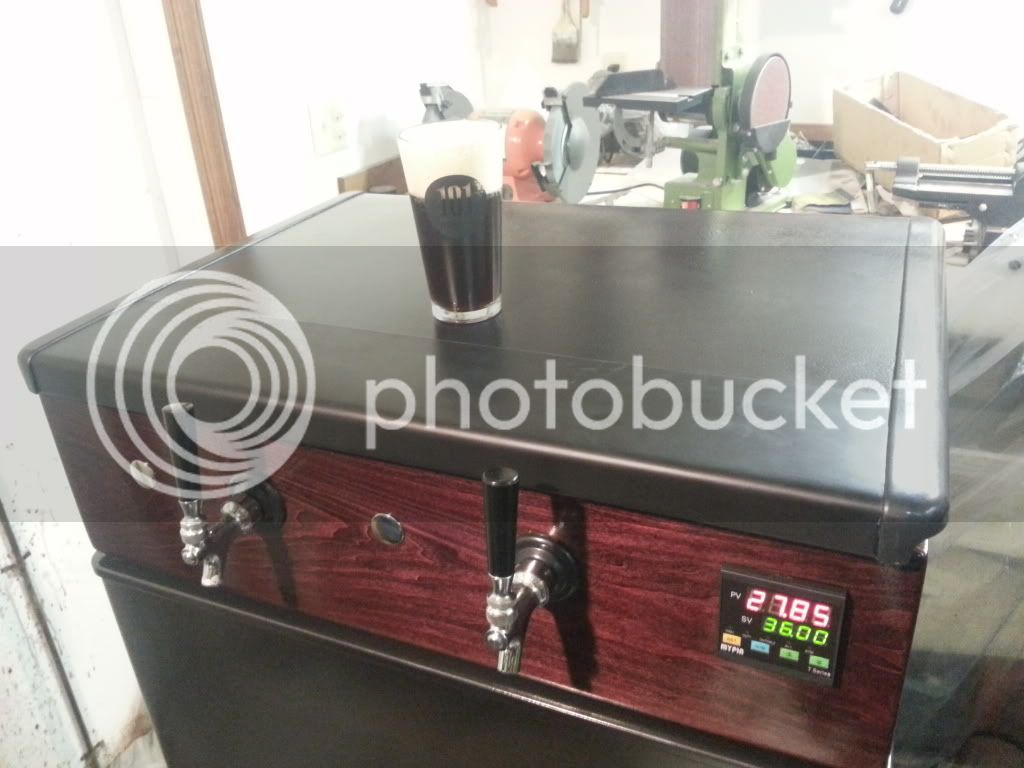
Now for the freezer.... no way was it staying white so I filled in some small dents and scratches masked off the front 5 inches of the lid and painted it with chalkboard paint so I can write right on it whats in each tap then painted everything else a hammered black finish...
then painted the rest of the freezer and control parts put it all together wired her up
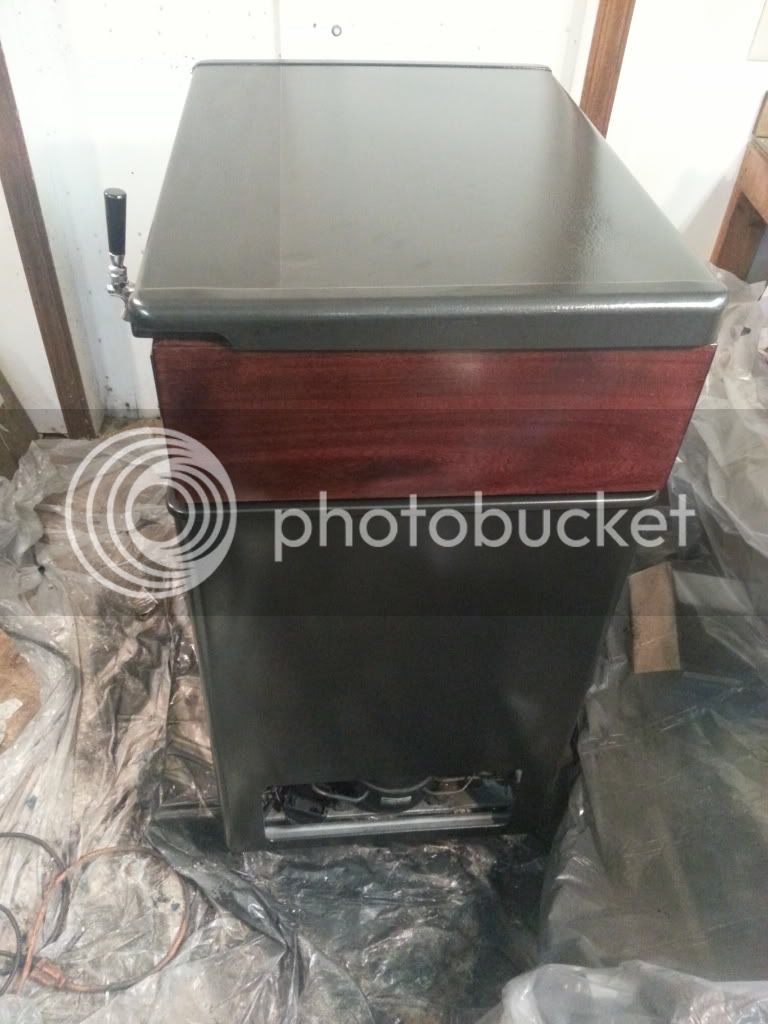
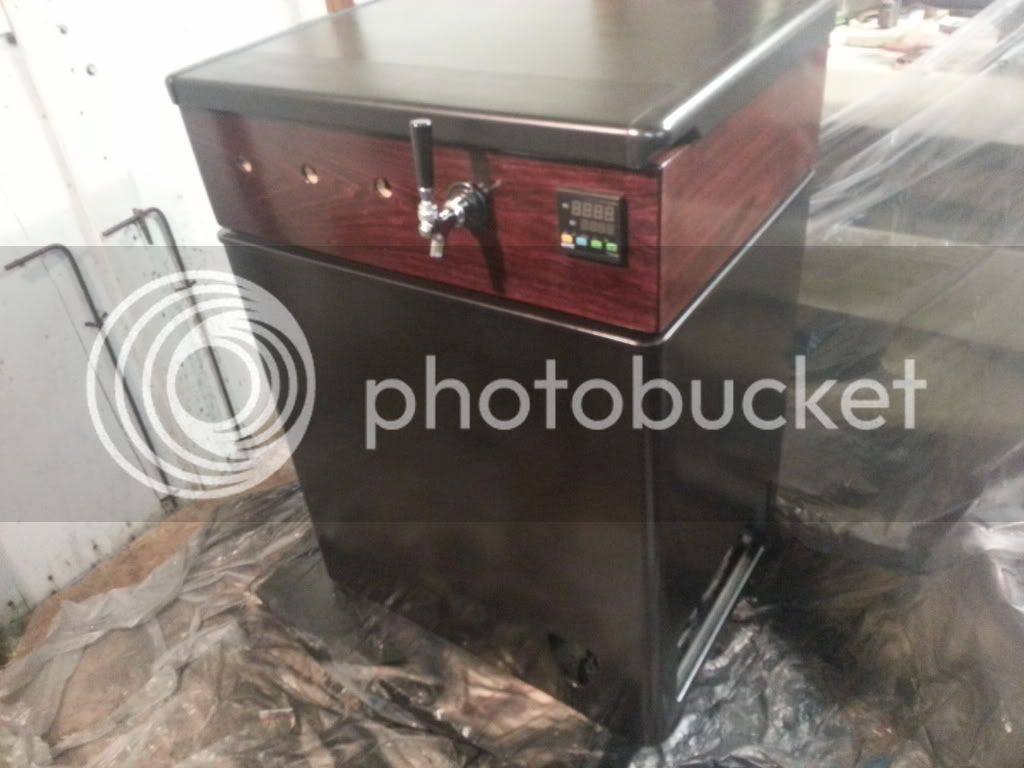
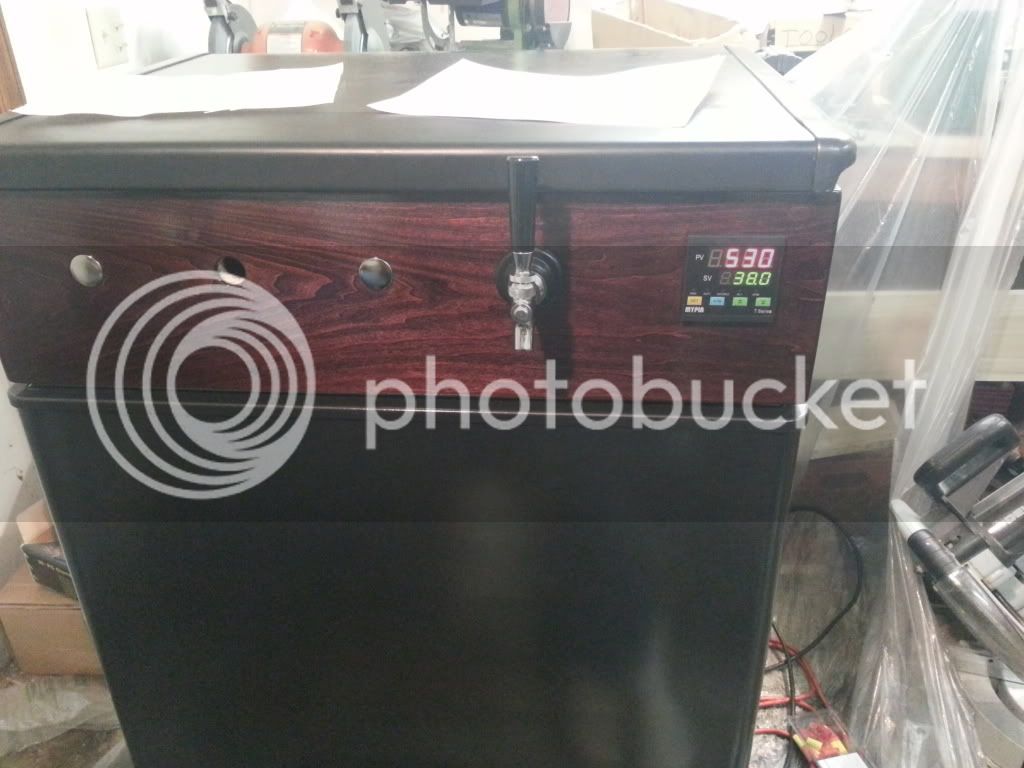
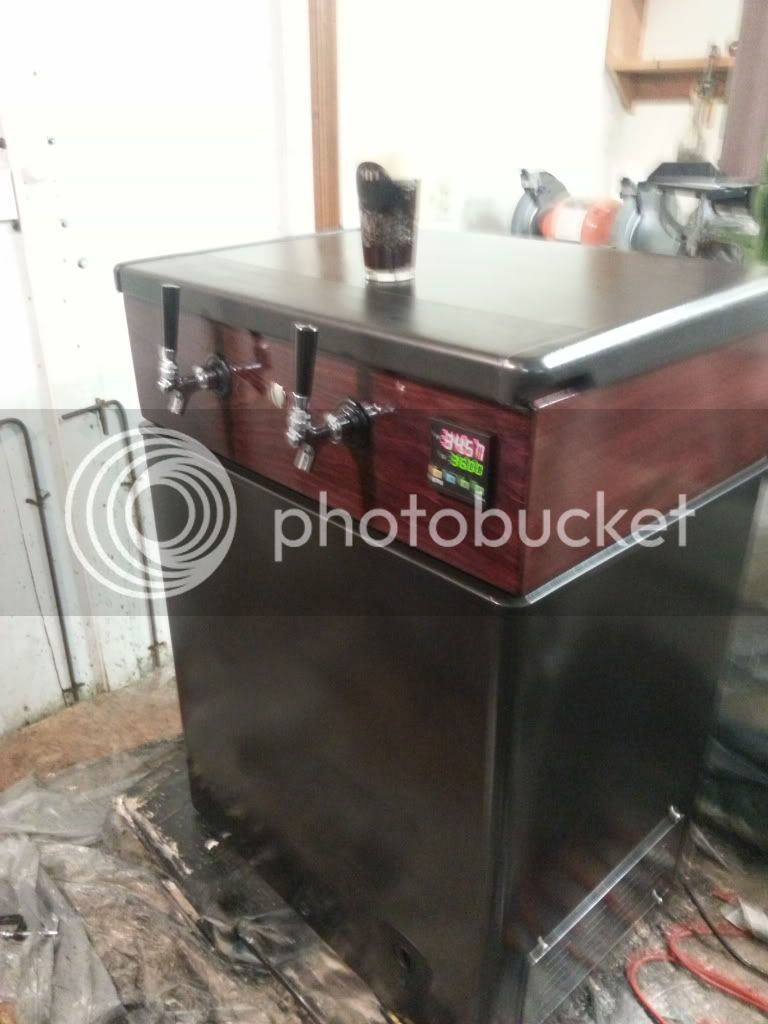
And lastly programmed the PID controller to hold the temps I want and poured myself a nice fresh from the tap beer
Took a break from airguns in the shop and decided it was time to build myself a nice kegarator.... I am so tired of bottleing my beers and quiet honest tired of having that many beer bottles sitting around so it is time to move to kegs
Basicaly I started out with a plain white chest freezer so I had to build a collar for the taps to come through....
I also decided to attach the collar to the lid so the whole thing lifts up instead of the freezer body for 2 reasons as well... First so I didnt have to lift full kegs another 8+ inches to get them into the freezer and second when putting kegs into the freezer I dont have to dodge tap shanks and barbs and maybe break something/knock something loose.... this way when I open the lid the whole collar lifts up moving the taps/shanks and most the hosing right up outta the way.....
first step was to build the collar and attach it to the lid.... I did this by removing the stock seal around the lid and measuring the groove that the seal sits in.... then I took some 4 inch tongue and groove boards and ripped them down the middle into 2 2inch wide boards one with a tongue one with the groove... the tongue boards got cut to make a box that snaps into place in the stock grooves on the lid..... then around that I measured and cut the 1x8 popular boards that makeup the body of the collar itself then cut the 2 inch groove boards to fit inside the bottom of the box making a new groove for the factory seal to snap in place.... collar snapps into the lid the seal snaps into the collar and it all fits back together like it was made that way
groove in lid
top of collar with tongue
bottom of collar with groove
Then I laid out the holes for the tap handles and the cutout for the PID controller I am using to control the freezer temps.... snapped everything together for a test fit.
Now I started the stain... after spending alot of money of a high quality stain and testing it on some scraps I was VERY dissapointed.... this popular has some very nice grain but the stain just covered it up and made the wood look "muddy" instead of pretty and nice wood.... so did some research and learned that stains are mostly opaque dyes and have a tendancy to cover the grain and what I needed was a wood DYE they color the wood but keep the grain nice and sharp and make it "pop" .... more research reveals wood dyes are not so cheap either but a great way to DIY it is to mix RIT dyes to get the color you want so thats what I did... 5 bucks worth of RIT dye later and I have this sexy color starting to emmerge
couple more coats of that to get to the nice dark reddish brown I was looking for and time to seal it up
Now for the freezer.... no way was it staying white so I filled in some small dents and scratches masked off the front 5 inches of the lid and painted it with chalkboard paint so I can write right on it whats in each tap then painted everything else a hammered black finish...
then painted the rest of the freezer and control parts put it all together wired her up
And lastly programmed the PID controller to hold the temps I want and poured myself a nice fresh from the tap beer