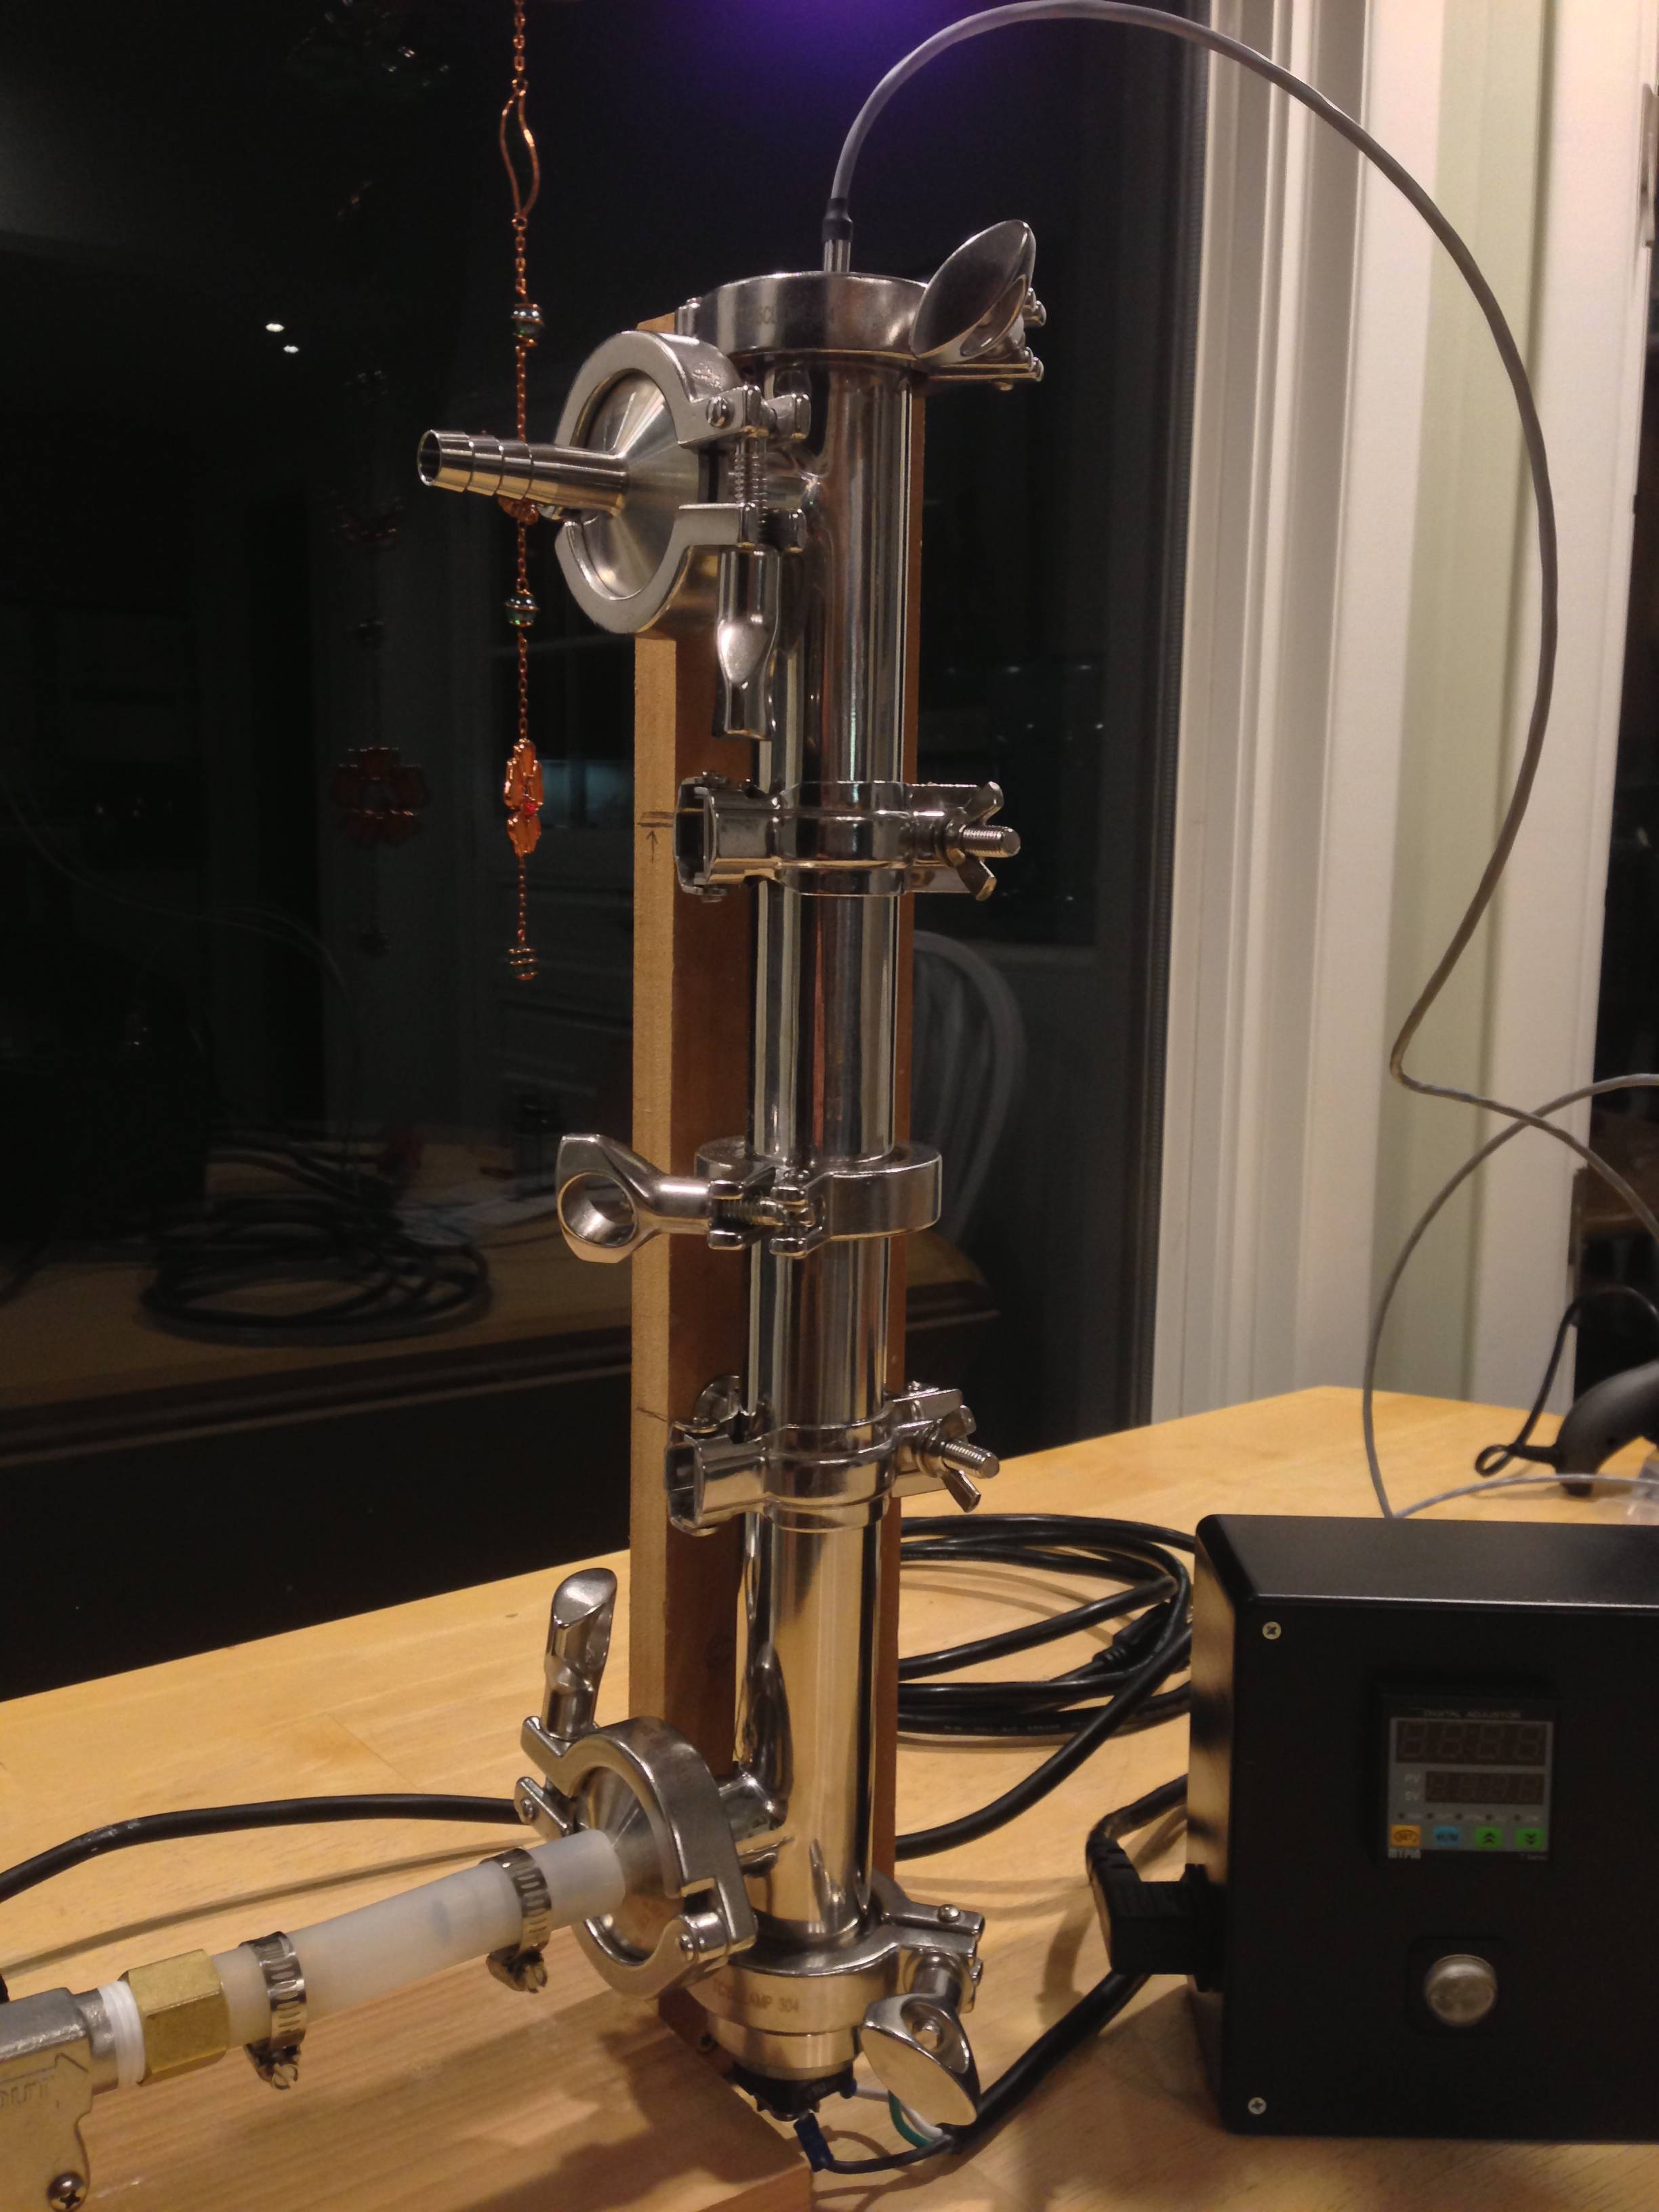
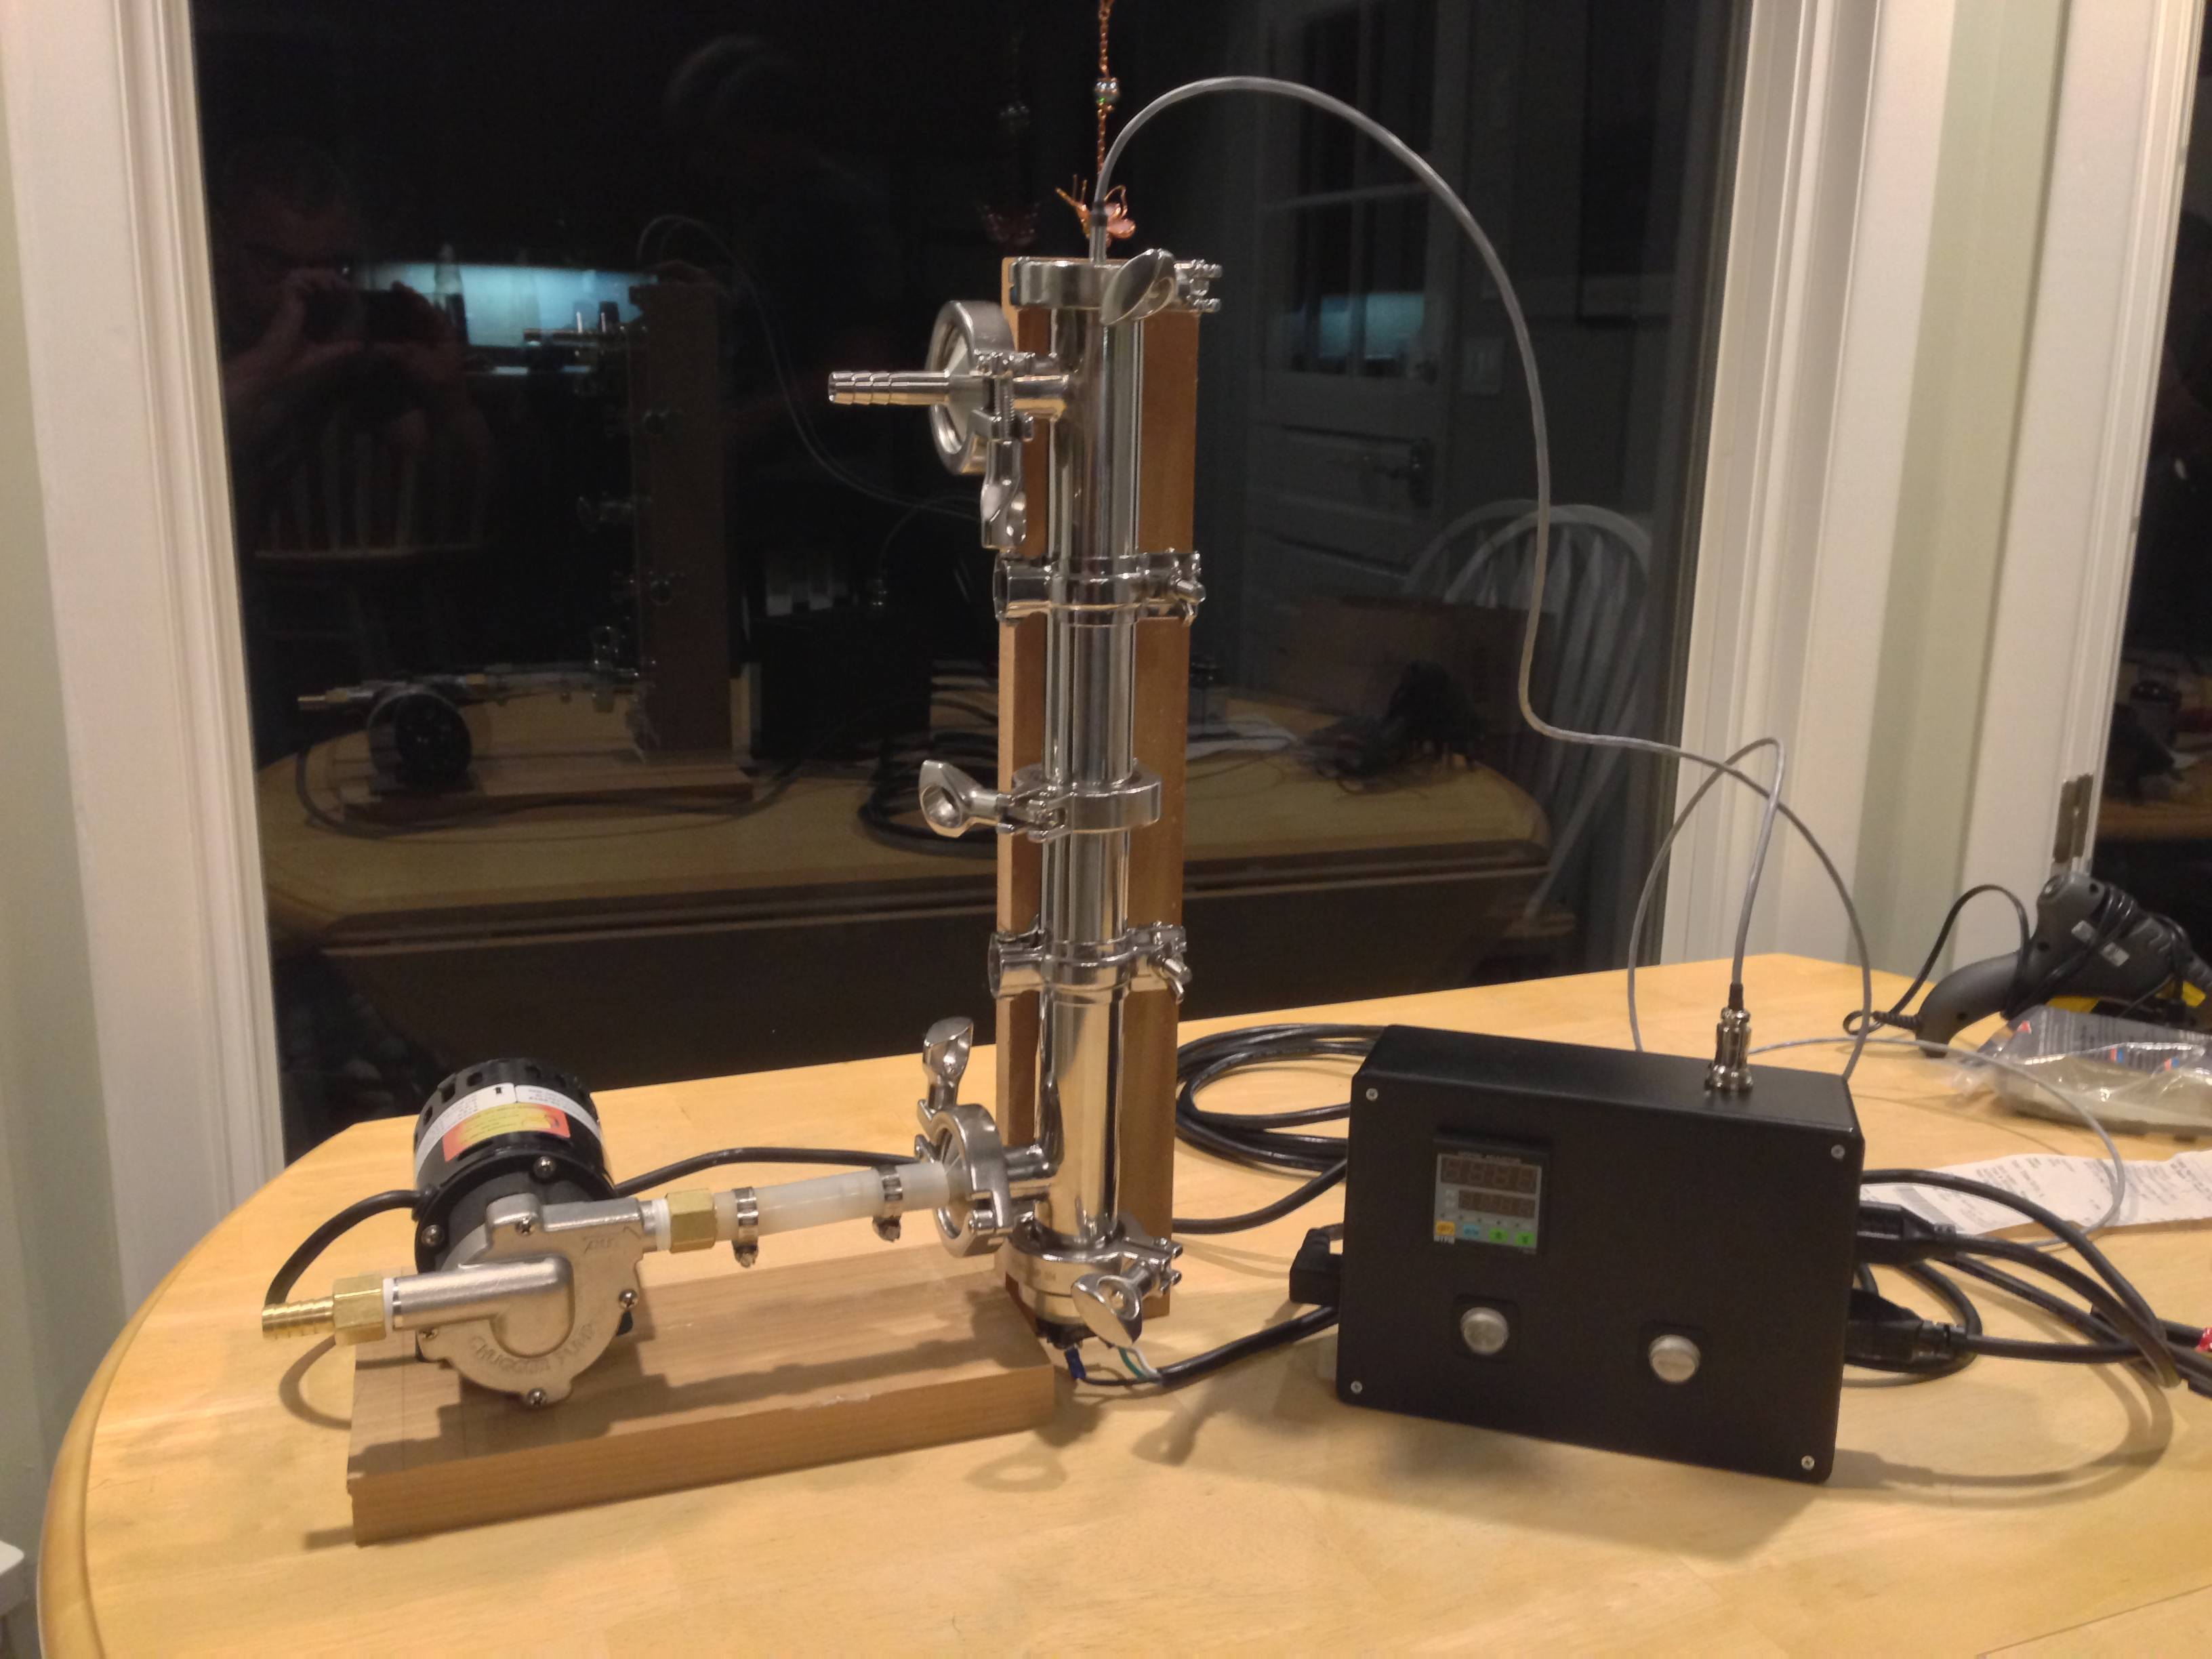
After all sorts of mash temperature issues I finally decided to build a RIMS system. To start I went with a cheap Ebay controller. I bought the tri-clamp tube from brewershardware and all I can say is wow!! They have a great product and it only took a few days to get.
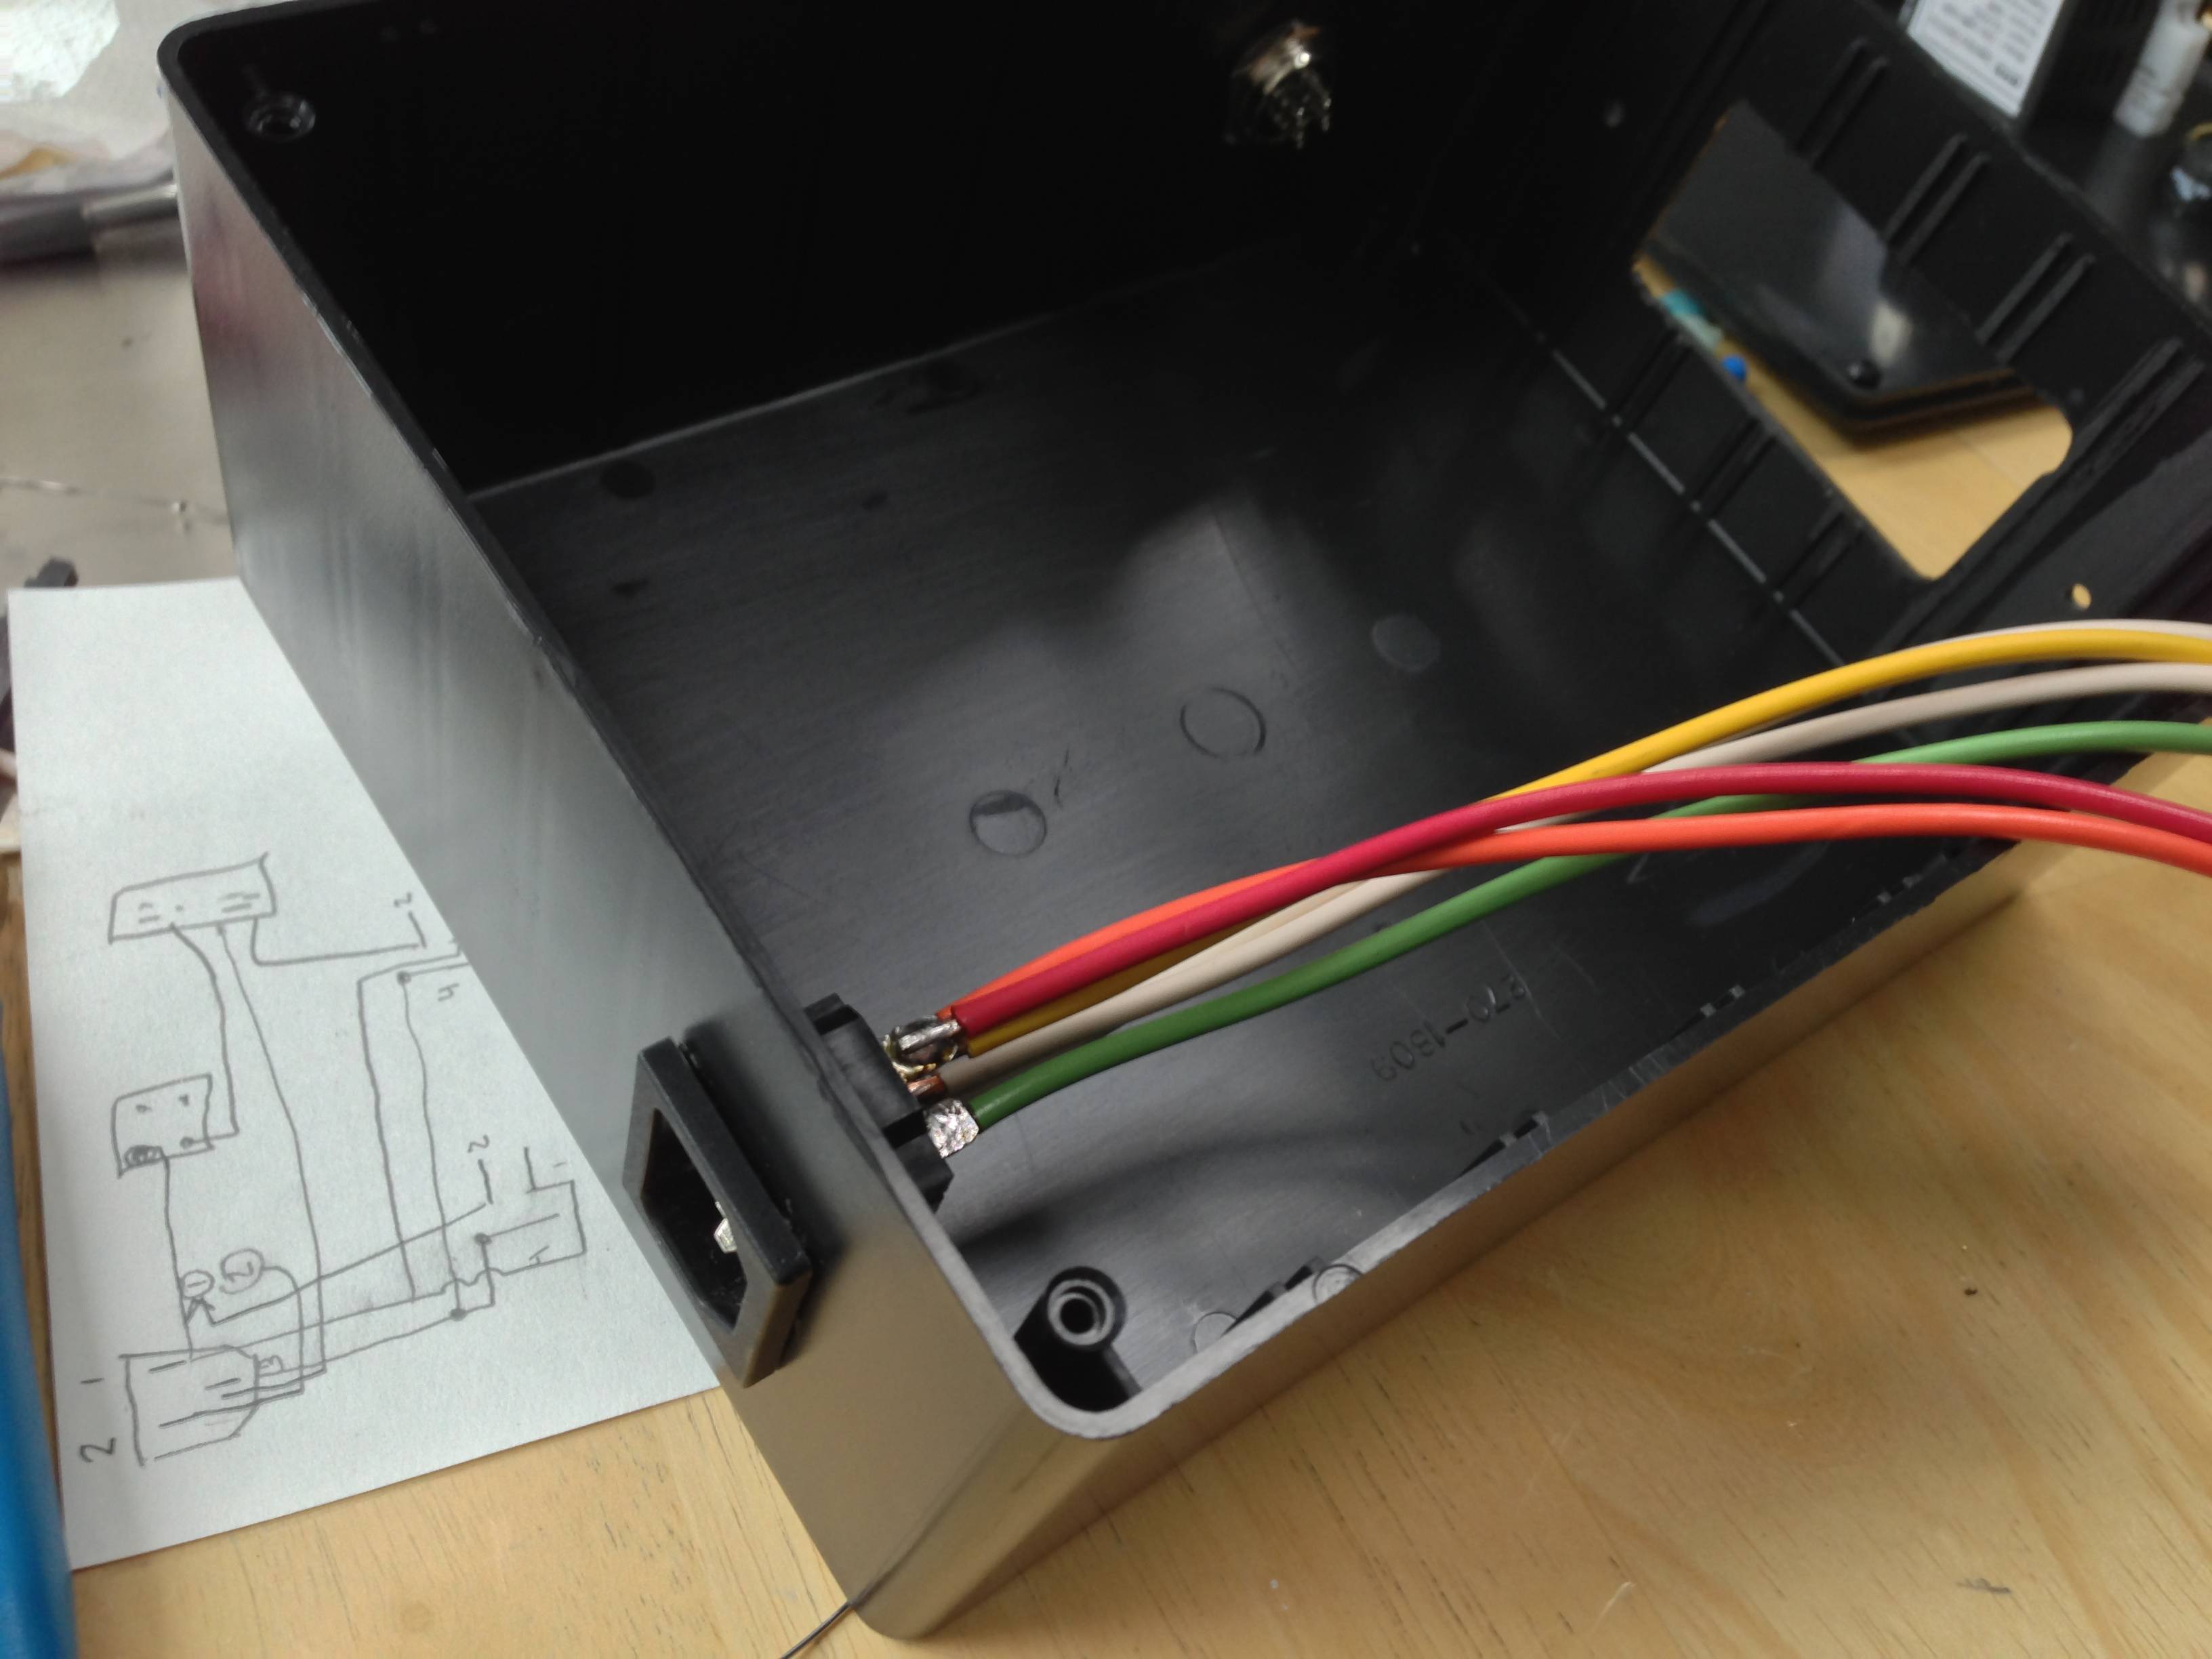
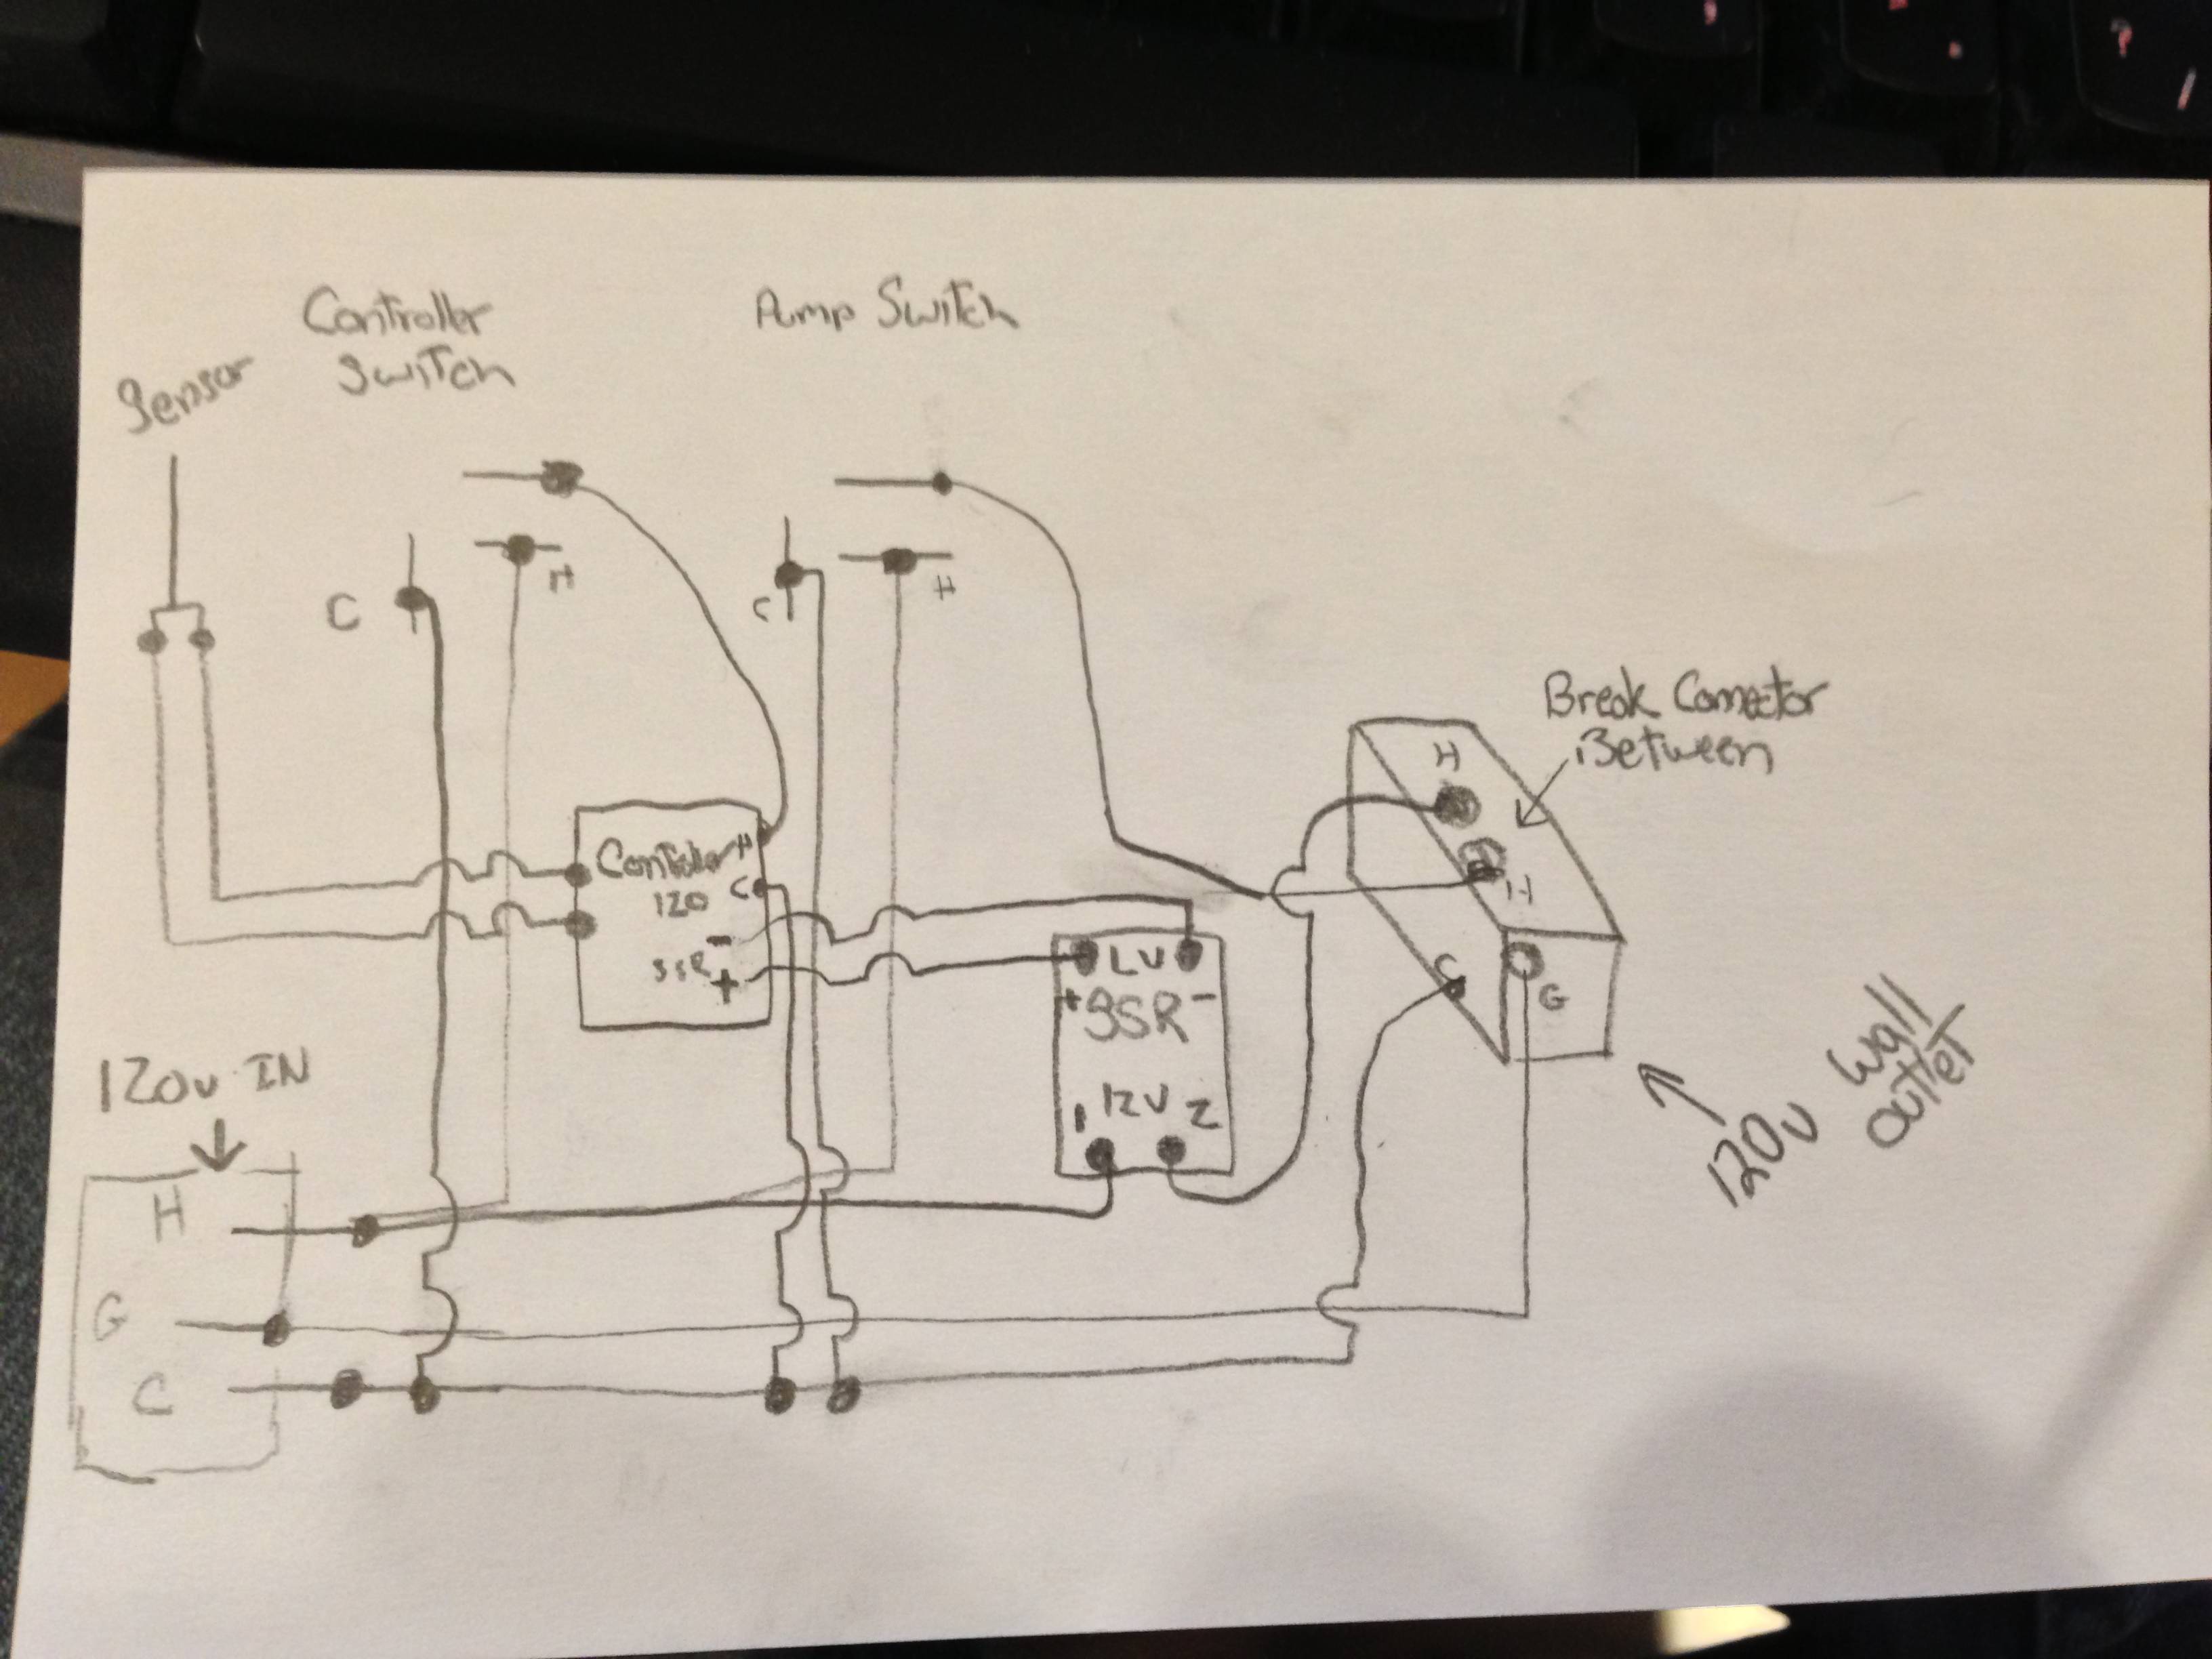
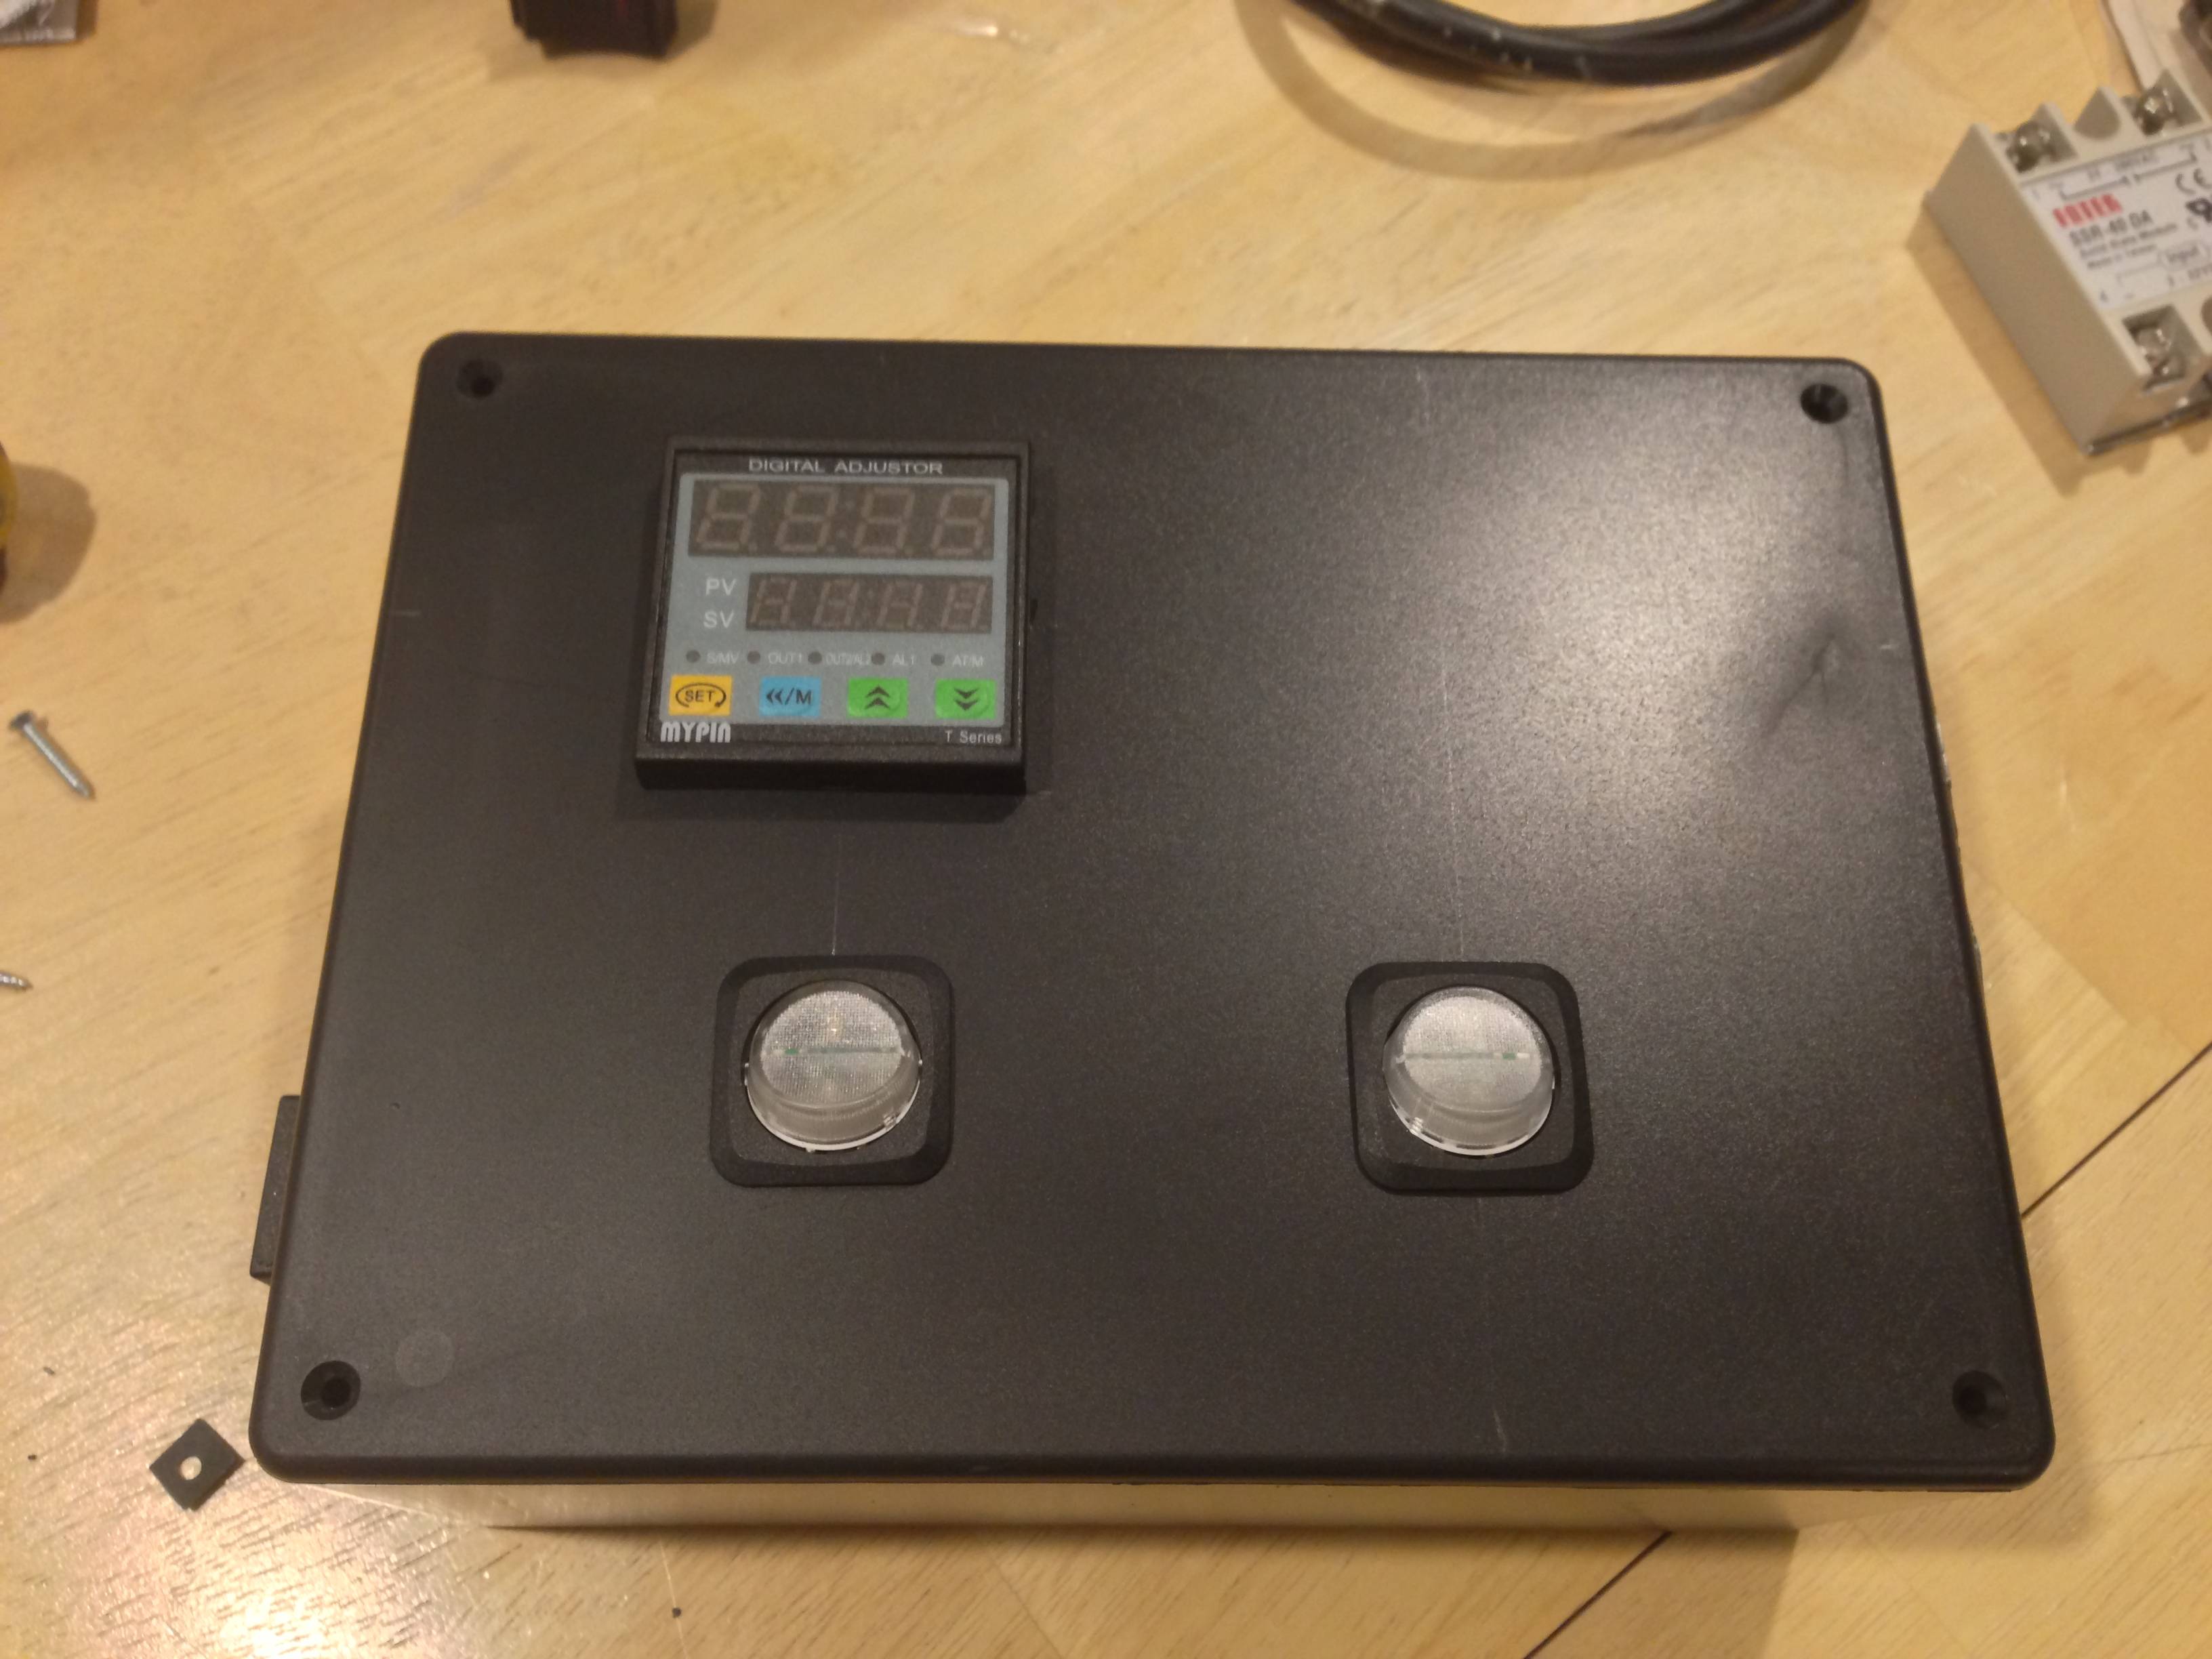
Tonight I went to Radio Shack and got most or the parts I needed for the controller box. I got everything cut out and mounted. Tomorrow I will be wiring things up and hopefully doing a dry run. I wanted to brew tomorrow but being so close to having this done I think I can wait a few more days.
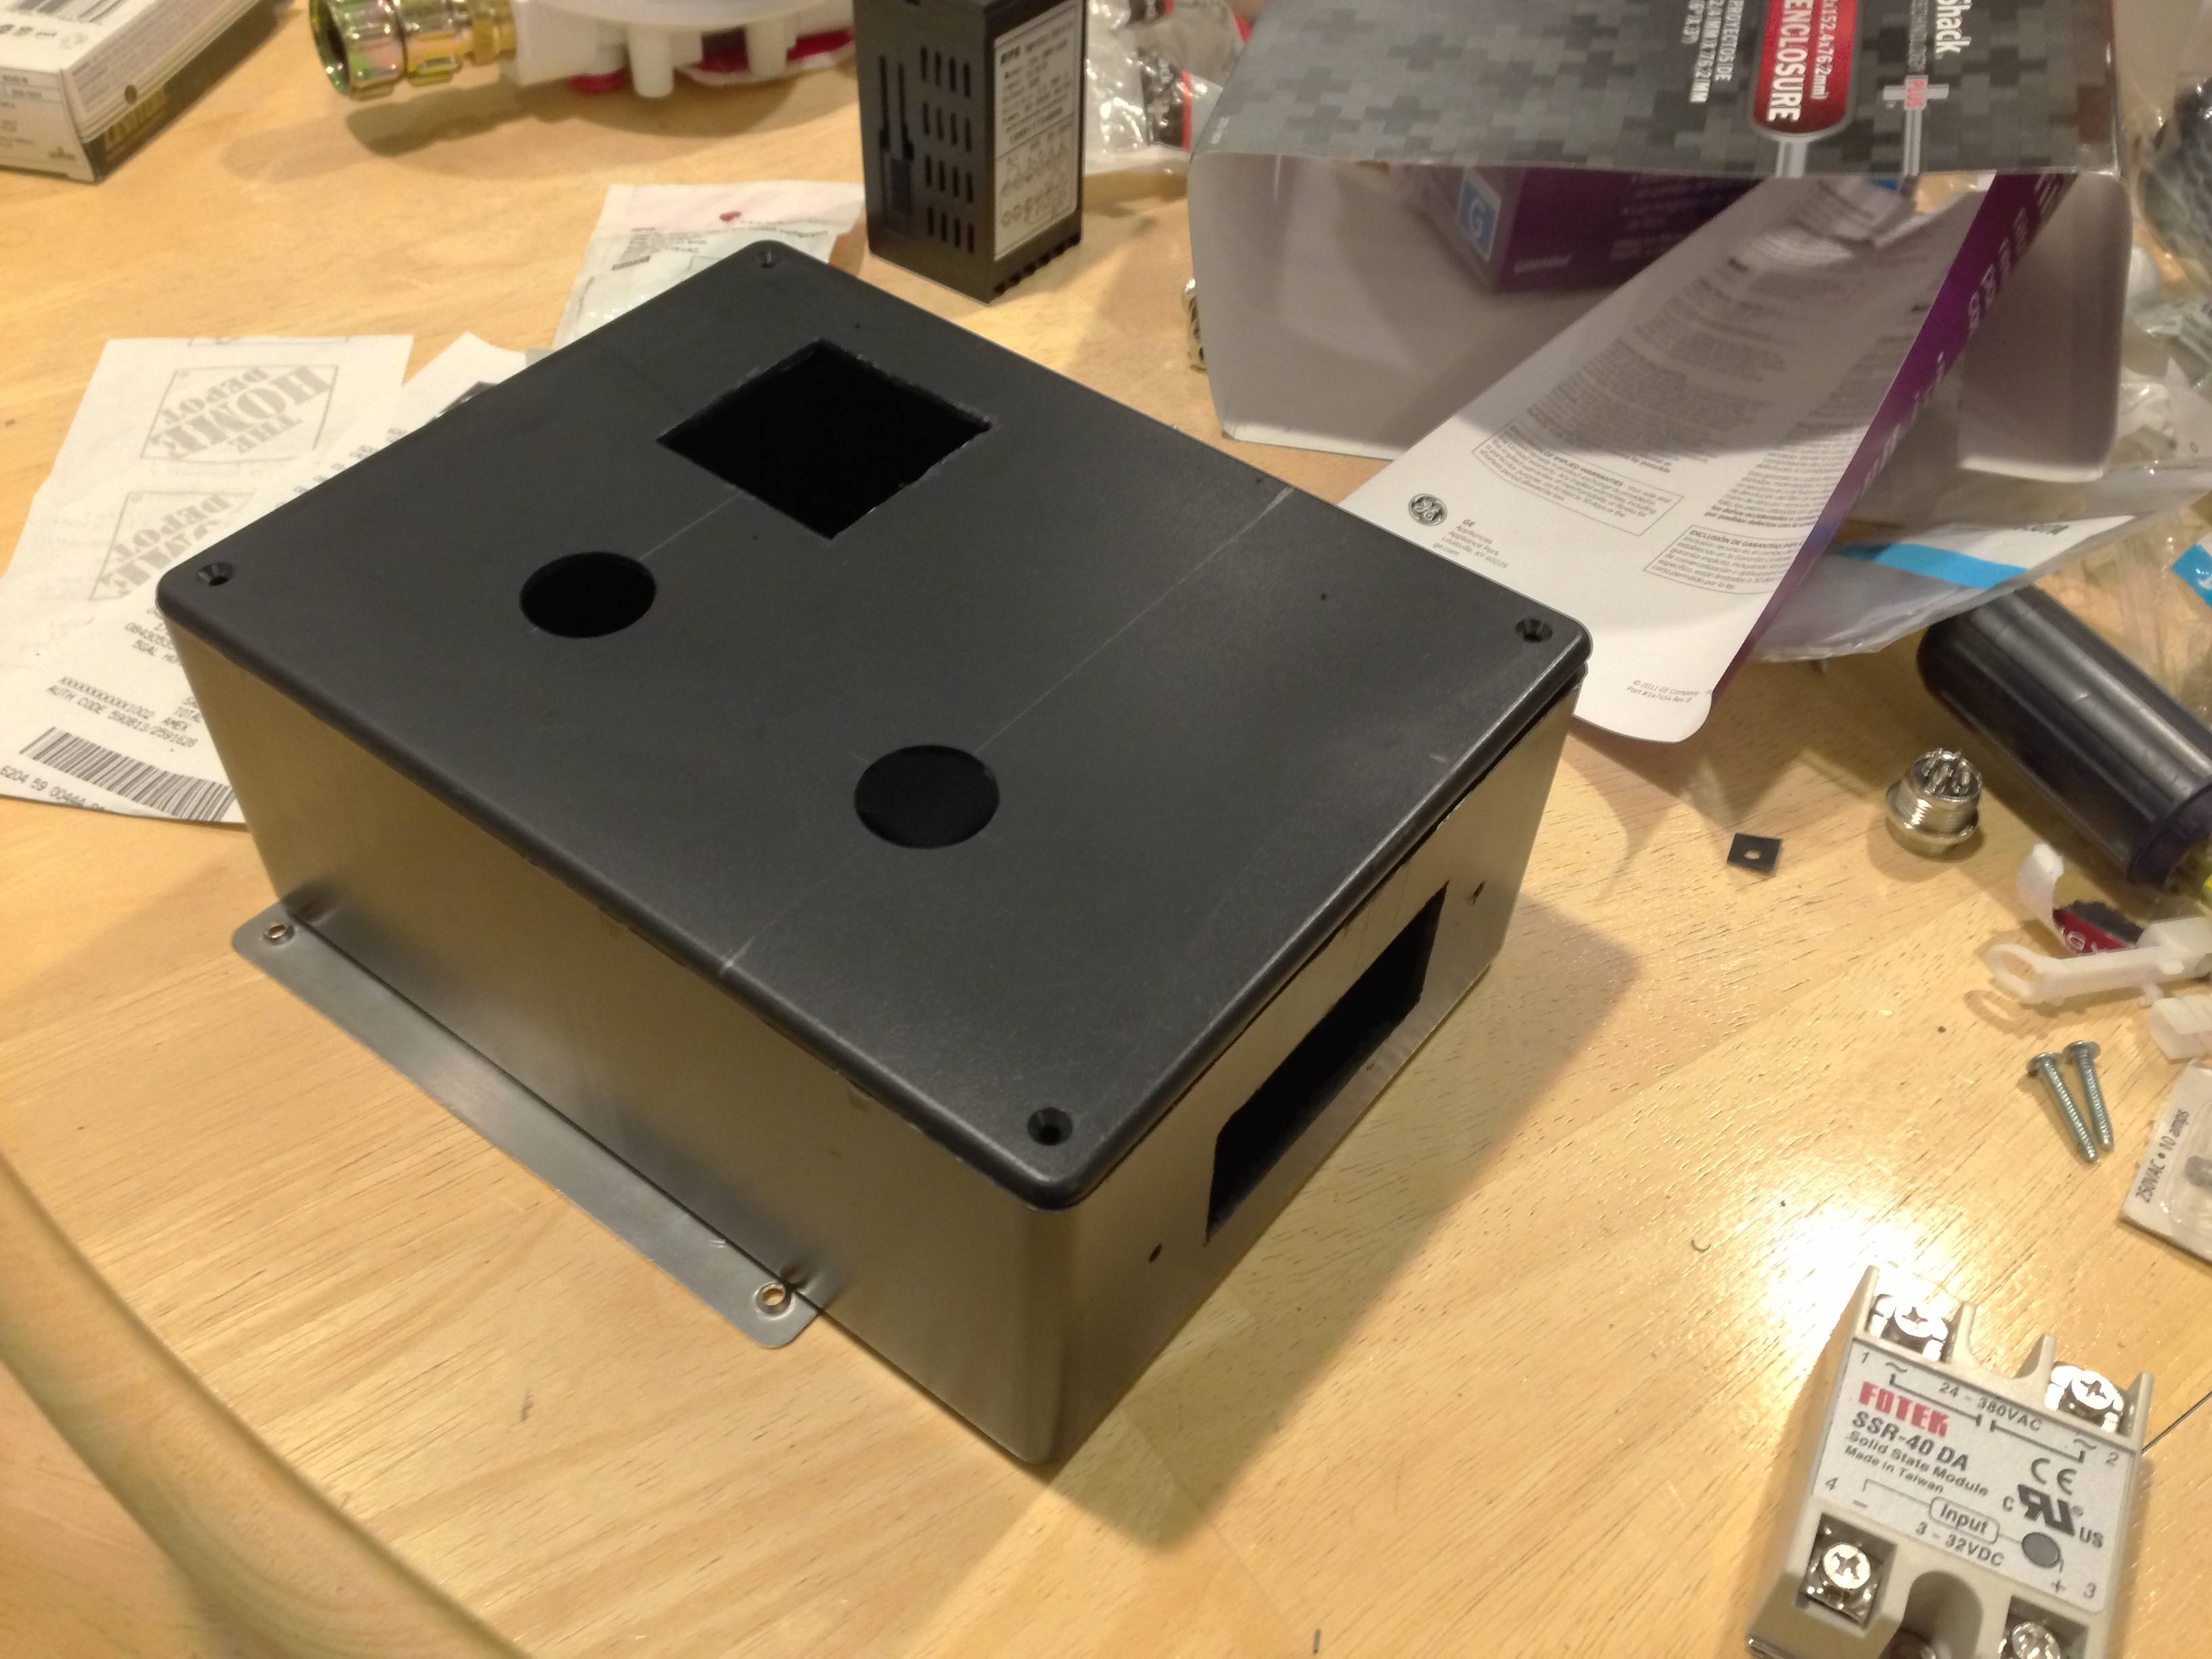
Starting to cut the project box
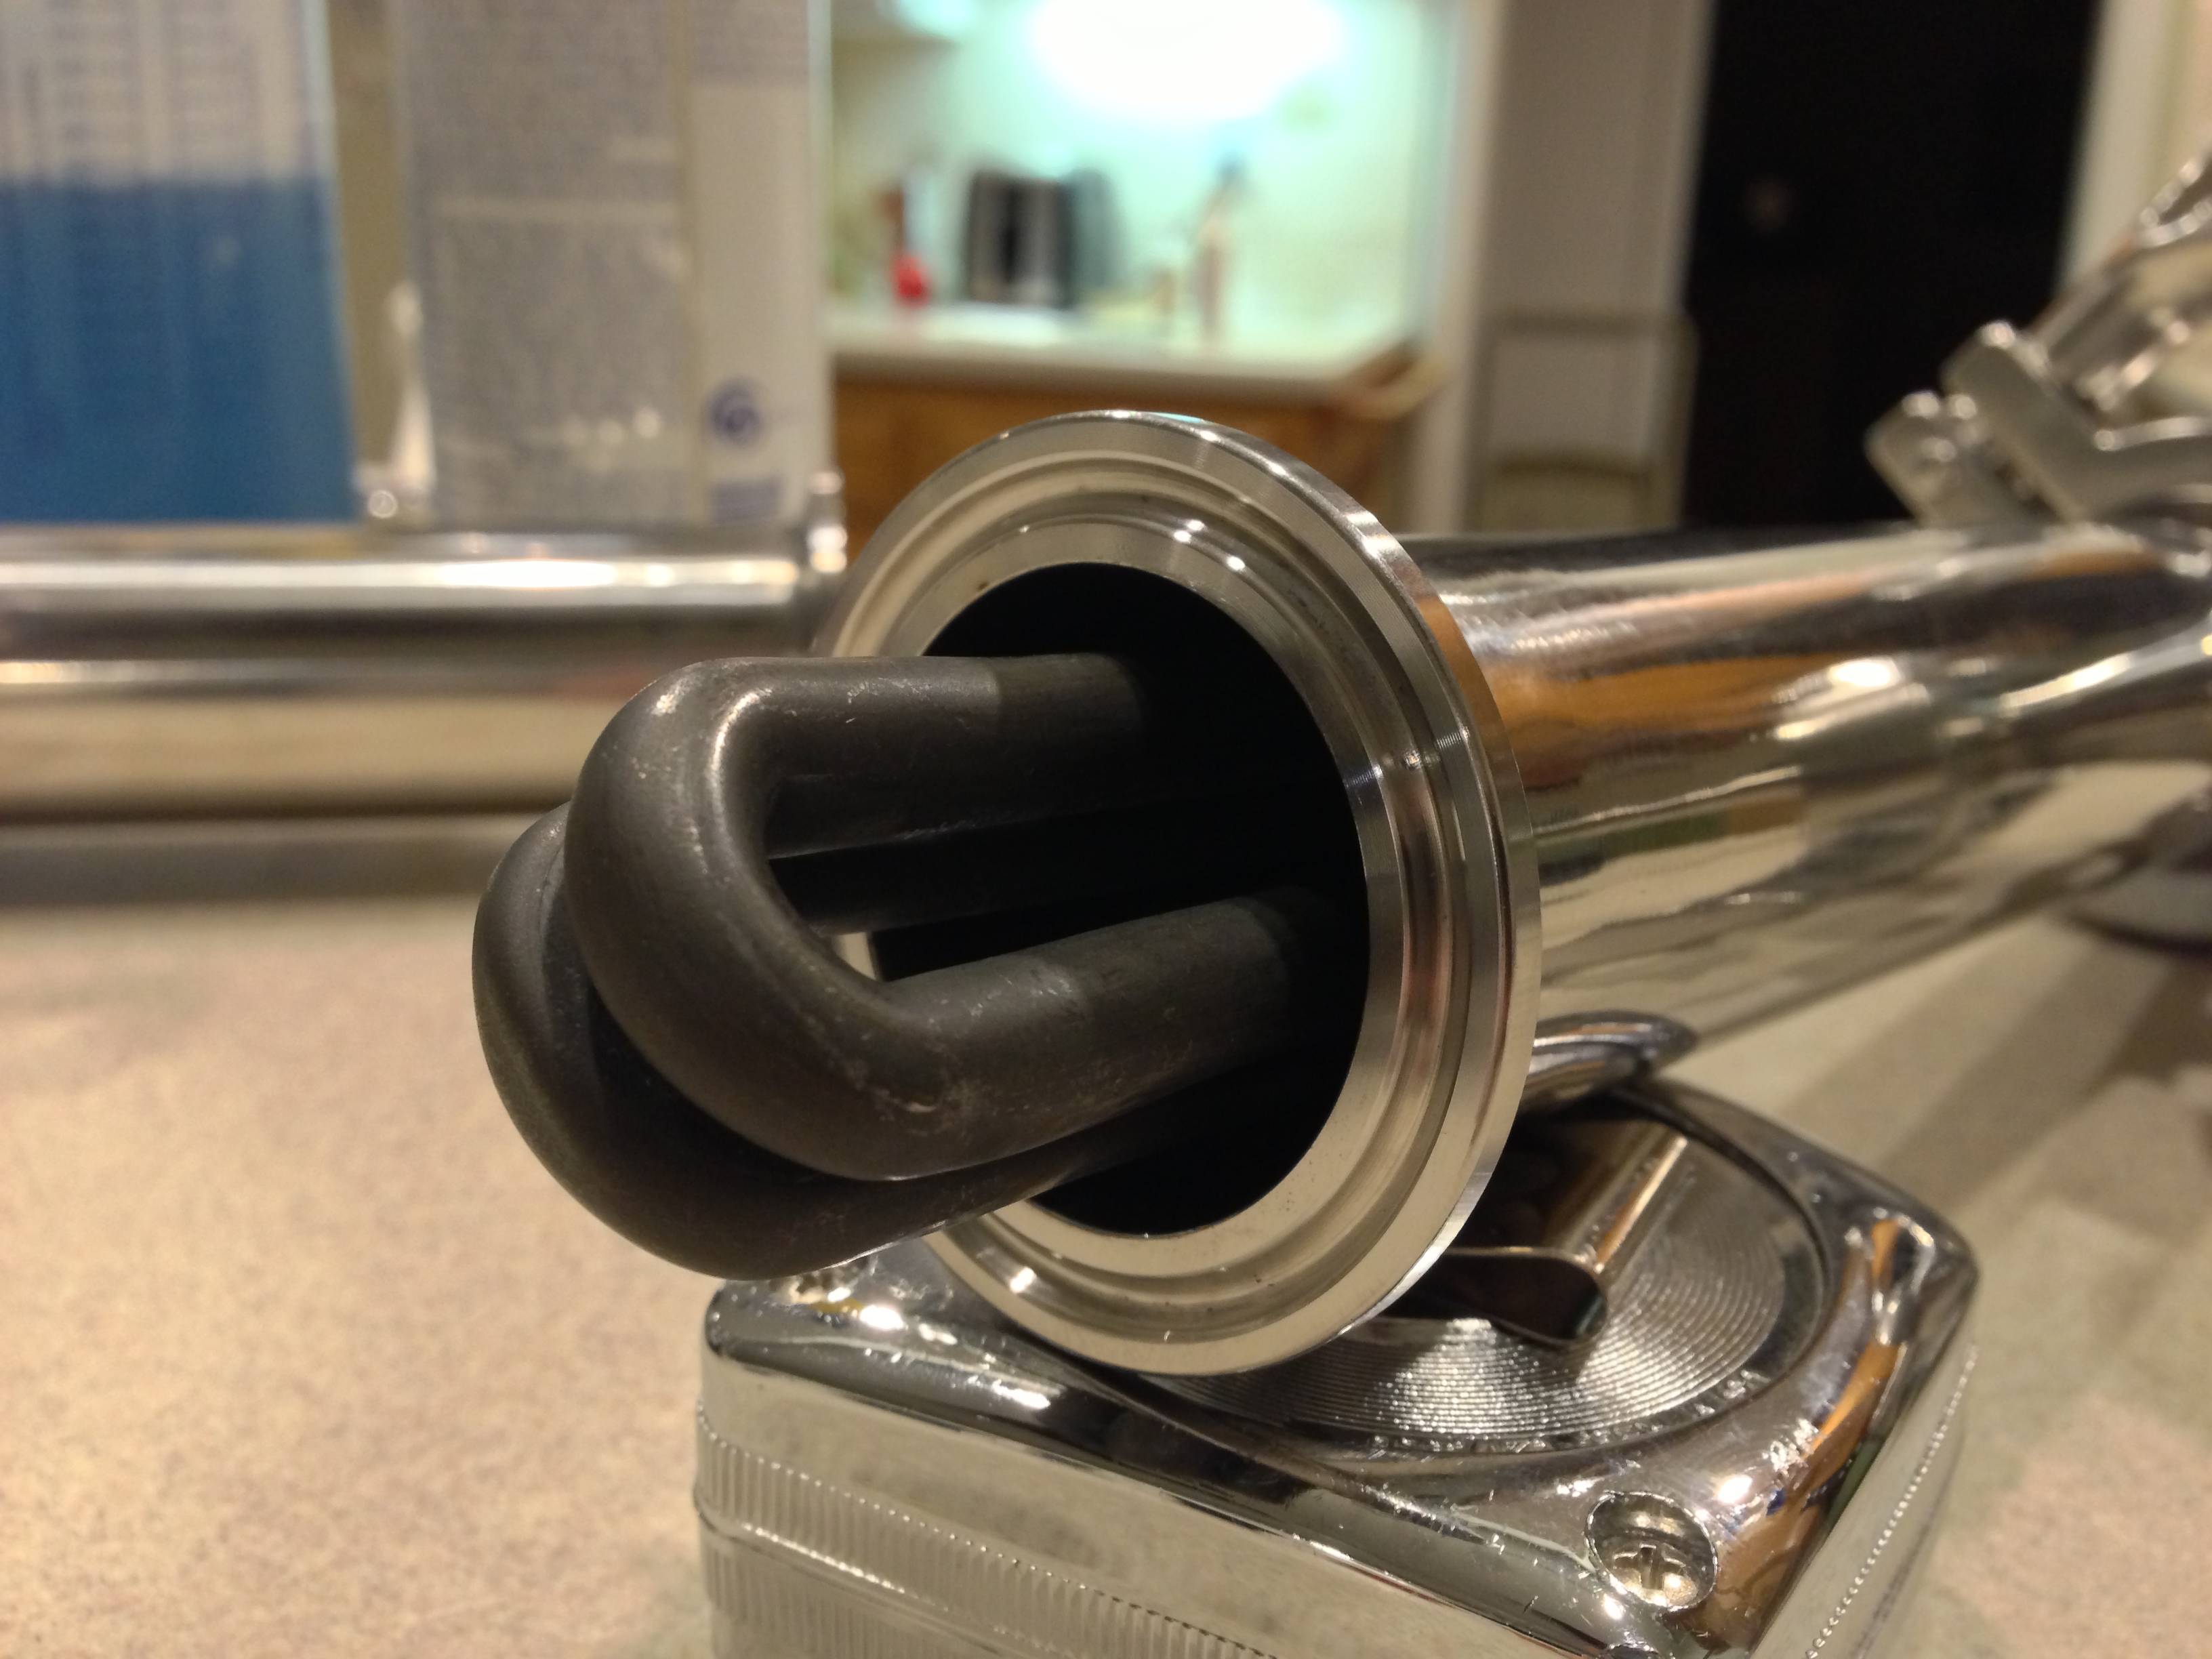
4500 watt 230vac heating element (will be running @ 120vac)
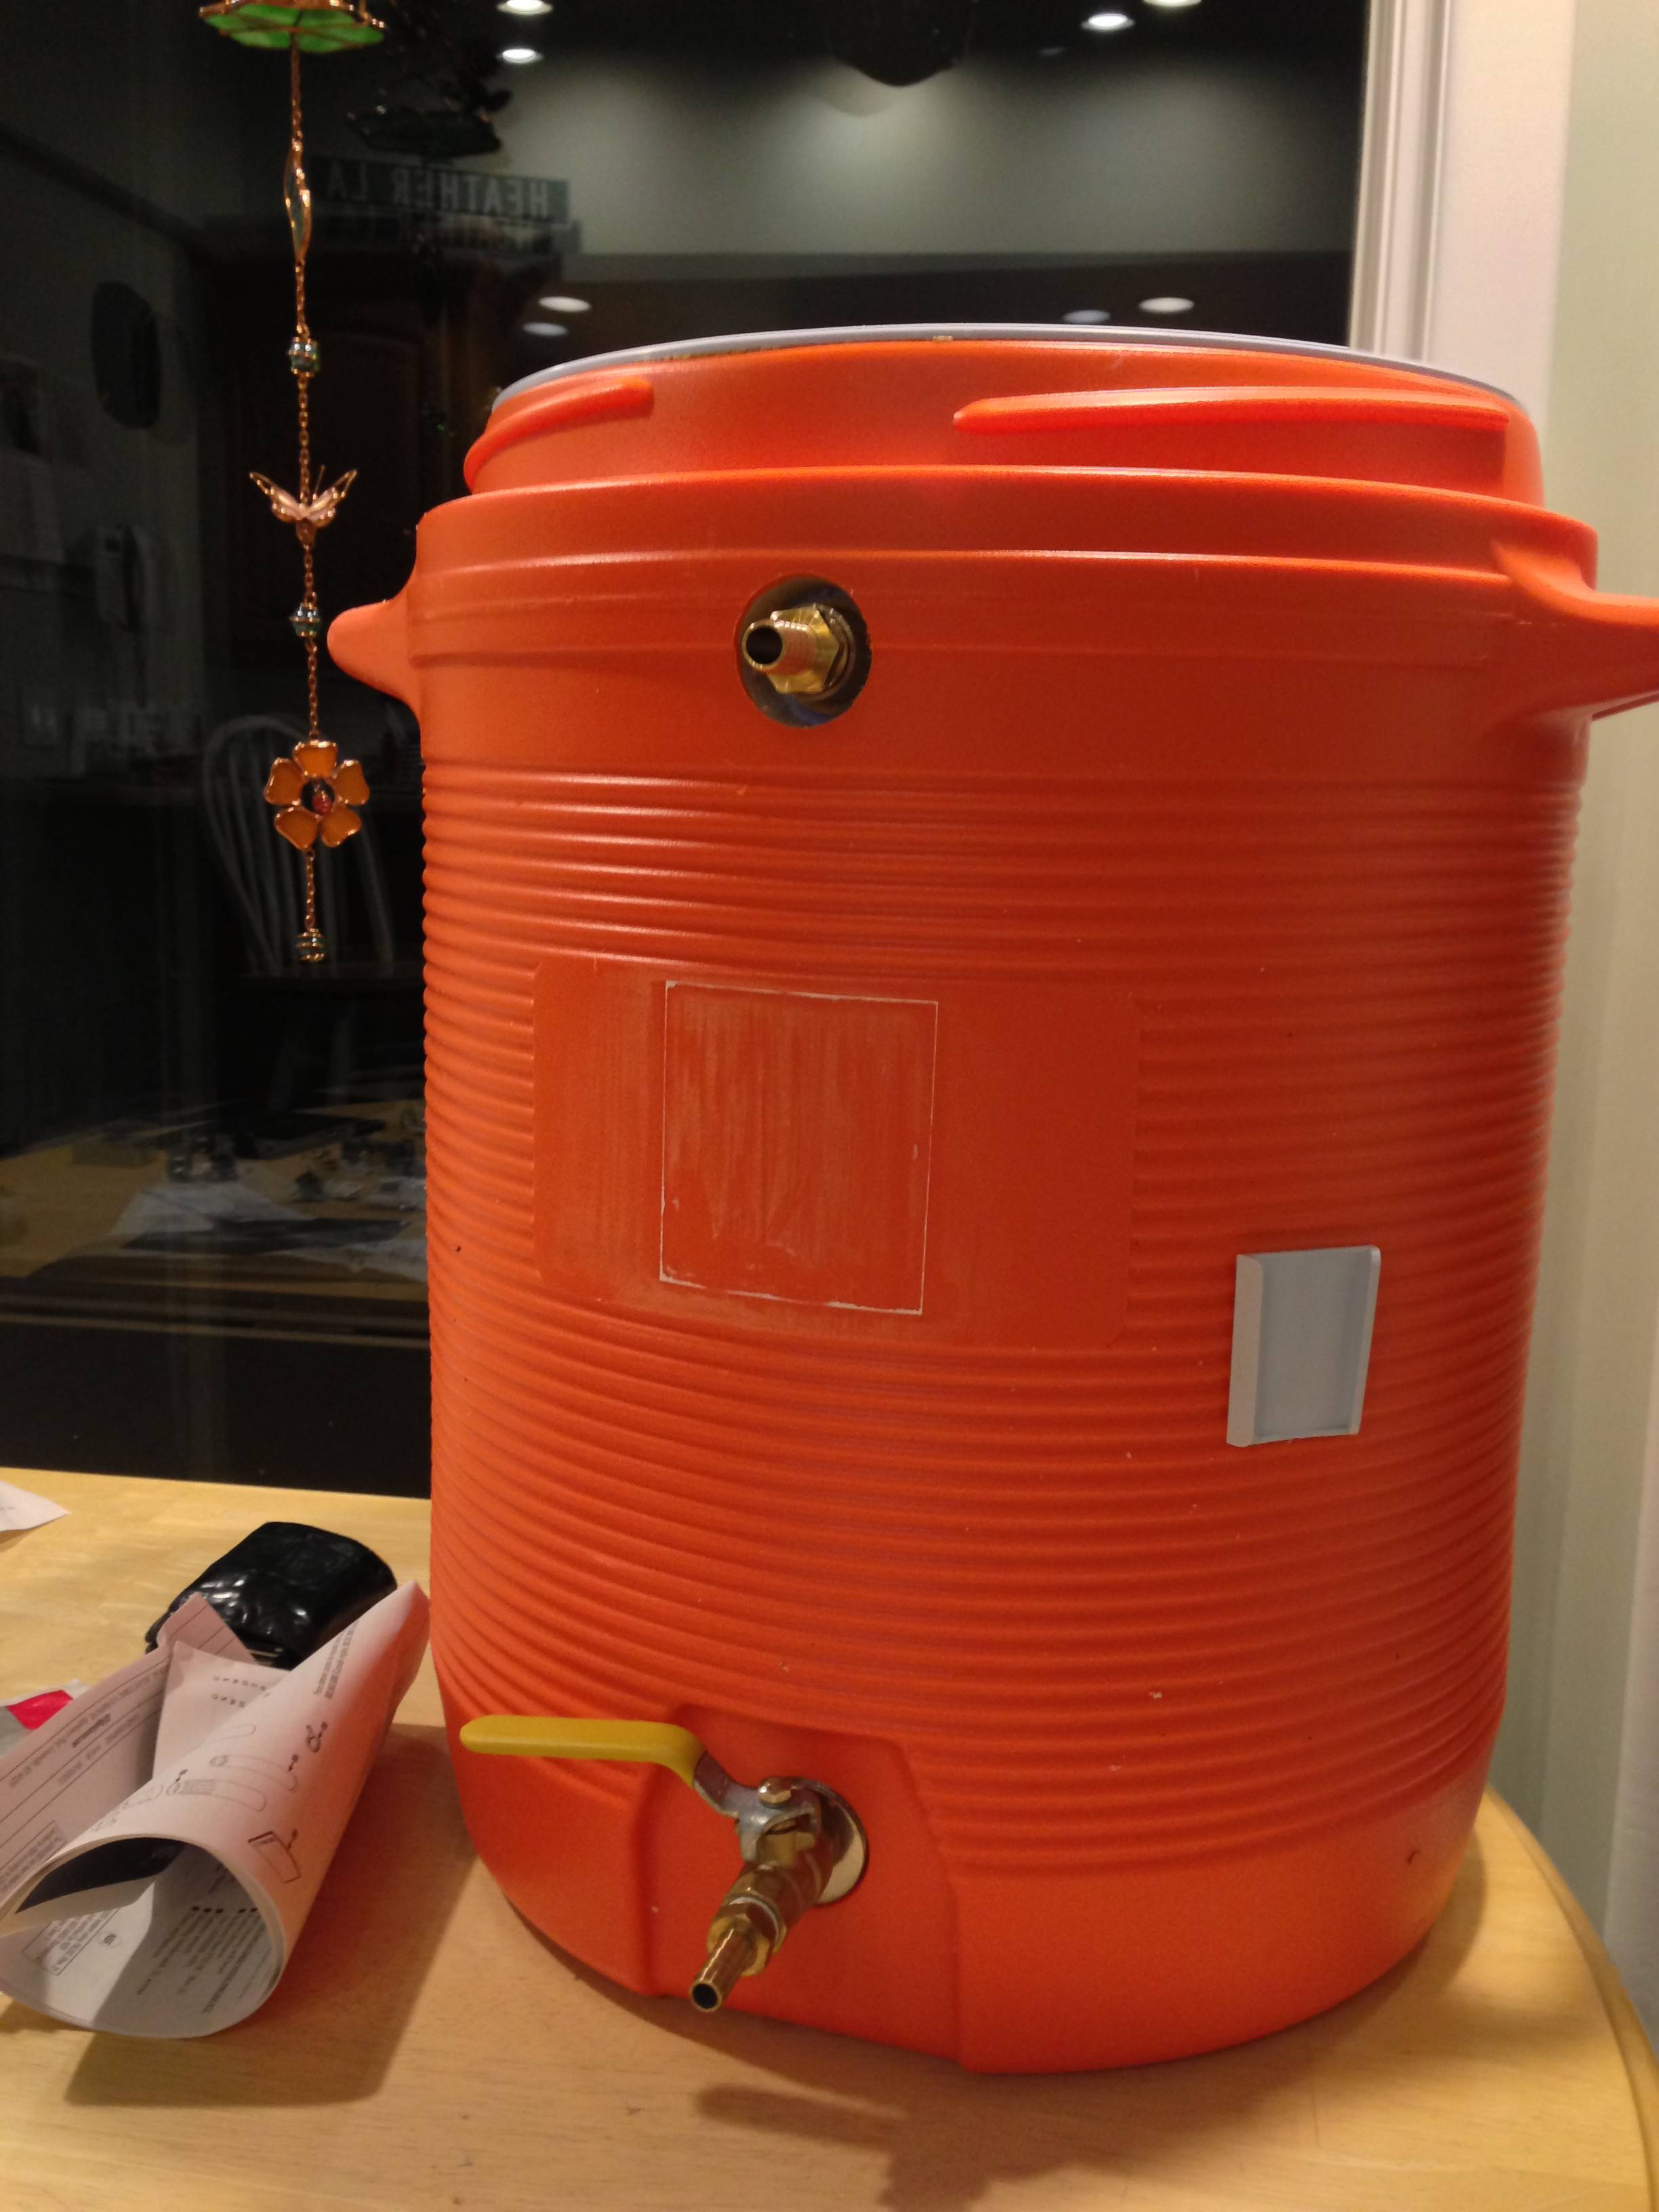
Return added to mash tun
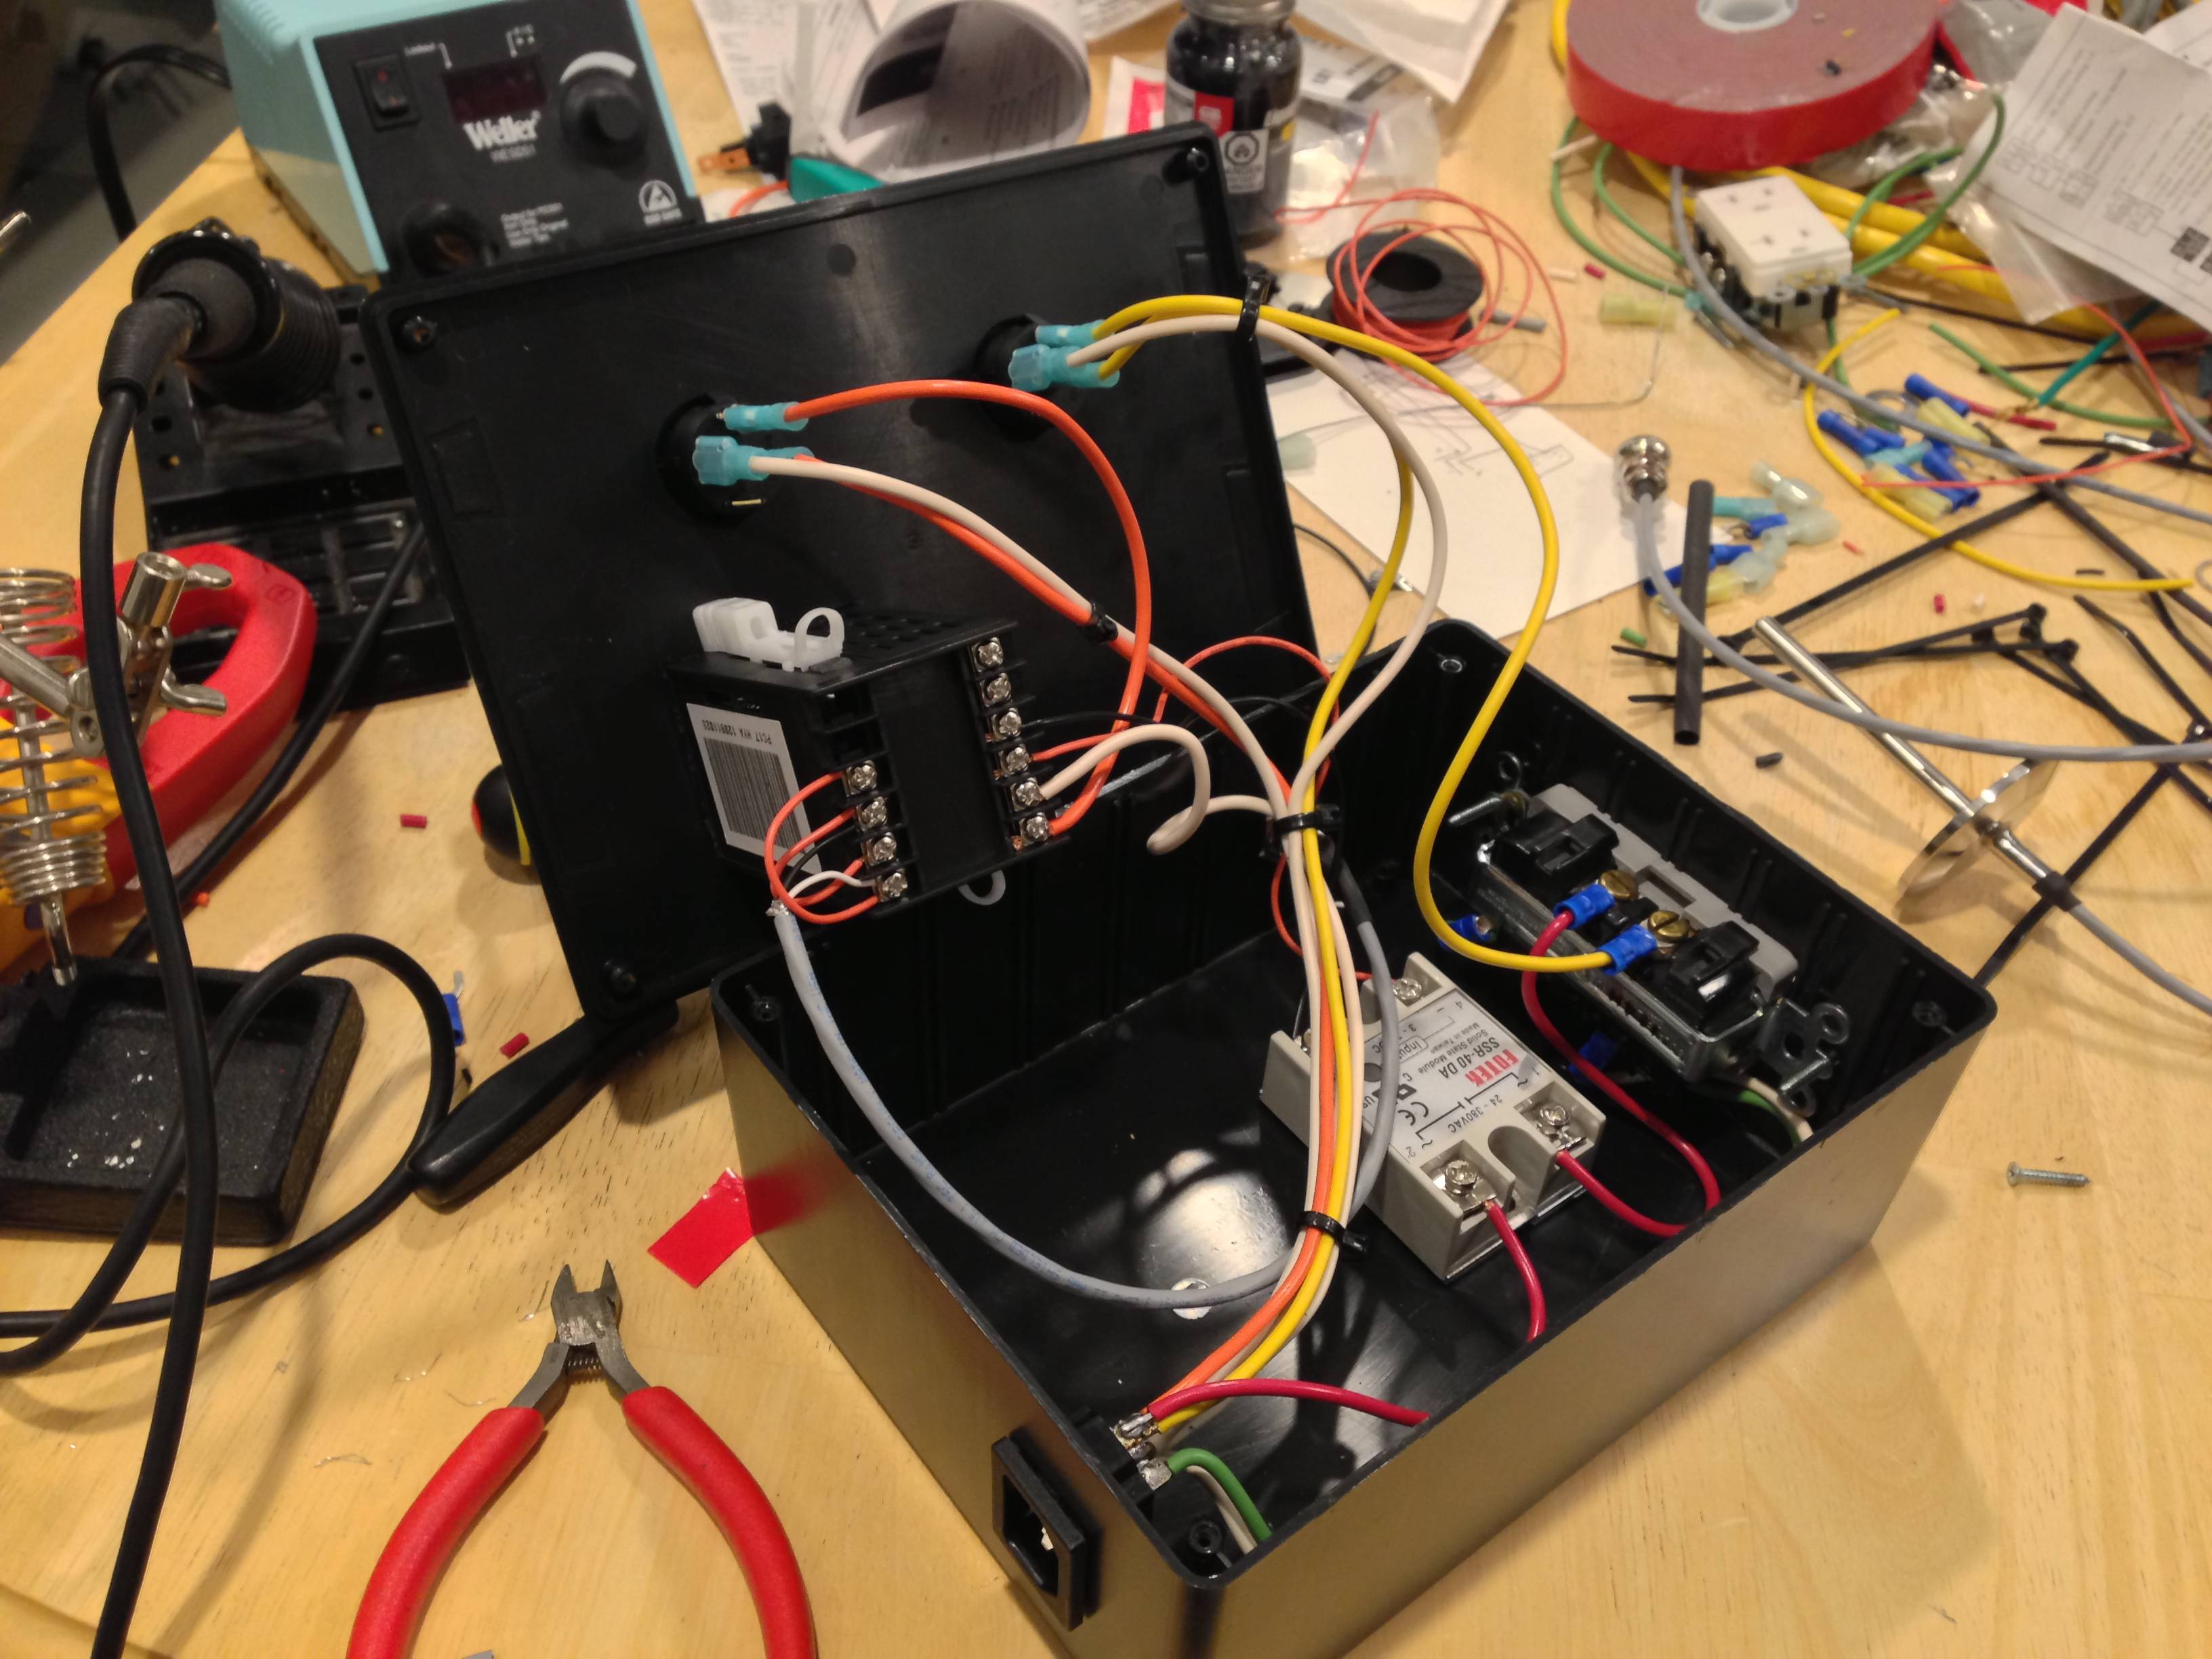
Most parts mounted, top plug is for the sensor. The outlet will be for the pump and heating element.

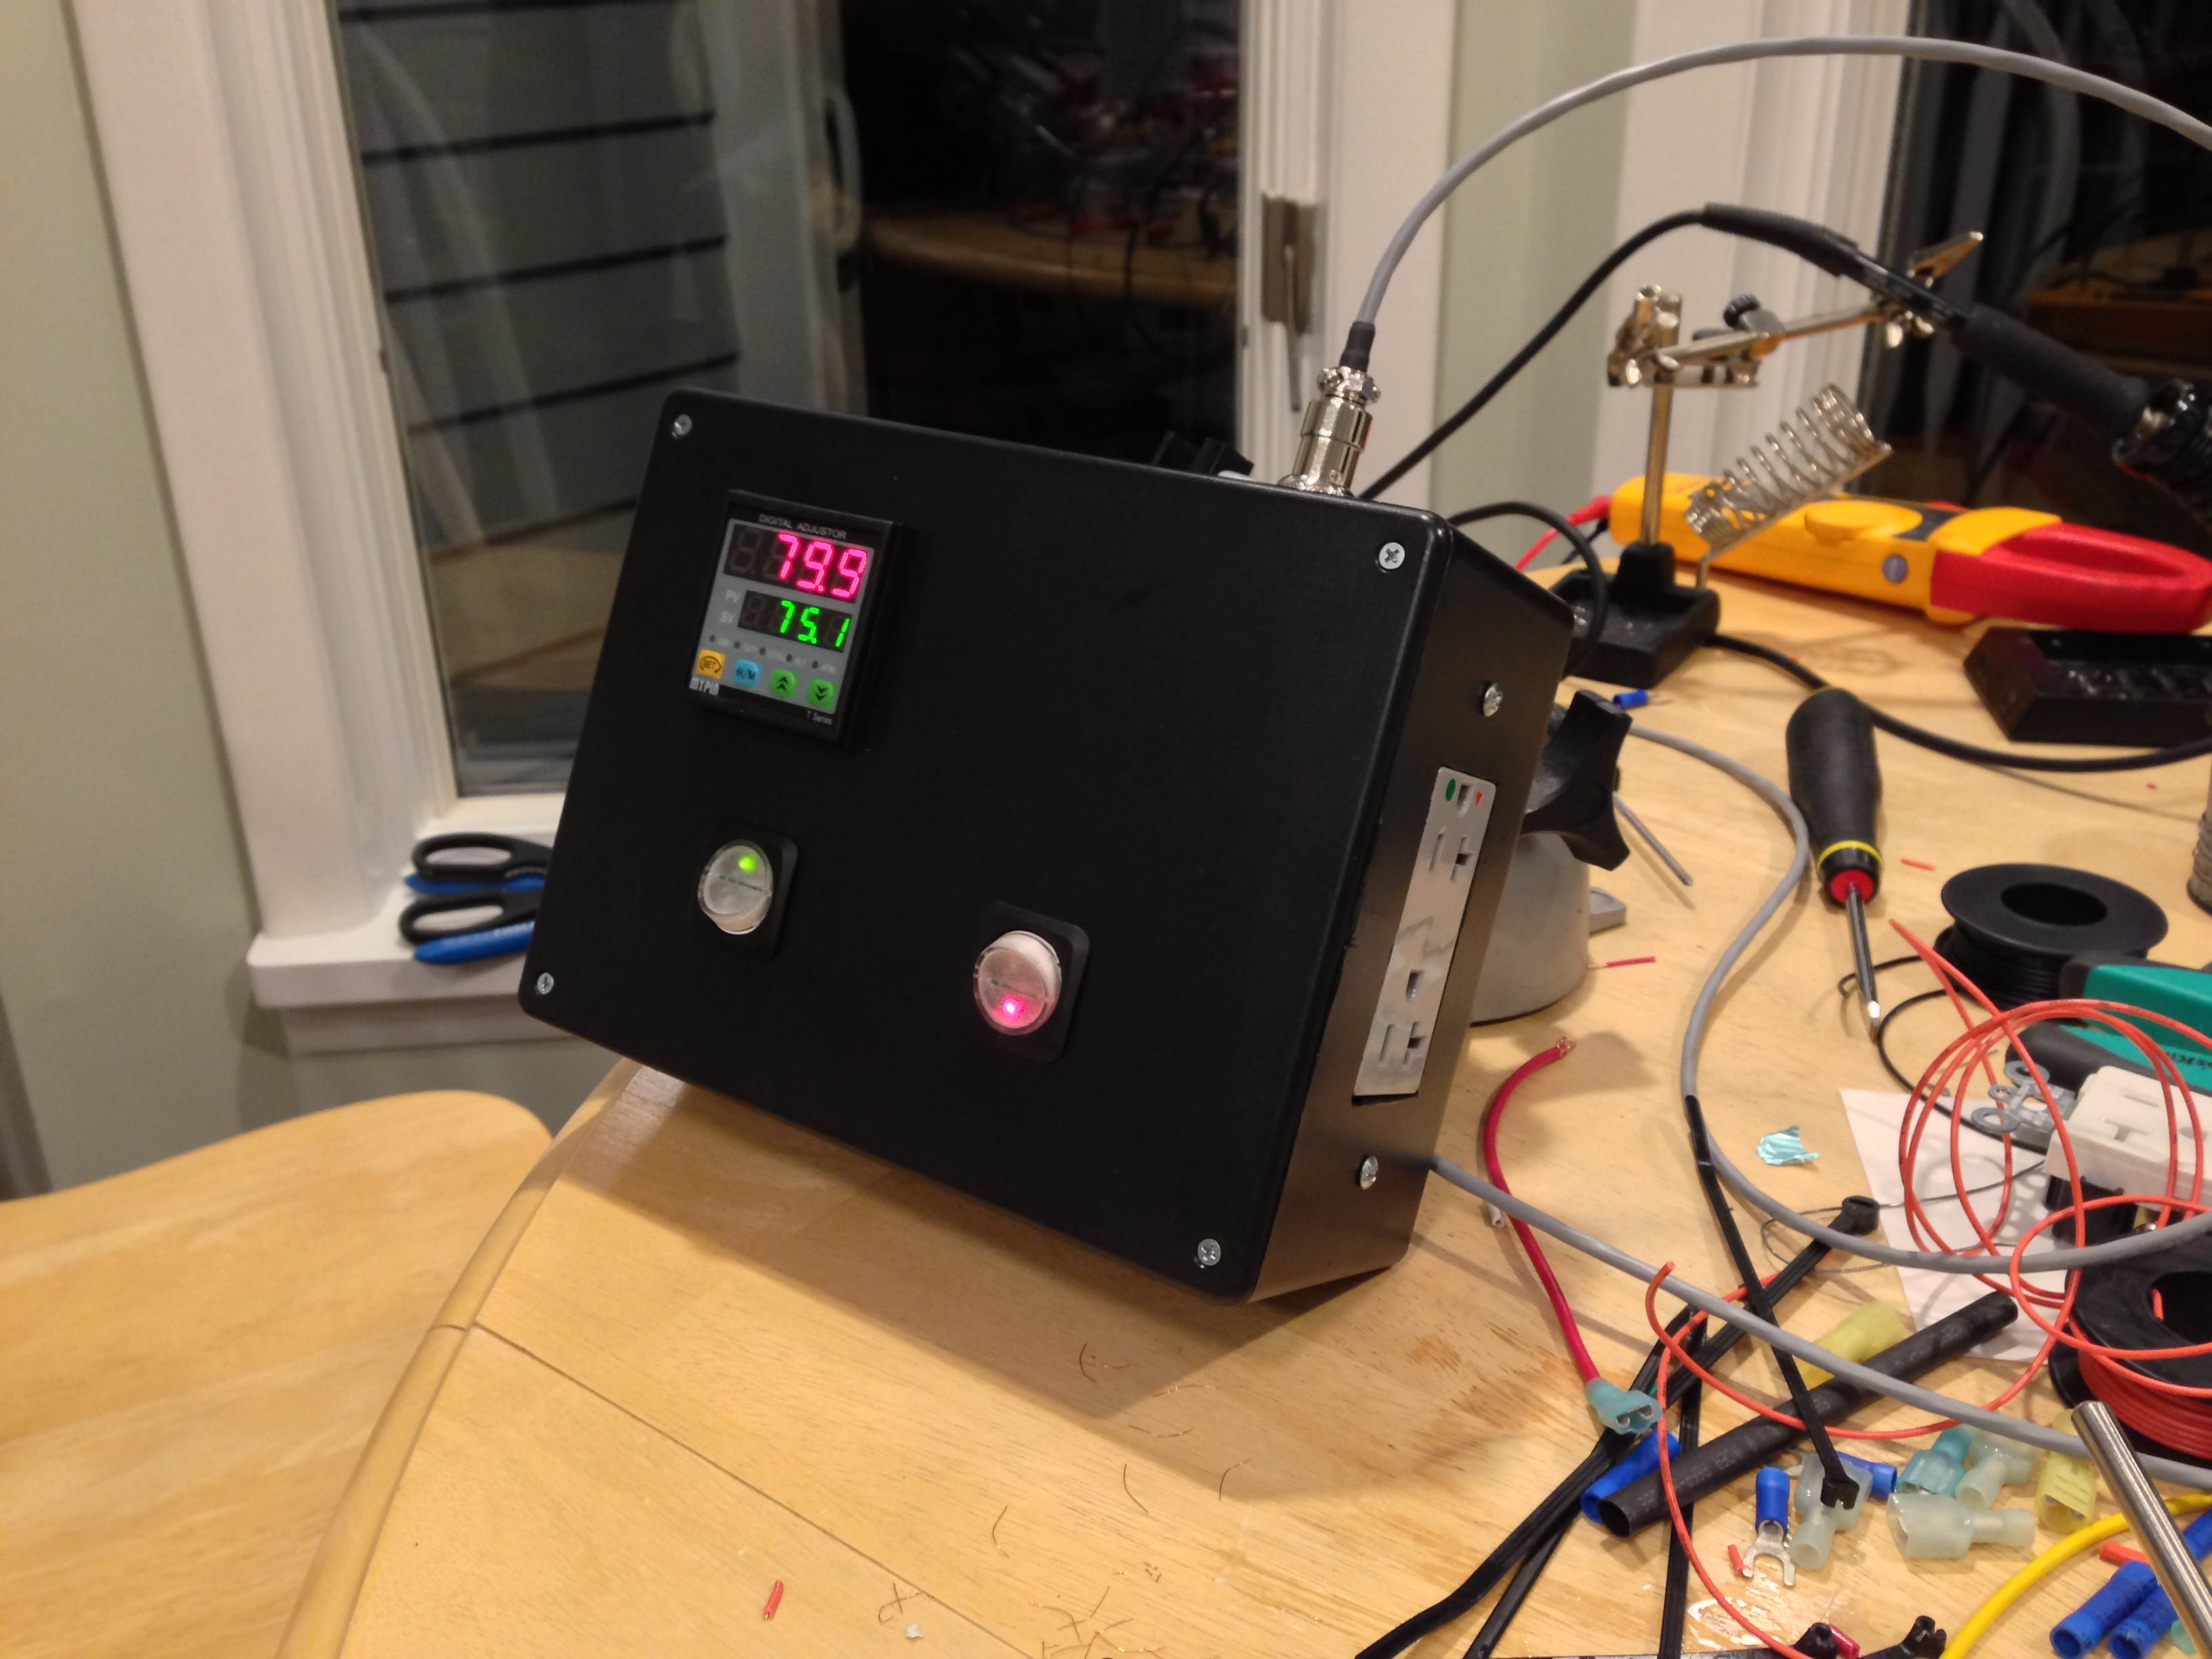
I left room to add a second controller later... Not sure if I need it though...
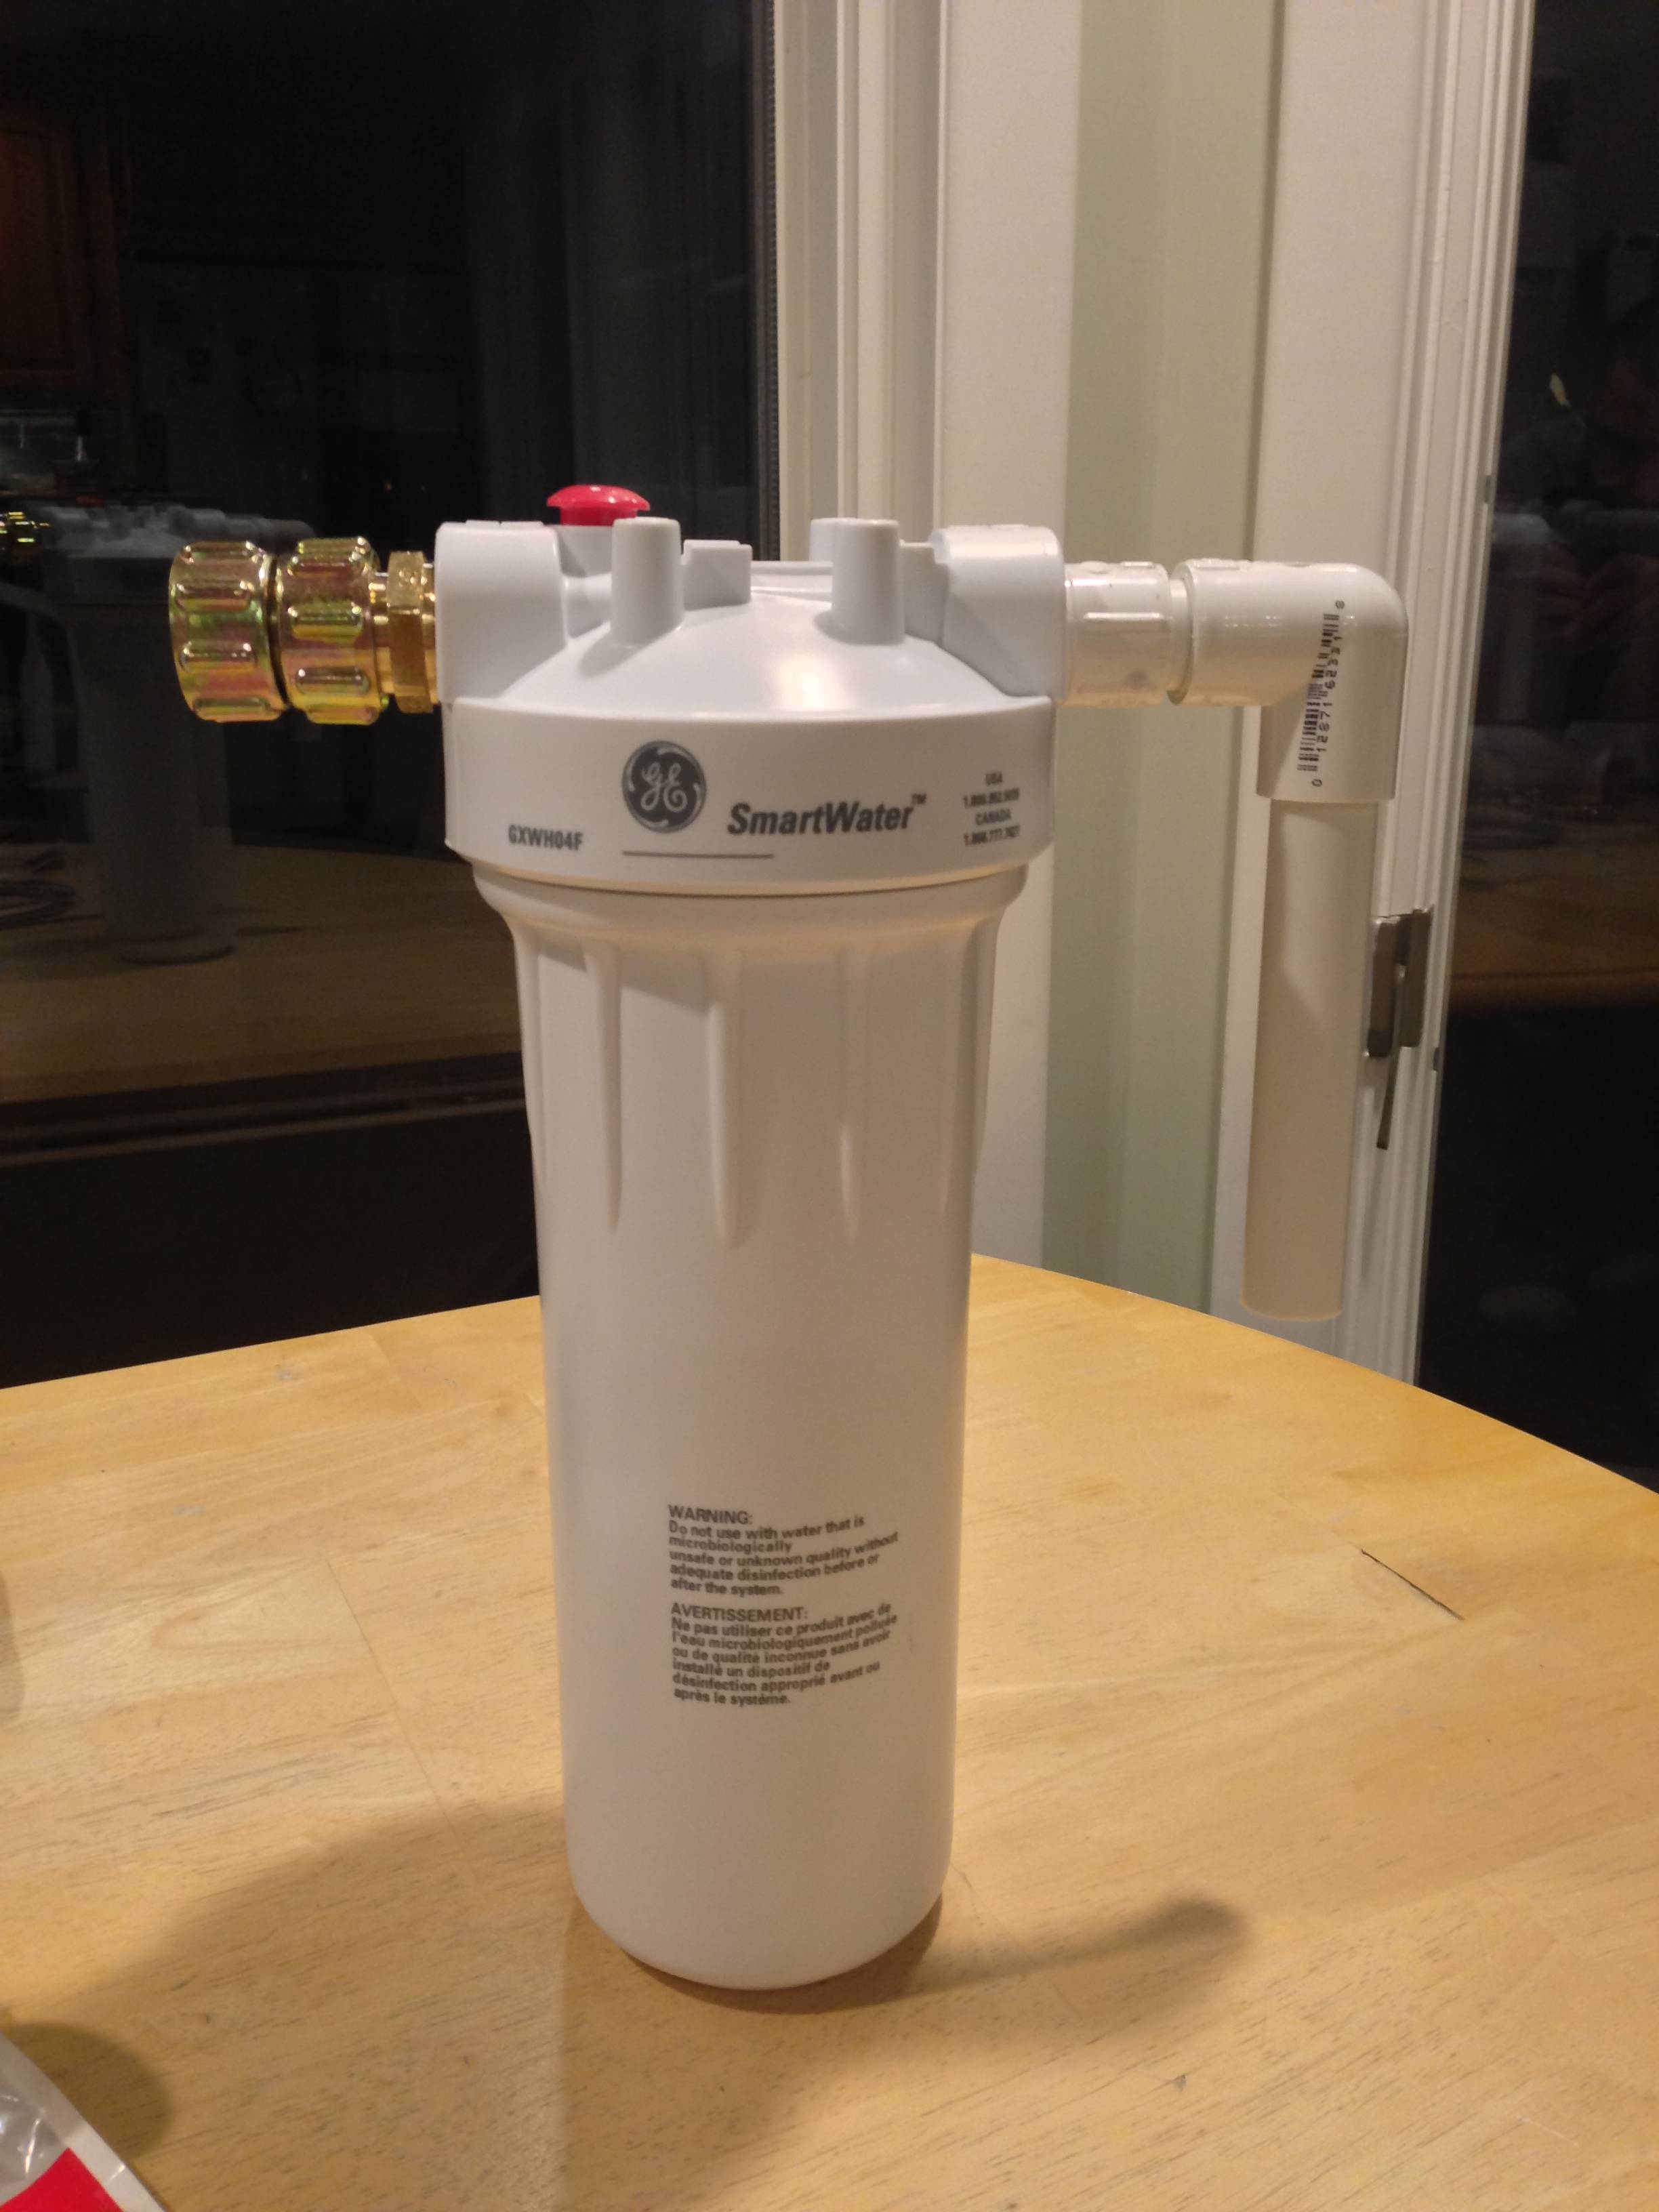
The water filter
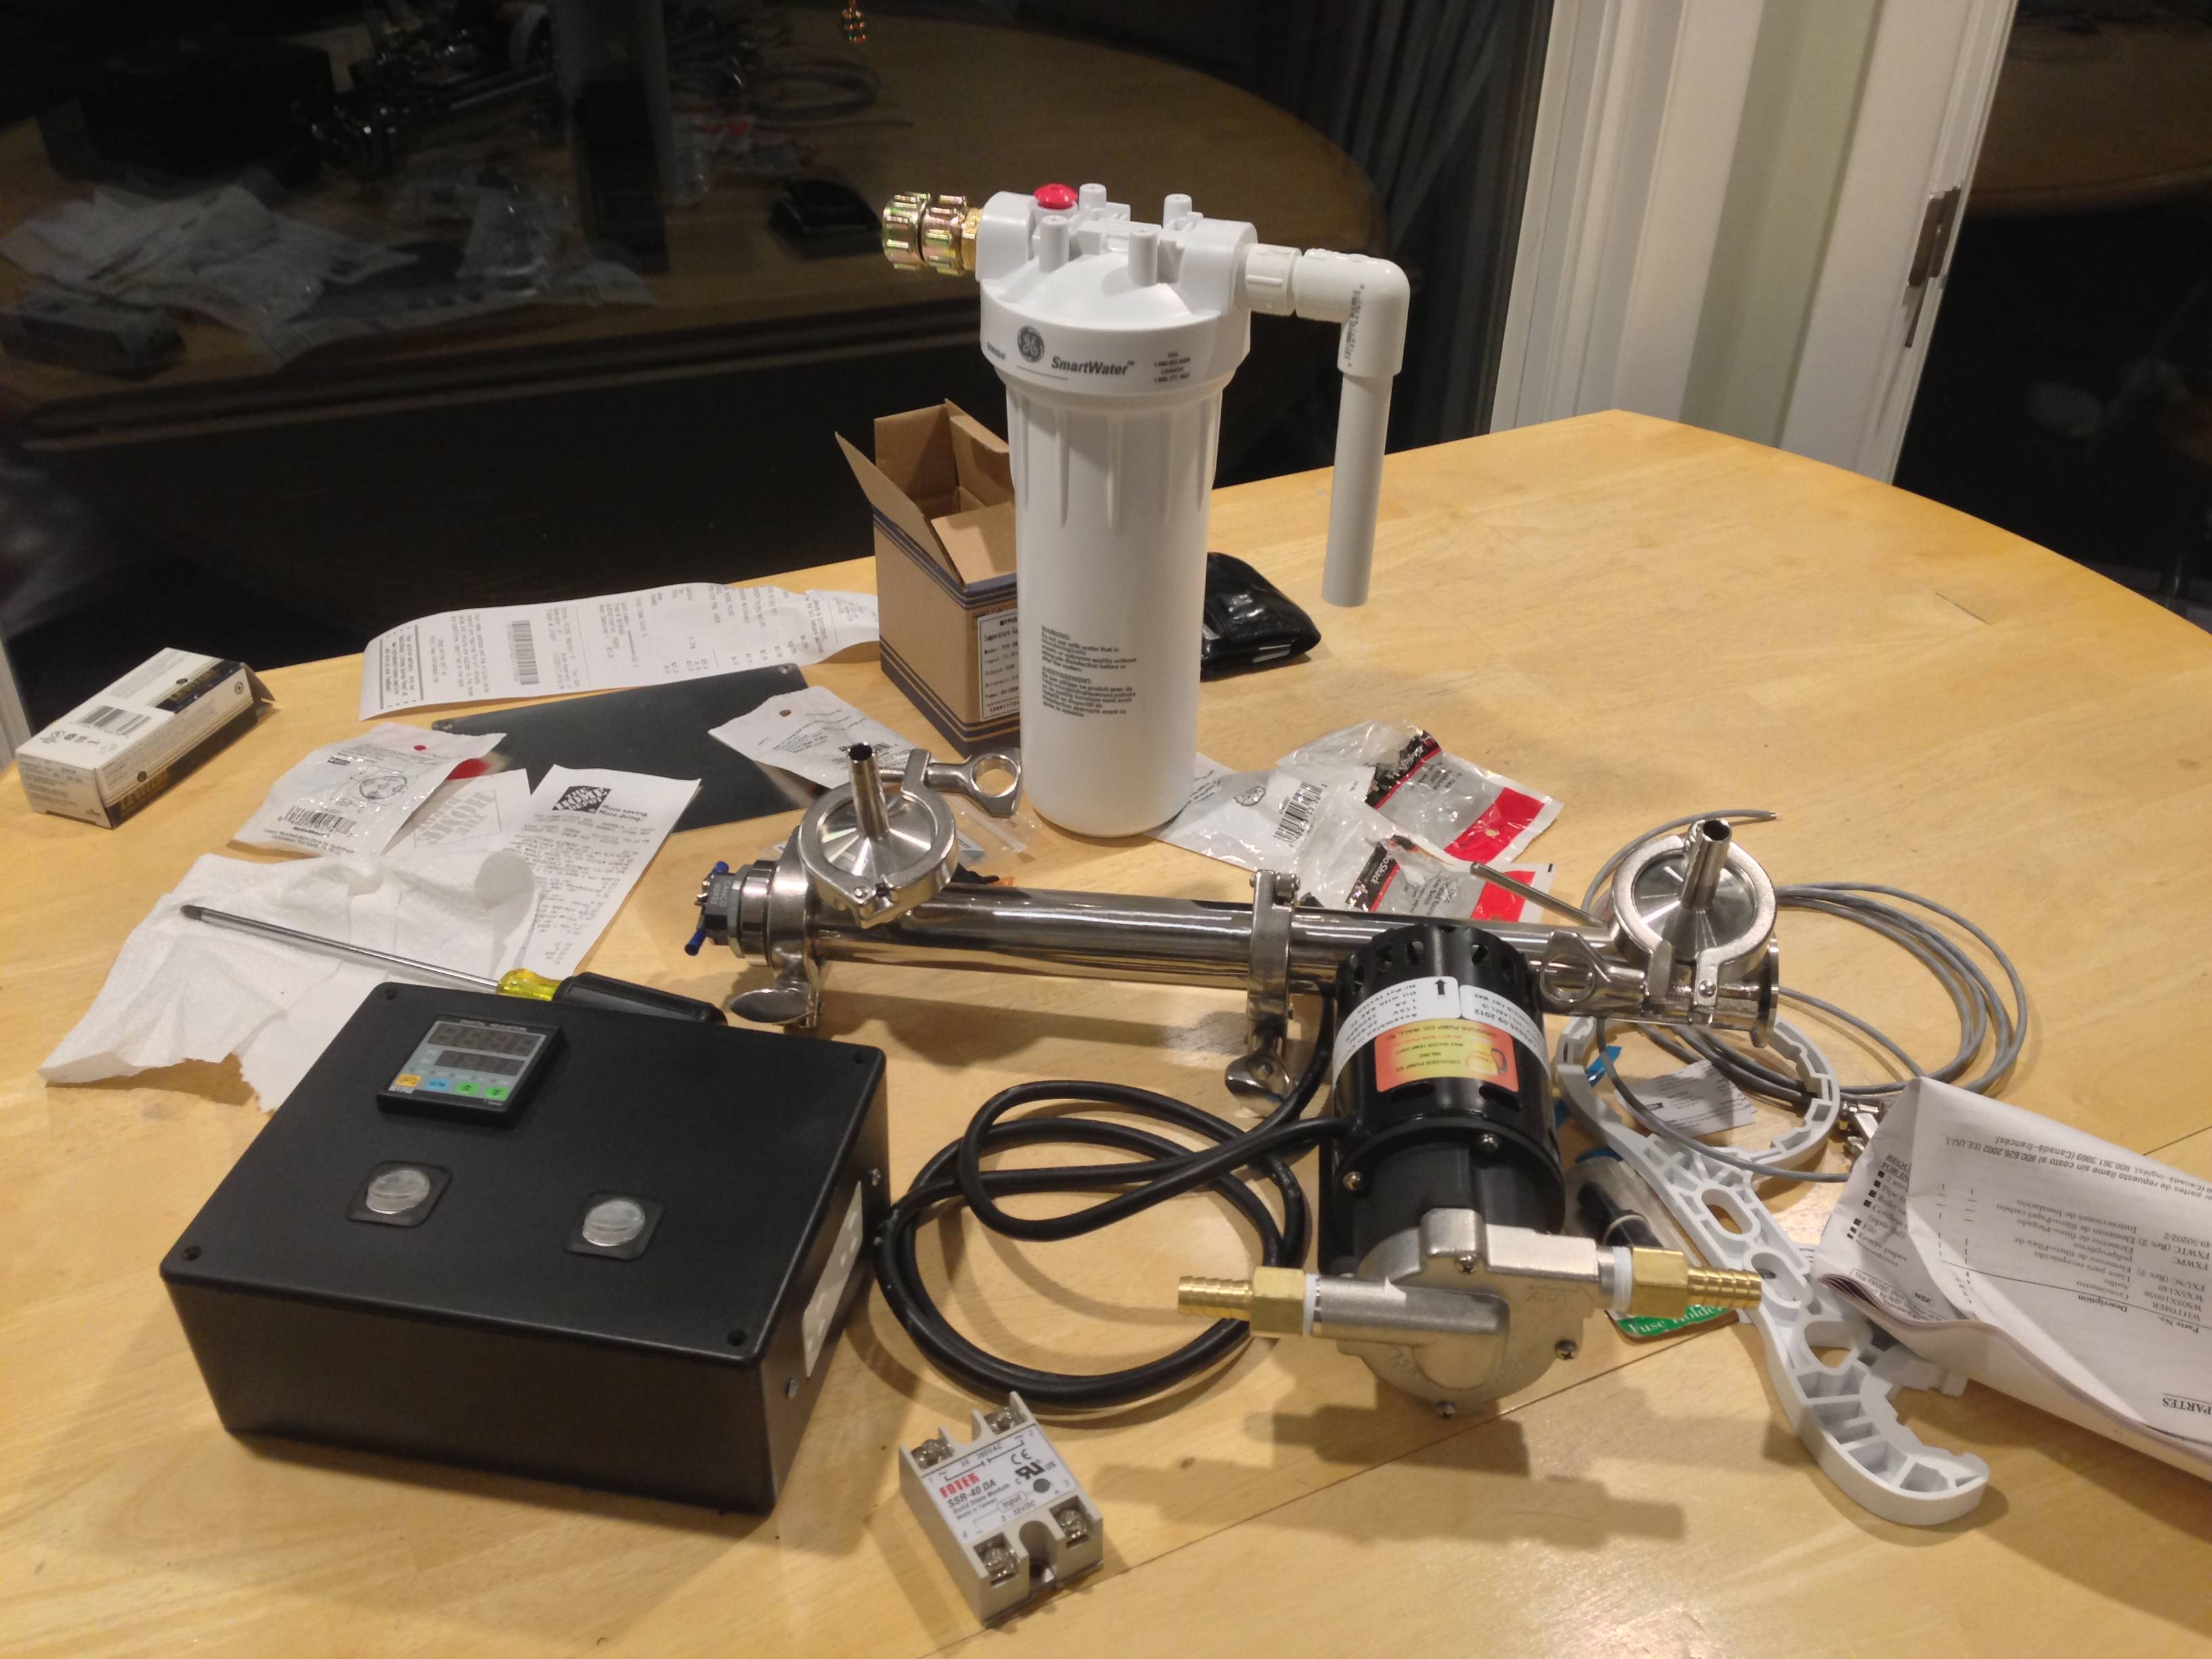
Tonight's mess
-Jason
Tonight I went to Radio Shack and got most or the parts I needed for the controller box. I got everything cut out and mounted. Tomorrow I will be wiring things up and hopefully doing a dry run. I wanted to brew tomorrow but being so close to having this done I think I can wait a few more days.
Starting to cut the project box
4500 watt 230vac heating element (will be running @ 120vac)
Return added to mash tun
Most parts mounted, top plug is for the sensor. The outlet will be for the pump and heating element.
I left room to add a second controller later... Not sure if I need it though...
The water filter
Tonight's mess
-Jason