Seeing as how this was my first brew using electric or tri-clover fittings. I thought everything went pretty smoothly, with a few lessons learned...
1) You can never have enough tri-clover clamps, gaskets or hose barbs.
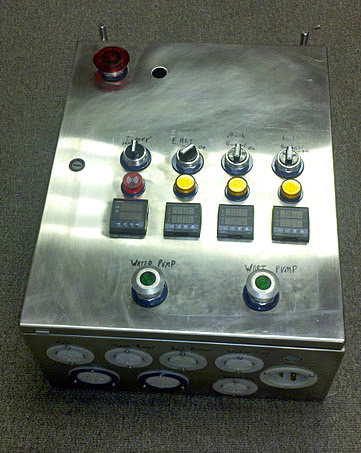
2) Making sure the element couldn't fire unless the pump feeding it is on is probably the best decision I made when wiring my control panel.
3) Do not try and go above 200F with the RIMS tube. Nothing good can happen.
4) Derrins
3-way valves ROCK!!
5) Putting these mesh gasket all over may seem like a good idea... it isn't, only use them where required, aka right before the chiller.
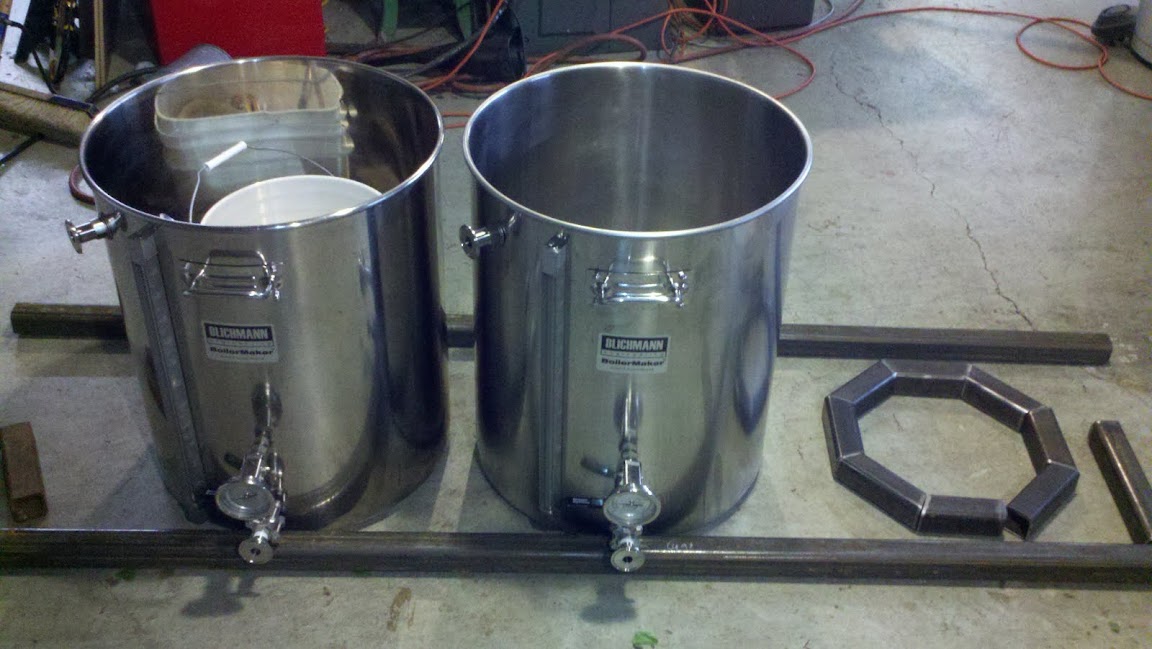
6) 1/2" kettle returns no longer cut it. I'm gonna have to TIG in some ferrules & pray that i don't **** up my kettles.
6) Fill your HLT with the hot water coming out of the chiller and use it to clean up.
7) If you put silicone tubing between your water input & a ball valve, then close said ball valve the tubing will blow up like a balloon. Same thing with compressed air.
8) Inline aeration is great
9) I should really build a mount for my control panel.


") !!
!!


 ! And right down the road at Lowes nonetheless!!


 Same boat for me.


