discokid2k
Well-Known Member
Hello HBT peeps-
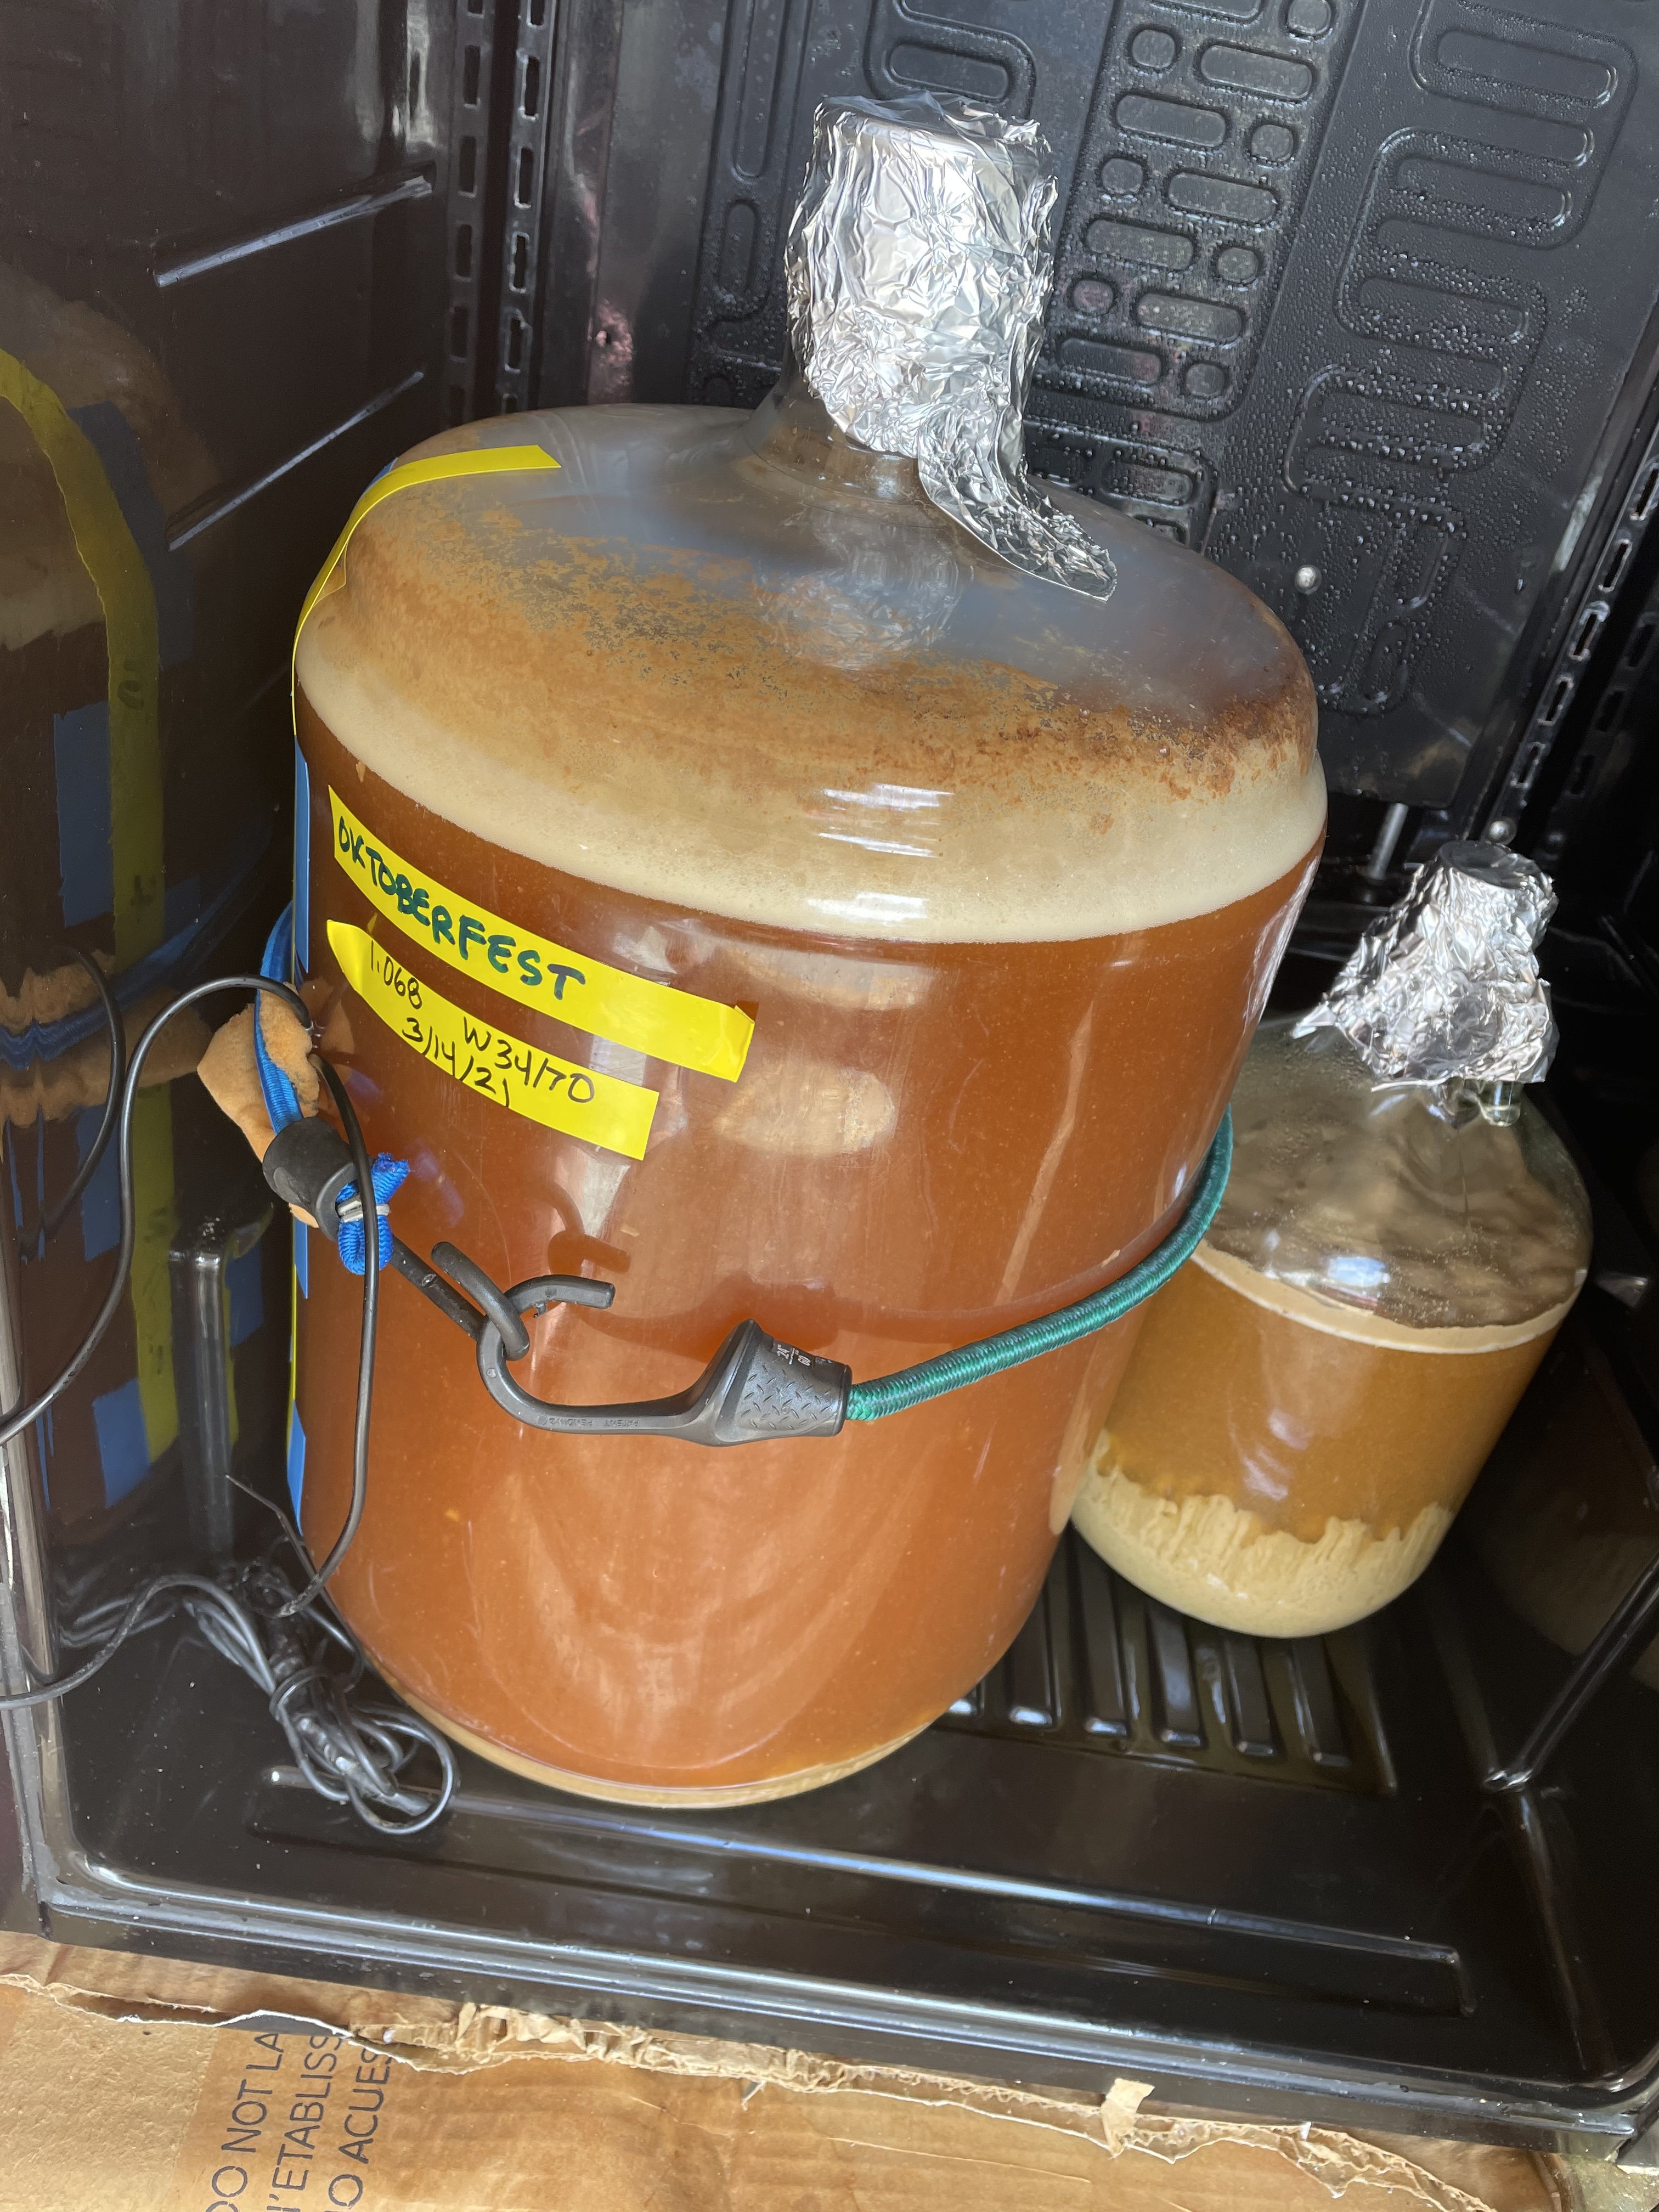
I have come across a larger mini fridge:rockin: and it has one flaw that I know someone out there can help me with-The door does not allow me to fit my fermenter with all the shelving (see pics). I have researched a little and read about people converting their mini-fridge door for kegerators so it must be possible to 1) remove the gasket and take of the plastic liner on the door and 2) rebuild an insulated piece to fit the door but leave me enough room to fit one of my fermenters. Any advice AND pictures of your build would be much appreciated.
My plan of action thus far is this: Use a razor blade to carefully remove seal from door and that should give me access to the screws attaching the plastic liner covering the door. Then remove the liner....that's all I have so far. None of the posts I have found seem to answer if the insulation beneath the liner on the door is molded to fit or if it is just a slab of sytofoam with a liner placed over it and exactly how easy it is to remove/rebuild. From one home brewer to another....please help!!


 All the raised areas on the freezer are the freon, cut anywhere but there. If you bend it do it slow if it even starts to kink stop and DON'T go back up it will crack. It will be well worth the work.
 I have a much smaller mini fridge, slightly visible in the first pic on top of the new, larger fridge. I have been limiting myself to 3 gallon batches and its great to get practice in buuuut now its time to unleash the beast! Thanks for the help!