Ramitt
Well-Known Member
Very cool, great work. Love the hop trellis idea.

Thanks, Lehr. I just checked out your rig (and other fabrication work) - inspirational!!

")
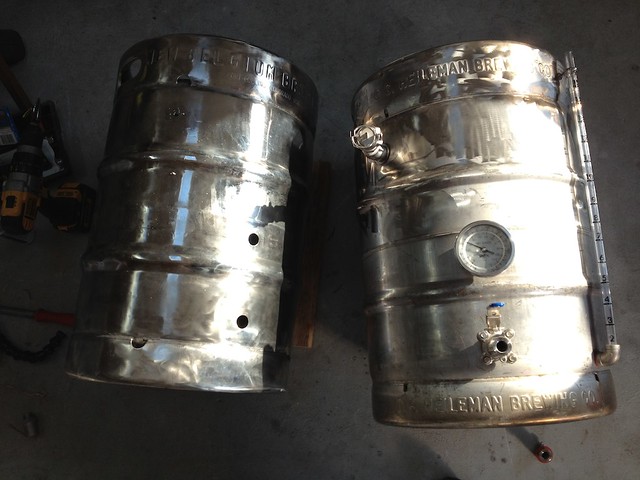
In 1977 the brewery was sold to G. Heileman Brewing Company, and passed through several more hands before finally winding up owned by Pabst, which closed it in 1999. The Rainier brand was sold to General Brewing Company, which moved production to the Olympia brewery in nearby Tumwater, Washington. The Olympia Brewing Company closed in 2003. Rainier Beer is now brewed under contract in Irwindale, California.
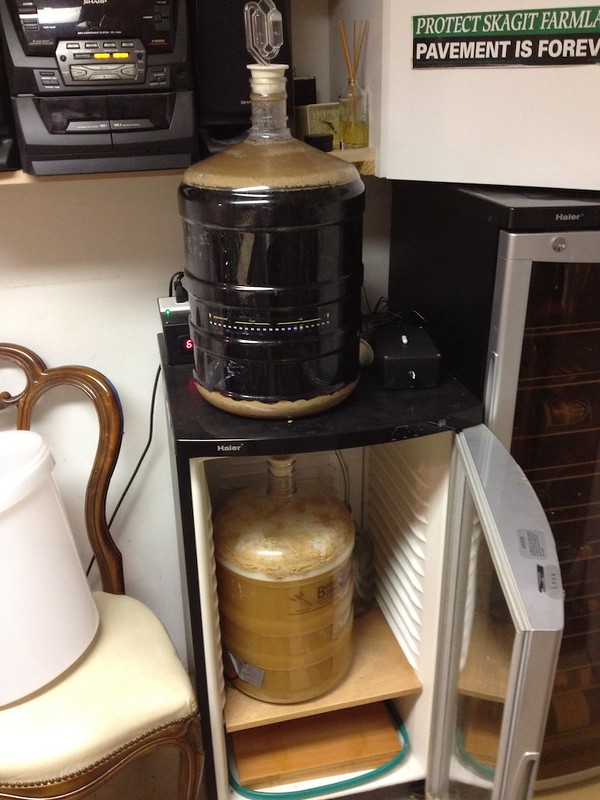
 (He just got back from NZ and checked on his demijohns of reserve, started malolactic, and added some raisins he made last season- I can't wait for a bottle of that stuff!)
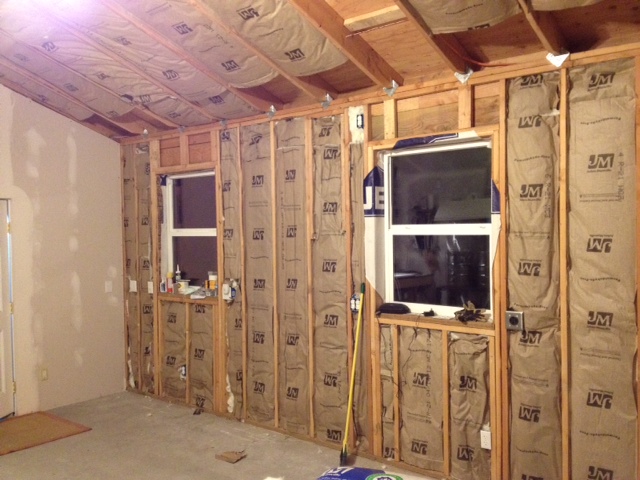
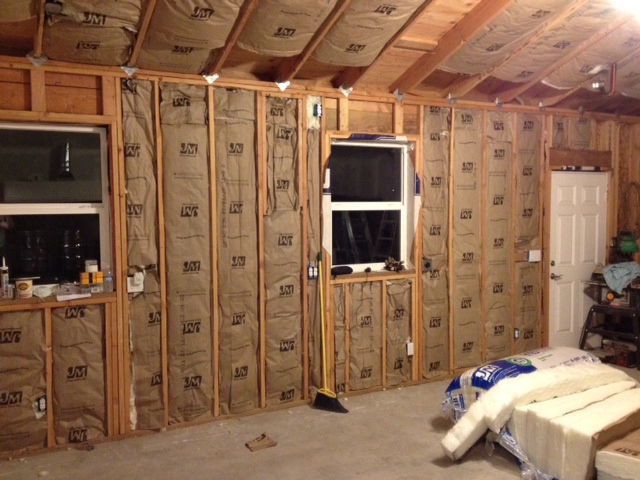
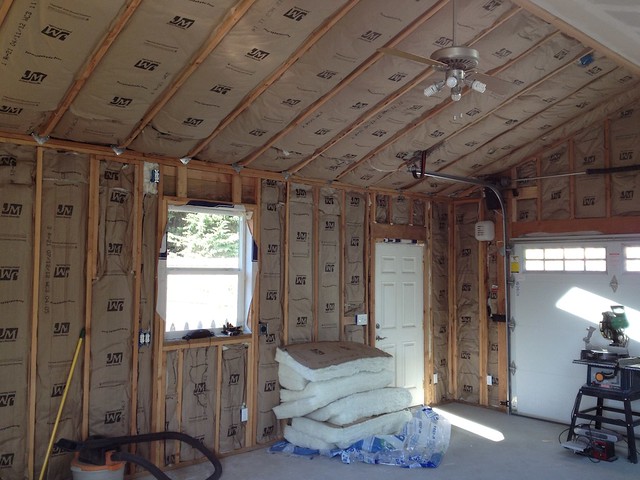
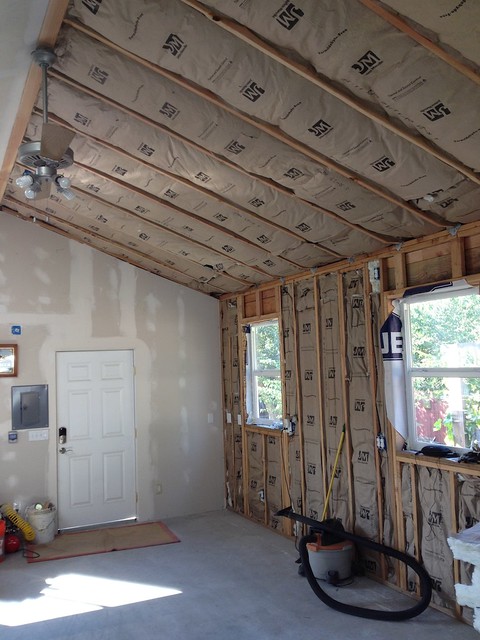
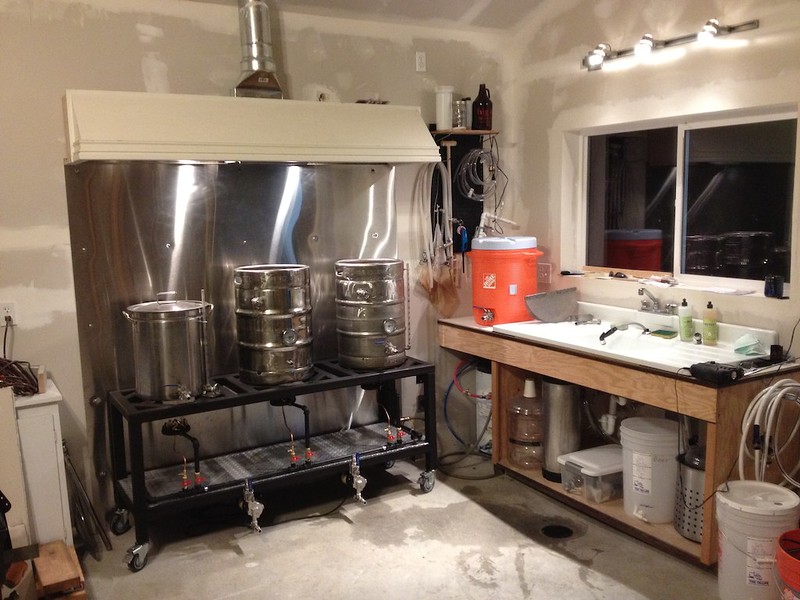
Another couple things I was curious about, why didn't you use green board for the dry wall around the brewstand/sink? I guess it may be overkill since you have that metal sheet on the back, but I'd imagine things could get ugly if that did wet behind there.
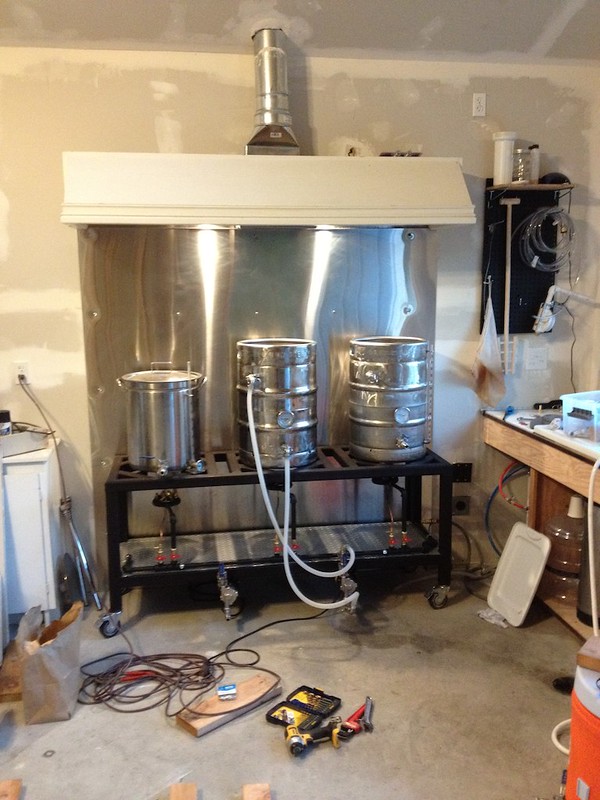
Another thing, what are you using for dispensing? I'm hoping you've got one killer keezer in your future as well.
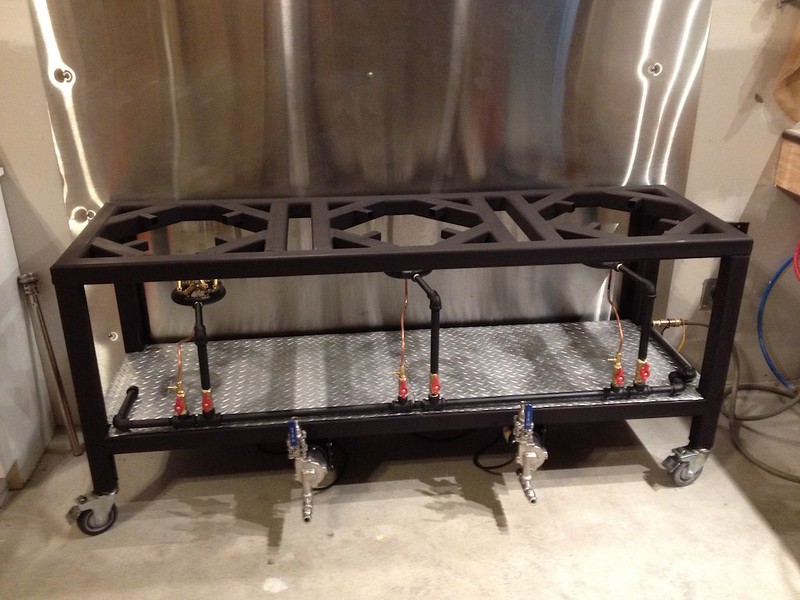
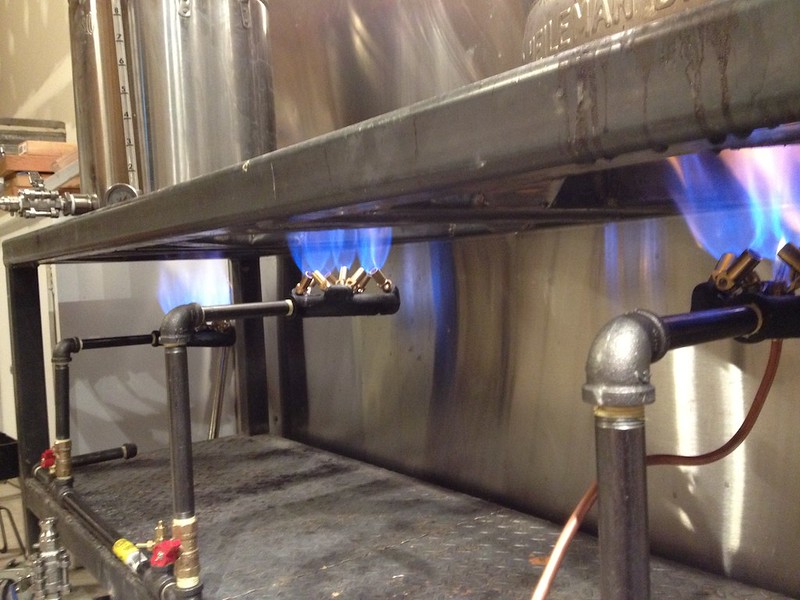
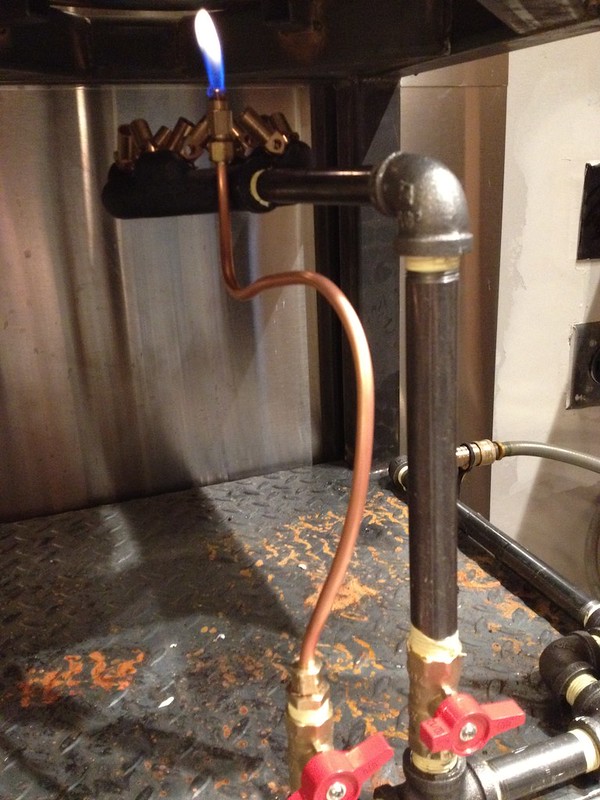
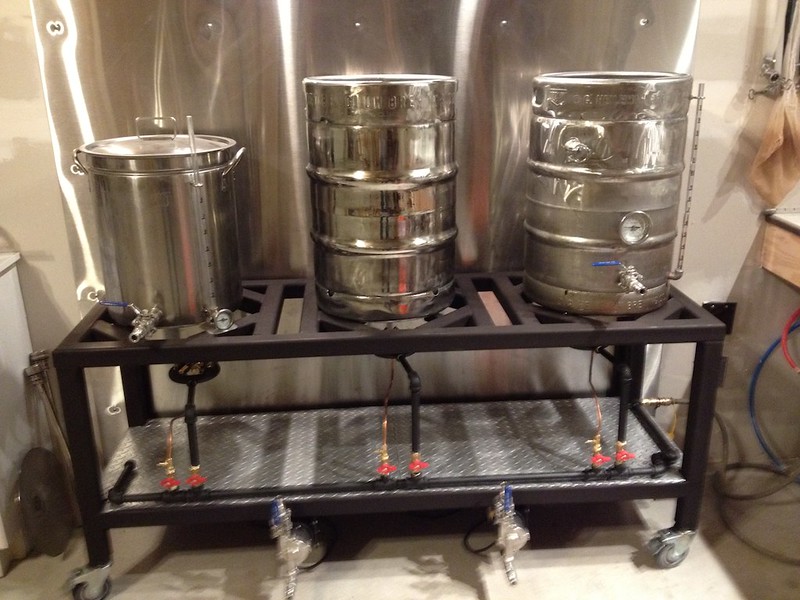
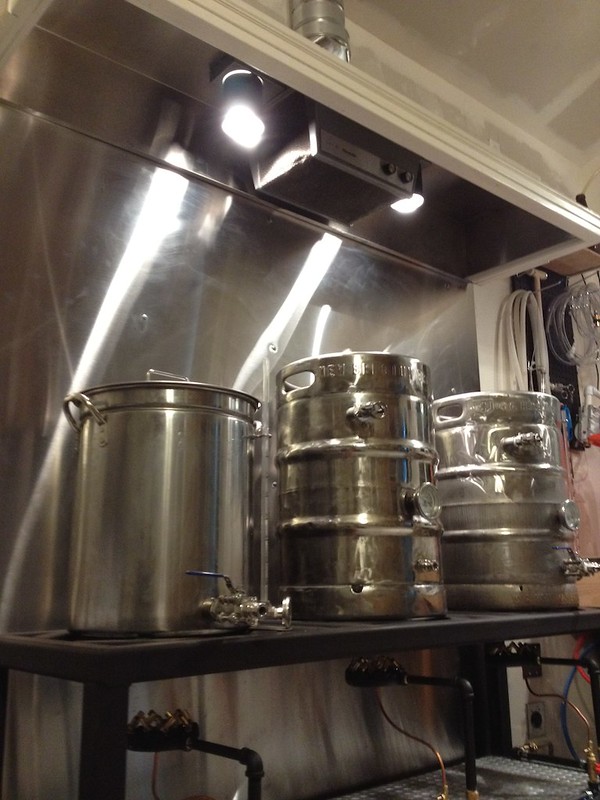
What kind of fitting did you use at the top of the pilot for the flame?
I was also wondering how you secured the black pipe to the stand? Kinda looks like its just floating there.

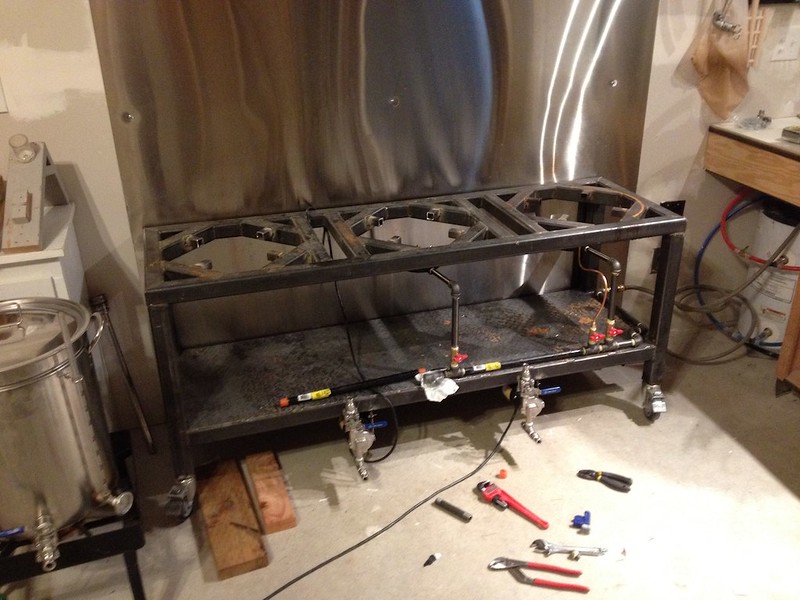
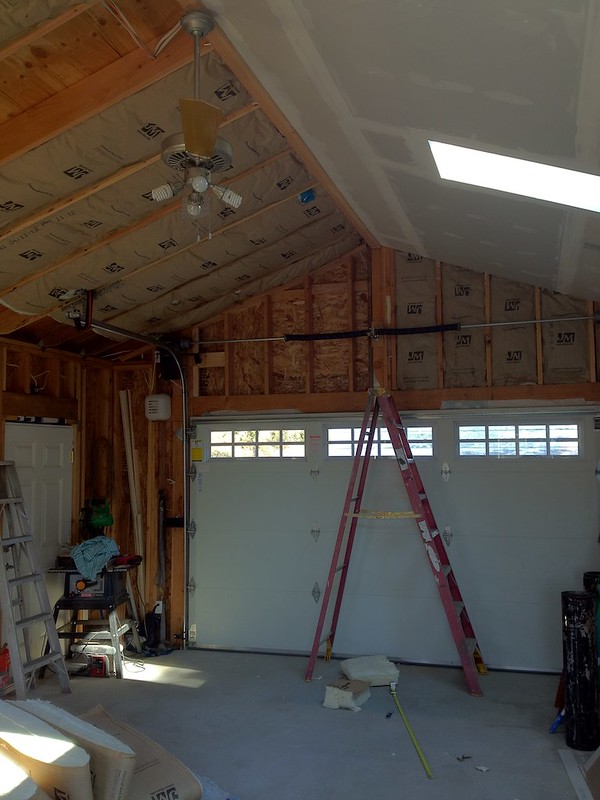
Looks great....Please tell me you are going to finish/paint the drywall!!!!


Enter your email address to join: