Basement Brew Area Build

Homebrew Talk - Beer, Wine, Mead, & Cider Brewing Discussion Forum

Help Support Homebrew Talk - Beer, Wine, Mead, & Cider Brewing Discussion Forum:

This site may earn a commission from merchant affiliate links, including eBay, Amazon, and others.

soccerRef

Supporting Member
HBT Supporter
Joined
Dec 28, 2011
Messages
139
Reaction score
4
Location
Katy
So last xmas my wife got together with my family and decided that they would all get me 'everything' I need to brew my own beer! [ I had been interested for a while, just not made the move] I haven't brewed nearly as much as I have wanted, time being the most limiting factor, but tied into that the amount of time to convert the kitchen to 'brew house' for the day, and back to kitchen again.

So fast forward to now... and I brewed a few beers a couple weeks ago, just kegged one last night and my wife was helping me out when she says, would this be easier if you had a place in the basement to do most of this?... well yes of course :) and to my surprise she says why don't we find a used gas stove on craigslist, a used countertop for a workspace and you can finally build that fermentation chamber that you said would be easier to use, and eventually even the lager chamber thing you "need". if that wasn't enough she continues talking about the kegerator I want to build ( old fridge has been in the basement for a year holding a keg with picnic tap) and she asks if it would be possible to run a PVC line holding the beer lines to the first floor kitchen, so when we have larger groups of friends over they wouldnt have to go to the basement where the kegerator is!

Of course my first question was and where is my wife? I mean she was always on board with me doing the brew thing, hell she helped get me the stuff... but I didnt see this coming!

This will definitly be a project being worked on over the next few months at least, as I don't really have the time to just dive in , plus I don't have an unlimited budget to work on, so I plan on putting a plan together, then as I find things on CL or other places piece my project together! but I figured I would start the thread now... take some "before" pictures soon, and get a plan started!

Basic set up will include the following
Gas Stove to boil on
Counter top to work on/ place mashtun etc / bottle on etc
fermentation chamber - custom closet type I designed, my basement doesnt get over 70 deg, but does drop to 50, so I really only need air circ, and heat
lager chamber - going to build using an old dorm fridge
kegerator - building from an old fridge/freezer the plan is for 4 taps
kitchen tap line - I plan to run 4 lines inside PVC, not sure on insulate/cooling yet, as the plan is just to use this for parties, if I don't insulate/have it hooked all the time I will get an extra corny keg to hook up after use to simply clean out the lines, so at party time I can just change the beer line quick disconnects from fridge taps to kitchen.. not 100% sure on this yet though
big sink already in basement
water lines - I plan to run water lines above stove so I can fll pots without moving them full... maybe a pump eventually so I can not have to move anything with liquid
 
Don't forget ventilation and a CO tester for the gas stove.
Depending on what is available in the basement (gas line vs 220VAC) it might be cost effective to build an electric kettle.
 
Congrats on the brew area! Looking forward to seeing the progress pics. Where in Rochester are you located?
 
My comments:

You are going to need to very powerful gas stove to boil 5+ gallons. I'm not sure even commercial ranges will do this in a acceptable time frame.

A 70 degree basement is too warm for actively fermenting beer....70 degree ambient means 75-80 degree fermentation.


edit to add:I assumed you were doing all-grains, so its possible that you might be heating 8+ gallons at a time.

You might be OK with doing 5 gallon extract batches on a regular stove (I've never tried it), but going AG or 10 gallon batches you might be in trouble.

End comment: if you are going all-out on this, consider the future (that you might be doing 10 gal AG batches) and build accordingly.
 
Gotta similar project in mind and will be going electric with mine. Energy efficiency is better and ventilation requirements are much lower than with a big gas setup indoors. As has been inferred, you might want to reconsider the stove idea - it is tough to boil 6-7 gallons on a stove of any kind.
 
wow quick responses! thanks for the thoughts and ideas, all are very welcomed.

First as as far as CO tester, I already have them all over my house ( each floor, living areas etc so covered there)

Venting - I am replacing the basement style windows already, so I will be simply building in a venting system tied in with this.

As to not being able to boil water quick enough on a gas stove... I currently do this with no problems... in our kitchen we have your standard home use gas stove, and I get water up to temp for AG in 10-15 min, and into full boils in less than 25 min would electric really be that much faster/efficient? Part of my trick is that my hot water from my water tank is pretty hot... so It doesnt have too far to go, then another 60-70 degreees ( depending on temps) to get to boiling...

Im not against being efficient... but I don't plan on going ALL OUT in this setup... if I change to start doing 10 gallon batches I will need to upgrade to larger pots anyways... at which time I would think about going electric most likely. The plan for this is to do it on a pretty tight budget, hence finding pieces of CL and putting it together. also when I say old stove, Im finding 2-4 yr old stoves for great deals, so they aren't 15 y/o inefficient models...

dealing with fermenting issue... I do realize 70 in the basement is too high for active fermentation.. I wasnt going to get into great detail there, but if my basement hits 70 its an extreme max temp... I dont think it got over 65 last year, and if it did it was only during the day and for a limited amount of time, so the ambient temp is a bucket fermenting most likely would not have risen much.. but it does get cold, in the 50's... which obv needs to come up a bit. I was planning on getting a temp controller that does both warm/cool anyways, so maybe I will just design it to work with the lager box I make, and have a PVC insulated pipe with a small PC fan move cold air over if necessary.

are there electric heating elements that dont require me to cut into my pots ? meaning that just get placed in the boil pots? I do have access to 110/220 or gas.

and before anyone jumps in, I have prior experience in running all 3 types of lines, plus have relatives in the business that can do any of the work for me that needs to be done by a "certified" person of the trade.. i.e tying in the lines and testing for safety!
 
i would for sure go with either a gas burner (not a stove, a burner like so many other people use) or electric. i LOVE my electric rig. it's easy, quiet, emits no dangerous gas. they allow for bottom drain vessels (if you can do that with your pots/keggles).

you want a sink for cleanup, a good drain, a spray hose, a vent hood.
 
Before you start your basement brewing project, you might want to check out Kal's site The Electric Brewery http://theelectricbrewery.com/

I have to say I am very happy moving from gas/LP to all electric in my basement. This has been one of the projects that simplified my brewing experience rather than complicate it.

Good luck on your project and keep use posted,

/s TuffToad
Louisville, Ky
 
Wow. You may want to keep an eye on your wife's shoe/bag collection. Her "support" of your hobby may just be a ruse.

Kidding. Have fun with the build!!
 
I have looked at the electric brewery thread, read it almost start to finish at one point.. I don;t disagree that if cost was no object I would be there in a heart beat!

As much as the wife's on board ( and driving some of it) she is not on board to spend a ton on it... thats one reason why I was going the route I was thinking... I am finding 1-4 yr old stoves similar to mine in the kitchen for less than $100 ( one im looking at tonight is $50). I only have to run the gas line like 10 feet to get to the approx location of this area in my basement, so not much cost in black pipe or connections there. Im not looking to invest in any more pots right now, I have 2 currently, a 6 gallon, and 8 gallon I believe, which have worked great for all the extract and AG 5 gallon batches I have made so far... if I move to 10 gall batches I plan on making a lot of changes, keggles with built in heating elements, pumps, etc...

Maybe I should have included the fact that this area is going to be shared with the washer and dryer, so the idea is to not build too much into just a brewery since the next owner of the house most likely will not need that... but having tables/storage/water etc in a laundry area is never bad, and really the only element that would be out of place then would be the stove...

Most of the electric builds I have seen include deicated lines for the heating element, due to how much they draw, + the cost of the element, and again I don't want to cut up my pots... so it would have to be a heatstick style.. and most of them I see on here say they take 30 min to boil water anyways... I do that with my gas stove faster already!
 
Part of my trick is that my hot water from my water tank is pretty hot... so It doesnt have too far to go, then another 60-70 degreees ( depending on temps) to get to boiling...

In general you should not ingest water from your hot water tank. There are multiple reasons for this.


dealing with fermenting issue... I do realize 70 in the basement is too high for active fermentation.. I wasnt going to get into great detail there, but if my basement hits 70 its an extreme max temp... I dont think it got over 65 last year, and if it did it was only during the day and for a limited amount of time, so the ambient temp is a bucket fermenting most likely would not have risen much.. but it does get cold, in the 50's... which obv needs to come up a bit. I was planning on getting a temp controller that does both warm/cool anyways, so maybe I will just design it to work with the lager box I make, and have a PVC insulated pipe with a small PC fan move cold air over if necessary.

suit yourself, but strict temperature control made all the difference in the quality of my beers (as it has for many others). If you are spending the money, this would be priority #1 for me.
 
In general you should not ingest water from your hot water tank. There are multiple reasons for this.


suit yourself, but strict temperature control made all the difference in the quality of my beers (as it has for many others). If you are spending the money, this would be priority #1 for me.

What do you mean ingesting water from my hot water tank? My entire life when I need to boil water I usually use hot water ( making tea/boiling pasta/ making jello/ etc etc.. )

I do understand temperature control is important, and I was not suggesting it wasnt. Honestly though my basement stays pretty constent during the seasons... living in Rochester NY when its below freezing outside for a few weeks the temp creeps down to the 50s in the basement.. thats why I figured an insulated box itself would help, I figured if it started actually getting to hot I would add the cooling ability, but like I said cooling has never really been a problem yet... just getting too cold!
 
no self respecting chef will fill a pot for cooking with hot water. you start with cold water. hot water tanks contain all sorts of off flavors from sitting at that temp, stagnant for long periods of time with metals that corrode and rust.
 
no self respecting chef will fill a pot for cooking with hot water. you start with cold water. hot water tanks contain all sorts of off flavors from sitting at that temp, stagnant for long periods of time with metals that corrode and rust.

I am in no way a chef, but have been cooking for years and am fairly good at it, and I have used hot or cold water from the tap of my house and never had an issue with either, no off flavors. I can see that being an issue if your pipes are rusted, but that will be in the pipes regardless of hot/cold. and would need to be fixed in general... Or if water sits for long periods of time somewhere, i.e pipes, water tank etc... but on a daily basis we use plenty of hot and cold water to keep water moving through the system so I can't believe that would be a problem.
 
you're adding water to a container with water in it... and then removing some from the bottom. there is still years of sediment, rust, etc in that container. you are supposed to periodically drain your water heater, but i assume everyone reading this thread has never done so.

from the EPA site: http://water.epa.gov/drink/info/lead/lead1.cfm

The EPA said:
The second step is to never cook with or consume water from the hot-water tap. Hot water dissolves more lead more quickly than cold water. So, do not use water taken from the hot tap for cooking or drinking, and especially not for making baby formula. (If you need hot water, draw water from the cold tap and heat it on the stove.) Use only thoroughly flushed water from the cold tap for any consumption.
 
you're adding water to a container with water in it... and then removing some from the bottom. there is still years of sediment, rust, etc in that container. you are supposed to periodically drain your water heater, but i assume everyone reading this thread has never done so.

from the EPA site: http://water.epa.gov/drink/info/lead/lead1.cfm

That link is mostly dealing with lead in the water, not off flavors... and every part of the water system in my house is lead free since it has been re done since I have lived here... so any lead that comes from the treatment plant ( mentioned in your article) would still be there hot or cold... I actually do drain my water heater 2x per year, but you are most likely correct most do not.

I drink water from my tap daily, it tastes fine etc... if it tasted "off" then I would be concerned that that may effect my beer... but if your tap water tastes fine, and is lead free, then I really don;t see a problem, but to each their own...
 
...i now return you to the original programming. :)

Speaking of the original programming... congrats on the go-ahead for the basement build! I look forward to seeing the results.

As a fellow Rochester brewer I can attest to how much it sucks to brew outside in our winters :)

I brewed one batch inside before I was banished to the unheated garage. Although to be fair the house smelled like boiled cheerios and hops for almost a week so I probably deserved the banishing :eek:.

yeah the brew smell def takes a few days to get out of the house! Im sure thats part of the reasoning for so much support to make the basement area!

Im in Irondequoit, where in the great ROC are you located? are you a member of any local rochester brew clubs? I am not yet, but thinking about it.
 
I'm in the South Wedge. I'm not a member of any local brew clubs but also thinking about it. Seems like there might be at least a couple in our area. Any idea if any of them are active? I know some brewers through work but no one who's a member of any of the clubs. It might be fun!

I recently got approval to upgrade to a 50A electric brewery in the garage (we're getting rid of our old hot tub). Just planning parts & such out now. It's still unheated though ;).
 
yeah the brew smell def takes a few days to get out of the house! Im sure thats part of the reasoning for so much support to make the basement area!

Im in Irondequoit, where in the great ROC are you located? are you a member of any local rochester brew clubs? I am not yet, but thinking about it.

My wife actually really likes the brew smell. She enjoys the smell of boiling wort and hops (although not quite as much as I do).
 
dont have much to offer here but saw all the posts from the fellow rochester guys. Ive begun planning a kal clone for my basement as well, its not even snowing yet and ive had enough with the outdoor brewing. Carrying everything up and down from the basement really blows too...
 
thanks for the info on the rochester brew club... unfortunately I already have commitments this week pretty much every night ( thats the holiday season right!) but I think i will be checking it out sometime soon, maybe after the first of the year.

as to my build... I think I will concede and make a minor change, and possibly not get the gas stove ( even though I still think it would work alright based on my current stove setup) but I was looking more and more at the weldless brew stands built out of uni-strut, and I like the looks of those, and that would allow me to start small, build out larger as I go, add things like pumps, more brew stations etc ( since its just adding to the frame build with more pieces and the connectors. With this route I would add a NG burner, most likely a 10tip model in a few of the builds here... since thats plenty of power for now.. and I could always plumb in a different burner as I expand. but that brings up more questions that I would like some opinions on...

Im thinking to start with a single tiered stand, with 2 NG burners. I would leave my igloo cooler off the stand for now, and simply place it a few feet away across from the brew stand. I know mooving boiling water is not ideal, but I do it now and it works fine... eventually a pump and I will expand the stand to include the cooler ( and shield it from heat of course)

speaking of heat shielding... I have read somewhere that using cement board ( the stuff you lay under tile floors) is a good heat shield material. I personal have never used, nor done much research on it, ( and I will of course) but figured some here might already know... I was thinking of attaching it around the stand almost boxing in the burners, so heat doesn't get to the back wall, or out in front/sides... I will draw something up and post if anyone with knowledge of this can't picture what im thinking. I of course wouldnt be leaving the brew rig unattended, but it would be nice if things we not getting hot and scorched in the process!

I plan on working tonight on a few drawings of the space and plans, so I can start targeting more what I need to build on the wonderful world of CL!

anyone in the roc area know a location for the cheapest uni-strut HD and Lowes carry it, but possible some one knows a better place?
 
Maybe check out "Dock Hardware"? You'll find a ton of stuff there that can be repurposed. That's where we (father and I) got most of the stuff for my rig.
 
i think you will be MUCH happier with a sculpture than you would be with the stove. it'll be a little more work, but worth it! lots of guys here have their cooler MLT on their sculpture, so you may want to take a look at that, but i can't imagine life as a brewer without a pump now that i have one. especially as an allgrain guy.
 
I would be really interested to see what you end up with if you use strut to make your stand, where you source parts, and so on.

I was thinking about doing the same for what I'll put together. It'll take me a while to get there though.
 
i think you will be MUCH happier with a sculpture than you would be with the stove. it'll be a little more work, but worth it! lots of guys here have their cooler MLT on their sculpture, so you may want to take a look at that, but i can't imagine life as a brewer without a pump now that i have one. especially as an allgrain guy.

When I get to actually designing the sculpture I may or may not add a section to place the cooler MLT on ( will depend on space possibly ... like I said Im doing a single tier regardless, with the idea in the future pump(s) will be added. Using the uni-strut will allow me to build now, and add on pretty much as many sections /stuff as I want. A pump is in my future, but more than likely at least a year out, just having the space and dedicated areas for things will be a huge improvement over the rolling cart in the middle of the kitchen!

I can 100% guarantee a pump will be that thing that once i have I won't be able to remember living with out it! ( like a DVR with my cable!)

One thing I failed to mention previously that is also driving some of this / causing me to hold out on certain parts etc is the fact my parents ( father mainly) is a decent size maple producer, and its actually amazing how much equipment involved in the maple syrup process can be ported over to beer, so there is a positional for some of this equipment to come my way has he grows bigger and bigger... BUT he is already sort of large, so size of things and what not may cause slight major change in how much I brew etc... so I don't want to throw a ton of time/money into a change now, just to make another change in a year/2 etc... so this move really is to just make my current process easier, and out of the kitchen.

Im still looking for some expert advice on the idea to use the cement backer board ( tile stuff) to sheidl heat around the stand? like I said I read it somewhere and am simply looking to see if anyone has done/seen this before?
 
So finally a little headway was made... and I mean little! I have been making measurements, drawing up idea plans, and what not... and looking for materials and what not to get things moving... but that crazy thing called work has seemed to get in the way of actually getting stuff done!

I did however finally get the support "shelf" built into my fridge that will be my kegerator. I currently only have a single keg, with picnic tap for dispensing, and it was sitting in my fridge with the CO2 tank.. but the bottom of the fridge was not level, and I was never a fan of how unbalanced it all sat. I had some wood laying around from other projects, so I built a quick support while I was waiting for bottles to sanitize in the dishwasher.

keg&C02 before.jpg


framecomplete.jpg


framewithboards.jpg


support installed.jpg


keg&C02 after.jpg
 
The shelf makes it so much more stable! Its simple supported in the back by the higher part of the fridge bottom.

It will hold 4 corny's with the co2 inside easily, with room to actually run all necessary beer and air lines comfortably. I plan on adding 4 taps to the front of the fridge.

the keg is currently full with HopNog 2012, which will hopefully get bottled from the keg tonight to make room for another brew thats ready to keg carb!

also attached is the cider I bottled up after this project was done. Its a caramel apple cider.

Hopefully soon Ill get my plans more finalized, and get to actually make some progress on the entire build!

carmelCider bottled.jpg


fridge starting pic.jpg
 
So I received most of the parts to complete the kegerator piece of the brew/beer area. attached are the pictures of the shanks and faucets. [ these will hopefully be installed later today]

I built a gas manifold, which is also pictured. I built it myself, I did this because it was a few $$ cheaper, but more so because it will be easier to expand in the future. I plan to add regulators to each branch, as well as possible a 5/6 lines to carb beers ( going to stick with 4 taps ), the fridge has space to cram in 5 or 6, but 4 is enough, if I need more I will go to a keezer.

I also received 3 more cornies, so I have a full kegerator! ( once I get some more brew done!!)

IMAG0162.jpg


IMAG0161.jpg


IMAG0160.jpg


IMAG0159.jpg


IMAG0158.jpg
 
Looks like you finished your manifold, but wanted to make sure you and the other Rochester guys knew about Rochester Store Fixtures.

http://www.rochesterstorefixture.com/images/Page_25.pdf

They've got all the keg stuff you could ever need and some kitchen stuff that I use while brewing. I got my perlicks there when they were cheaper than the chrome faucets like you've got!
 
So its been a while ( almost 2 years I think) since I made a post to this build thread .... the project never went away, it simply was moved to the back of the line behind a bathroom build in the basement, a bathroom remodel upstairs ( both done diy),having our first child and the rest of "real life" ... during that time bits and pieces were collected and the final plan was finally firmed up.... so finally some progress to show, and the hope that progress moves at a faster pace moving forward!

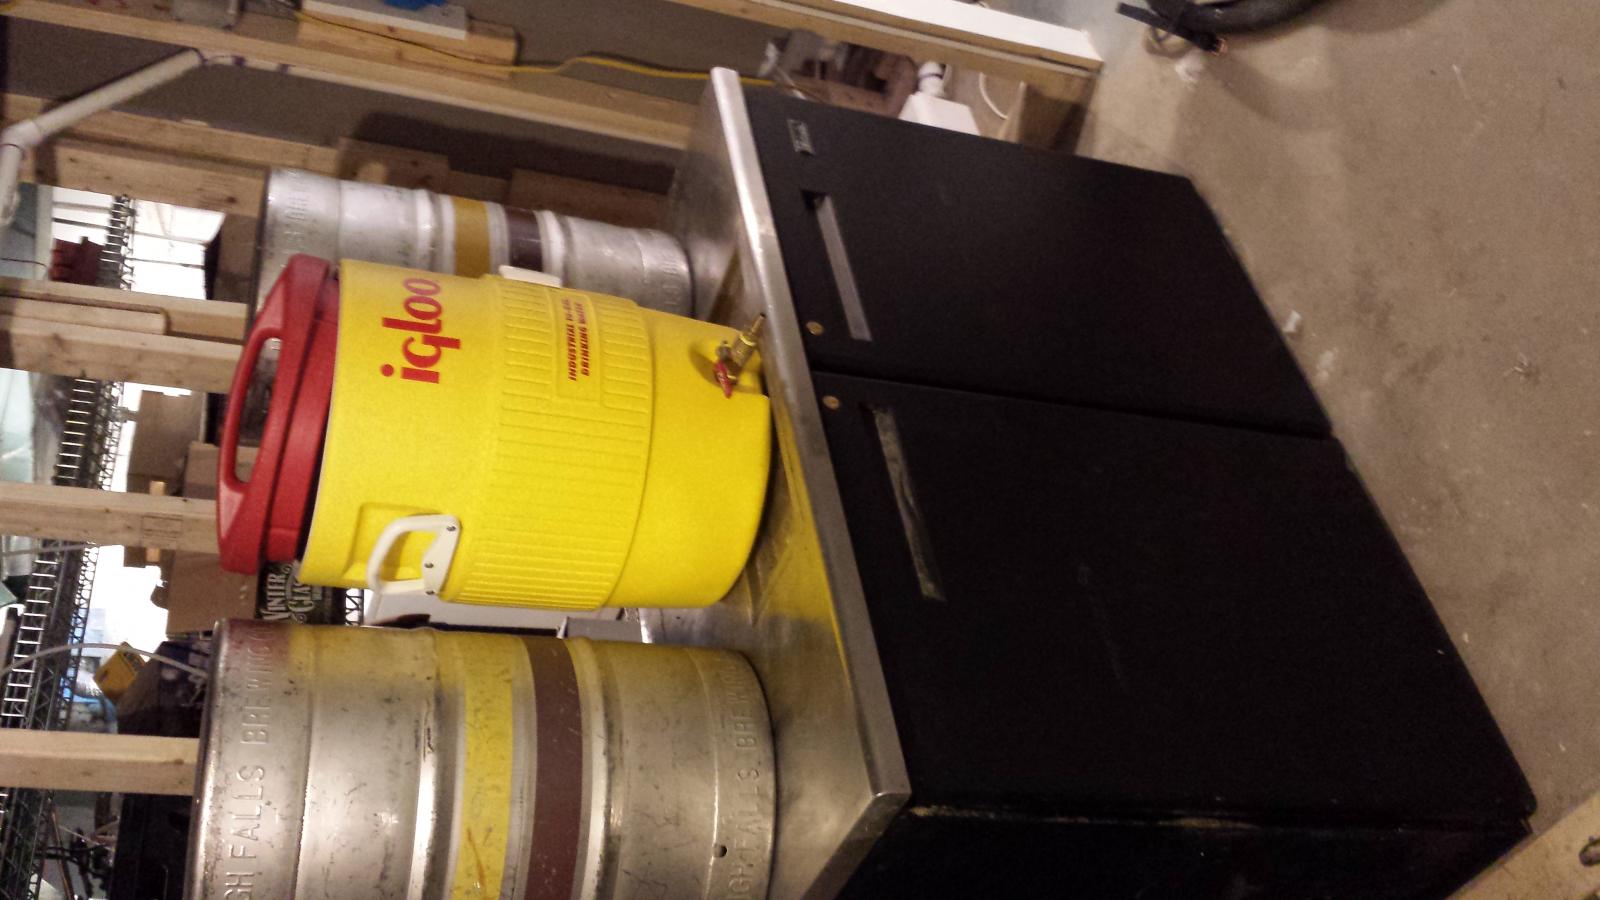
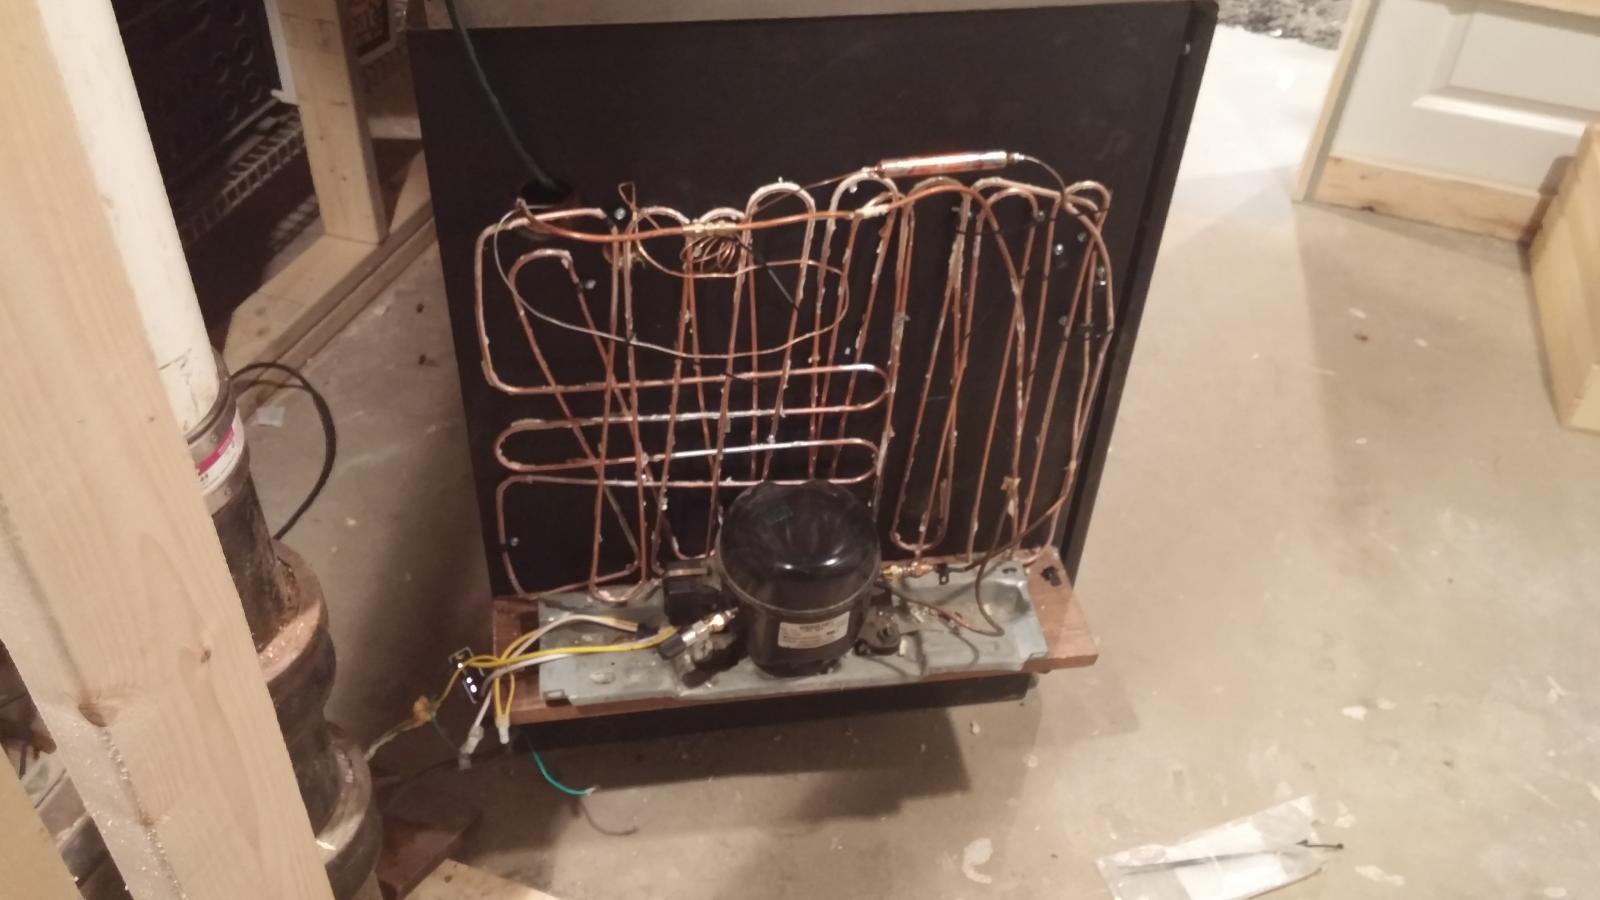
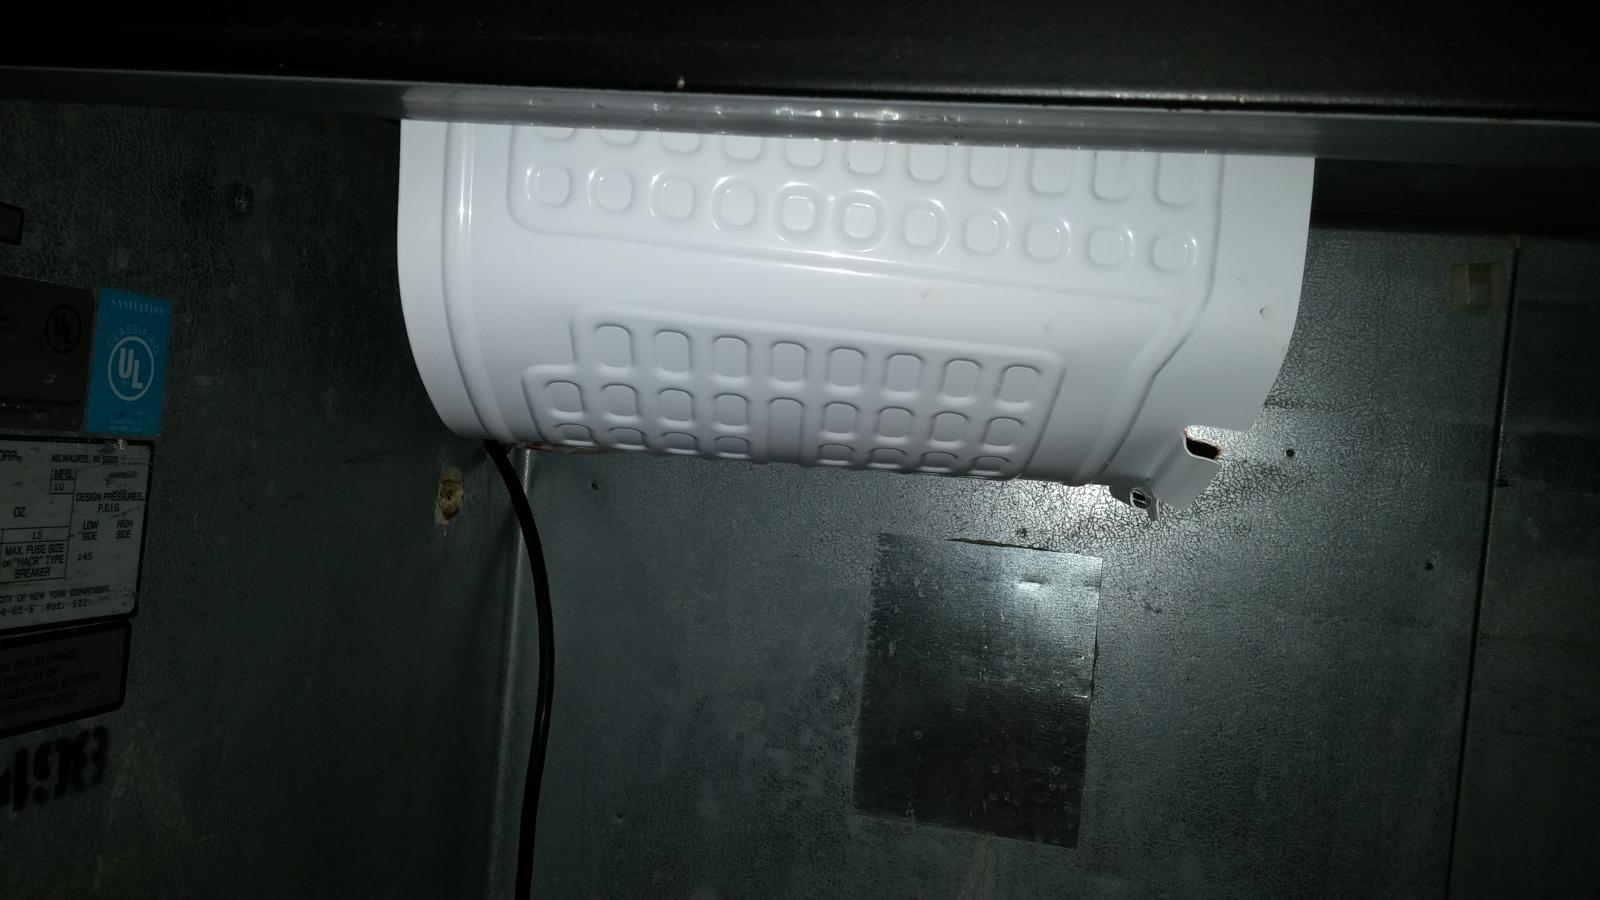
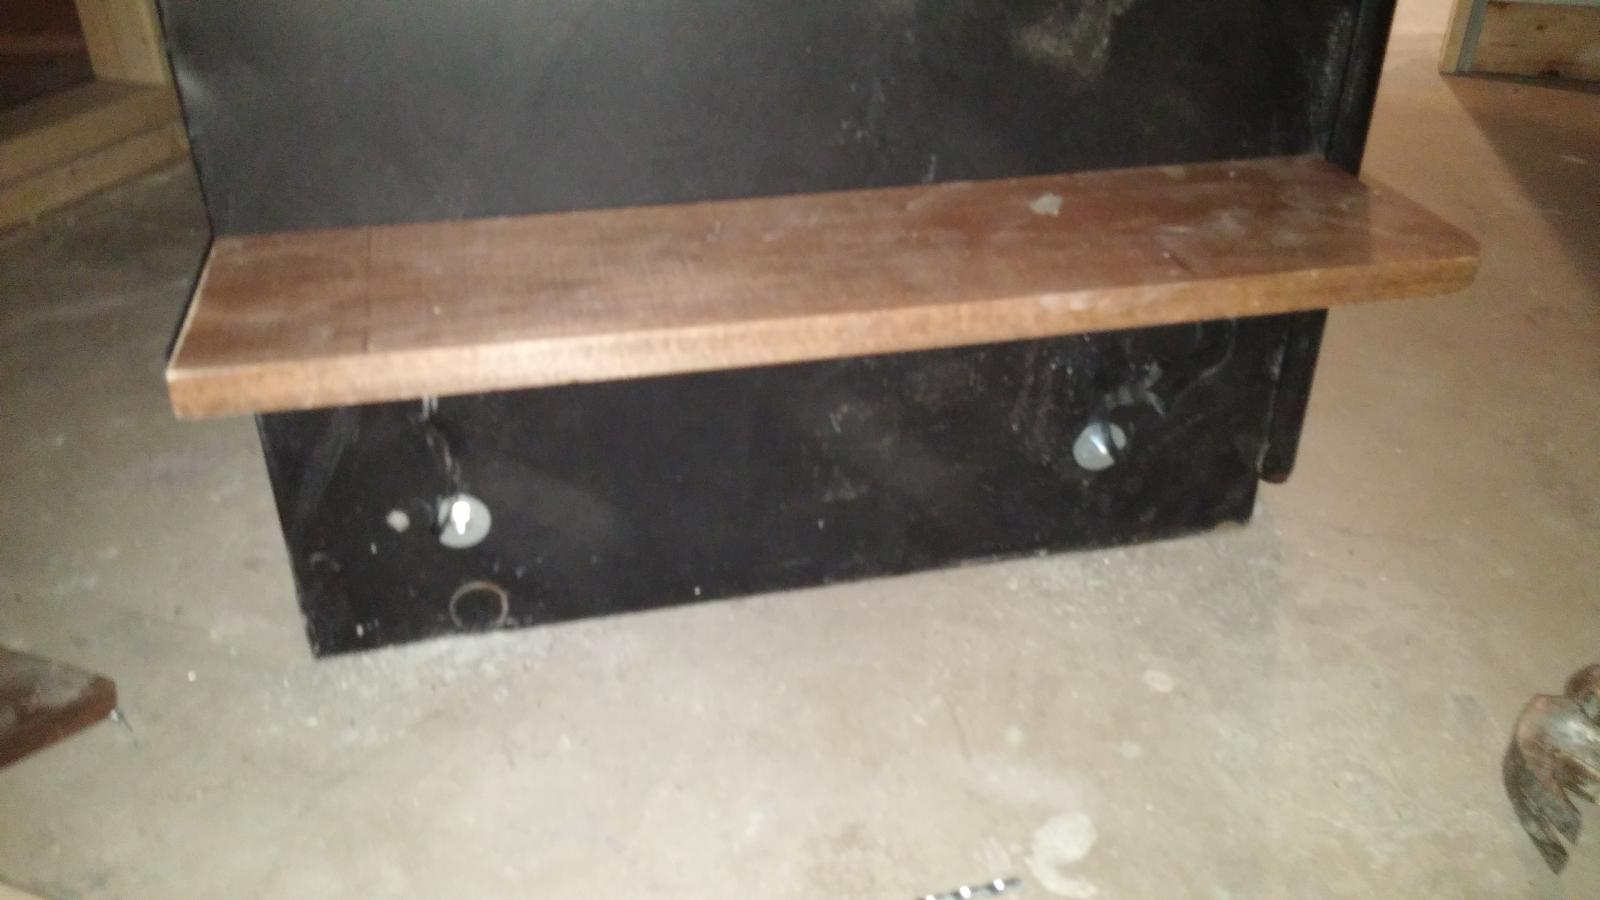
I ended up scoring a perlick keg fridge from a resale store for dirt cheap, it was missing the compressor, but for the price I wouldn't have been able to build any stand or ferm chamber for less, so I jumped on it. I ended up taking apart the mini fridge I was going to use for the ferm chamber anyways, which took more steps now because I had to actually cut the copper ( drain the refrigerant), mount it on the side of the cooler, and then re-connect the copper and replace the refrigerant. I added a paint can light bulb heater for the heat side, and of course a st-1000 to control the ferm chamber. This chamber will also serve as the brew stand for the single tier setup.

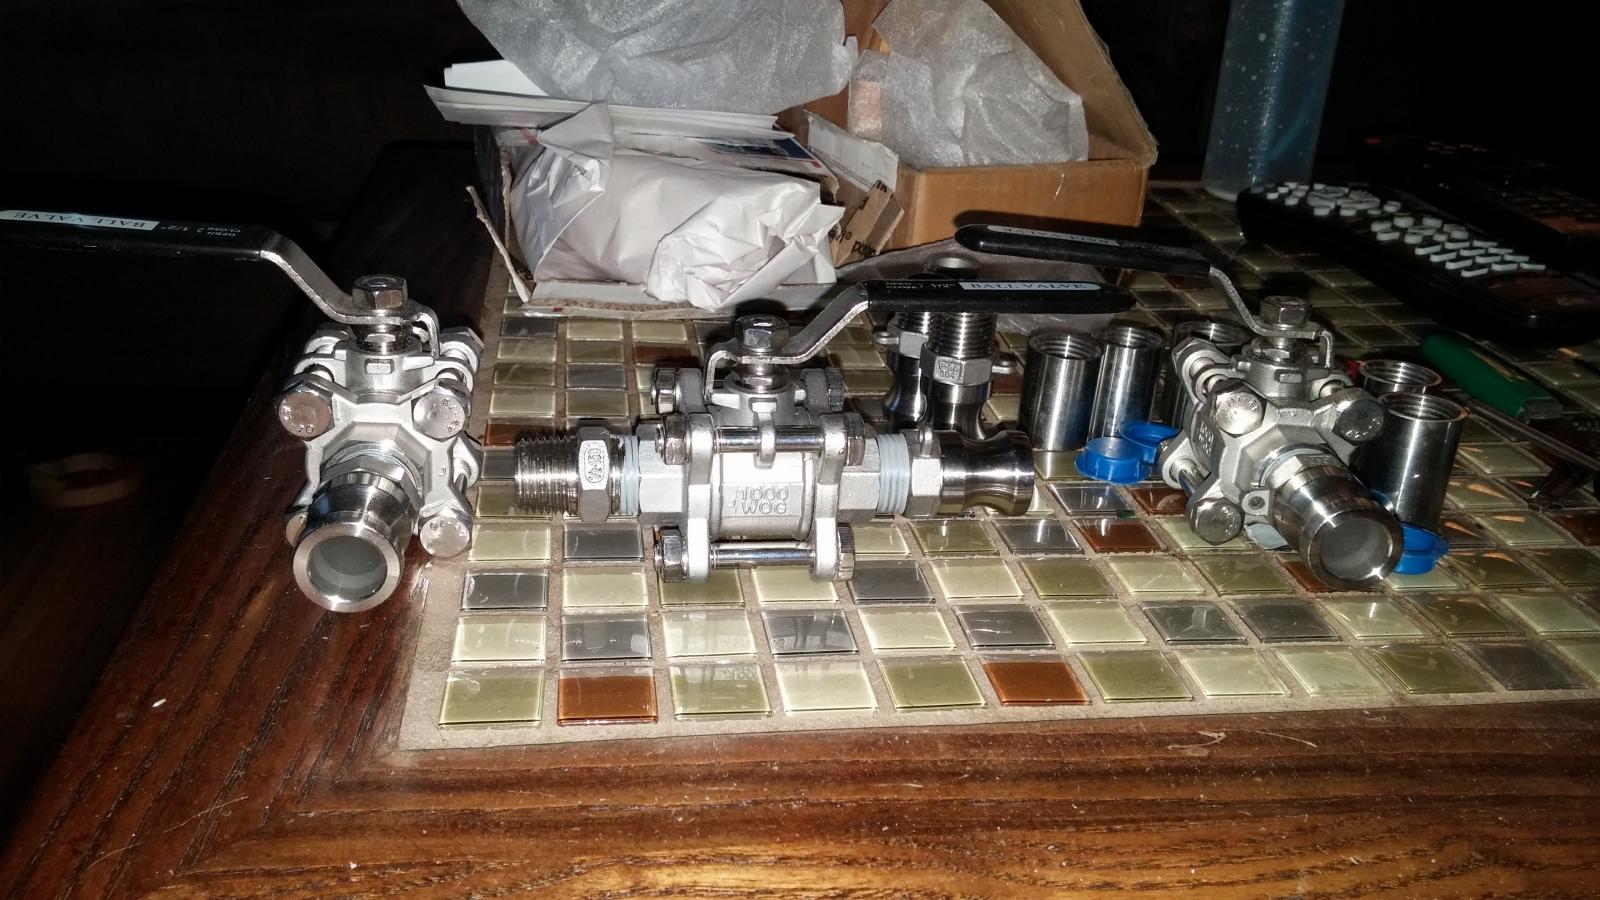
This past week I ordered everything to complete the kegs themselves, weld-less fittings, site glasses, elements, more valves, tubing, more camlocks, PID's, temp probes, electric wire, switches, lights, etc etc.... so like I said, ,time to get back to business and finish this thing!

The final plan after 2 years of thinking about it is a single tier, with 2 pumps, for now the Mash tun will still be my cooler, it works great so why change right now... Everything will sit on the ferm chamber as a brew stand. It has its own little space in the basement, and will be an all electric setup. I plan to have 5000W elements in each keggle, running off a new 240V supply. I will be running a 60A spa panel from my main panel, which will feed my control panel thus feeding my 2 keggles, and pump box ( still to build)... current plan is to stick to 5 gallon batches with the plan of being able to just change the MLT in the future to up to 10G batches if I want. Everything will be controlled by PID's, with the option of auto or manual mode of course.

Pictures to follow, as I know I always love looking at pictures of everyones builds!
 
a picture of the space itself. This area once complete will hold the ferm chamber / brew stand, and directly behind it will be shelving for grain storage / parts storage / bottle storage / and anything else

also nearby will be the eventual lager chamber being built out of an old chest freezer and stc-1000 controller.

The space.jpg
 

Latest posts

Back
Top