Weldless brew stand.

Homebrew Talk - Beer, Wine, Mead, & Cider Brewing Discussion Forum

Help Support Homebrew Talk - Beer, Wine, Mead, & Cider Brewing Discussion Forum:

This site may earn a commission from merchant affiliate links, including eBay, Amazon, and others.
Bobby M I think kept mentioning that having those supports in the center come perpendicular is just adding load to the center of the bottom rails without any casters under them to support it. I believe he said that angled pieces from the center to the corners, where the casters are, was the better idea.

Thoughts?
 
Hey threeporks. Stand looks amazing and I am researching do the same or other options but concerned about cost. What am I looking at if I go your direction and build?
 
Wow, 53 pages of awesome. Thanks for the inspiration guys, hope to build one of my own one day.
 
I just ordered mine, along with my PID and standing pilot valve for my HLT, and various stuff to do a 1550 Brutus style build. Can't wait for it to all come together.

-G
 
Bobby M I think kept mentioning that having those supports in the center come perpendicular is just adding load to the center of the bottom rails without any casters under them to support it. I believe he said that angled pieces from the center to the corners, where the casters are, was the better idea.

Thoughts?

Diagonal braces are what you want.
 
My metal should arrive today, I am going with a full 6' length and increased the height to 26" which will give me about 29" with castors. I stayed with the 16.5" depth. I also plan on using HardiBoard on all the heat exposed kettle support pieces, it won't burn, should help protect the metal and won't absorb water...I will probably paint it anyway.

I also plan on making a control panel so I can transition to automation down the line.
 
Could you use an acid like mentioned above in a spray bottle, spray the whole stand and let it sit, they spray with something to neutralize the acid when done and rinse clean with water???? Just a brew fueled thought:)

Yes, you can use any typical plastic spray bottle with vinegar, citric acid (lemon juice), or muriatic acid (hydrochloric acid - HCl).

I removed the galvanized coating from a trashcan using muriatic acid and a spray bottle (made a trashcan smoker). You can buy muriatic acid at Home Depot, Lowes, or pool supply stores. HCl will take off the zinc much faster than a milder acid like vinegar. I'm talking seconds compared to hours. There are however some safety considerations when using HCl:
  • MOST IMPORTANT: Wear proper safety equipment. While the muriatic acid commonly available is diluted down from industrial strength, it can still burn you. Wear goggles (not just glasses b/c of fumes), chemical resistant gloves (I think Nitrile is the type capable of withstanding HCl), and a respirator with proper filters if you have one. If you can't get a respirator, make sure you don't inhale the fumes and be conscious of any ill effects. Long sleeved shirt and pants as well.
  • Only work in a well ventilated area, preferably outside. The reaction of HCl and Zinc puts off noxious fumes. I'd suggest setting up a fan to maintain movement of fresh air.
  • Stay away from open flames as the reaction creates large amounts of hydrogen gas (it goes boom).
  • The fumes are also highly corrosive, so keep your tools, car, etc away from the work area.
  • HCl must be disposed of properly (can't just dump down sink or storm drain). Not all of the acid you spray on will be consumed in the reaction, so have some baking soda on hand to neutralize any leftover acid on the ground.

I'm sure I missed something in the above list, so you might want to look into HCl + zinc reactions. You can also check out discussions concerning trashcan smokers, as that's where I gathered a lot of good info. It's not terribly dangerous, but you need to practice proper safety and have an understanding of what you're working with. Vinegar would be the easier option if you have the time and patience. Just give it a good spray down every so often throughout a day and you should be good.
 
helibrewer said:
Wonder if StarSan will work, it is pH of 2........

I'm not sure. Different acids affect different materials differently. Most lab chemicals are, or at least used to be stored in brown glass. Probably not the best storage material for acids that etch glass. Are all acids are aggressive towards all metals?
 
jeepinjeepin said:
I'm not sure. Different acids affect different materials differently. Most lab chemicals are, or at least used to be stored in brown glass. Probably not the best storage material for acids that etch glass. Are all acids are aggressive towards all metals?

StarSan doesn't etch glass. It precipitates calcium onto it which looks like etching, but it can be removed with (more) acid.
 
emjay said:
StarSan doesn't etch glass. It precipitates calcium onto it which looks like etching, but it can be removed with (more) acid.

Sorry. It was early. I wasn't trying to say that StarSan will etch glass. Is it hydrofluoric that is so rough on glass?
 
Started reading this thread about two months ago. Been bouncing back and forth between different posts and pictures, thinking about what I'd do if I were going to build something like this.
The other day I was in Harbor Freight looking for some camping supplies. When I got home, I also had an angle grinder and 4 casters. That's when I thought, "OK, I guess I'm building this thing."
Ordered the angle iron from McMasters yesterday. Shipping to Denver is $30, but I guess that's not bad for 50lbs. of metal.
 
Started reading this thread last week, order my supplies for McMasters on Friday, received Monday and spent most of my 4th building my rig. Just need to order 2 burners and a pump and it will be finished. Thanks to all who have provided extremely valuable insight in these 54 pages!!
 
Started reading this thread last week, order my supplies for McMasters on Friday, received Monday and spent most of my 4th building my rig. Just need to order 2 burners and a pump and it will be finished. Thanks to all who have provided extremely valuable insight in these 54 pages!!

Hearsay until we see photos... :p
 
Hahahahhahaha, your right......here ya' go!!

20120704_145415.jpg


20120704_144858.jpg
 
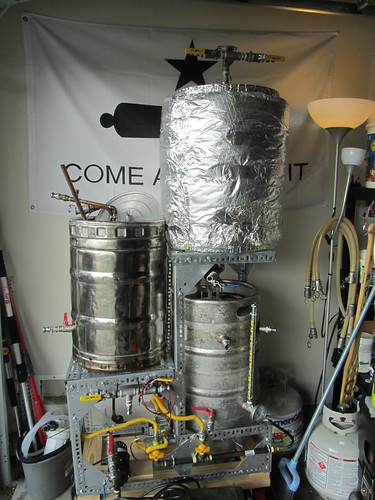
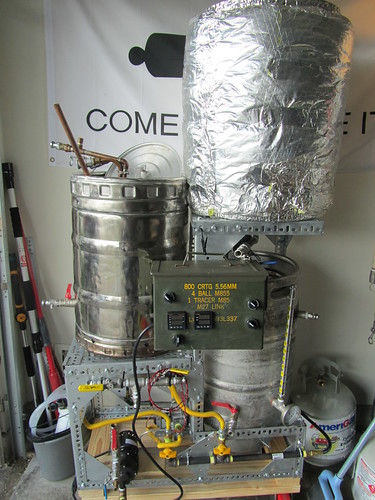
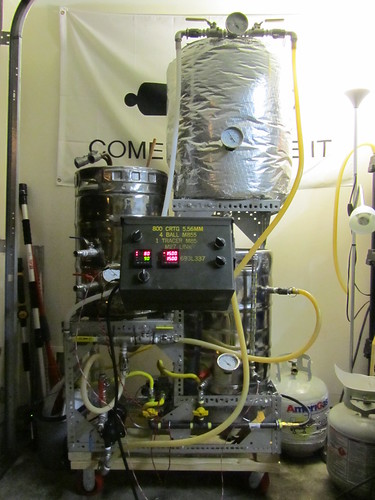
Hey this is my first post, Just wanted to share my weldless rig, Just finished my RIMS control panel and I came here looking for Ideas on how/where to mount it.
Here's the rig currently.
OFErt.jpg
 
Just finished my RIMS control panel and I came here looking for Ideas on how/where to mount it.
I eventually want to have a RIMS system as well. Any information (or links) you could share on the control panel and the heating element would be greatly appreciated. I'm not sure, but that HE appears to be made from sanke keg parts? Very cool. How do I do that?
 
I eventually want to have a RIMS system as well. Any information (or links) you could share on the control panel and the heating element would be greatly appreciated. I'm not sure, but that HE appears to be made from sanke keg parts? Very cool. How do I do that?

The shiny stainless tube is actually a RIMS kit from Brewers hardware

http://www.brewershardware.com/Tri-Clover-RIMS-Tube.html

My RIMS setup is pretty much just like https://www.homebrewtalk.com/f51/rims-dummies-114997/ except that I'm using the kit tube instead of the DIY one and I'm using a LOVE-TS temperature controller instead of the PID.

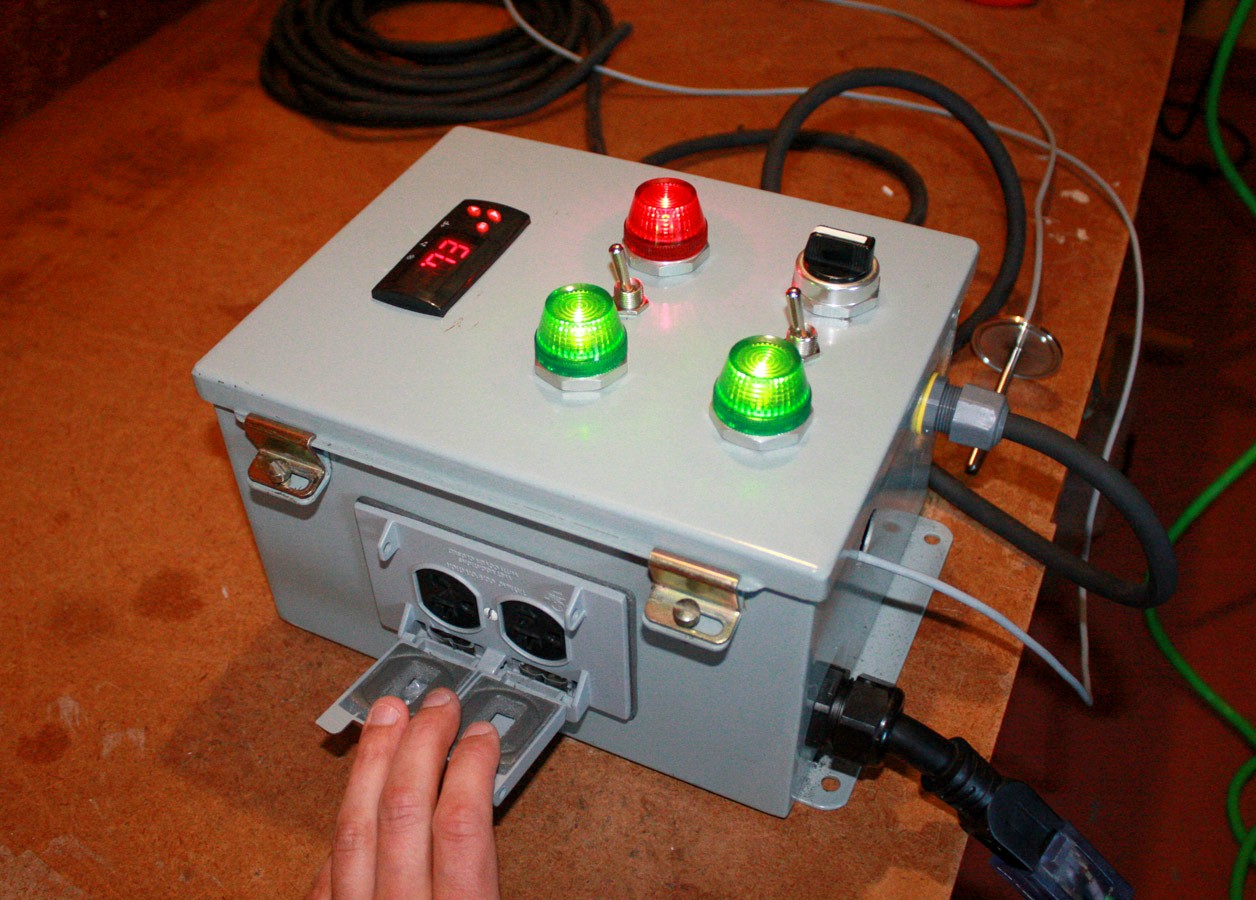
For the panel I've added some switches and indicator lights for the pumps and an emergency off for the element.

Here's the near-complete panel
eBOnt.jpg
 
Thanks Solu, digging into those links now. :mug:

Here are some pics of my build, started over the weekend. Valves arrive today, burners and flexible gas line on Weds. Still need to get a pump and some silicone tubing with quick disconnects, additional ball valves, etc. That will be phase 2, next month.

brewstand2-parts.jpg

brewstand5-withponykeg.jpg

brewstand7-gasinlet.jpg
 
looks pretty clean garrycook. I would like to route the gas like you've done eventually but for now I'm just swapping the tank around to the stock rubber hoses. Make sure you buy a ton of elbows, can never have enough ss elbows!
 
Well, I assembled, pressure tested and mounted the gas manifold today. Now I just need to fabricate a couple heat shields. Then I can mount the burners and the pump which also arrived today. I am hoping to have the entire rig completed and tested in time to brew some pumpkin ale on 7/28. Her are a couple more pics, more will follow as the project progresses.

2012-07-13 17.06.18.jpg


2012-07-13 16.14.02.jpg
 
Some great stands everyone! I love seeing the individual touches we all put into our own stuff! Keep up the great work and brew on!
 
I like the use of perf angle iron for the body! It has some weight to it but nothing that one person can't haul. I'm thinking about taking mine in a slightly different direction for modularity and transportation. Moving every 2 years and only having a car with which to move things around locally makes that a necessity.

BSoverview.JPG


Parts - After.JPG
 
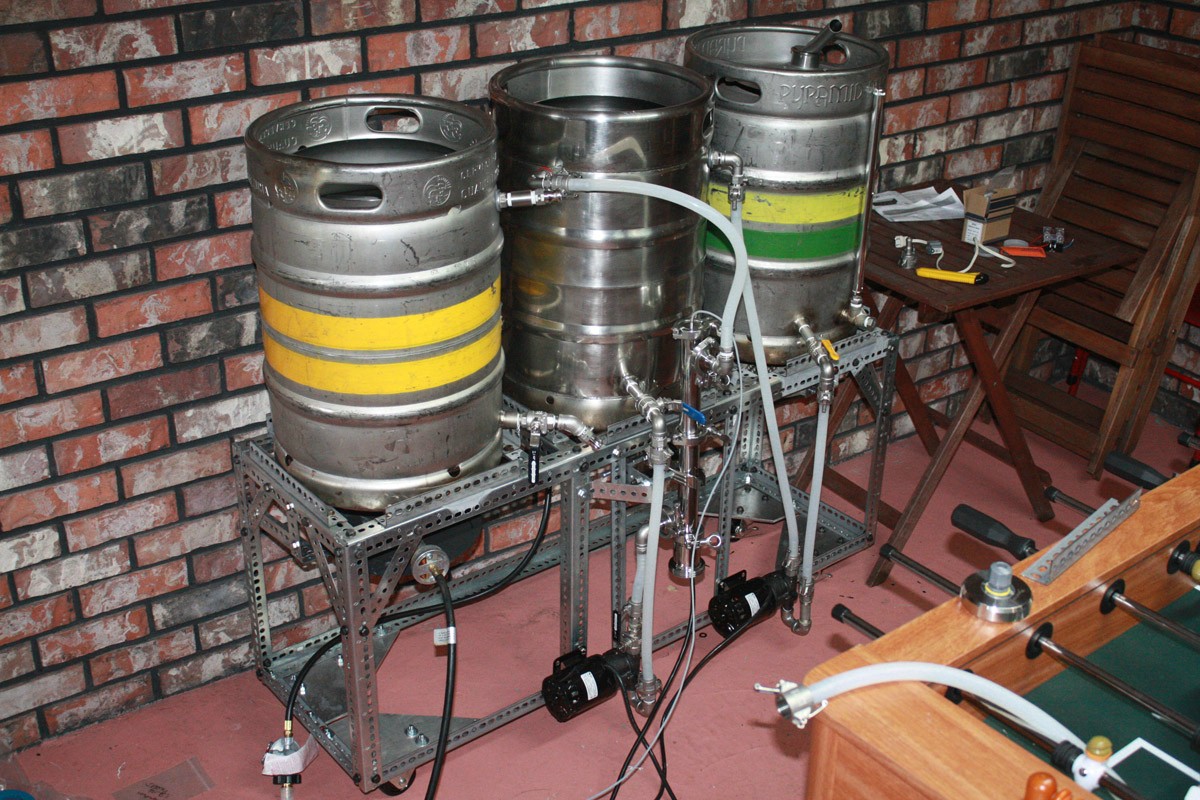
Any advice appreciated; have built my weldless stand (pic is partial complete - have it built to hold all 3 vessels now) and am trying to figure out how to mount the hurricane burners. The diameter of the burner (where the mount holes are) is smaller than the frame (therefore I can't just attach some kind of hanging strapping straight down from the frame - it has to 'step' or bend in somehow).

If that description makes any sense at all, and anyone else has run in to this on their weldless builds I would appreciate any tips!

Cheers

image-1304374957.jpg
 
Perfect! Thanks DakotaRules and Sam! I think the angled supports will work for me - it will bring the drop downs closer to the diameter of the burner. Has anyone had any issues with the flat bar (the non L shaped pieces used for drop down to connect to burners) holding up under heat? I picked some up from HD and it is (obviously) quite a bit flimsier than the perforated angle. My burners are heavy buggers.

Talk about your drawn out and long term build.....I started amassing parts and pieces almost three years ago. I figured if I spent the money on the parts, with SWMBO pregnant with our first child, I would have to follow through with my dream of homebrewing even after the little guy arrived. Fast forward to today, he is almost 2 and a half and I've only managed a few extract brews. Just found out that number two is in the oven, so I am kicking the build back in to high gear! Hopefully I can get things up and running (while finishing the basement and addition on the house) before the new addition arrives.

Cheers to you all for your many informative posts and inspirational pictures!
 
Never had an issue with the flat bar (yes it is a tad lighter).

Congrats on the new addition! Good news... when they get older you can put them to work. My little guy was 4 in this pic (definitely wouldn't pass an OSHA inspection here). He's 6 now and is in charge of weighing out the grist bill and running the mill.

no_pants_brewing.jpg
 
My 4 year old helps me now now and then, he also likes to help make my coffee in the morning. The first day he went to Day Care they introduced him to the class and his first words were "I like beer and coffee". It made for an interesting introduction to his new teachers.
 
Back
Top