GE 7 CF (FCM7SUWW) keezer conversion

Homebrew Talk - Beer, Wine, Mead, & Cider Brewing Discussion Forum

Help Support Homebrew Talk - Beer, Wine, Mead, & Cider Brewing Discussion Forum:

This site may earn a commission from merchant affiliate links, including eBay, Amazon, and others.
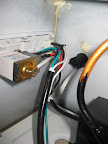
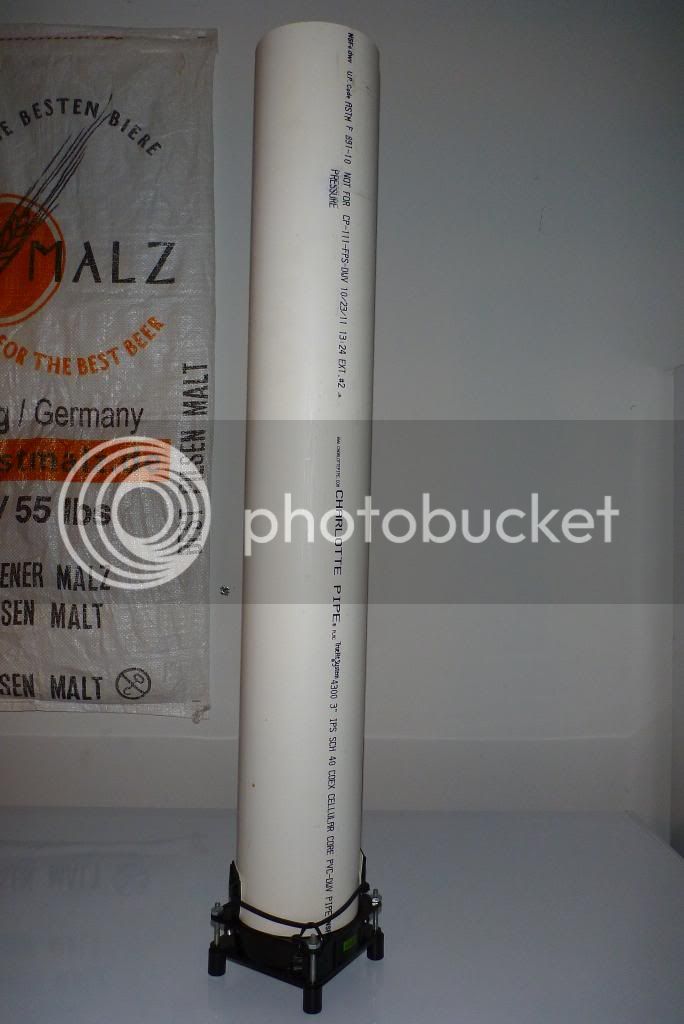
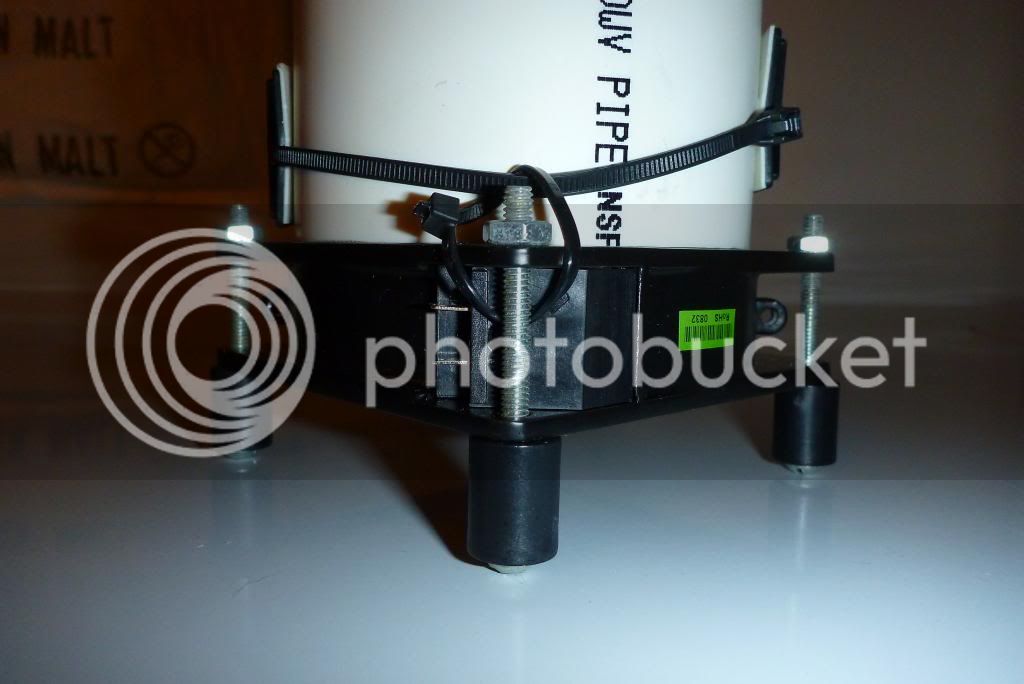
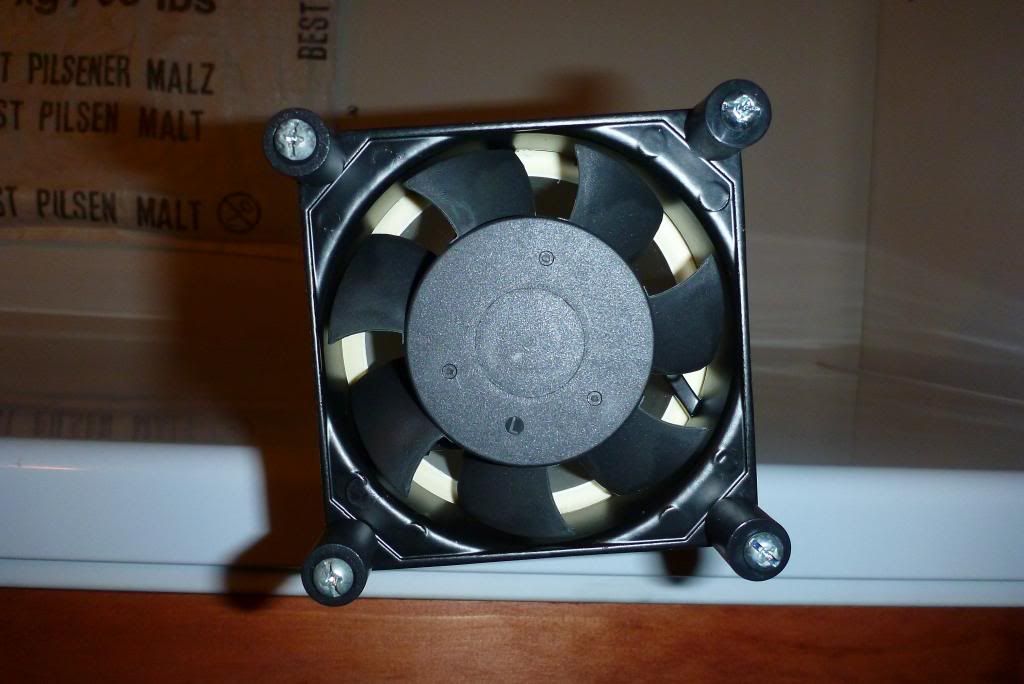
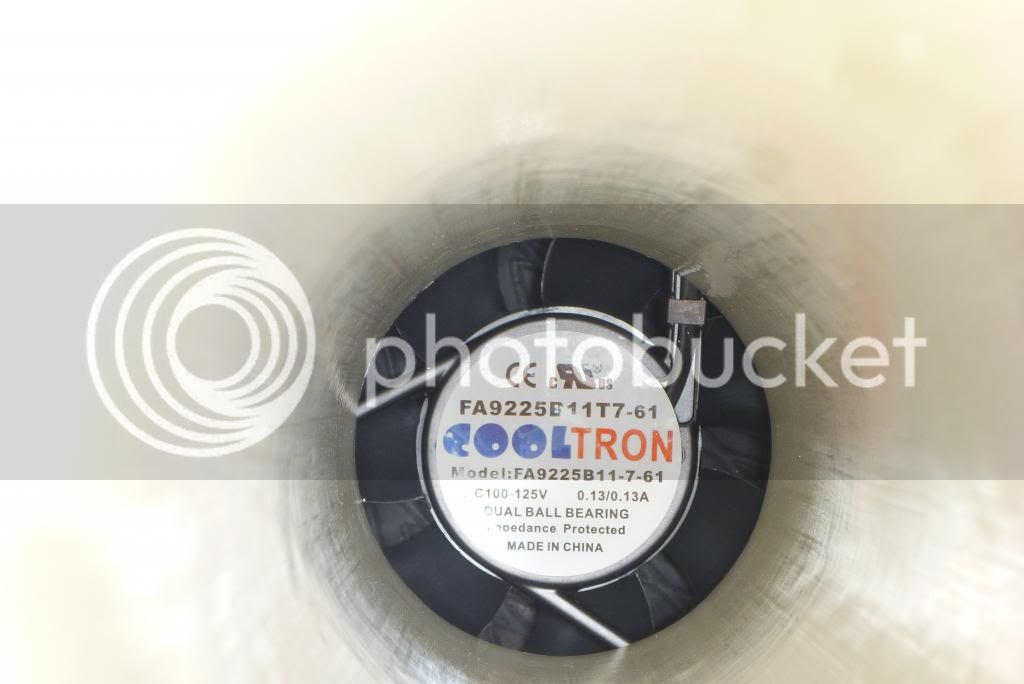
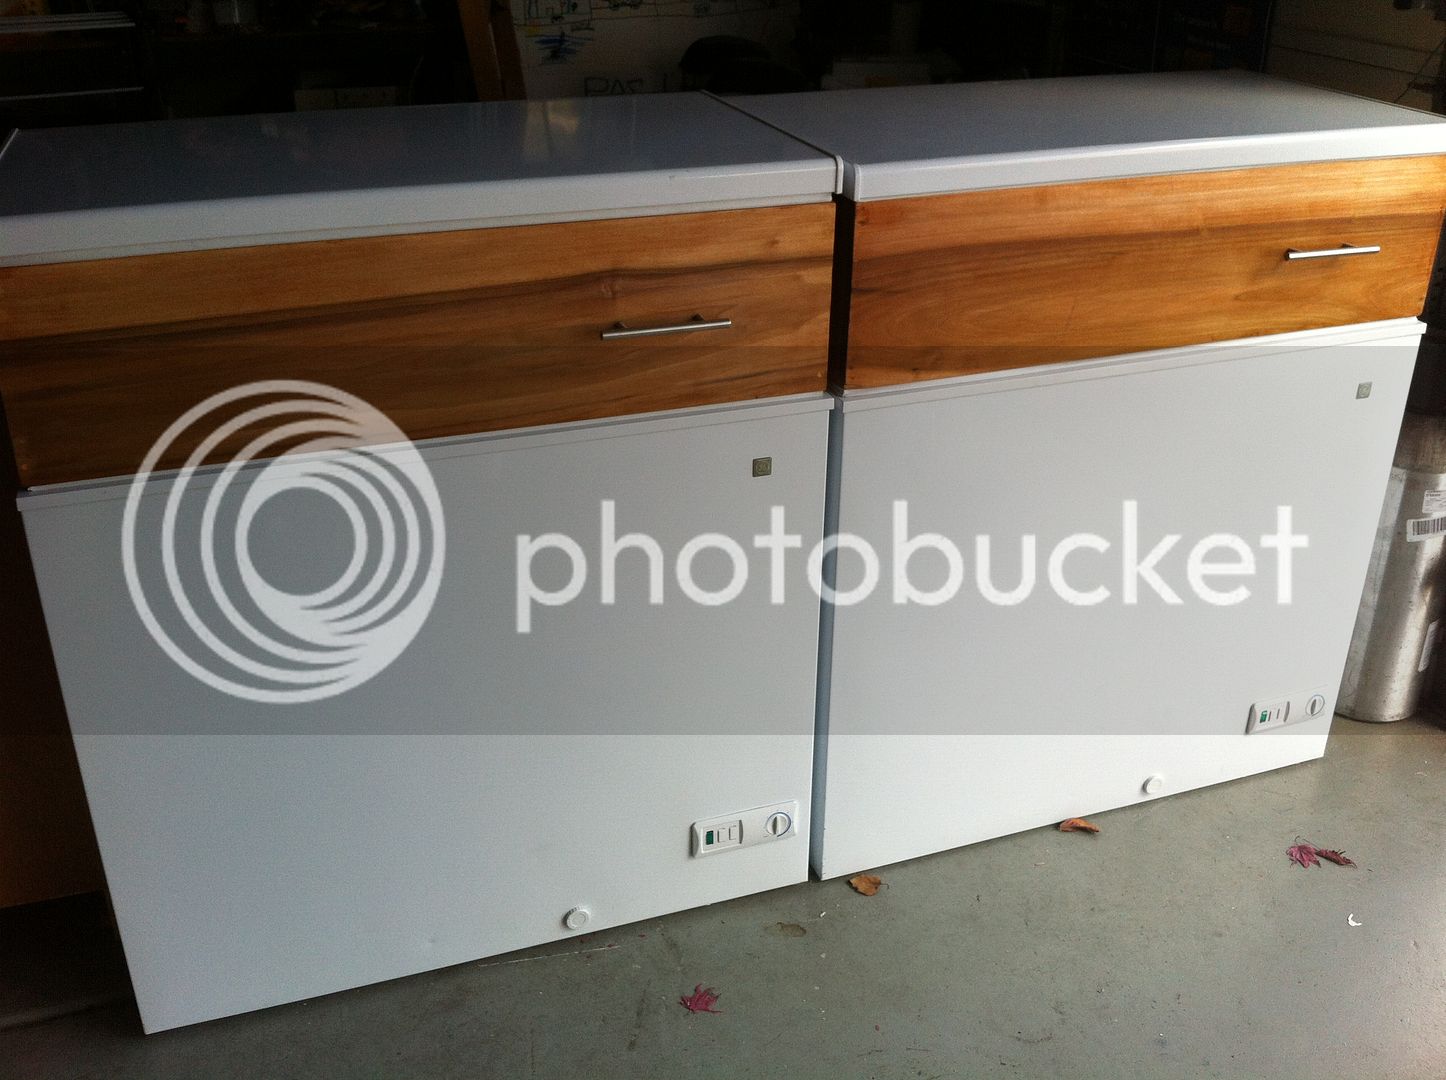
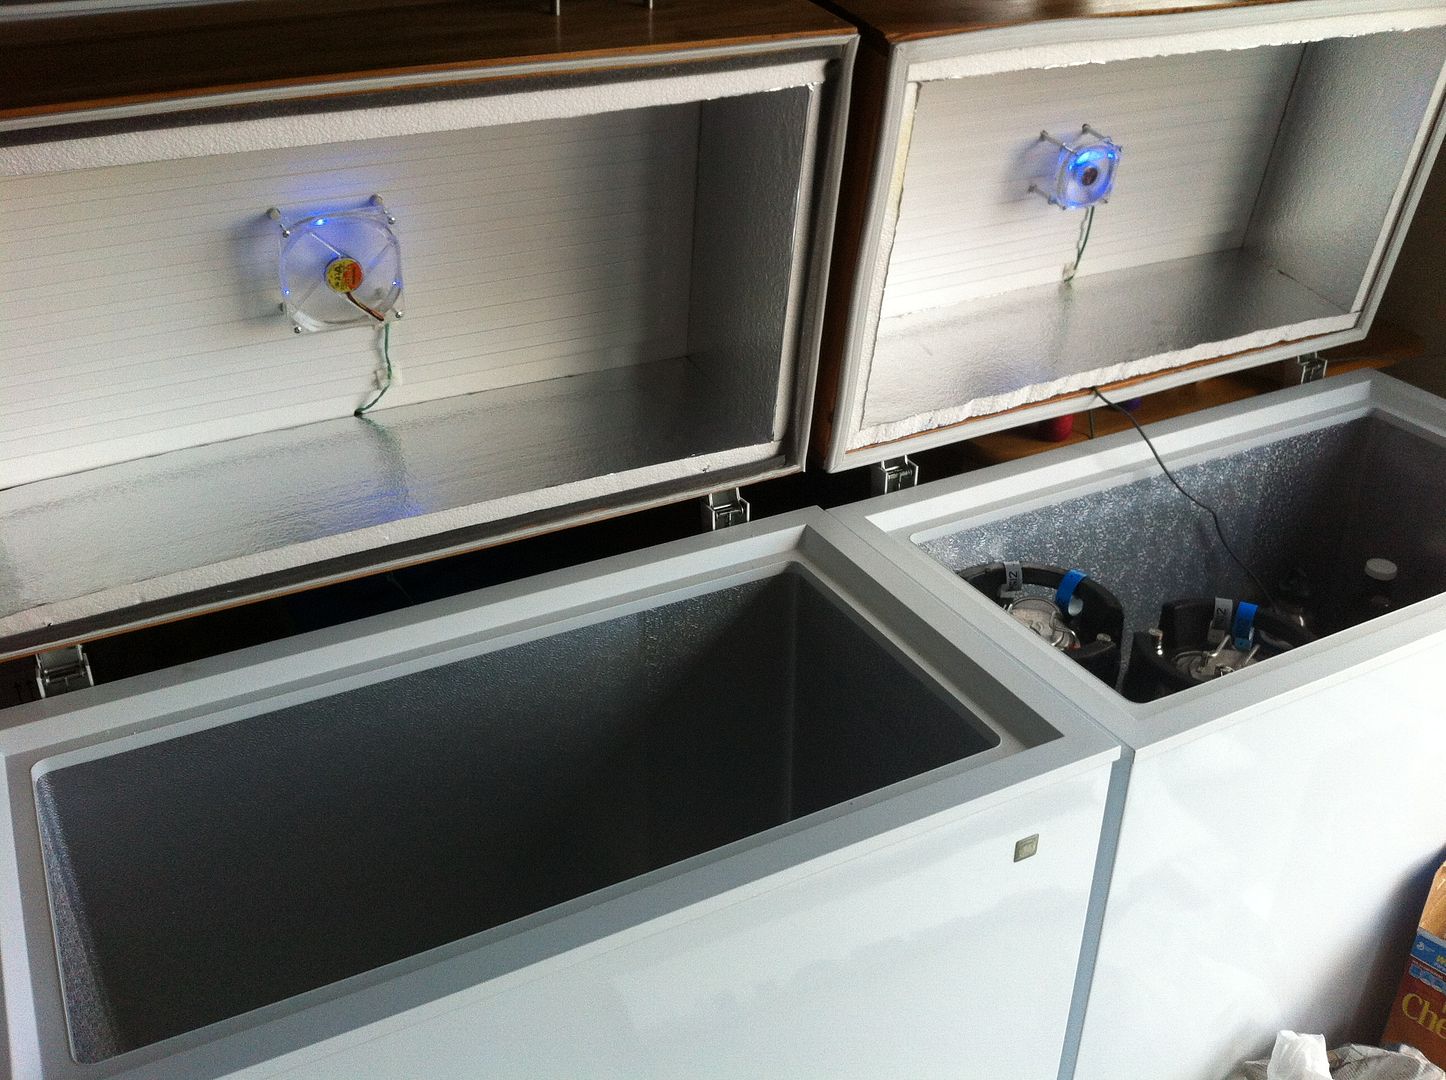
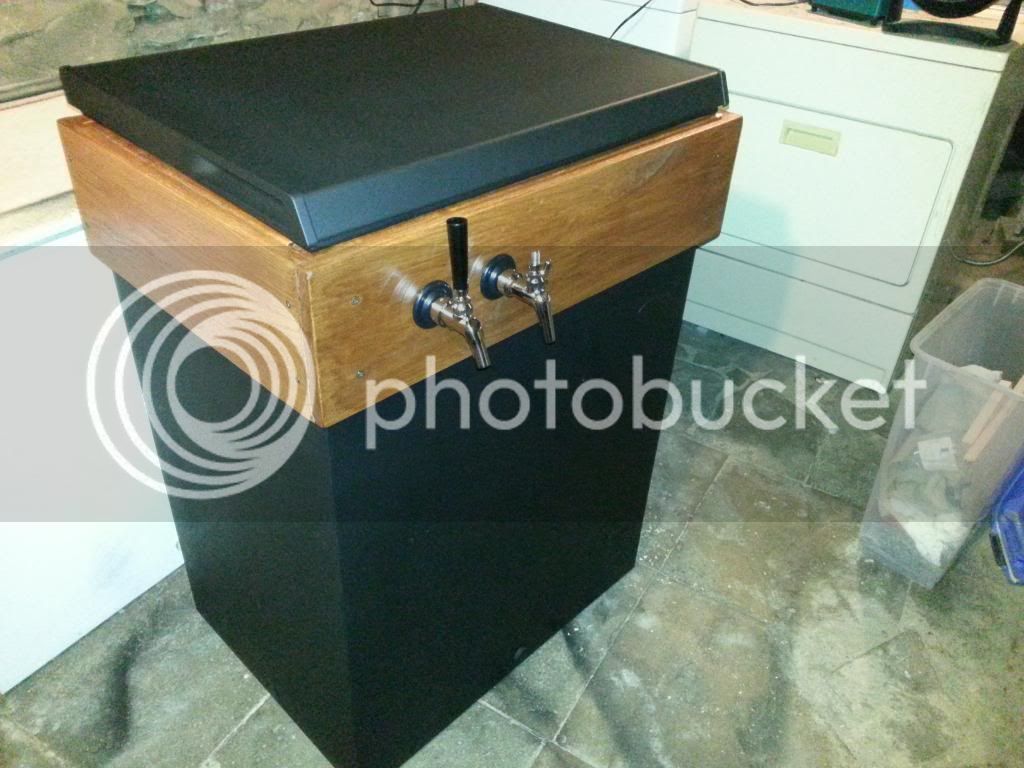
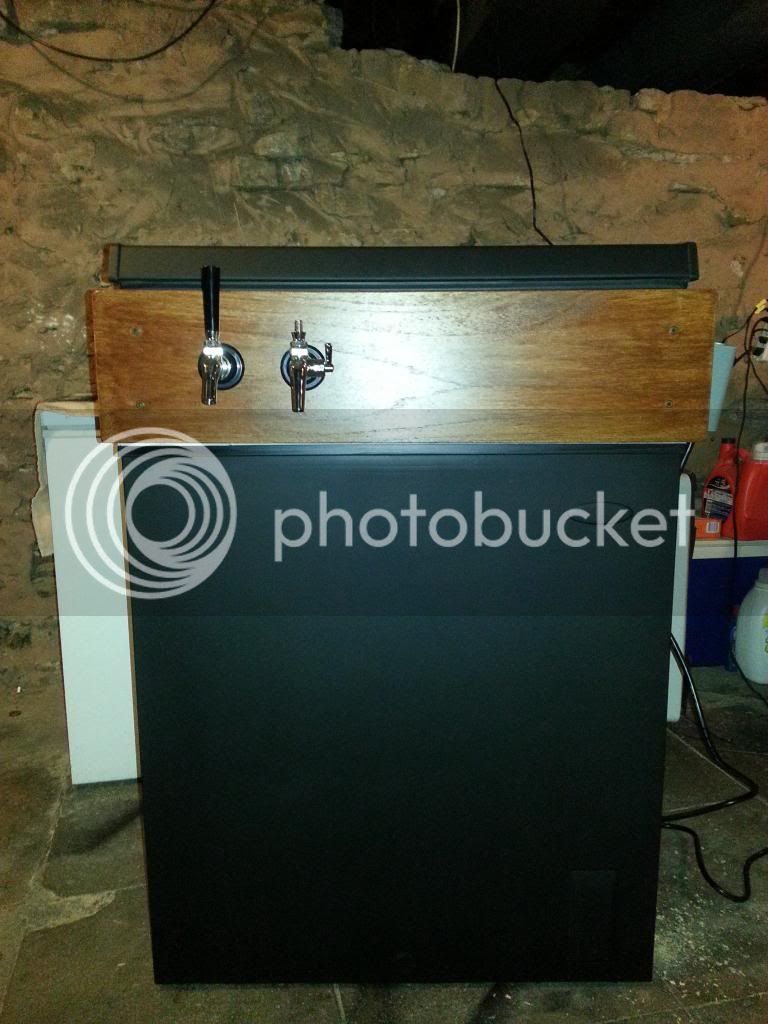
Just finished my keezer build and am super excited about how it turned out. A big thank you to everyone here that supplied much needed advice and inspiration.

My contribution to this build will be this:

In my area, Northern VA/Wash DC, at the Reston Community Center for $10 you can go use its woodshop. They have every tool and gadget imaginable to help build your collar or whatever. Plus they have an instructor/woodworking dude that will help show you how to use all equipment and answer any questions that you may have. So for $10 you get use of equipment (no need to buy anything and ability to use the right tool for the job) and the advice/help of someone who actually knows what they are doing for those of us who are handyman challenged.
 
I tried going through this whole thread to see if anyone has hardwired a love controller directly to the freezer but couldn't find anything. I have mine wired up and everything turns on but the compressor doesn't kick off when it's supposed to. Does anyone have instructions/pictures of their wire job? Also I bought mine used on CL for $80 (STEAL) but it didn't come with a wiring diagram. Does anyone have this on their computer?
Here's a link to my build so far.
Keezer Build
 
Recently finished my own conversion - with lots of info from this thread. :mug:

I'll add some lessons learned/my experience in my own thread.

Thanks again to all that posted!

image.jpg
 
Can someone do me a huge favor? I need a picture of the wiring connections for the this freezer thermostat. I took mine off to paint it and then accidentally deleted the picture I took of the wiring positions.

WheelsInPlaceClose.JPG
 
It may not be a great picture but this is the only one I have


The connections are simple though:
-- Double white (neutral) connector goes to the top of the green light
-- Double black (hot) connector goes to the bottom of the green light
-- Red wire to compressor goes on "deepest" thermostat connector (this spade is actually slightly smaller than the rest)
-- Black wire goes on next deepest connector, next to the red.
-- Green wire (GND) goes to the spade on the thermostat that's attached to the chassis and all off by itself.
 
I am planning on doing this in the near future. I have a question about the thermostat and the bilge blower. Will the stock thermostat work for beer temperatures? Is the bilge blower necessary, will things stay cool without it?
 
No, you'll need an external controller. I don't think I've heard of anyone successfully fiddling with the coarse adjustment screw on this freezer, but I might be wrong. Your best bet is to check out the "ebay aquarium temperature controller" thread, you can put together a controller for $30 or so if you're comfortable doing a little wiring.

A fan or blower isn't necessary, but it's a very good idea. It'll make sure lines don't get too warm, the shanks/faucets stay cold, the kegs are at the same temperature, etc. You can use a recovered PC muffin fan (or buy one for a couple bucks) and an old 5-12V DC power supply (aka wall wart) from a cell phone, cordless phone, etc.
 
... Is the bilge blower necessary, will things stay cool without it?

A blower of some kind isn't strictly necessary but will help keep the temperature even from top to bottom. I use an PC fan powered by an old cell phone charger. I have dryer vent hose running from the fan down to the bottom of the keezer. The fan pulls cold air up from the bottom and keeps it circulating so that everything stays the same temperature. The cell phone charger is plugged into a power strip that is NOT plugged into the temp controller so it's running all the time.
 
No, you'll need an external controller. I don't think I've heard of anyone successfully fiddling with the coarse adjustment screw on this freezer, but I might be wrong. Your best bet is to check out the "ebay aquarium temperature controller" thread, you can put together a controller for $30 or so if you're comfortable doing a little wiring.

A fan or blower isn't necessary, but it's a very good idea. It'll make sure lines don't get too warm, the shanks/faucets stay cold, the kegs are at the same temperature, etc. You can use a recovered PC muffin fan (or buy one for a couple bucks) and an old 5-12V DC power supply (aka wall wart) from a cell phone, cordless phone, etc.

This is what comes of not reading all the other posts. I could have saved myself a lot of typing with a simple, "What he said!". :eek:
 
I bought a 120V fan with plug to use for a blower (link to fan). 3" PVC sits perfectly on top of it. I'm using a 2' section of PVC. I attached the fan to the PVC using ty-wraps. I had some pieces of plastic laying around that I used to make a stand for the fan. Here's the pics of my setup:

2012-12-08KeezerFan001.jpg


2012-12-08KeezerFan004.jpg


2012-12-08KeezerFan002.jpg


2012-12-08KeezerFan005.jpg


2012-12-08KeezerFan008.jpg
 
This is a great thread and was my main guide for my keezer. Thanks for posting it. Here are a few pics of my build. I built it for function not to be put on display but I really like what everyone has done with there's.

image-1933823265.jpg


image-3751912907.jpg


image-3411254899.jpg


image-2904610410.jpg


image-2752933936.jpg
 
It's not ready for public consumption yet, but I'm making progress. It is pouring beautiful beer. Just need to finish the trim and get serious about the tap handles. Finished pics before Christmas.
 
Piecing together a good amount of information on this freezer.

A few questions...

With 4 ball locks on the floor and one pin lock on the hump, is there still room for a 5# CO2 tank? I already know this is possible if all 5 are ball locks.

What combinations have you guys tried with 1/6th and ball locks , and what collar height did you need for that combination?

For those that are carbing with 4 ball locks on the floor and one on the hump, are you just using a secondary for the carbing keg, or are you squeezing in a second 5# bottle just for the carbing keg?
 
Not sure about that, but for reference, the depth of the freezer is 15.5 inches.

Looks like ball locks are 8.5in diameter, whereas pin locks are 9in diameter. Regardless, assuming a standard 5lb aluminum tank is up to 5.5in diameter, I think you should be able to fit it, with 1 inch to spare.
 
thadius856 said:
For those that are carbing with 4 ball locks on the floor and one on the hump, are you just using a secondary for the carbing keg, or are you squeezing in a second 5# bottle just for the carbing keg?

I am using two primary regulators one for carbing and the other to a manifold with 4 lines for dispensing. But my tank is on the outside. If you can fit the tank with two regulators attached and the kegs inside the keezer it would work fine.
 
Hi TomSD,

This is a terrific thread.

What was the source of your secondary regulator? What are your thoughts on the fan above vs. the bilge blower?

Scott
 
Great thread! I am about to start something similar myself. Couple questions:

1. Has anyone ever thought to not use the lid that comes with the freezer? I was thinking I could just use a piece of wood as the lid that can be screwed to the collar. That would allow for a more aesthetically pleasing top surface.

2. Would there be any adverse affects of completely surrounding the freezer in wood? The wife doesn't really want a freezer in the living room so I was thinking about encasing it in wood to make it look more like a chest that belongs. I assume there are probably some vents to be taken into consideration, but not sure if it would cause the freezer to overheat.
 
Great thread! I am about to start something similar myself.

Congrats on passing the SWMBO Approval phase. It's the most difficult phase by far.

1. Has anyone ever thought to not use the lid that comes with the freezer? I was thinking I could just use a piece of wood as the lid that can be screwed to the collar. That would allow for a more aesthetically pleasing top surface.

I'm sure they have, but why wouldn't you? Cover it in wood if you like. You probably don't want to lose the insulation and weatherstripping that's already provided there for you. To get the wood to stick, you'll need to be sure that your glue is suitable for metal-to-wood bonding (I believe Gorilla Glue is, check the label) and you'll want to rough up the paint with some 80-grit or so sandpaper so the glue has a good surface to bond to.

2. Would there be any adverse affects of completely surrounding the freezer in wood? The wife doesn't really want a freezer in the living room so I was thinking about encasing it in wood to make it look more like a chest that belongs. I assume there are probably some vents to be taken into consideration, but not sure if it would cause the freezer to overheat.

Yes there would. If you cover the compressor air holes on the side and back, the motor is going to get much warmer and age much faster. Don't be surprised if it takes a poop one summer. Putting wood over the rest of the freezer won't harm it one bit. If you decide to cover the whole thing in wood, be sure that to get a model that has the compressor cutout at the back of the unit and leave it open. To compensate for the reduced air flow from covering the side vent, you could threw a small PC cooling fan in the compressor area, hooked to a 12V charger.

Gluing wood to your freezer will void the warranty. So will modifying the ventiliation of the compressor. So will drilling new holes for hinges. So will drilling holes for a faucet tower. Or many other actions you could take.

Warranty and resale is the whole reason why my build is that way that it is. Almost all of our freezers are cheap Chinese models made to cost specs, not performance specs. If you notice, I never modified the original freezer in this design. If the compressor dies, I want to be able to take the collar off, take the kegs out, put the lid back on the way it was from the factory, have it replaced, and then simply bolt it all back on the new one. Hopefully I never have to do it, but designing it with this possibility from the onset was fairly easy to do and only cost a few dollar extra (for weatherstripping).
 
Thanks for the quick reply and the info about the compressor.

I'm sure they have, but why wouldn't you? Cover it in wood if you like. You probably don't want to lose the insulation and weatherstripping that's already provided there for you. To get the wood to stick, you'll need to be sure that your glue is suitable for metal-to-wood bonding (I believe Gorilla Glue is, check the label) and you'll want to rough up the paint with some 80-grit or so sandpaper so the glue has a good surface to bond to.

I agree that the freezer lid probably has the most ideal insulation, but I just thinking it looks a little weird having the lid on top at all. I'm thinking I could just put a sheet of wood on top screwed to the collar (making it more of a box than a collar). This way I don't have to worry about the seal between the collar and the lid at all, just that the insulation is good enough in the 'box'. I guess I am mostly trying to figure out if there are any other reasons for keeping the lid at all.
 
Plenty of people enclose the freezers, just check out the "show us your kegerator" sticky. You need to leave a little breathing room for air flow, and like thadius856 mentioned you probably want to install some fans to keep everything cool.

Look around for "coffin keezers," that's the type of build you're referring to.

:mug:
 
Thanks for the quick reply and the info about the compressor.


I agree that the freezer lid probably has the most ideal insulation, but I just thinking it looks a little weird having the lid on top at all. I'm thinking I could just put a sheet of wood on top screwed to the collar (making it more of a box than a collar). This way I don't have to worry about the seal between the collar and the lid at all, just that the insulation is good enough in the 'box'. I guess I am mostly trying to figure out if there are any other reasons for keeping the lid at all.

There's others I'm sure. A wood lid by itself might warp with changes in humidity and temperature, might be prone to mold growth, would be harder to clean, might not have as durable a finish, etc.

The thing about the the lid is that it's flush to the front edge of the freezer. If you're wrapping the freezer in wood, you might as well just wrap the lid in wood too to keep the front flush. Unless you are a woodworker, I can't imagine you'll get a better finish making your own solid top as opposed to wrapping the lid with some furniture-grade plywood (from a real lumberyard).

If you're set on replacing the lid because she doesn't want to see a freezer in the living room, consider going dual-purpose and making the lid a work surface. You can get a pretty nice slab of pre-made and pre-sealed butcher block countertop at Ikea for a lower price than you could make your own. It's close to 2" thick, IIRC, and looks beautiful. You'd have to upsize the hinge springs to support the extra weight, but it could double as a portable kitchen island or buffet for entertaining (you wife will like these ideas!) or whatever you want it to be. You could even chop veggies directly on top if you wanted. Locking casters are cheap and great way to finish off a build like this.
 
Remember that cold air sinks to the bottom. Even modest insulation behind whatever wood you use for the replacement lid would be sufficient to match or exceed the stock lid's insulating performance.
 
I got the Kenmore 14.8 for 336, the chat thingy on there apparently works wonders, I told her a code and the price that it was on sale for on jan 3 and she sold it to me for 336 after she made a typo of 250! :mug:

734765_10151382352124038_1978155748_n.jpg


542286_10151382351304038_287115117_n.jpg
 
Lucky. I wasn't able to get any traction. They wouldn't even price match K-mart, and they own them.

Picture of a monitor, eh? :) Whatever gets the job done. Try pressing the 'Print Screen' button and pasting it into Paint to save some time next time.
 
Don't have much constructive to add here. This thread was a huge help to me, and got me going on my freezers. Simple by most peoples standards around here. You guys come up with some incredible stuff.

I went to HD when I first started looking toward cold storage/serving/fermentation, etc. They had this freezer as a scratch and dent. They had it marked down to $150. I quickly found this thread on my phone so I knew I could get 4+ BL kegs in. I offered $100 and they took it. So then I felt that maybe there were more of these around. I spent the next month stopping at any HD I came across. Sure enough I found another one to match. Offered $100 and got that one too. A little poplar, my pitiful staining job and here they are.

I'll use one for serving (beyond picnic taps, when I can swing it), and the other is setup for corny fermentations.

Thanks again to all who have added to the thread!

photo1.jpg


photo.jpg
 
A cell phone charger :p

Or any other DC "wall wart". I used a 9V one from an old cordless phone. Look through your junk drawer...
 
Yup, you can solder if you want but cheap wire nuts work fine. It's low voltage so there's nothing dangerous. Clip off the connector, strip a little bit of each wire and you're good to go. No worries about getting zapped from 5V DC so you can do it while it's plugged in if you want to make sure the connections are good.
 
I'm in the process of building my collar. I used a 1 x 12 and reinforced the corners with some metal brackets. Did you guys stain the inside of the collar? Is this necessary? Pros/Cons? I was thinking staining the inside might be better for durability purposes, but I am not sure if it is really necessary.
 
I'm in the process of building my collar. I used a 1 x 12 and reinforced the corners with some metal brackets. Did you guys stain the inside of the collar? Is this necessary? Pros/Cons? I was thinking staining the inside might be better for durability purposes, but I am not sure if it is really necessary.

I wouldn't worry about staining, but I would certainly apply some clearcoat sealant / acryllic, just to help protect the wood over time from moisture.
 
Back
Top