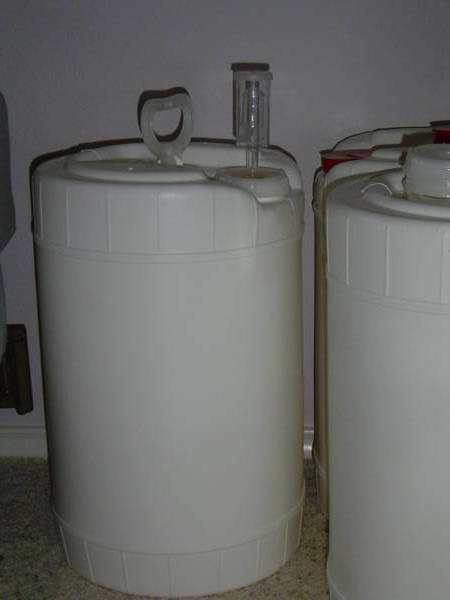
When I went to pitch yeast, the tank didn't look all sucked in like it normally does. It didn't look bulged out or anything, but it definitely wasn't slightly collapsed like it normally is. The wort smells fairly sour too
...
So let this be a warning at best, and a lesson at worst (if the beer is ruined). Its OK to let your wort cool to 200F or so before pouring in, but don't risk it getting much cooler.

Are you sure you had a good seal on your cube? And the sooner you transfer after flame-out the less likely you'll pick up an infection.
I've been putting mine in the winpak right after flameout. It seriously sucks in and permenantly destorts the winpak but I feel better about not getting infected.
I do the same thing: open the ball valve at flame-out, squeeze out the air (if I don't plan on fermenting in the WinPak), and seal tightly. If I want to get the dents out of the WinPak I just fill it with hot water and let it sit for a few minutes, then squeeze it back into shape.