FERM Build Progress Pics (tons of pics)

Homebrew Talk - Beer, Wine, Mead, & Cider Brewing Discussion Forum

Help Support Homebrew Talk - Beer, Wine, Mead, & Cider Brewing Discussion Forum:

This site may earn a commission from merchant affiliate links, including eBay, Amazon, and others.

buckley28

Well-Known Member
Joined
Jan 1, 2011
Messages
72
Reaction score
2
Location
Elk Grove
FINALLY the FERM build is almost complete. Had to put the build off for a while (started 2/28) waiting for the STC-1000 to arrive from over seas. Finally came in this past Saturday so I got back to finalizing the inside yesterday. Here's a spec list of the build.
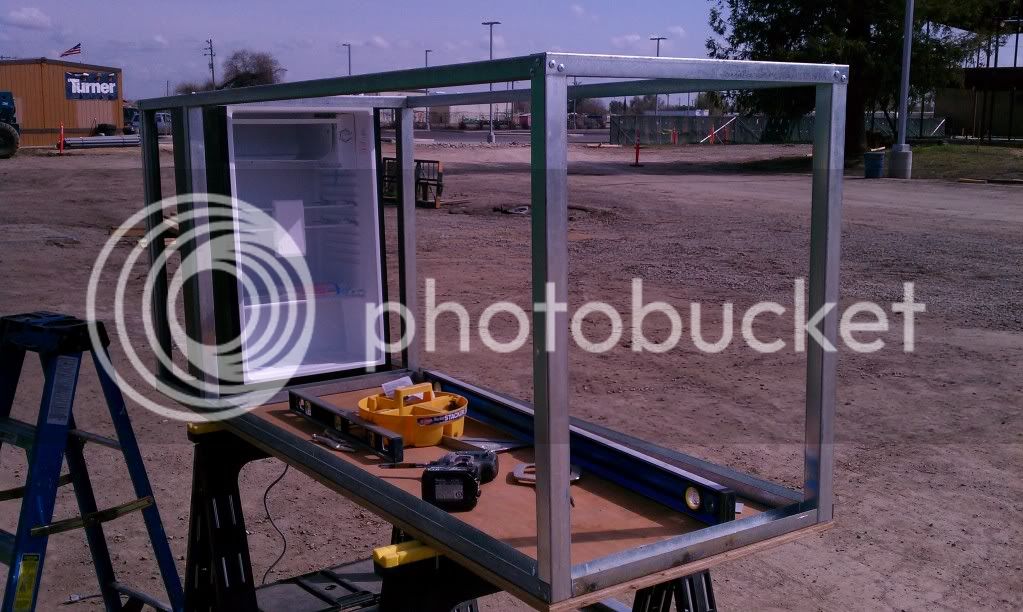
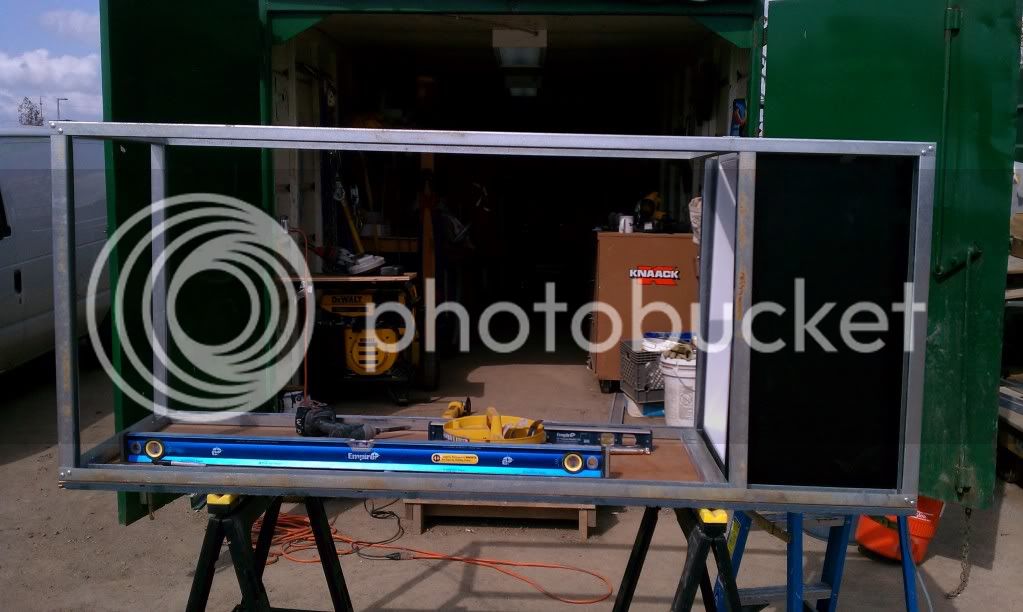
Dimensions: 6.5'x30''x2.5' (LxDxH)
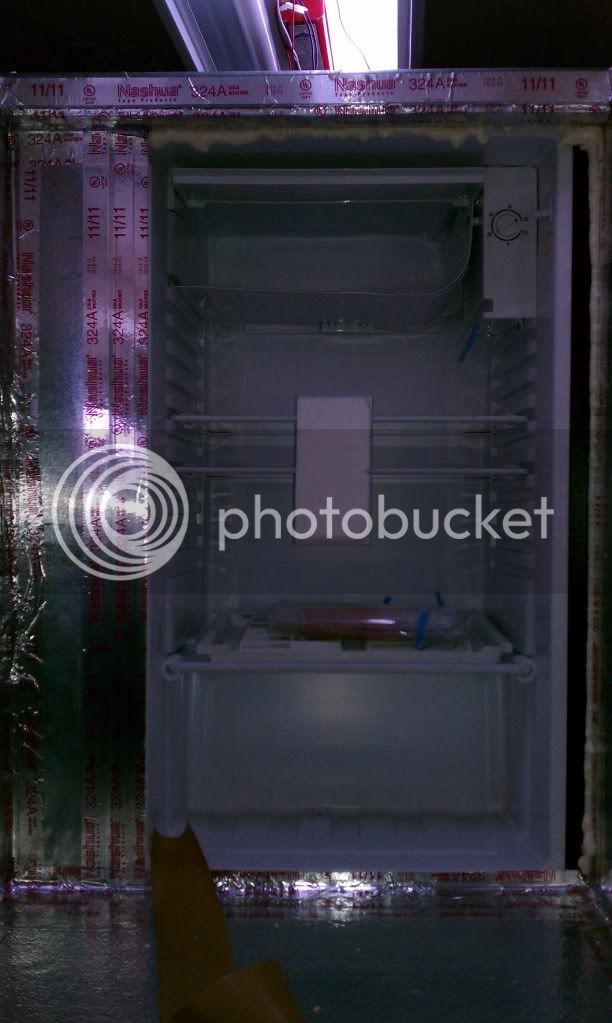
Used a Magic Chef mini fridge from Lowe's and a small space heater
Temp Controlle: STC-1000 Dual Stage 110V
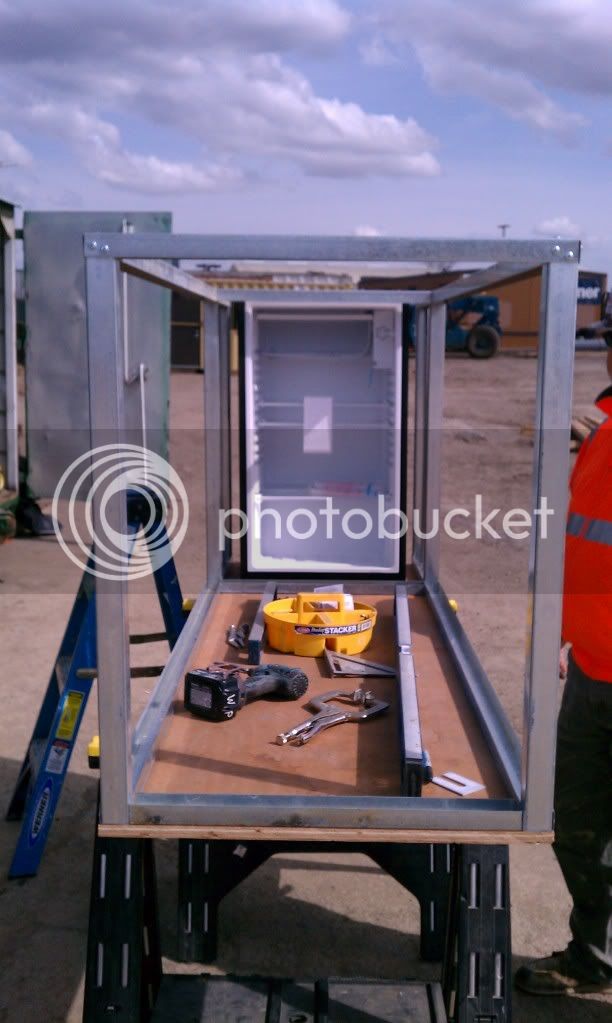
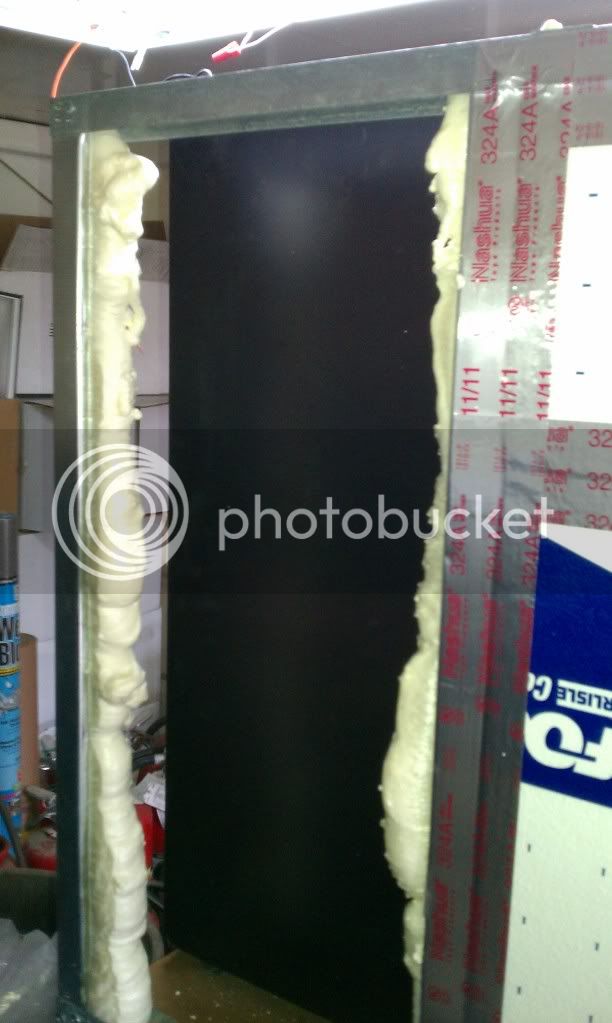
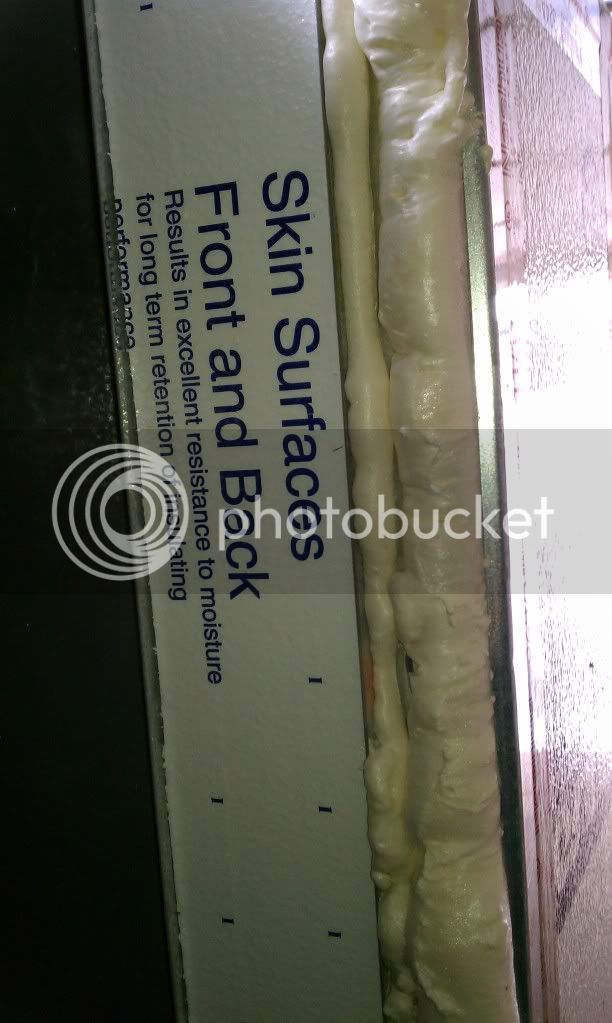
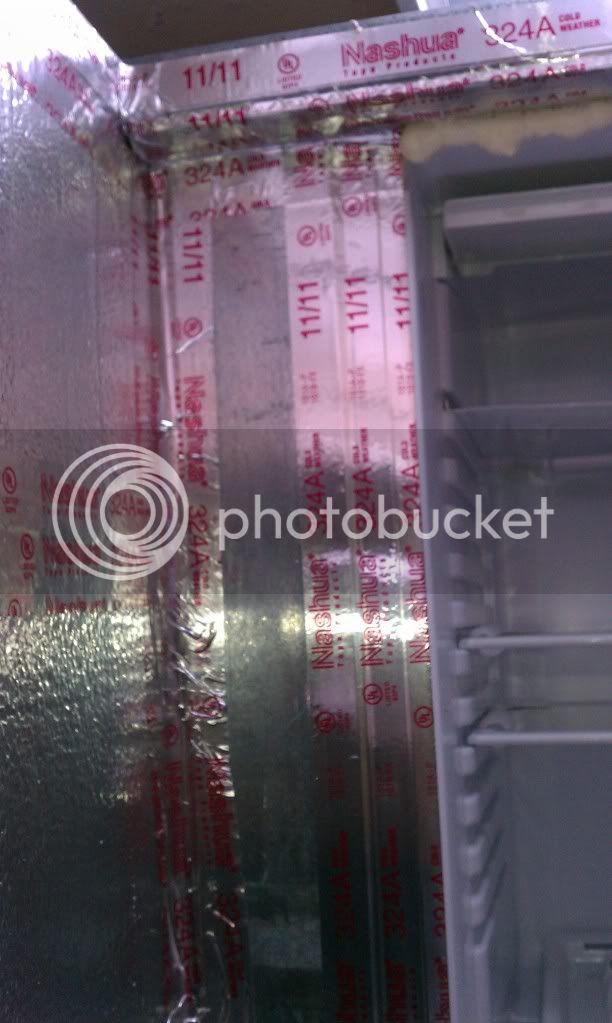
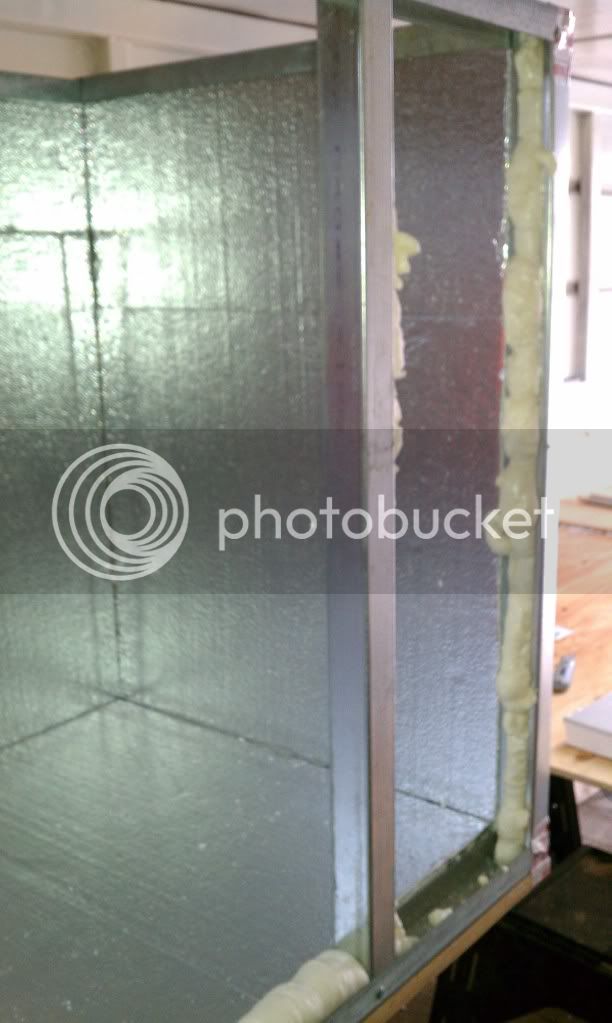
Metal Framing, 2'' rigis insulation, spray foam for all interior voids in the metal studs, HVAC foil tape for all joints, FRP for inside finish.
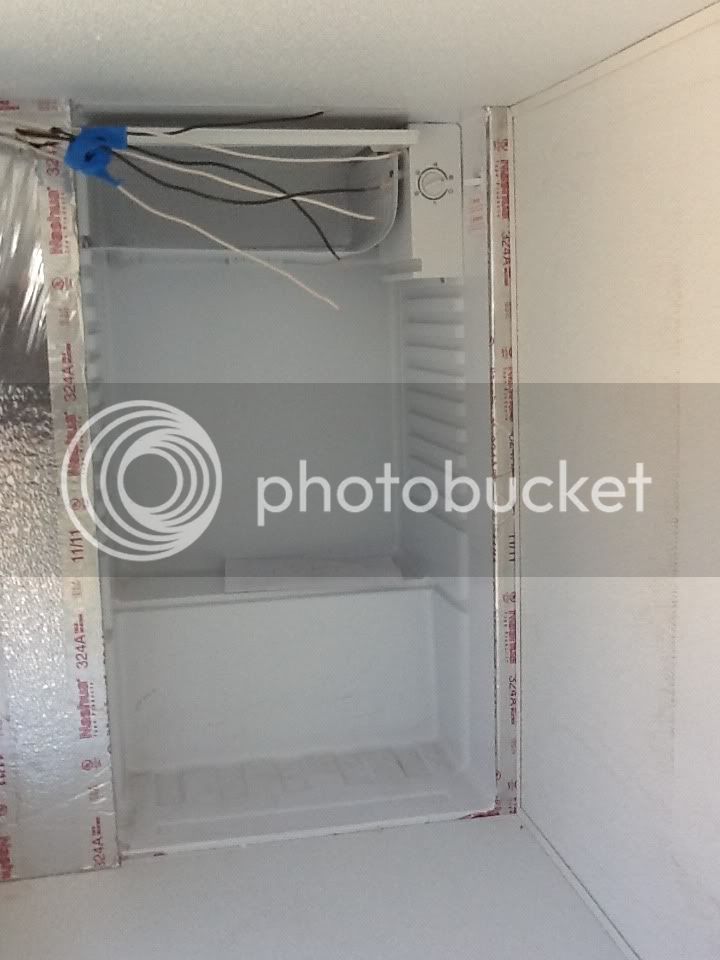
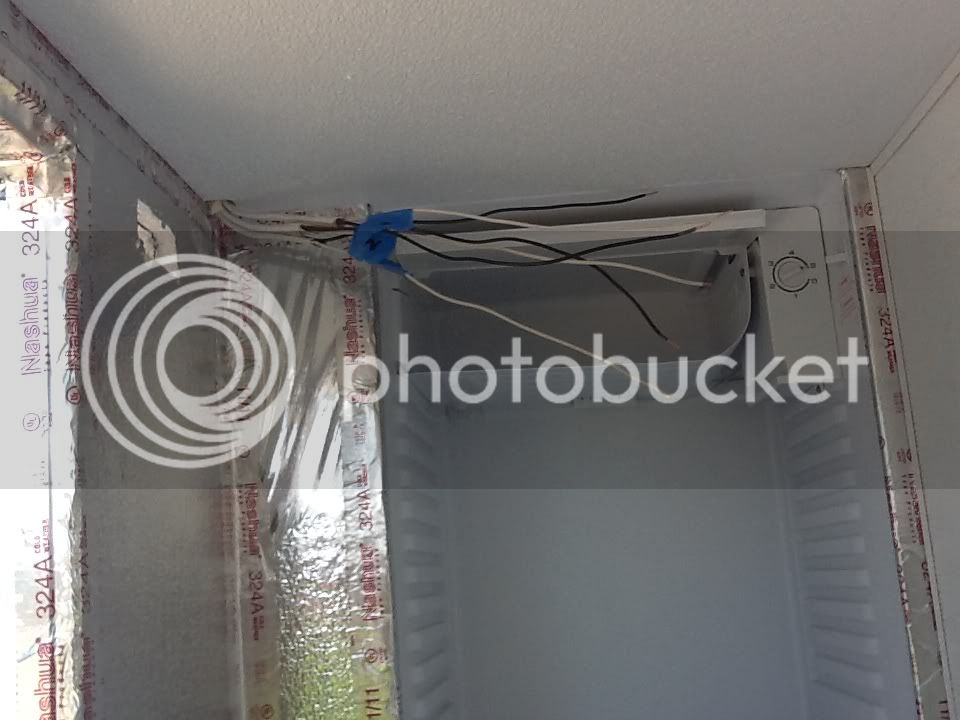
All wiring is completly hidden within the insulation, except where connected to the controler. I put an exterior outlet box on the back of the unit for the power to heater and refer (clipping off the jumper on the hot line connection of the plug). I am attaching the temp prob to the center carboy to access ambient temperature within the chamber (pics will follow).

I think I covered it. Here's some pics of the build. I'll post more once the chamber is 100% complete. Thanks to many of you who post on here for the good info as I used a binch of information from many to plan and complete this build.

Start of Framing:
IMAG0444.jpg

IMAG0443.jpg

IMAG0442.jpg


On to Spray Foam of the metal fram voids:
IMAG0448.jpg

IMAG0456.jpg

IMAG0455.jpg


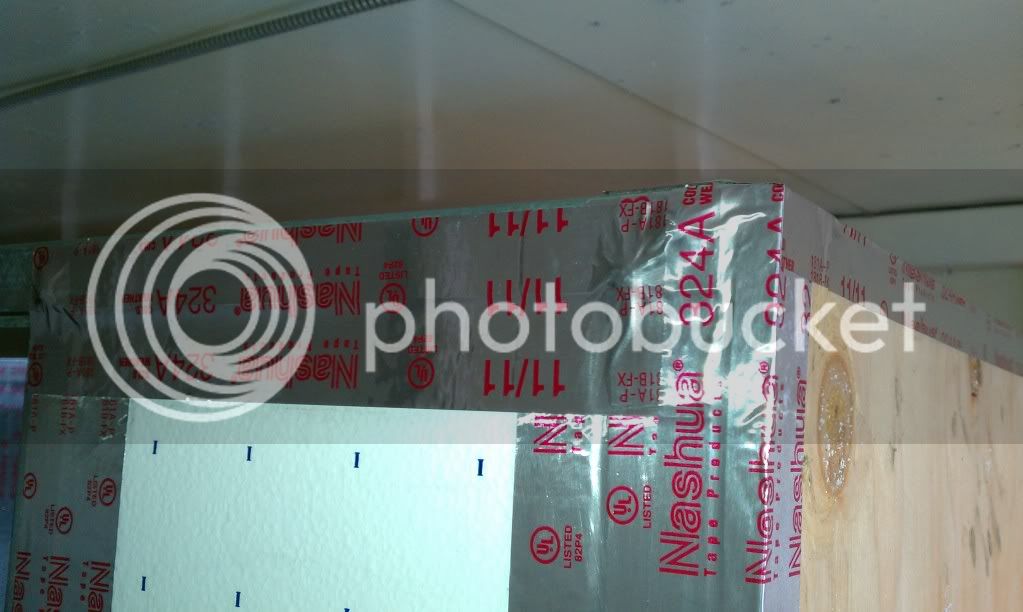
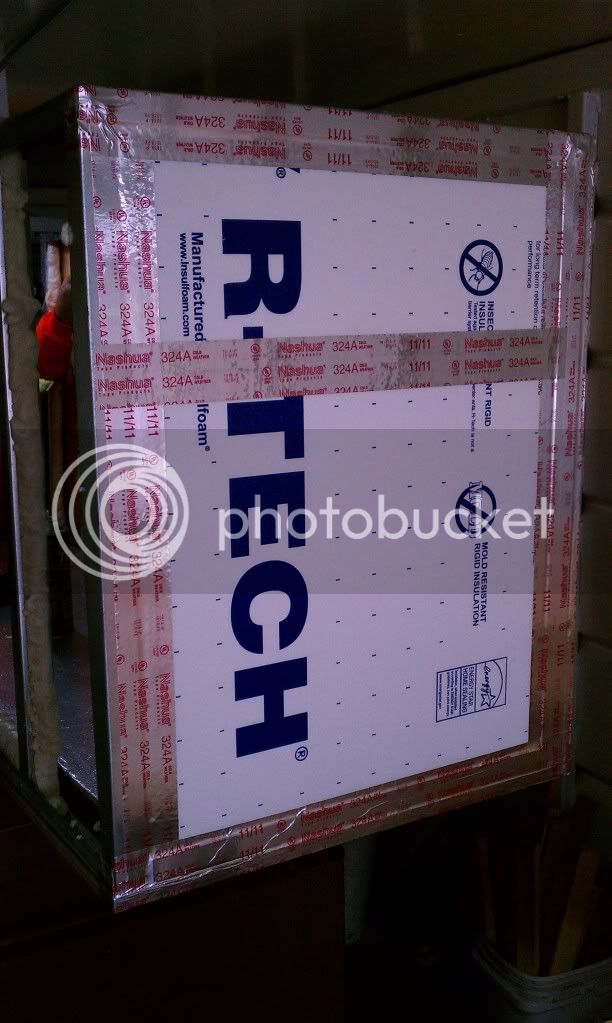
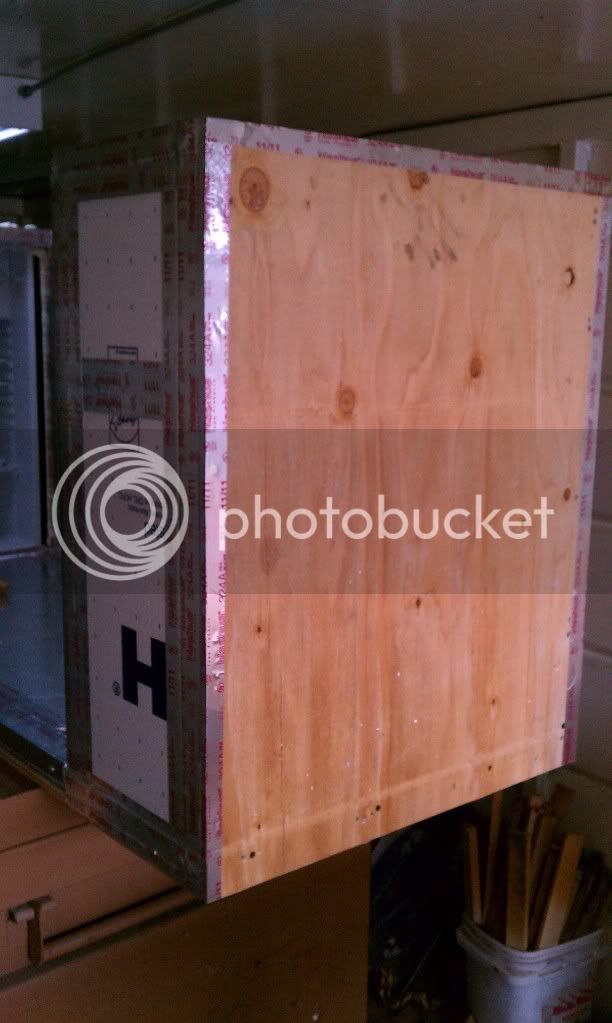
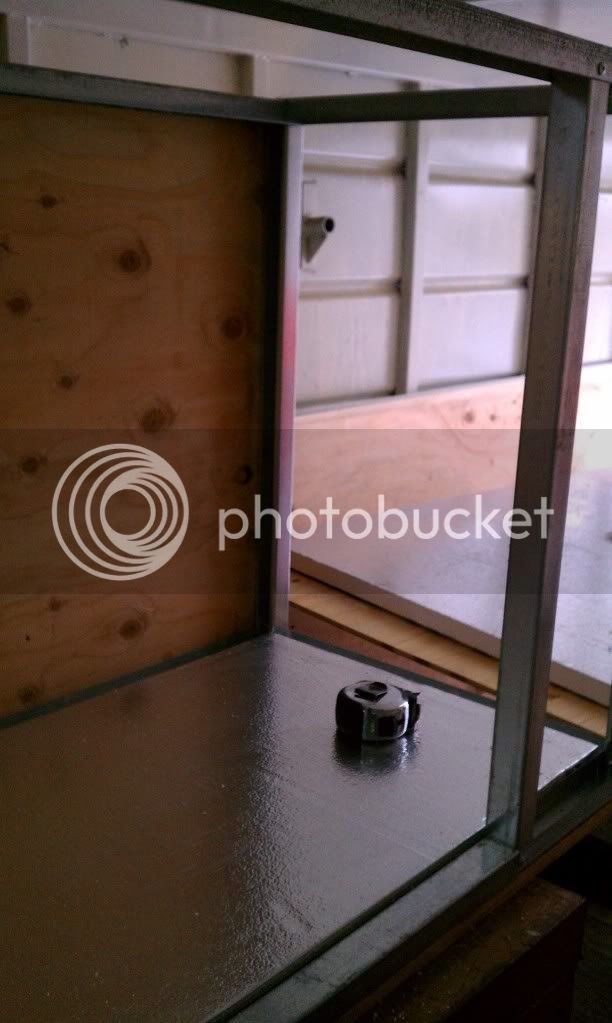
Rigid Insulation Install (1.5'' base w/ full 1/2'' pieces over the 1.5'' to create a total of 2''. All pieces were taped w/ HVAC foil tape)
IMAG0447.jpg

IMAG0453.jpg

IMAG0452.jpg

IMAG0451.jpg

IMAG0457.jpg

IMAG0449.jpg


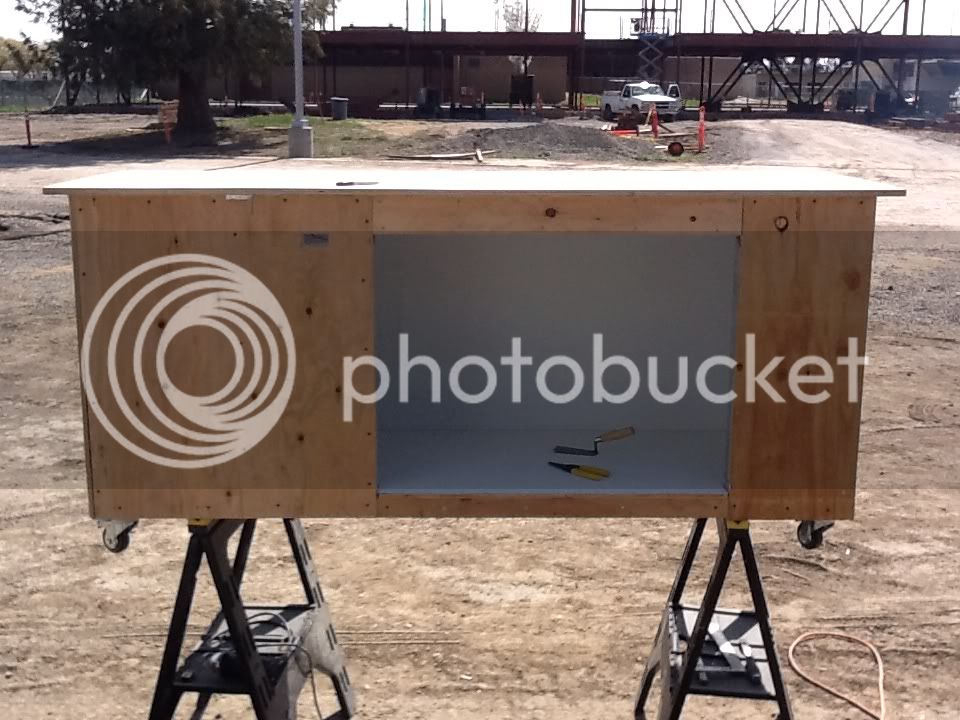
1/2'' Plywood exterior
IMAG0450.jpg

image-20.jpg

image-27.jpg


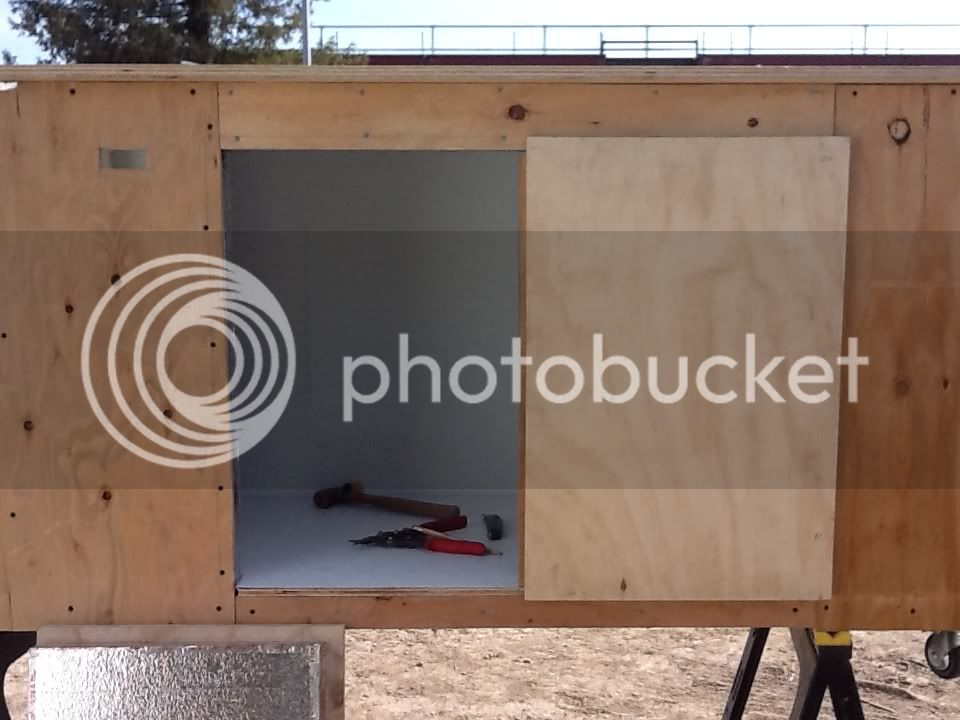
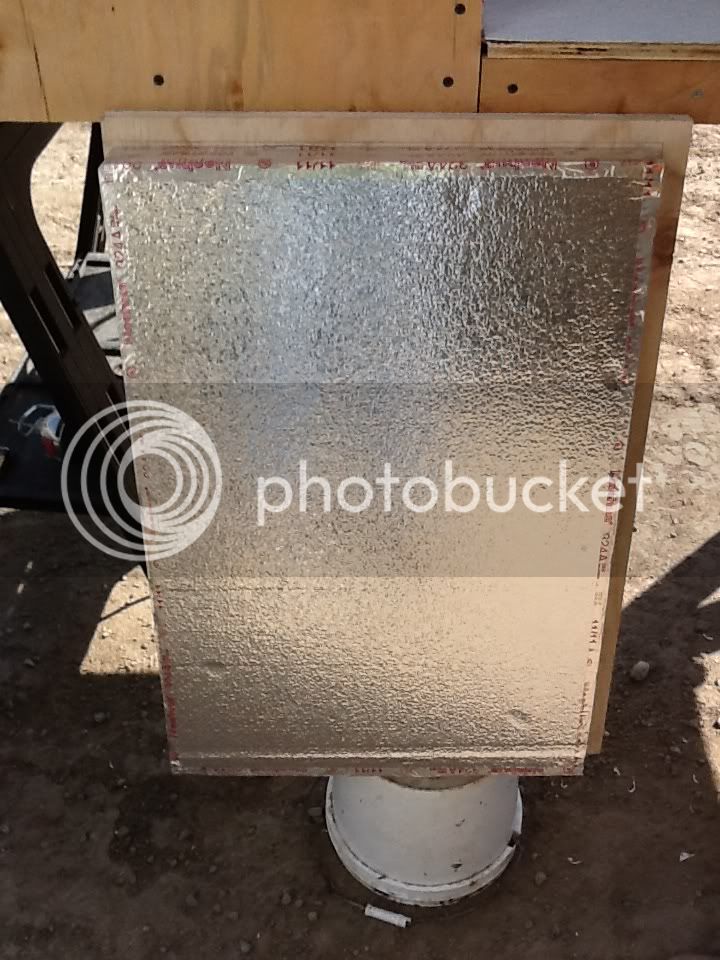
Doors (3/4'' Exterior Panel Ply w/ 1/2'' interior panel ply w/ 1.5'' rigid insulation to complete finished off w/ foil tape)
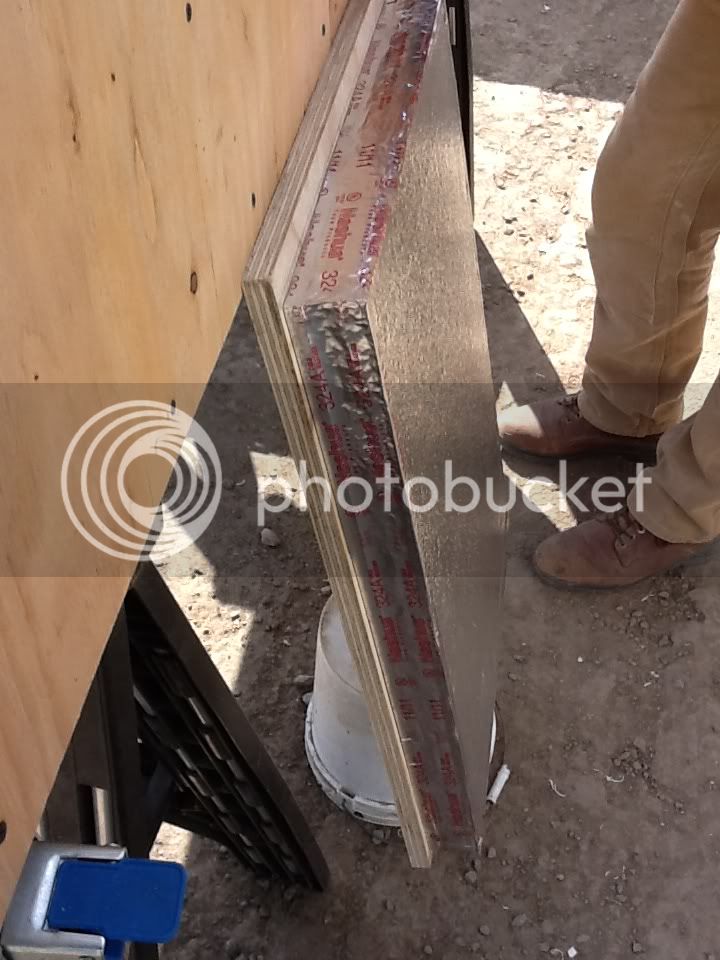
image-26.jpg

image-25.jpg


Interior Finish w/ FRP (ceiling/walls/base):
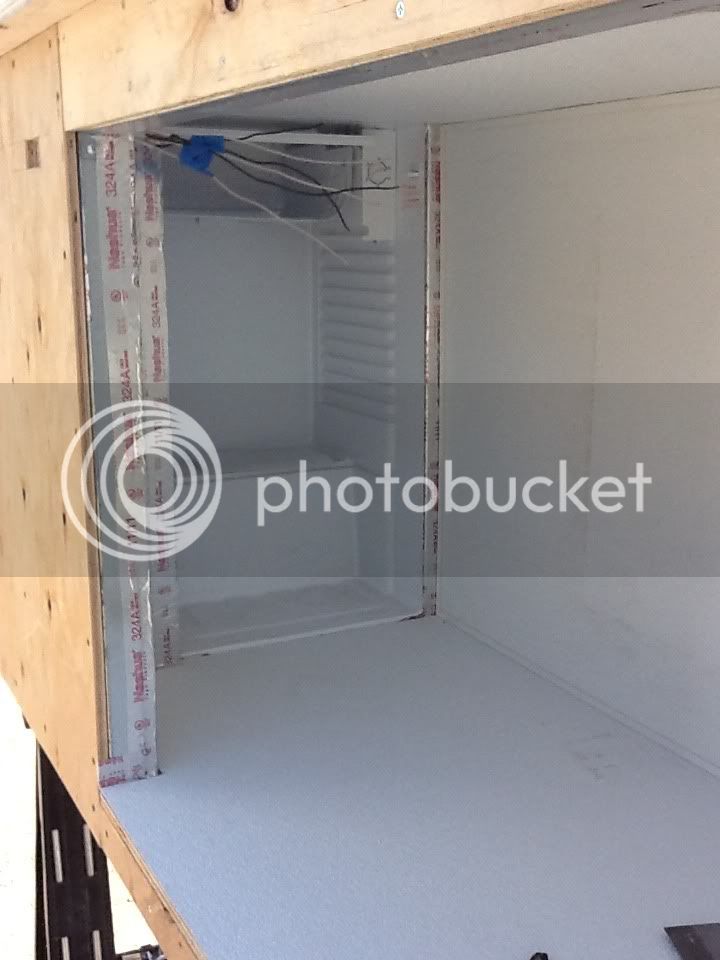
image-22.jpg

image-21.jpg


Interior where the STC-1000 is being wired:
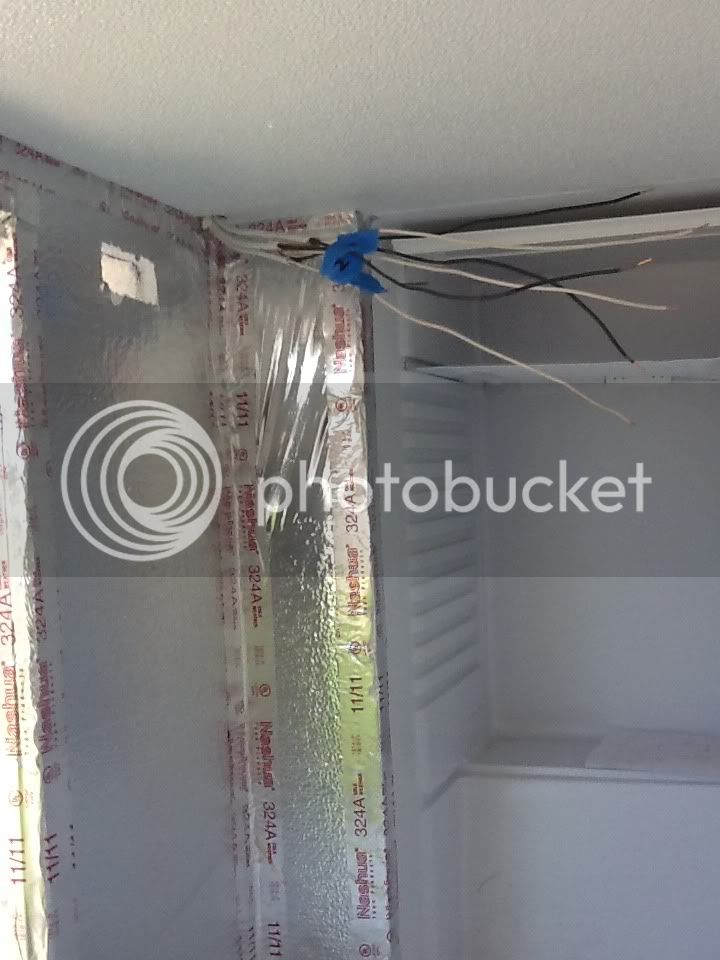
image-23.jpg

image-24.jpg


More pics to come when complete (which should be Thursday)
 
Love the build looking to do something very similar soon.

Couple questions:

1. How many carboys will fit?

2. Is there a reason for the metal frame over a wooden frame?

3. Is the space heater going to be placed in the fridge or somewhere else?
 
does anyone ever consider that stuff like this may be overworking the cooling unit on these? especially making something cool more sq ft than originally intended?

I ask because i may try something like this in the future. But im paranoid because my mom had a faulty mini fridge that burned her house down a few years ago. so i'm a bit paranoid.. :(

but nice build btw!!
 
if you are worried of a tripped circuit causing a fire / overloaded circuit, then get a GFCI circuit from HD or Lowes like 15 to 20 bucks.

The volume that is taking up space ie fermenter or carboy also helps maintain the temperature in the units. This helps ALOT
 
does anyone ever consider that stuff like this may be overworking the cooling unit on these? especially making something cool more sq ft than originally intended? but nice build btw!!

I also wonder if you are going to get enough cooling from the frost type cooling the mini fridge uses. I imagine you will have some steep temp changes from one side to the other. Unless you plan on circulating the air somehow. Even if so, why did you keep the fridge box, you could have ripped it apart and just used the compressor and the cooling plate. It would also give you the ability to locate that plate centrally.

all in all hope it all work out for you!!! Looks great
 
Love the build looking to do something very similar soon.

Couple questions:

1. How many carboys will fit?

2. Is there a reason for the metal frame over a wooden frame?

3. Is the space heater going to be placed in the fridge or somewhere else?

1) 7 total
2) metal studs are way lighter and the strength of 1.5" metal studs against 1x wood is far superior. The whole unit is relatively light in comparison.
3) space heater is about 10" tall and yes is in the unit.
 
does anyone ever consider that stuff like this may be overworking the cooling unit on these? especially making something cool more sq ft than originally intended?

I ask because i may try something like this in the future. But im paranoid because my mom had a faulty mini fridge that burned her house down a few years ago. so i'm a bit paranoid.. :(

but nice build btw!!

I insulated the living crap out of this unit. Total of 2" w/ spray foam inside all voids and cavities. I brew mostly Ales so temp needed is 64 degrees. Not that difficult to achieve with a well insulated unit. In the end you are trying to maintain the temp after you have already achieved target temp. So your really only putting the most strain on the unit at the beginning.
 
I also wonder if you are going to get enough cooling from the frost type cooling the mini fridge uses. I imagine you will have some steep temp changes from one side to the other. Unless you plan on circulating the air somehow. Even if so, why did you keep the fridge box, you could have ripped it apart and just used the compressor and the cooling plate. It would also give you the ability to locate that plate centrally.

all in all hope it all work out for you!!! Looks great

Lol To be honest that is one of many, damn I should of done this differently, thoughts I've had.
 
Awesome build! Just a few more questions. Why do this instead of convert a freezer? Was space an issue? I was looking at doing a SOF when I realized the amount of money I was going to spend for a 2 or 3 fermentor setup was close to buying a used freezer on craigslist.

Small suggestion? For initial temp and maintaining temp I would add a bag or 2 of ice to help just get it down to the right area. Then just fill empty space when a fermentor is taken out with a bucket of water. Just to take up mass and help maintain even temps. Once it gets down to the right area and filled I think it will work perfectly. Specially since you insulated the hell out of it!:rockin:
 
Lol To be honest that is one of many, damn I should of done this differently, thoughts I've had.

I can relate to that. I've been building my brew stand for a long time now. I plan on using a air conditioner to building something similar at some point. I'll be sure to refer to this post when I do. Keep us updated on your build.
 
Installed a fan today to circulate the refer cool (pointed at the freezer portion of the refer for max circulation of cold air). Wired it to come on/stay on with the refer circuit.
Had the STC set to 39 degrees (4 Celsius) last night and was only able to achieve, by morning, 48 degrees (9 celsius). Thinking the size is a tad too big to cool. Trying the same setting with a fan tonight and see what happens.
Just trying to max out the cooling to see what the unit is capable of...a test run for the northern cal summer. Outside temp tonight is rainy at 61 degrees w/ the chamber setting, currently at 57. Give it 10 hrs and I'll see where we're at. Goal is to break the 40 degree mark (4 Celsius)
 
Awesome build! Just a few more questions. Why do this instead of convert a freezer? Was space an issue? I was looking at doing a SOF when I realized the amount of money I was going to spend for a 2 or 3 fermentor setup was close to buying a used freezer on craigslist.

Small suggestion? For initial temp and maintaining temp I would add a bag or 2 of ice to help just get it down to the right area. Then just fill empty space when a fermentor is taken out with a bucket of water. Just to take up mass and help maintain even temps. Once it gets down to the right area and filled I think it will work perfectly. Specially since you insulated the hell out of it!:rockin:

Haha ya space was the main issue. These friends of mine are like savages w/ my brew...note to self, start charging lol! But ya, I wanted to be able to turn over maybe 1 or 2 brews every two weeks (looking more like every 3). So the ability to house primary and secondary ales simultaniously was the main reason for going big. I contemplated the 14 cf freezer build for so long that I just didn't think it was a good option. All in all I think this will be sweet but just want to maintain the temp in the summer. Winter...blah who cares, heat is easy.
Also, I like taking other peoples builds, getting inspired and tweaking them to what I want.
I like your idea of "a starter" to get cooled down. May be a needed value in the hot north cal summer.
 
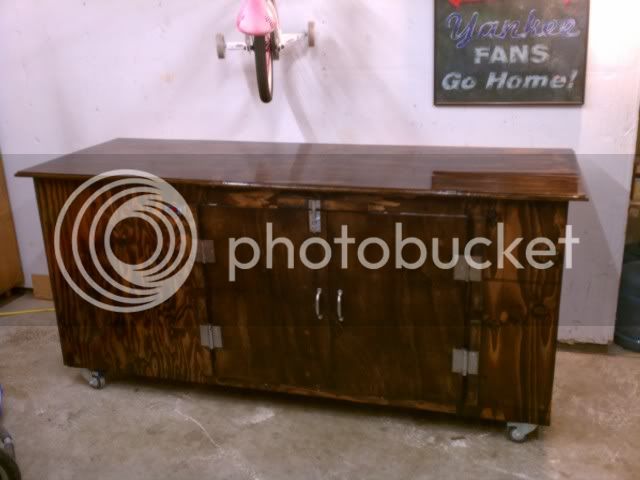
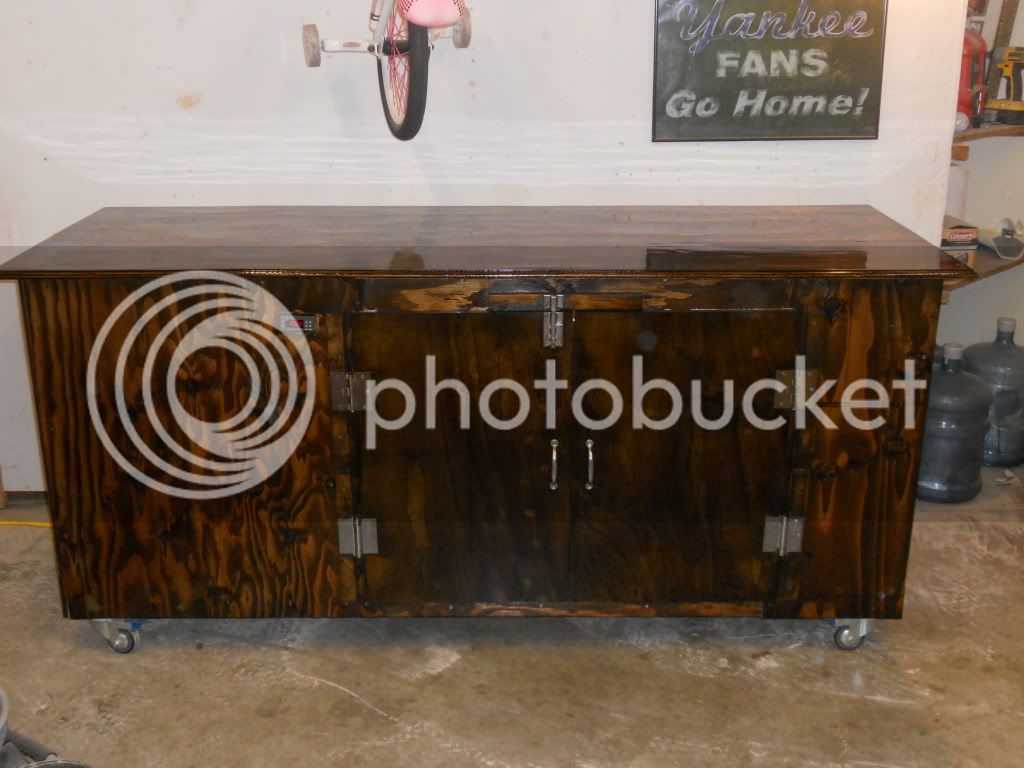
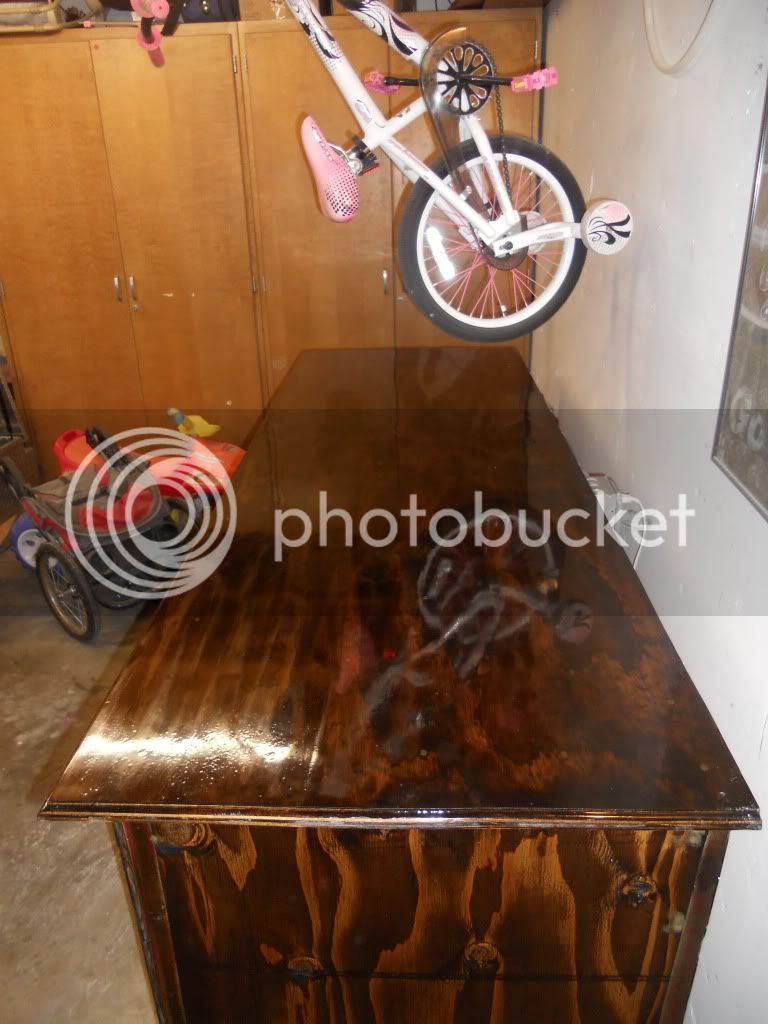
Final Pics fo the chamber.

Finished sanding and stain. Nice 3 layer coat of poly on the top.
IMAG0470.jpg


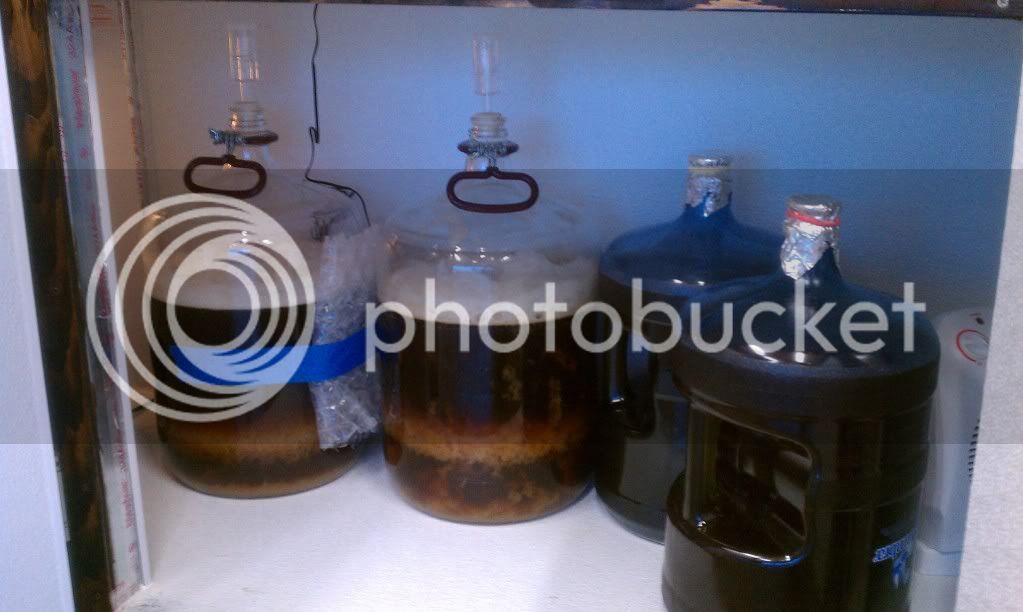
Ready and operational stacked w/ 2 "Poison" Pale Ale carboys and a Pilsner and Kolsch. Holding temp at a steady 65 degrees. lol shes a bute Clark...:rockin:
IMAG0471.jpg
 
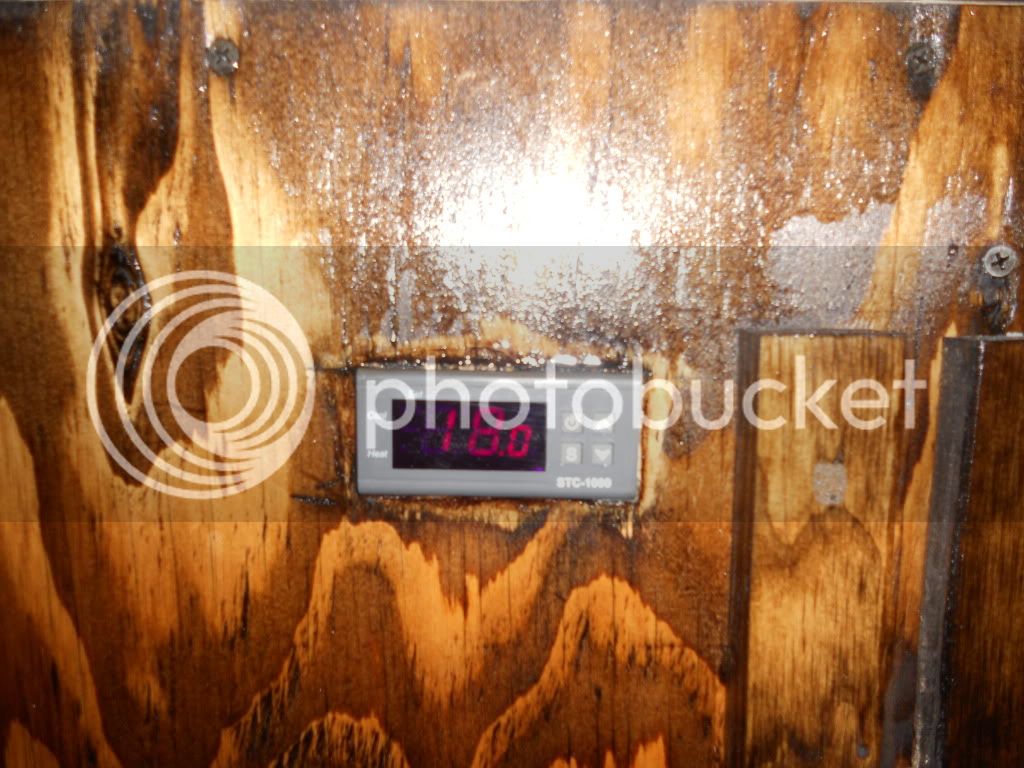
Some final pics of the build showing the stain and final coats of Poly. Came out real nice. Oh and the hold temp on the chamber 18.0C = 64.40F

DSCN0516.jpg

DSCN0518.jpg

DSCN0517.jpg
 

Latest posts

Back
Top