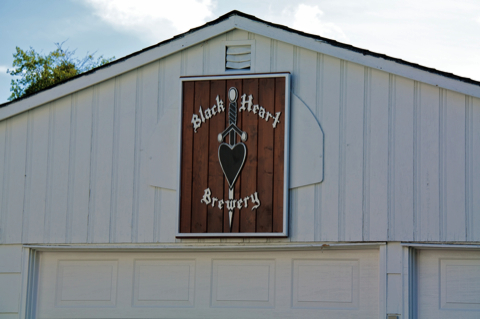
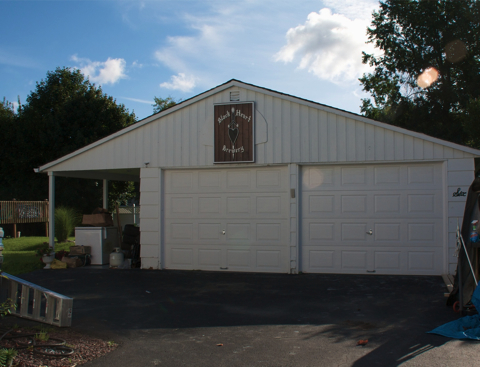
Could you just put a vapor barrier down and then put a thin layer of concrete over top, perhaps that leveling stuff? Seems like that would be just as good as a vapor barrier+wood but you'd have the durability benefits of concrete.
Disclaimer: I have no idea if this is the stupidest idea ever.
This would be a HUGE waste of money and time. eventually the "Thin layer of concrete on top would chip away and you would have a HUGE mess.
You have to either remove the moisture or make damned sure it does not pass through. once it does like this your screwed.
The Ultimate fix:
1. rent a concrete saw an is remove the existing slab up to the foundation walls and footers
2. Excavate the soil under it down about 10 inches.
2a. while there, install floor drains
3. lay a thick bed of good gravel and stone, 4 - 6" thick and compact it
4. then good thick a vapor barrier,
5. re-pour the concrete with a good re-bar and at least 4" thick. The you can wait till it cures a while and seal it, stain it or epoxy it.
Oh don't forget to pull permits.....
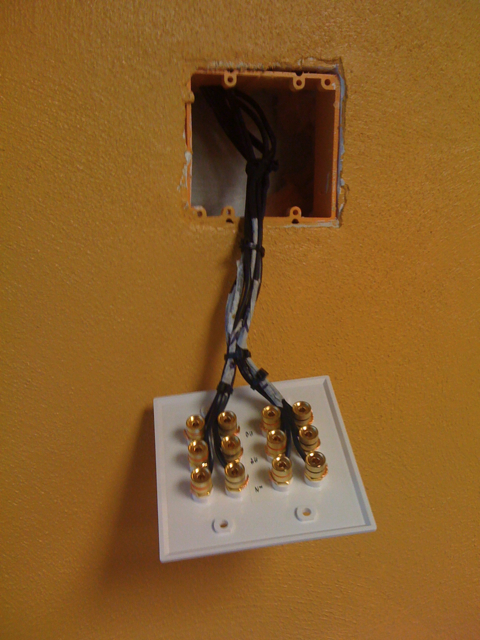
Baring that, I would go the raised floor on top of a GOOD vapor barrier and a wood floor. knowing that you will always have a moisture issue under the wood that will eventually soak it up and cause other issues.
This really sucks. I would like to say I would have investigated the slab better, but who would think to do that. Maybe this is a GOOD lesson. especially for slabs and garages we move into and don't build ourselves. You never know what you have if you didn't build it yourself.