5 Ft Holiday Keezer Build Small Collar (pics)

Homebrew Talk - Beer, Wine, Mead, & Cider Brewing Discussion Forum

Help Support Homebrew Talk - Beer, Wine, Mead, & Cider Brewing Discussion Forum:

This site may earn a commission from merchant affiliate links, including eBay, Amazon, and others.

Hagelslag

Well-Known Member
Joined
Apr 15, 2011
Messages
54
Reaction score
2
Location
Kansas City
Hey all,

I've just started working on a collar for my 5' Holiday freezer. I wanted to start this thread to document my trials and tribulations. My carpentry skills are non-existant so I might need some help along the way. ;)

Just a couple of things.
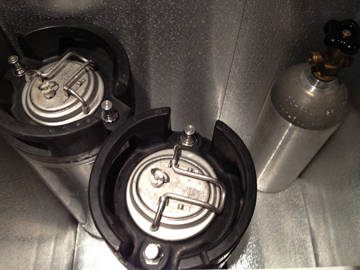
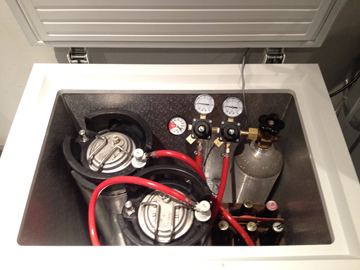
I know it sounds crazy but I wanted a small keezer. I won't need more than 2 kegs and I just wanted a simple, small set up. I also did not want to damage the freezer. i.e. no drill holes, messing with the hinges, or glue/liquid nails on it.

So with that being said, I wanted to make the collar as small as possible. I've been reading and searching the forums and see that the larger collars seem to have problems with condensation or the tap lines getting to warm. *Wouldn't a smaller collar help with this? Has anyone else built a 2x4 collar? I searched the internet and couldn't find any. Or at least any that talked about the hinges. (which is the reason I'm posting)

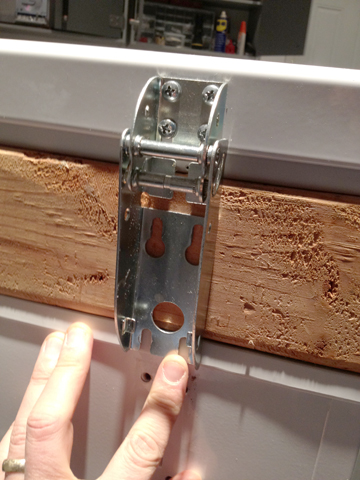
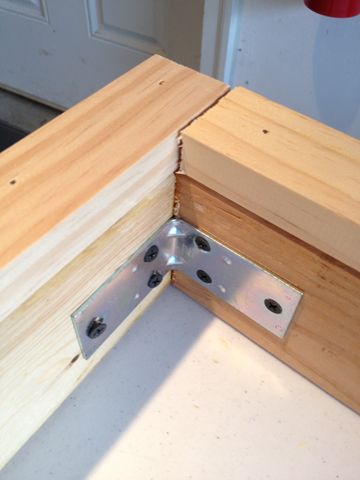
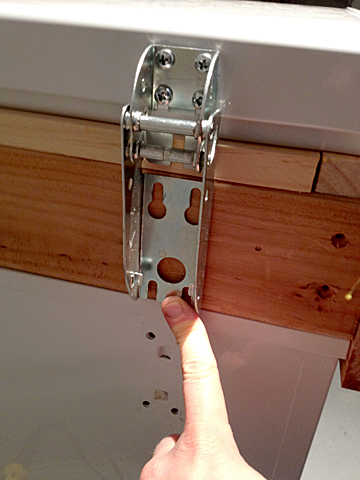
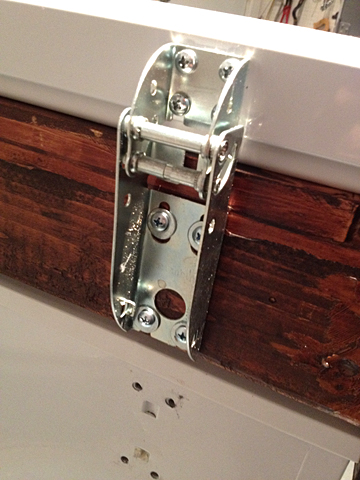
The hinges need a minimum of 4" to be screwed in with both screws... *Are both hinge screws necessary? or would the hinges hold good enough with just the top ones? (see pics below)

I could easily make the collar bigger with 2"x 1/2" trim? But that would add a additional 1/2" of headspace which I don't really want...thoughts?

(2) Perlick Faucets w/(2) 4" shanks are arriving in the next couple days. My next step is deciding on the wood for the outside. I was thinking 1x6 red oak.

My goal - have this done by my birthday April 5th. I got a IPA that would be ready and I want it to be my first draft pulled from my new keezer.:)

IMG_3643.JPG


IMG_3694.JPG


IMG_3740.jpg


IMG_3742.JPG
 
Looks good dude! If your worried about having the extra 2 screws in the hinge why don't you just drill 2 new holes in the metal to make it work?
 
I would think if you used as large as a wood screw as will fit through the hinge without going all the way through the 2X4 two should be plenty. Also you could add a third in the large hole by using a washer. If you have space for the heads I would use 3/4 to 1 inch long hex head lag bolts. Drill a pilot first so as to not split the wood (looks like redwood?). You could insulate the inside of the wood with foam board or other rigid insulation board. I have been looking at a similar freezer for the same purpose. Keep us updated.
Thanks

I thought about the large hole but it's only on one hinge. The other hinge has the spring.

I think I decided that I'm going to put a 2" x 1/2" board on the top just to bump it up another half inch. I'll keep you updated.
 
or just make two new hole is the hinge, high enough to catch some wood, and push it up against the wall, you could even threw bolt it.


looking at it again, you could cut the flange of the hinge, more towards the bottom, flaten that and make it extra wide at the bottom half, making a whole new bolting pattern. But I would make sure that it was strong enought to do that before cutting it, that could go two ways, Good or bad
 
Update, I did some more work last night.

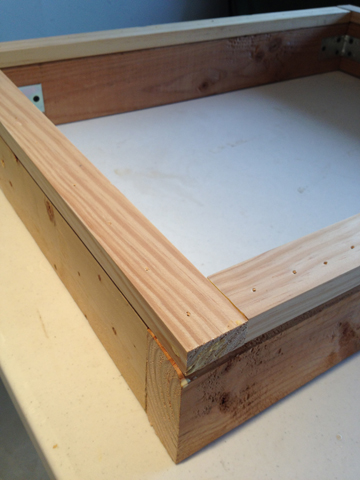
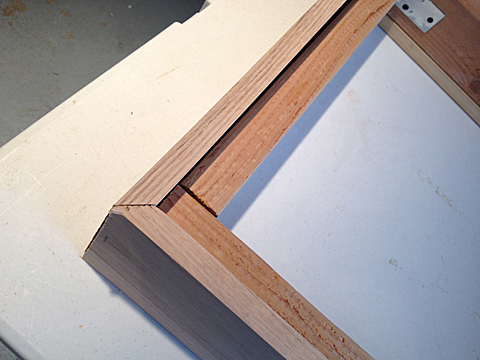
First I picked up a 1x2 which I attached with some wood glue and my nail gun.

For the exterior, I picked up a 7' piece of 1x6 red oak (I decided to splurge). I wanted to miter the oak and I'm terrible at making cuts, as you can probably see from my photos..., but I thought I would attempt it anyway. I decided that I would make the cuts and just flip the board over so they matched up. The front was made to exact length and the other two were made with a couple of extra inches off the back so I could just cut those straight. It worked perfectly. :rockin:

I lined up the miters and just used wood glue and my nail gun again. I've seen other posts with people bolting the exterior. I just don't see the point. The wood and nails were solid and I wanted a clean finish to red oak. Plus the nail gun was just so much easier. I just made sure I didn't put any nails near where the shanks were going.

I've also seen people building the collar directly on the cooler but I just built it on a table and decided to trust my measurements.

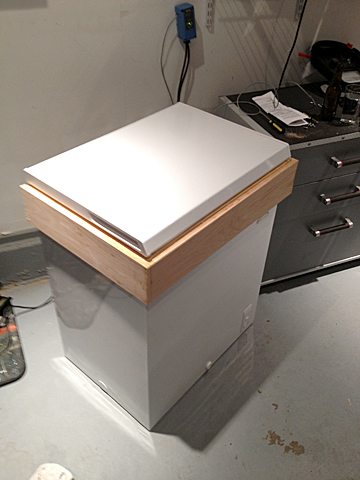
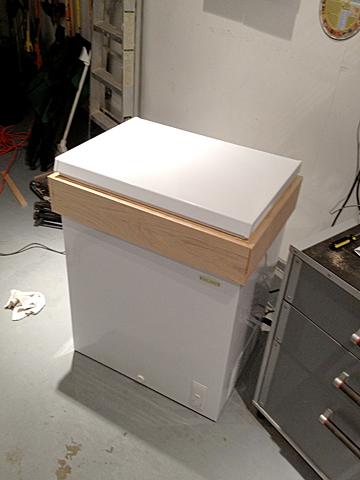
I dry fitted the collar one more time and I was really happy with the fit. It is really snug which is the way I wanted it. I have to actually give it a good push down and its totally flush and doesn't budge.

You can see in the pic that the 3/4" from the 1x2 really made a difference on the hinges. I can now attach it with all the screws and not have to make any additional holes in the freezer or hinges.

I then took the collar off, chalked the gaps on the interior, and used wood filler on all the nail holes.

Good enough for the night. Time to kick back and have a homebrew! :mug:

Next step, cut shank holes, sand, stain, and poly.

IMG_3769.JPG


IMG_3770.JPG


IMG_3777.JPG


IMG_3779.JPG


IMG_3795.JPG
 
Home depot has fender washers big enough to cover the big hole. Put two screws on top and one in the big hole that way you don't have to drill the hinge.
 
Looking great! I like the exterior oak you put on. I didn't do that with mine, but guess I could always add it if I care to. I lined the inside of mine with pink insulation, low enough to add a layer between the top of the freezer and the side insulation. so when i open the freezer top there is another "top" of insulation. I mainly did this to help with condensation.
 
Looking good... I like the oak. Nice job so far. I noticed the freezer is metal lined is that how it came or did you do that. If that is how you got it what is the model number?
 
Looking good, I have that exact freezer and a collar is one my next projects. Though I am going to do a tower out the top and put the temp controller in the collar too.
 
Looking great! I like the exterior oak you put on. I didn't do that with mine, but guess I could always add it if I care to. I lined the inside of mine with pink insulation, low enough to add a layer between the top of the freezer and the side insulation. so when i open the freezer top there is another "top" of insulation. I mainly did this to help with condensation.

yeah, i plan on adding insulation after I get it sanded, stained, and add a couple coats of poly.

Is the condensation bad? Summers in KC can get pretty hot and I was worried about putting a collar on just for that reason.
 
Looking good... I like the oak. Nice job so far. I noticed the freezer is metal lined is that how it came or did you do that. If that is how you got it what is the model number?

I didn't change the freezer at all, I got it at lowes for $159 on sale and added the 3 year full coverage warranty for an extra $24.

Holiday 5 Cu. Ft. Chest Freezer (Color: White)
Item #: 75729 | Model #: LCM050LC
 
Hey Hagelslag....just curious....
If you were to put a taller collar on it so you could fit kegs on the hump, how many do you think you could fit in there along with the CO2 tank? 4 kegs plus the tank maybe?? I also want a smaller keezer but would like more than 2 draft options.... Thanks!
 
WhiteEagle1 said:
Hey Hagelslag....just curious....
If you were to put a taller collar on it so you could fit kegs on the hump, how many do you think you could fit in there along with the CO2 tank? 4 kegs plus the tank maybe?? I also want a smaller keezer but would like more than 2 draft options.... Thanks!

There is an entire thread in sizing your chest freezer. This one will fit 3 cornys with a high collar.
 
I am hoping there will be more pics...


I have this same freezer bought it dented for $129. Popped the dent out on the grill in 3 min.
 
Hey Hagelslag....just curious....
If you were to put a taller collar on it so you could fit kegs on the hump, how many do you think you could fit in there along with the CO2 tank? 4 kegs plus the tank maybe?? I also want a smaller keezer but would like more than 2 draft options.... Thanks!

Like others have said, it fits two with CO2 inside. If you build a big tall enough collar you could probably fit 4. But I would also think that a large collar would encounter more problems with condensation and warm tap lines?
 
Update:

I didn't get to much done last night. I'm training for a half marathon so I had get a run in.

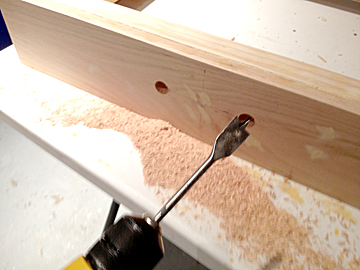
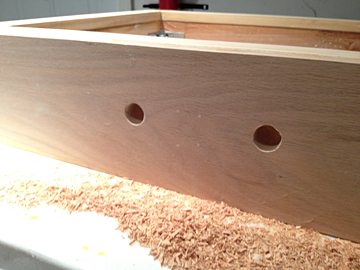
I got the shank holes drilled and sanded exterior down to 220 grit for a nice smooth finish. I went with a 7/8" hole which was the general consensus on the forums. The faucets and shanks were shipped yesterday so I'm hoping to have everything by Friday which would put me way ahead of schedule.

Finished off the night but dry hopping my IPA. (beer porn attached)

Next step is stain.

IMG_3810.JPG


IMG_3811.JPG


IMG_3819.JPG
 
Spent the last two days sanding, staining and applying two coats of poly.

Faucets and shanks came in today. I checked the fit and 7/8" was the perfect hole size.

I plan on adding a insulated tape on the interior and installing tonight. I should be able to enjoy my first beer out of my new keezer tonight! :rockin:

IMG_3858.JPG
 
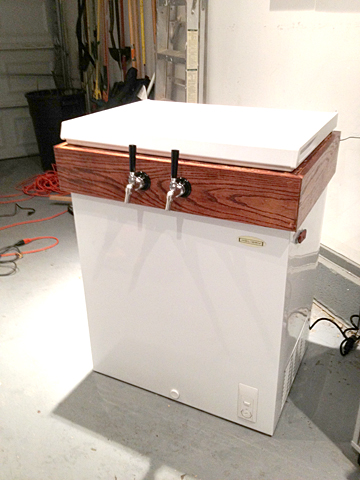
finally done!

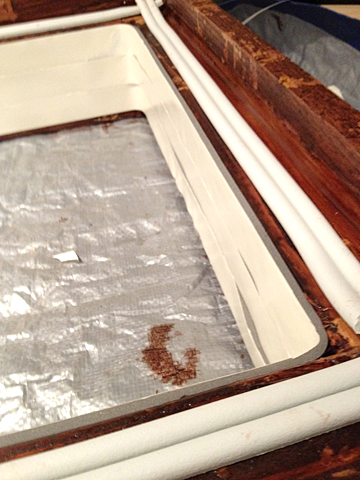
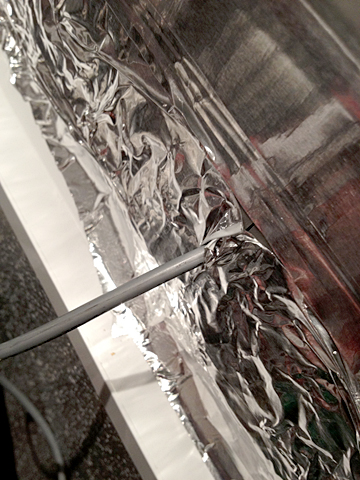
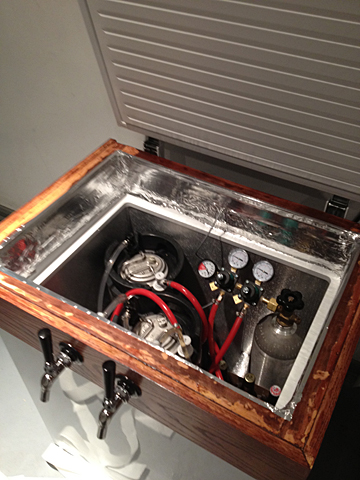
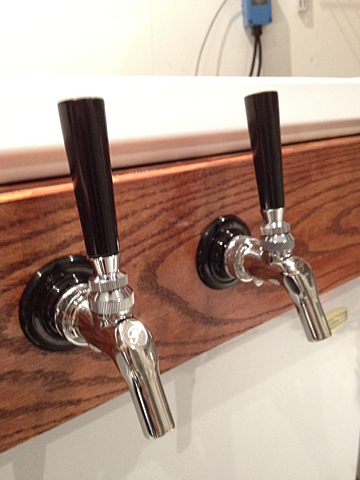
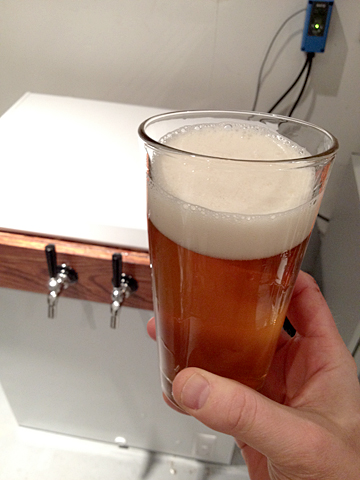
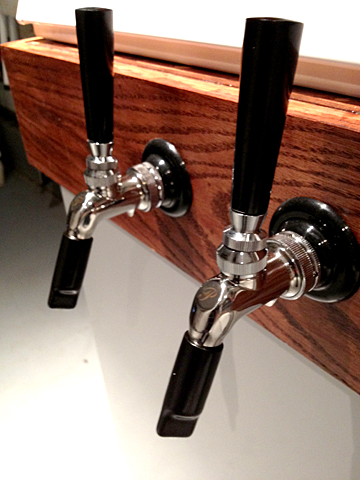
Got the faucets friday and installed everything. I put a foam "camper" insulation around the inside along with with weather stripping on the bottom, then I put the collar on. It was a nice snug fit, no need to attach. I finally taped the inside with some shur-lock tape i had left over from a window install.

And of course I had to test both taps! :tank:

It seems to be holding temps good. I'll see for sure this week as its expected to be in the 80's.

IMG_3862.JPG


IMG_3887.JPG


IMG_3876.JPG


IMG_3888.JPG


IMG_3868.JPG
 
A couple of more additions... it never ends....

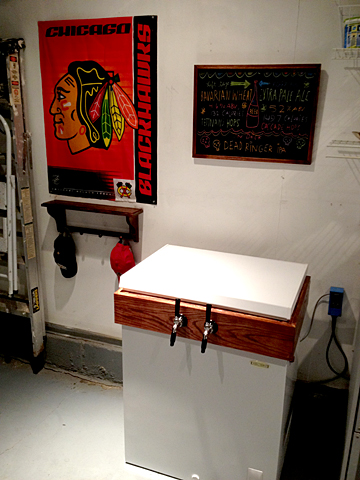
Since the keezer is in the garage i wanted to keep bugs out so I got some faucet caps.

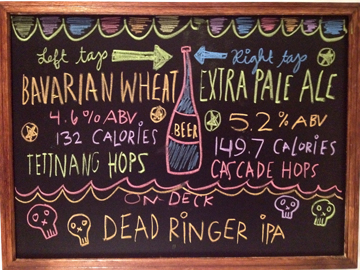
The SWMBO filled out the chalkboard for me (hobby lobby on sale for $5). I have a dartboard on the other side of the garage so I added a shelf as a place to rest your beer.

Next accessories are a towel rack on the left side and bottle opener on the right.

IMG_3964.JPG


IMG_3962.JPG


IMG_3963.JPG
 
Back
Top