Starting a tier build...any advice would be greaty appriciated

Homebrew Talk - Beer, Wine, Mead, & Cider Brewing Discussion Forum

Help Support Homebrew Talk - Beer, Wine, Mead, & Cider Brewing Discussion Forum:

This site may earn a commission from merchant affiliate links, including eBay, Amazon, and others.

dirtypirate23

Member
Joined
Sep 22, 2012
Messages
17
Reaction score
0
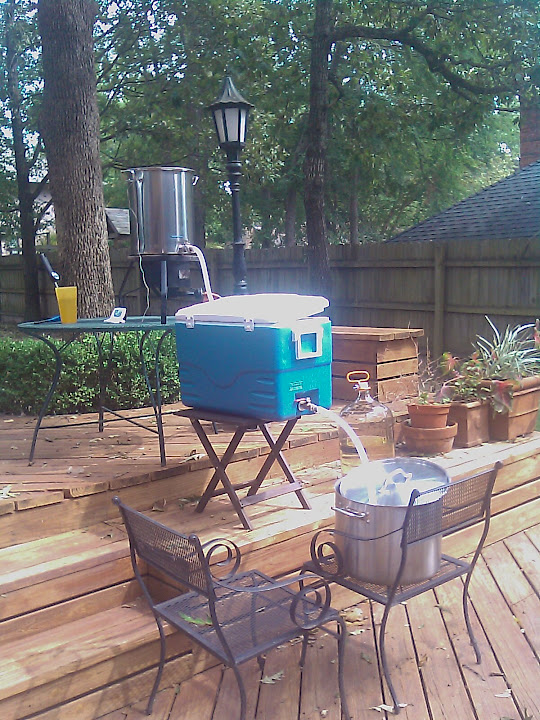
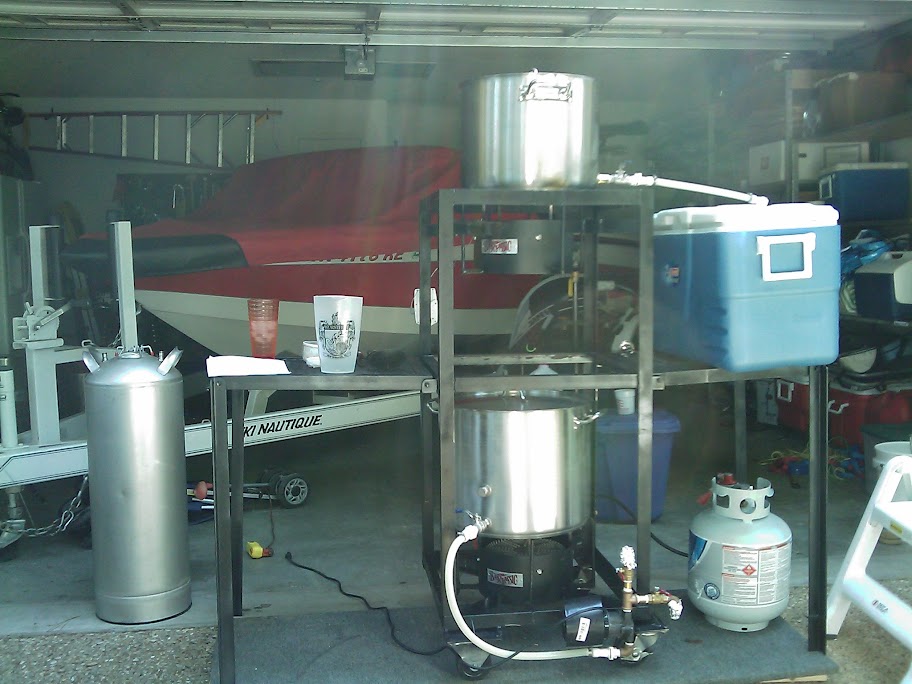
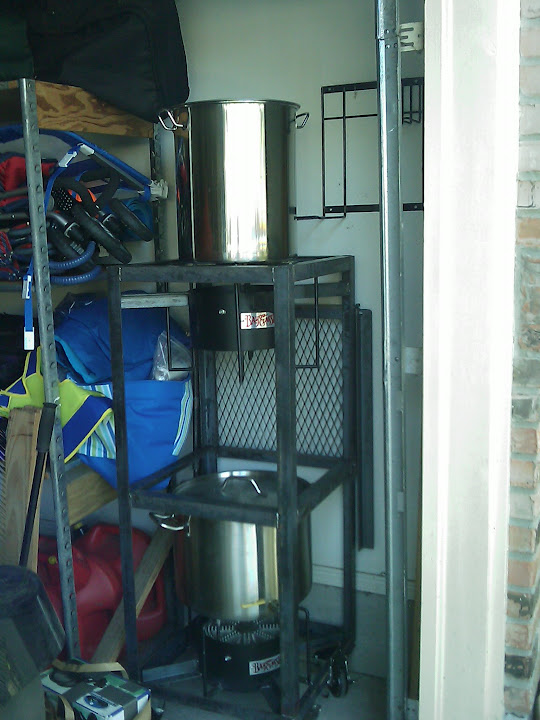
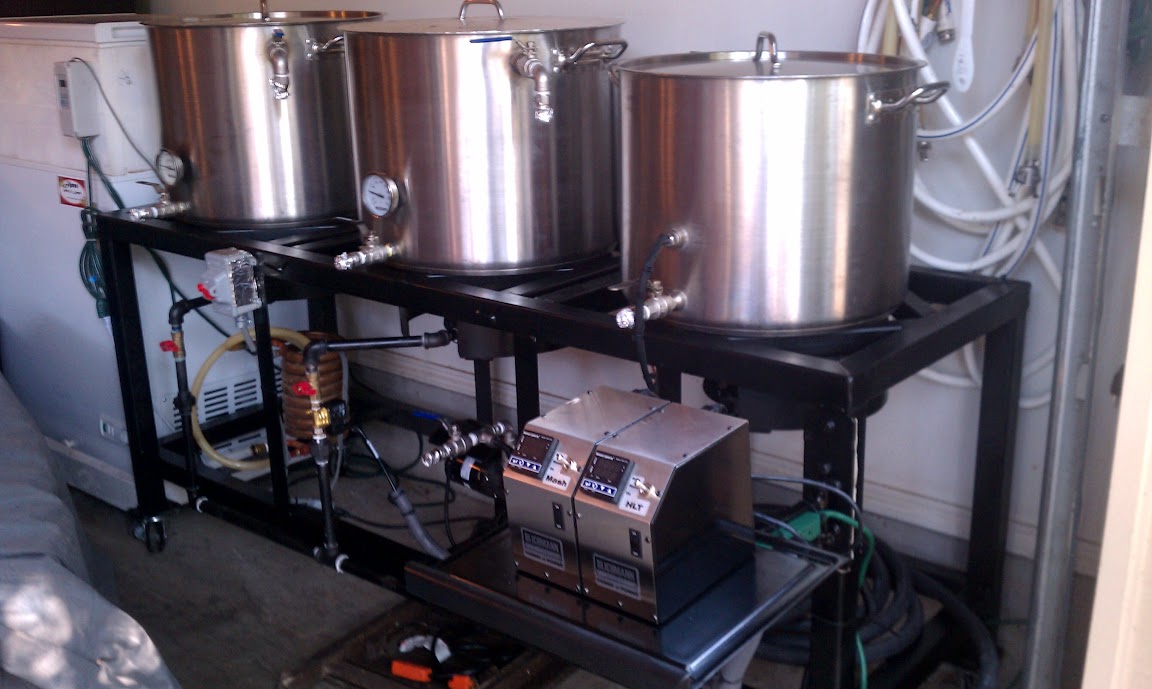
Hello fellow brewers. My wife finaly gave me the go ahead to build my three tiered brew system. I have brewed numerous times in the past so i'm not worried bout that, my concern is building the system from scratch. I have done my research and have seen what some have built. My first set up is not going to be my "dream" set up nor have everything at once to save money at first. So here starts my questions.
1) I know i'm going to use 2x4 and 2x6 but will a length of 6 ft be to large?
2) I noticed partical board is a little cheaper than plywood will it hold enough weight?

Before answer let me back up a little. The design in my head will be about 6 feet long...4 inches off ground (on casters so easy to move) and have shelves to hold kettles.
 
Quick question, if your bottom tier is 4" off the ground, and assuming your lower tier is your BK, how will you transfer to the fermenter? If you have a pump to accomplish this, and are planning something that is 6 feet in length, you might consider a signle tier system. I started off with 3 tiers with folding shelves and ended up with a BK, from which I couldn't transfer to the fermenter without a pump unless I removed the kettle from the lower tier and raised it up (sort of defeats the purpose of a stand).

My reasons for going with a 3 tier the first time were primarily based on space. My folding stand stored in a 22" x 22" space. The second time around, I freed up some space and went to a 72" long single tier stand (lifting buckets of water up to that 3rd tier is no picnic.

Just throwing this out there. There are definite benefits to going all gravity. But you need to build that lower tier high enough so you can use gravity all the way to the fermenter. Depending on batch size, this requires a good deal of height added and/or a pump.

Since 2007, I have tried it a few different ways. I have gone from this

Brew%2520Setup.jpg


to this,

BS2.0.jpg


IMAGE_006.jpg


and ended up with this.

Brew%2520Stand%25203.0%2520Final%2520Final.jpg


which eventually became this.

IMAG0284-1.jpg
 
You proved an excellent point. It does defeat the pupose. Right now im drawing and planing, i just read reviews on a three tired system. I just want to let gravity (or pump) do the work so i don't have to lift anything (since i'll be brewing bymyself) How do you like your single tier system? I'm also assuming you use a pump to do your transfering...is that an expensive set up? And judging by your expirence does it work btter than the thought of using gravity?

Like i said all planing right now i love the advice and input because i can think about those possible dilemas and adjust my plans accordingly
 
Even when I had a three tiered system, I used a pump (even before realizing I needed it to pump to the fermenter) to whirlpool in the brew kettle. Based on my experience of brewing on both, I prefer the single tier setup for ease of use. While gravity is infinitely reliable, pumps are a lot faster and, apart from the occasional loss of prime/cavitation, very reliable. And, on the single tier, if my pump fails, I can gravity feed into a bucket (worst case scenario) and transfer that way. The real beauty is the lack of overhead lifting and having everything at eye level.

One other thing to consider is what type of mashtun you will be using and how you will filter your grain. When I was using a cooler, I filtered my grist using a bazooka screen. This worked great using gravity and a pitcher to vorlauf, but I can imagine that a pump might have resulted in several stuck mashes given the lack of surface area of the screen. With the dip tube below the false bottom, I can get good flow going without worrying about the mash sticking.
 
:off:
I FINALLY saw one of these 10-15gal Cornies the other day! (reference dcbc's pic#2) I saw them used as Emergency Eye Wash stations! They are filled with Sterile water and Pressurized. They even have the same opening in the top as a normal Cornie. Now I know where to keep my eyes out for them.
 
:off:
I FINALLY saw one of these 10-15gal Cornies the other day! (reference dcbc's pic#2) I saw them used as Emergency Eye Wash stations! They are filled with Sterile water and Pressurized. They even have the same opening in the top as a normal Cornie. Now I know where to keep my eyes out for them.

Been fermenting in that keg for years. Bought it "new" as a second from Keggle Brewing They seem to have gone up in price a bit, but I recall paying around $250. Basically gets me into stainless for way less than a conical, will fit in my chest freezer after putting an enormous collar on it (see picture above), can do closed transfers, and is relatively easy to clean with a PBW soak.

Difficulty: Must have it in the chest freezer before pumping 11 gallons of wort into it. Solution. Put wheels on chest freezer, and roll it over to the brew stand.

Blow off valve is as easy as a gas disconnect and a bit of hose. Plenty of head space and zero issues with the tall geometry (at this volume).
 
Okay interesting prospectives to think about. I re did some of my planing and the botom shelf will now be about desk height so i can drain right into fermentor. As far as my lauter tun yet, i'm not sure if im going cooler route or kettle with a false bottom. My goal is to have water flowing from top kettle to do my sparging so i'm not sure if pump would work best (whats you thought on this....if i have a false bottom with continuous sparg from above water source in theory it should feed nicely into my brew kettle bellow correct? Or i could b wrong)
 
I batch sparge. so I'm not too familiar with the nuances of fly/continuous sparging.
 
Back
Top