From trash heap Fridge to 1st class fermentation chamber

Homebrew Talk - Beer, Wine, Mead, & Cider Brewing Discussion Forum

Help Support Homebrew Talk - Beer, Wine, Mead, & Cider Brewing Discussion Forum:

This site may earn a commission from merchant affiliate links, including eBay, Amazon, and others.

dcarter

Well-Known Member
Joined
Oct 19, 2006
Messages
389
Reaction score
28
A friend gave me this piece of cr......I mean, wonderful and functional still useful refrigerator. Originally, I was going to make it into a kegerator but the generous friend that gave it to me took all of the kegerator parts before he let me haul it away.

To make a long story longer, I got a great deal on another kegerator and was stuck with this.....I mean, I needed to find another use for this wonderful and still useful refrigerator. I decided to turn it into a fermentation chamber for my 30 gallon conical fermenter. This is it's story.

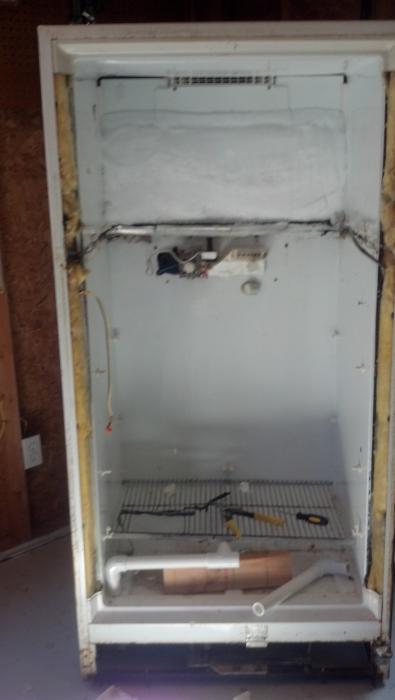
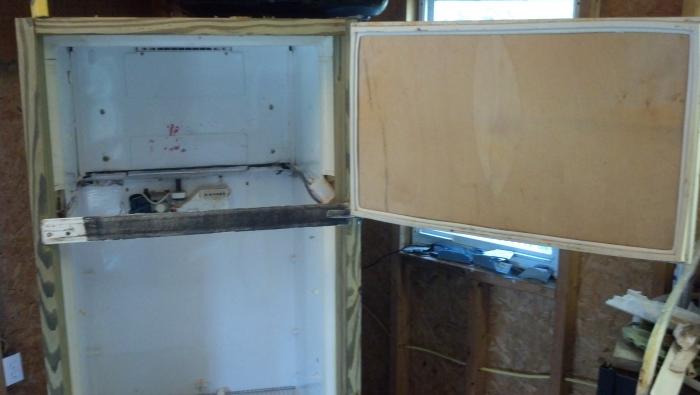
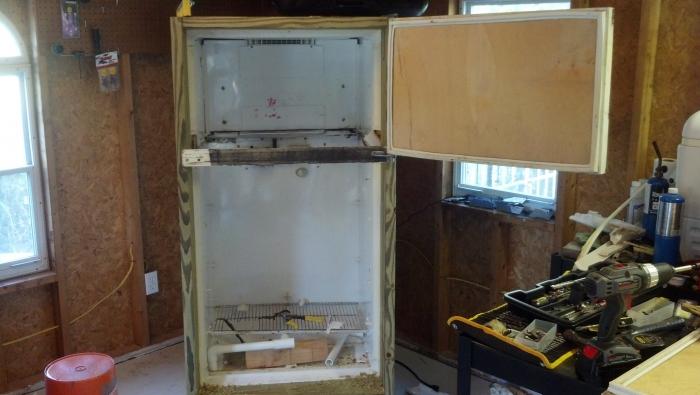
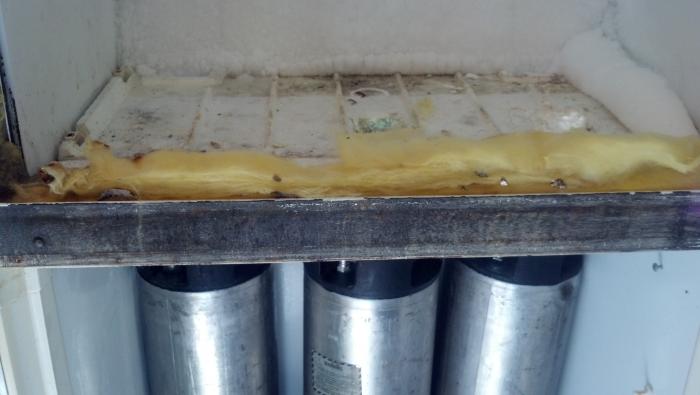
It started with me taking the doors off and removing the partition between the fridge and freezer..
2012-11-01_10-12-27_890.jpg
 
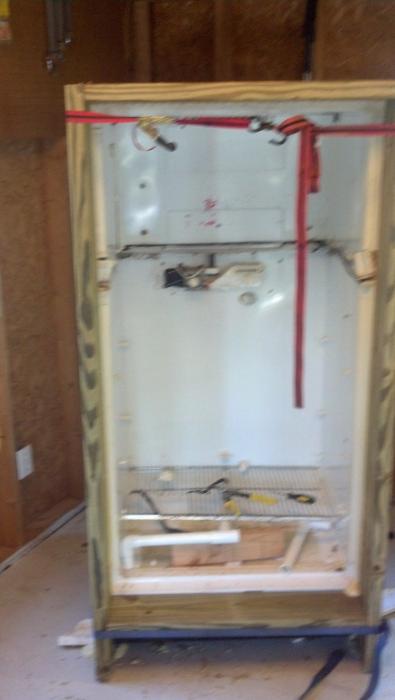
In order for my 30 gallon fermenter to fit in the fridge, I needed to extend the depth out another 6 inches. How do you make a fridge 6 inches deeper?

2012-11-01_14-03-01_813.jpg
 
This was done with the help of Gorilla glue and cargo straps.

2012-11-01_10-53-09_543.jpg


2012-11-01_15-49-08_785.jpg
 
I'll let you know. HA! I am going to build out the doors and hang them tomorrow. Then I need to install the temp controller and.....brew some beer.
 
Very cool. Can't wait to graduate and move me and the lady to our own place and expand my brewery.
 
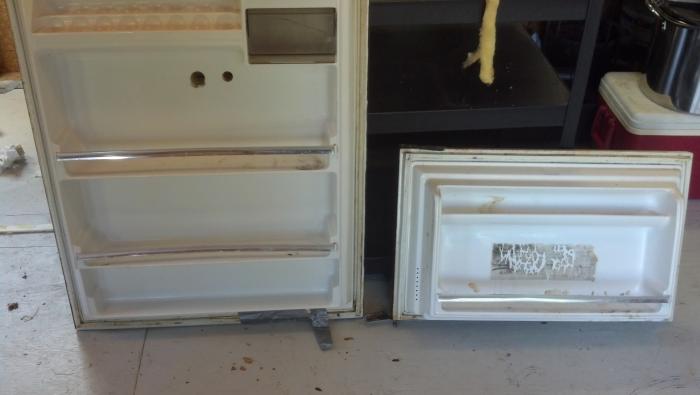
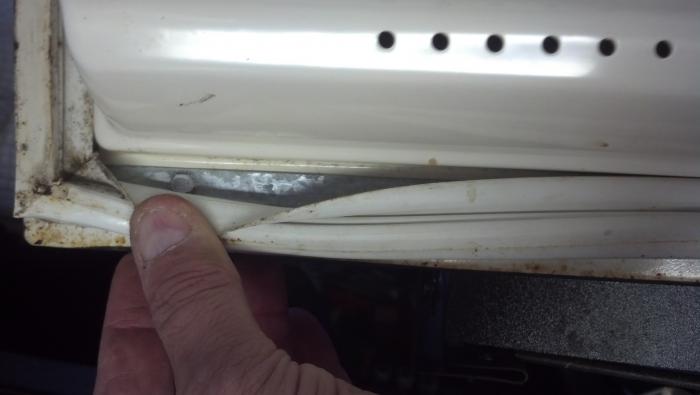
Since we wont be keeping eggs in the door, it's time to make more room inside our fermentation chamber. First thing is to remove the 30 or so screws that hold these on without damaging the rubber seal that will be re-installed when the panels are replaced with 1/4 in plywood.

2012-11-02_11-48-00_213.jpg


2012-11-02_11-55-00_457.jpg
 
The front panel has been removed and will be used as a template to mark the new 1/4 inch plywood insert for size and for screw holes. The bottom photo shows what the door looks like with the panel removed.

2012-11-02_11-57-47_633.jpg


2012-11-02_11-57-56_117.jpg
 
In order to get the screws to line up properly, it is very important to mark the holes precisely, make them a little larger to give some wiggle room and most importantly to ensure that the door is completely FLAT when installing the new panel. A good friend, the same one who gave me the fridge, gave me the plywood. When we made his fermentation chamber a few weeks back, we installed the panel with it standing up which allowed the door to be slightly warped. When the panel was installed, the door wouldn't seal and he had to completely re-work the door.

2012-11-02_15-53-06_683.jpg


2012-11-02_15-53-24_308.jpg
 
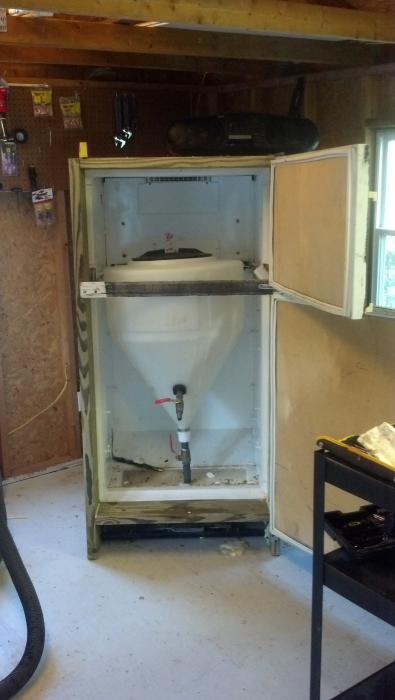
Time to test the measurements! As you can see the 30 gallon fermenter fits in the chamber without a millimeter to spare! As you can see, I used the original divider to form the seal across the middle. This required drilling out a recess in the 2x6's to allow the plate to seat properly. I was originally going to use another 2x6 but in retrospect that would have been a mistake since there wasn't enough room for anything other than the original divider.

2012-11-02_17-09-17_543.jpg


2012-11-02_17-09-55_390.jpg


2012-11-02_17-09-42_482.jpg
 
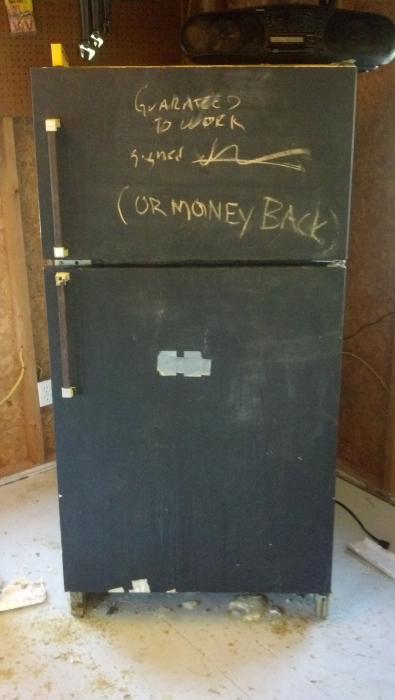
Here is a shot of the fermentation chamber with both doors installed and closed. Now comes the hard part. I will have to build the stand around the fermenter inside the chamber since the fit is so tight. More pics to follow.

2012-11-02_16-01-15_572.jpg
 
Thanks Kandofab! I still need to finish the stand so I'll post more pics as I get it finished out. At least the heavy lifting is done.
 
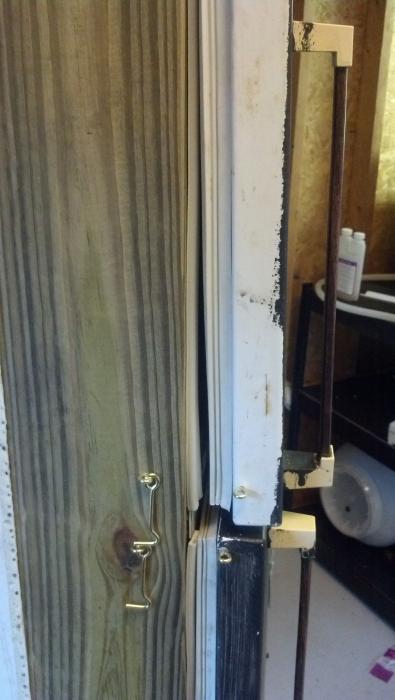
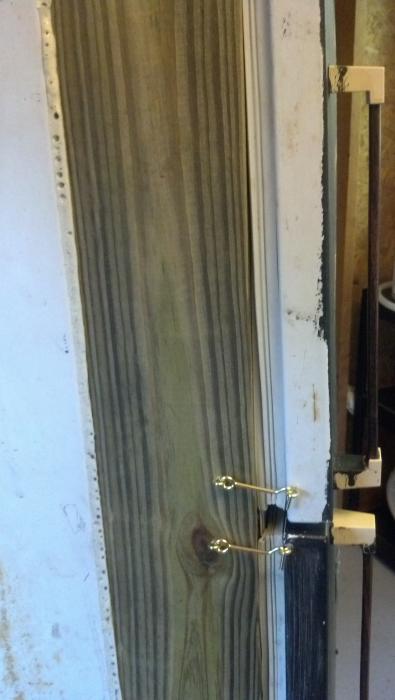
The doors didn't form a perfect seal so used weatherstripping to fill the gap. After that, a couple of 99 cent hooks will hold everything tight.

2012-11-03_17-51-18_26.jpg


2012-11-03_17-51-57_813.jpg
 
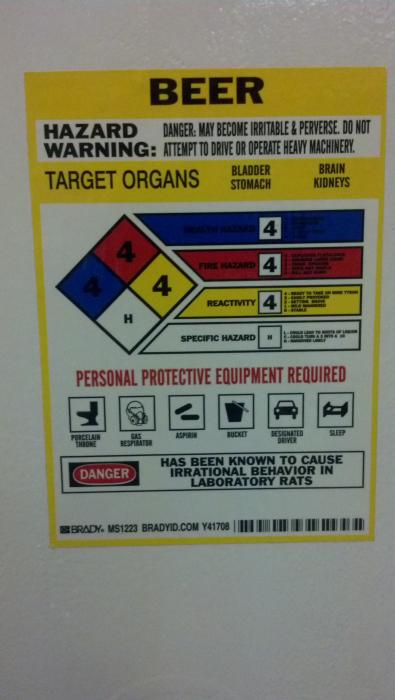
I found the perfect label for my brand new fermentation chamber.

2012-11-04_19-41-41_95.jpg


2012-11-04_19-41-54_977.jpg


2012-11-04_19-42-09_847.jpg
 
Now to build the stand and install the temp controller.
 
looks nice and glad it works! I do have a question, why did you bother putting the piece back in to seperate the freezer and fridge doors? Why not just one solid door? Wouldn't that make it easier to get at/in to clean the fermenter? And a couple of toggle clamps around the edges would make a secure seal.
 
The two doors connect with a single piece hinge and it separates them by about an inch. I suppose I could have bolted them together but honestly.....I just didn't think of it!

You may have just solved several problems for me dfess1. Thanks!
 
Looks awesome dude! I can't wait to try some of that yummy lager that you're sure to be making now! I'll take 10gallons please!

Was the donor DL?

He gives you to much! Next time, I get whatever he doesn't want!!! I call dibs!
 
HAMZ, you mooch! LOL
Yeah, DL gave me the fridge. Maybe after Thanksgiving you can join us and we'll crank up my 25 gallon electric brewery and fill everyone up!
 
If I get off work early enough tomorrow I will start the stand. I can't wait to make beer in this thing! No more temp induced off flavors for me.
 
Now if my temp controller would ever get here, I could make some beer! I have about 7 empty cornies sitting around and they take up just as much room as full cornies.

2012-11-11_12-44-20_939.jpg
 
My buddy wired a temp controller for me and even added a paint can heater! I have had a nice blonde in it for over a week and it has been rock solid at 65 degrees even with the cold nights.
 
My buddy wired a temp controller for me and even added a paint can heater! I have had a nice blonde in it for over a week and it has been rock solid at 65 degrees even with the cold nights.

dude, you can't be putting blondes in fridges. there are laws against that, even with her consent ;)
 
Its alright, the blond is happy and cool with it. I plan to take it out this weekend and take it to a party. hehe
 
I did something similar with a 15.gallon mini brew conical about a month ago. Works great, but I need to remove that divider / door seal, it would make life much easier

ForumRunner_20121219_143215.jpg
 
I did something similar with a 15.gallon mini brew conical about a month ago. Works great, but I need to remove that divider / door seal, it would make life much easier

That looks great! I have the same issue with the divider but someone mentioned how easy it is to attach the top and bottom doors with a few sheet metal screws. I may tackle that after I get my blonde into the keg.

Again, great job!
 
I clean in place with Oxyclean. Fill it to the top and let it sit for a couple of days and then dump it. Before I add wort for the next batch, I sanitize it with starsan.
 
Here is a pic of the paint can heater that I use for temp control. That's a 70 watt floodlamp that provides the heat.

2013-01-21_15-29-18_969.jpg


2013-01-21_15-28-57_818.jpg
 
I took dfees1's advice and bolted the doors together and removed the divider. Now I can remove the fermenter in between batches and use the fermenterator as a refrigerator to cold crash up to 5 kegs!

IMG_20130505_161003_117.jpg
 
Back
Top