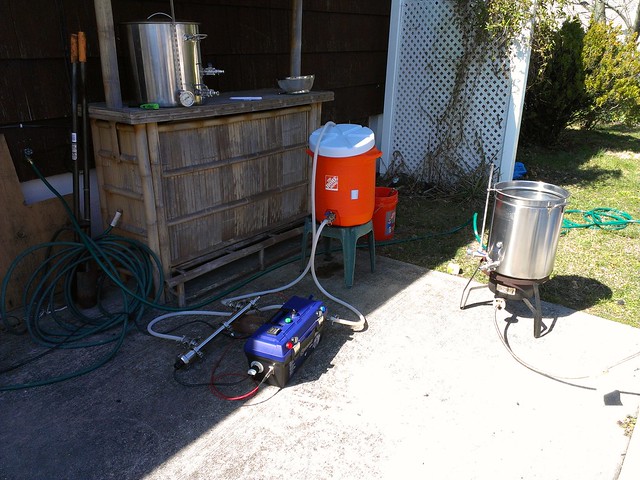
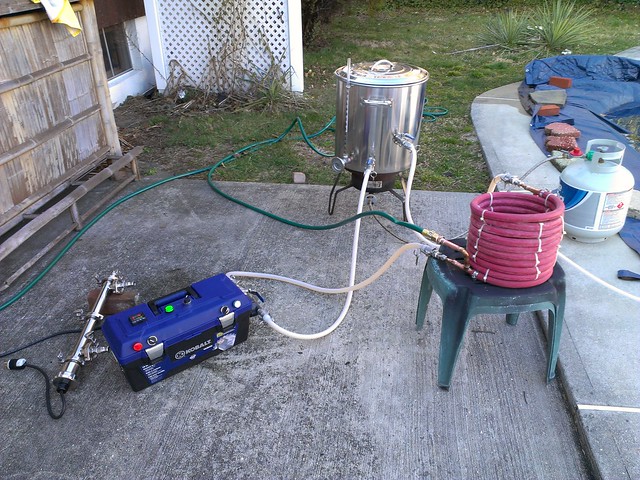
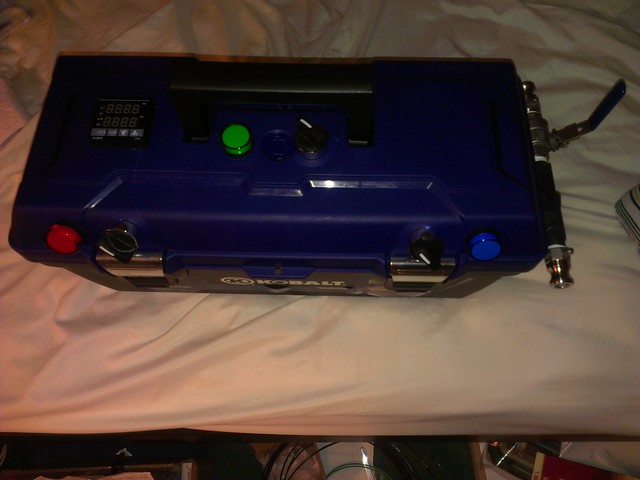
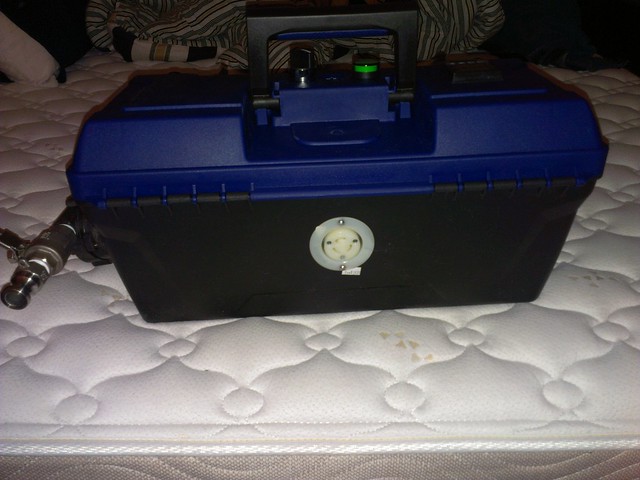
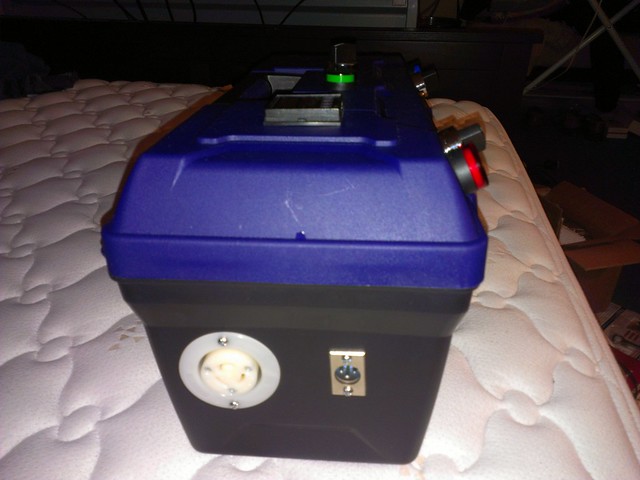
Just somewhat finished my RIMS and Pump in a cheapo Lowe's toolbox.
I used the following schematic from one of the other threads I have found:

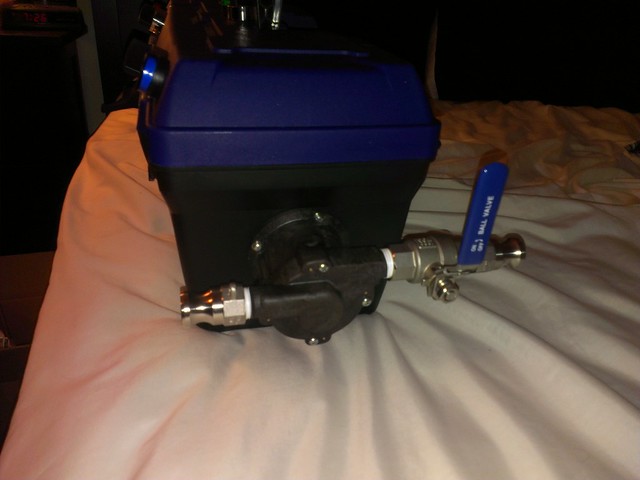
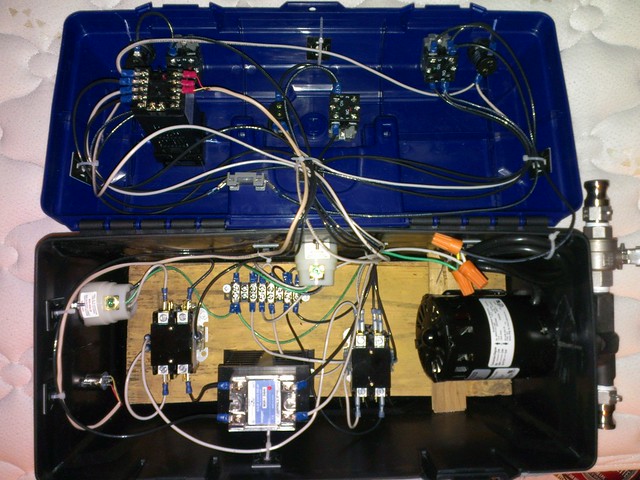
I tested out the pump last night which worked like a dream until i forgot to clamp down the hose and the water went all over the bathroom floor. Hopefully get to test the RIMS tube later today to make sure everything works out ok!
PS - Thanks to the instigators in the RIMS for dummies I ended up investing into the brewershardware's 1.5 Tri-Clamp Rims tube. A lot more money than the stainless fittings but damn it is nice! Post shots of that later.
I used the following schematic from one of the other threads I have found:
I tested out the pump last night which worked like a dream until i forgot to clamp down the hose and the water went all over the bathroom floor. Hopefully get to test the RIMS tube later today to make sure everything works out ok!
PS - Thanks to the instigators in the RIMS for dummies I ended up investing into the brewershardware's 1.5 Tri-Clamp Rims tube. A lot more money than the stainless fittings but damn it is nice! Post shots of that later.