Power Switch Wiring
Assuming everything has been done correctly, plug in your power supply, flip your power switch to the “On” position, and try turning the knob on the potentiometer back and forth. You should be able to observe the fan speeding up and slowing down as you turn the knob back and forth.
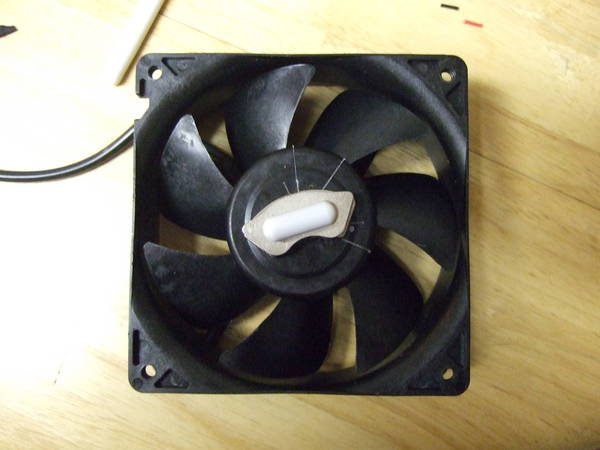
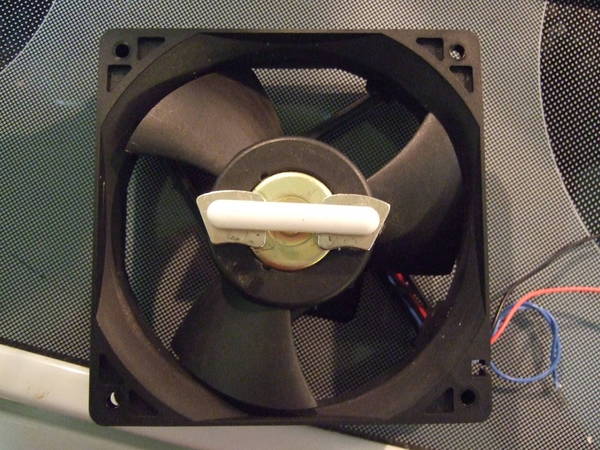
Now, we need to take the steel washer and glue it onto the fan. I used some 60 second epoxy so that I could turn the fan on and off to observe if the washer was centered on the center of the fan.
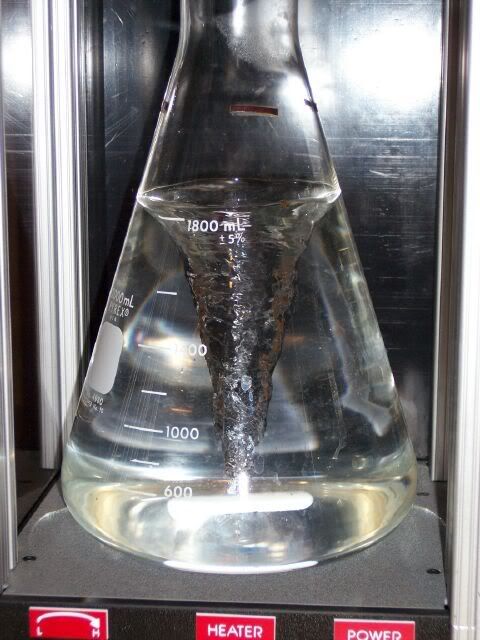
The next steps in this project is to fine tune the positioning of the fan within the enclosure, and try magnet combinations and positions until you get your bar spinning correctly.
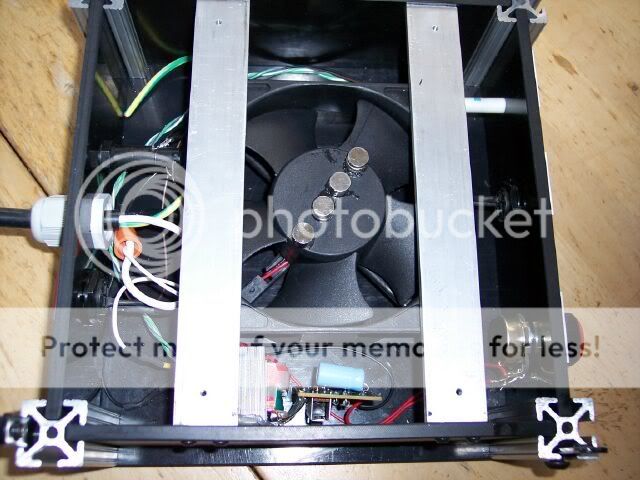
I used 2 ½ inch 10/32 bolts with matching nuts and washers to mount my fan. I also used some ¾ inch stand offs to raise the fan. Instead of the standoffs, you can use extra 10/32 nuts to position the fan up and down the bolts. I also found that you need to drill out the holes of the fan to get the bolts through. 8/32 bolts will work without drilling.
Mounted Fan
Bottom Side of Aluminum plate with fan mounted and secured.
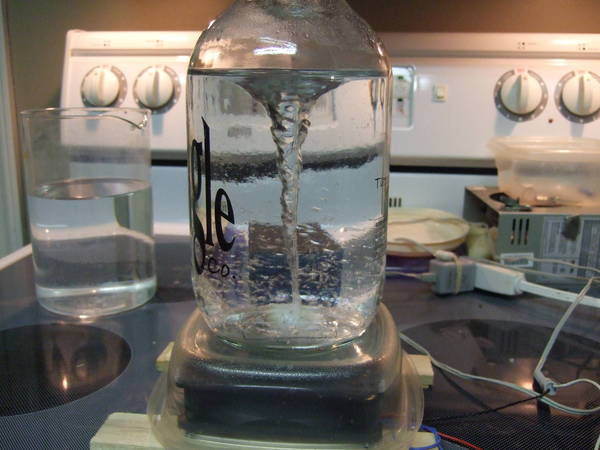
Your project enclosure should have come with both an aluminum and a plastic sheet to close up the enclosure. I drilled out the pattern for my fan's mounting holes into my aluminum sheet, and then mounted the fan. Once I had everything drilled out and mounted, I put every thing together, and tried it out...
Good Luck!!!
Also, for all you other DIY'ers, let me know if you catch a mistake or typo on here so I can edit...