I thought I saw a rooster. Nice touch.


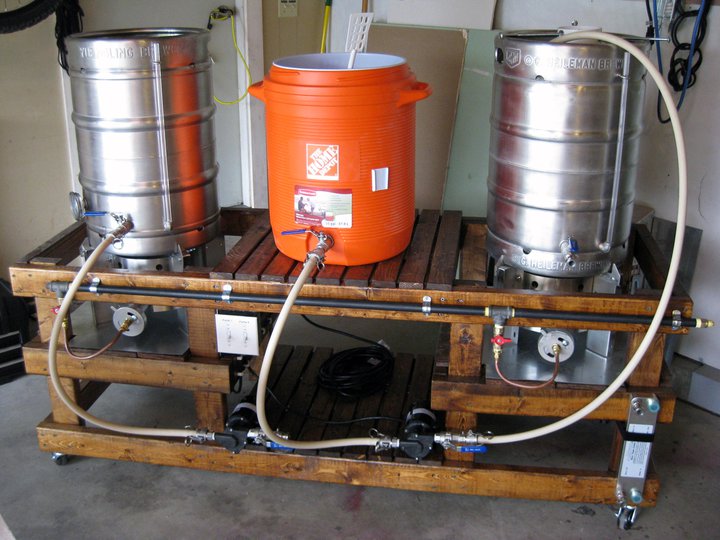
Here's my 3 tier setup. $40 for casters, shelving and sealer. The rest was scrap wood.


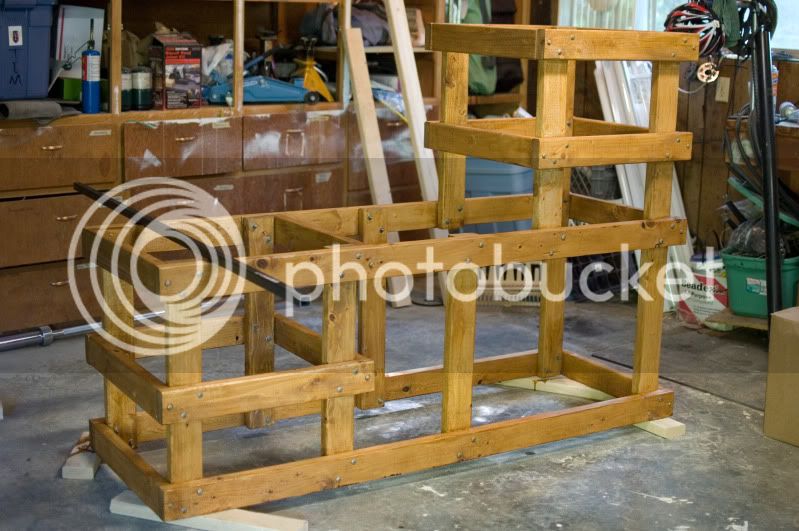
FirstStateBrewer said:That looks nice. Any chance you could rotate the pic and maybe take another without the brewing equipment so I can see how it was constructed?
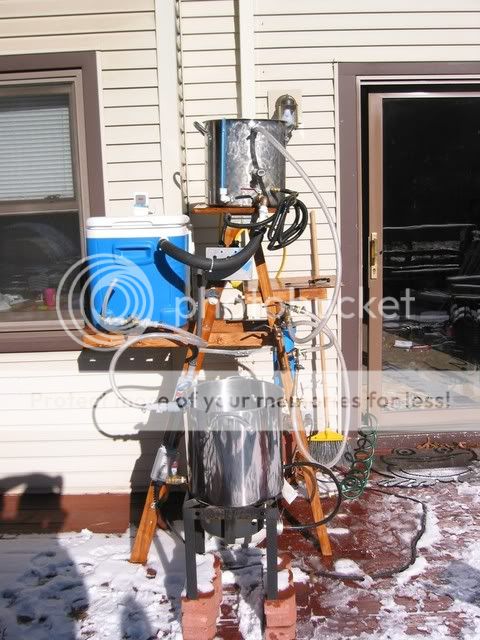
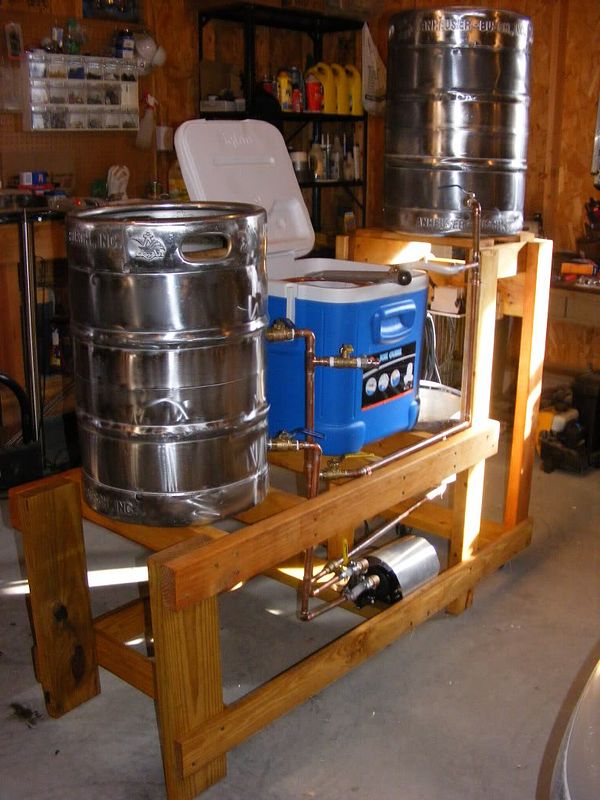
Here's mine, apparently it's kind of ghetto. Oh well, I thought it was cool.


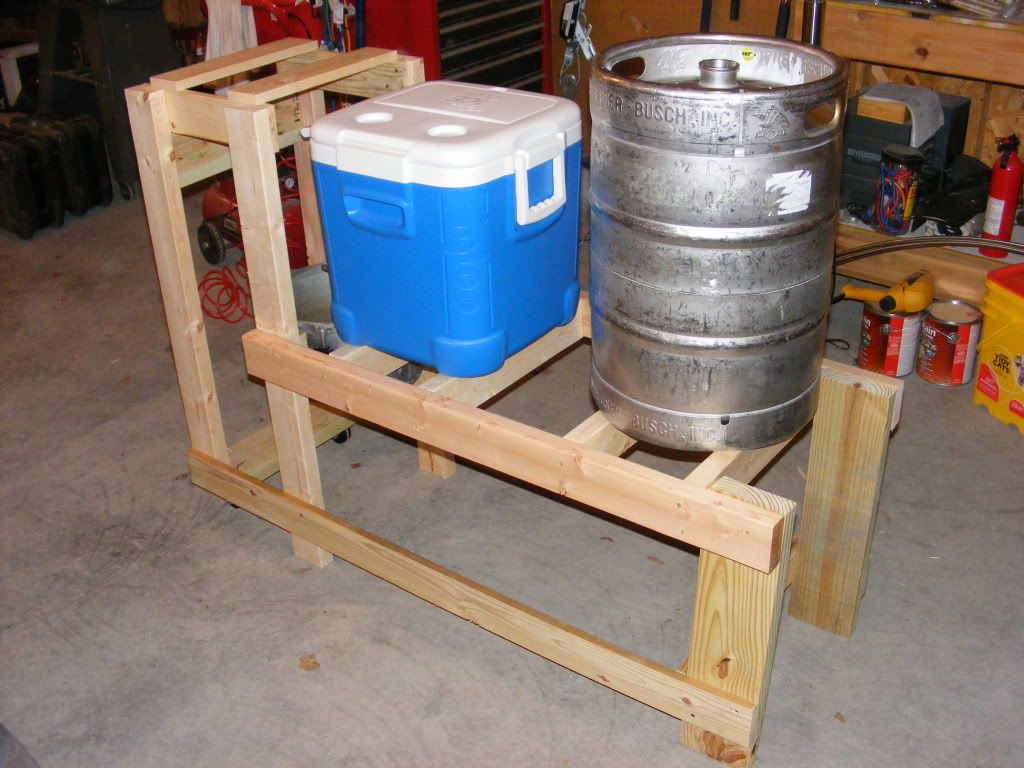
jeffdietzler said:Here's some photos of my wooden rig:

harten74 said:Thanks gents. I used Google Sketch Up to design it and I'd be happy to share those plans with anyone that is interested.
http://dl.dropbox.com/u/7265982/BrewRig.skp


Rcole said:Imitation is the sincerest form of flattery. Thanks for the detailed plans. You can see I'm well into the build.
Bob


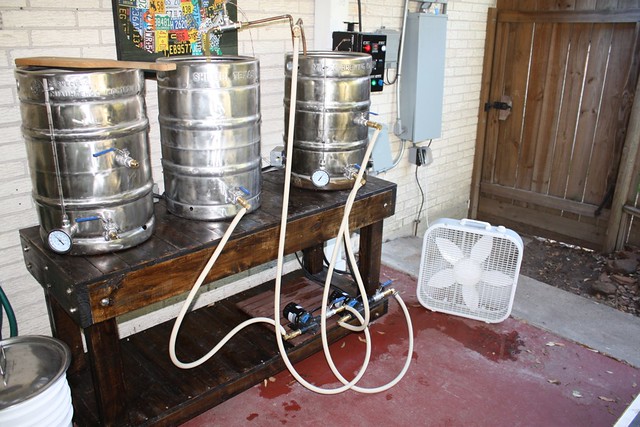
Finished mine a couple weeks ago!


Wooden Herms


Enter your email address to join: