Started my parts aquisition today...
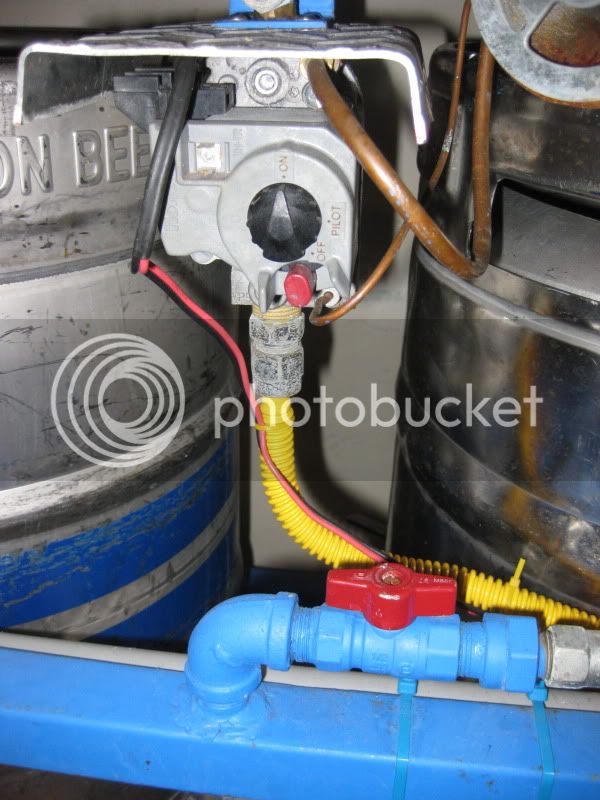
Anyone looking to use the Honeywell VR8200A2124 might want to check out PexUniverse
http://www.pexuniverse.com/honeywell-vr8200a2124-gas-valve
You get that valve and a thermocouple for $68.95 (as of 5/5/11)
Anyone looking to use the Honeywell VR8200A2124 might want to check out PexUniverse
http://www.pexuniverse.com/honeywell-vr8200a2124-gas-valve
You get that valve and a thermocouple for $68.95 (as of 5/5/11)