DIY Walk In Cooler Build

Homebrew Talk - Beer, Wine, Mead, & Cider Brewing Discussion Forum

Help Support Homebrew Talk - Beer, Wine, Mead, & Cider Brewing Discussion Forum:

This site may earn a commission from merchant affiliate links, including eBay, Amazon, and others.
This build is incredible....SWMBO asked what i was reading so i showed her. I am now grounded from HBT!!!

But, seriously, she's killed the idea before i asked.

Great job, though!!!

Lol, my swmbo asked when we were getting one.

Of course, I think she also had the ulterior motive of wanting a new house to go with it....
 
Sorry to do that to you guys. That is not my intention. I did this to a house I've lived in for that past 12 years. I think that's the best way to go instead of buying a newer/bigger house and taking on more debt.

Just tell them it's a money saver as you'll be getting rid of the chest freezers and they can put the leftover turkey in there after they clean up on Thanskgiving. It's a win/win.

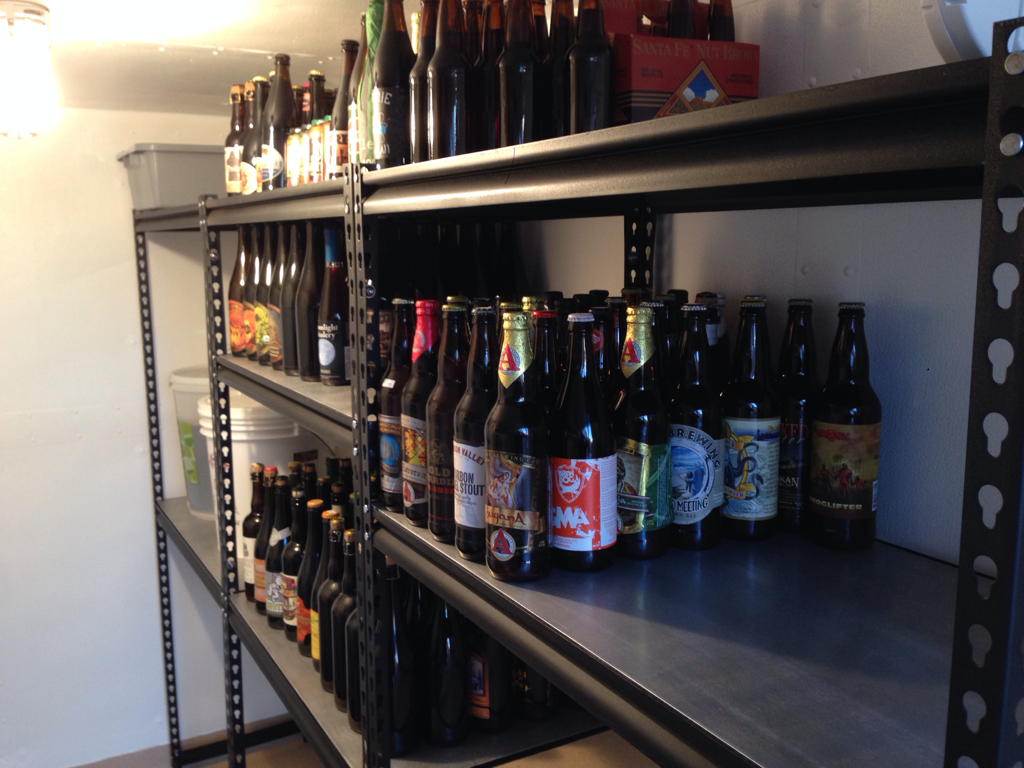
I finished a few of the new shelves today:

dYQiKDM.png


No flex whatsoever. Each shelf will hold 50 750's/22's.
 
Just wanted to post up... Have loved following your project!

I was in El Paso a couple days for work, and had a Jester King El Cedro. Was fantastic! Before reading this thread, I'd never heard of JK, and probably would have ordered something else instead.. Thanks!
 
That is awesome. Jeff at Jester King would love that.

He is really a class act and the beer is pretty damn good as well. I like to see good people doing well. He got his first medal this past weekend at GABF. I'm stoked for him...
 
This is currently being used for cold storage, around 37 F so I would say I am cold crashing. One can also lager condition, or even lager ferment if I turn up the temperature. But I have a fridge in the garage for that so I will keep this cold for now.

As for the aluminum itself, they aren't that bad. I can easily carry one at a time. I'm not sure how much a loaded shelf is, but it could be a fair amount. One 750 mL bottle weighs roughly 3 pounds so 3 x 50 = 150 plus the weight of the shelf. Close to 200 is a good estimate.
 
I made it to page 32, great work so far! If I were planning to do a walk in cooler, I would take a look at the costs involved with pouring an insulated slab, with a floor drain, and using insulated concrete forms for solid poured concrete walls with styrofoam insulation on either side. Attach metal lathe and stucco. Also use a mini split AC unit.

Otherwise great work and I look forward to seeing the updated progress as I find time to read the rest of the thread.
 
Thanks but you should see Fat Jeffrey's wifes collection. She has over 2500 bottles. They really need a cooler themselves...

Well, you are the one to tell them how to build it. Holy everything that is hoppy, malty and yeasty. I really need to get working. My collection is a whole... 3 large.
 
I've been busy with work and life so no real progress to report in the cooler. Next weekend being Learn to Homebrew day, and the following having to judge a local comp, I won't have much time in the next couple of weeks. That said, Ghettogyle Greg did come over and help me with a few pre-brew tasks we needed to cover.

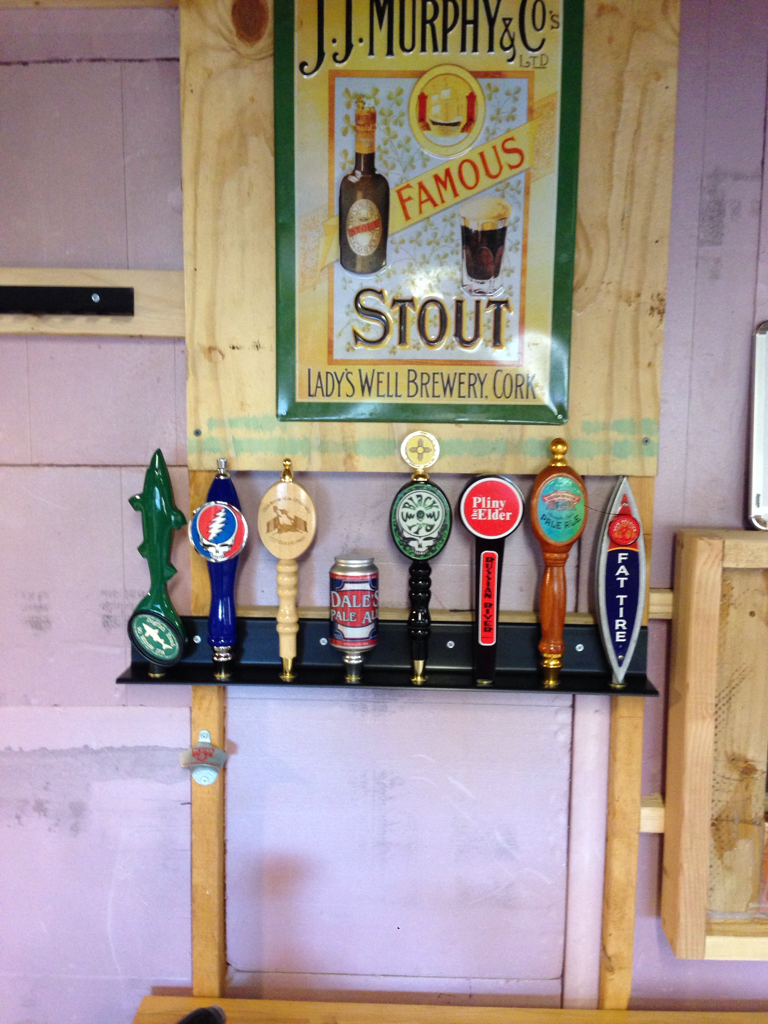
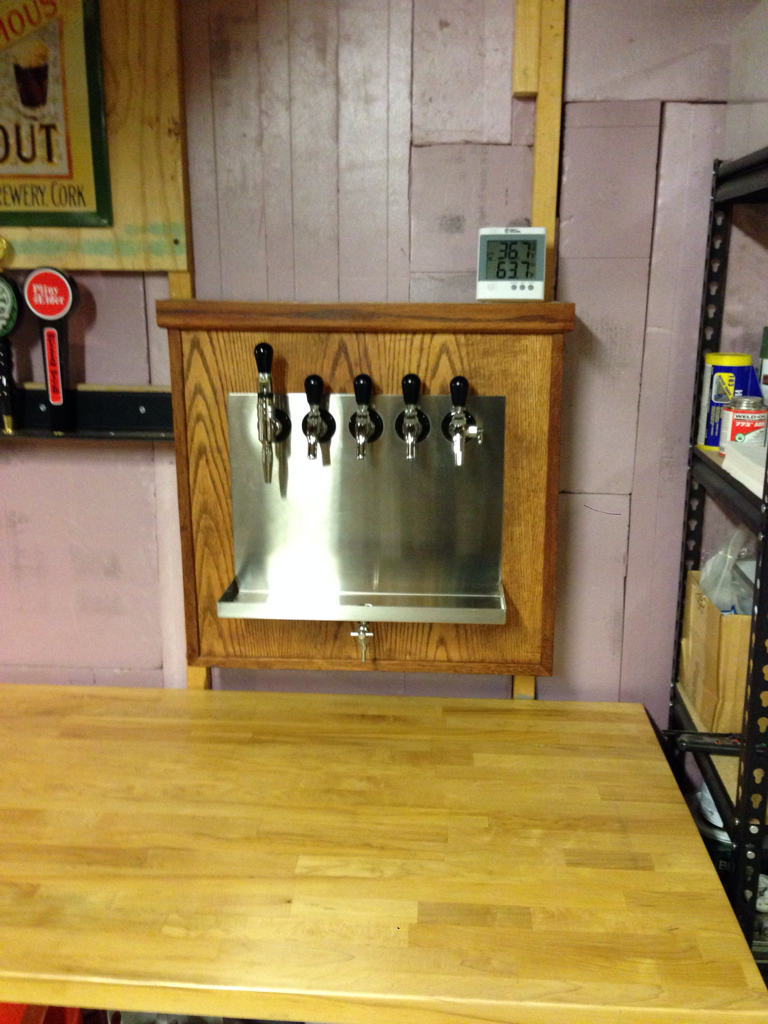
Tap handle holder:

3g7G1eY.png


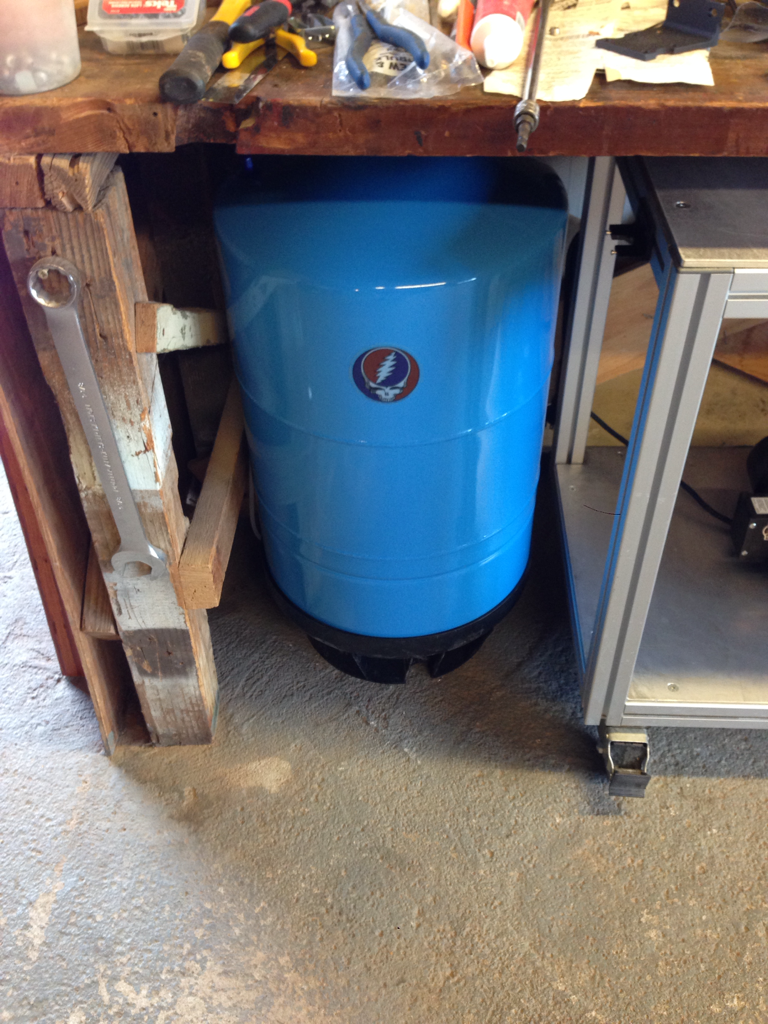
20 gallon RO reservoir:

n4HZA1R.png


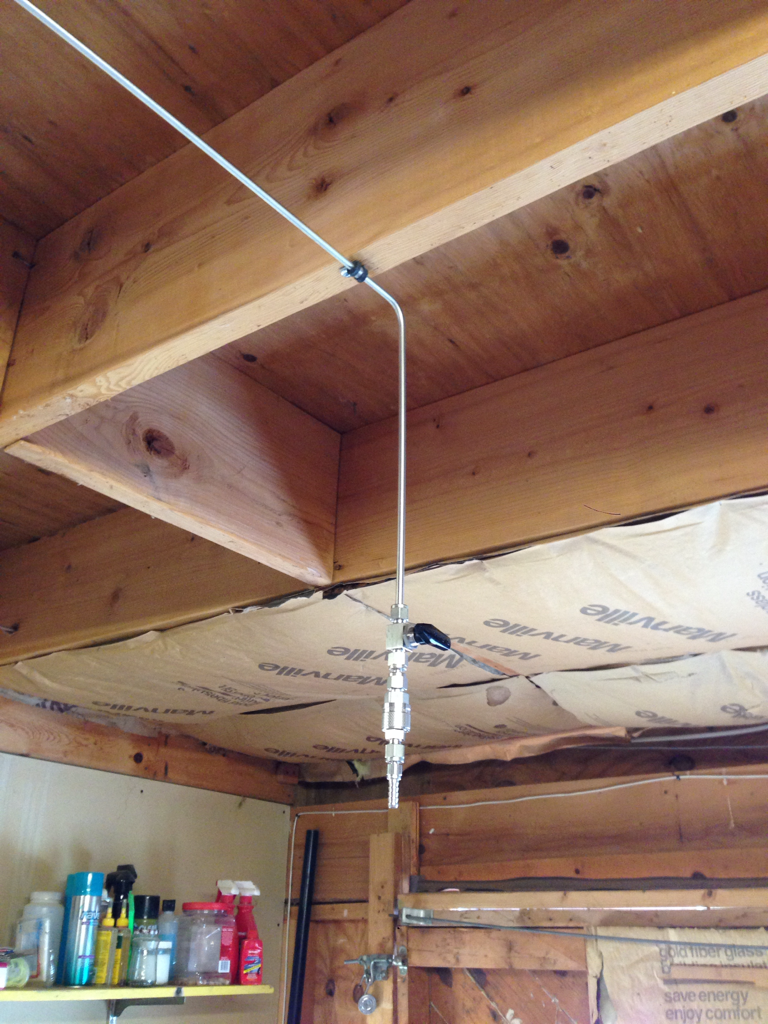
Water runs to a valve with a QD right above where I usually brew:

MwGsJ5j.png


Still need to shore that up a tad and run a flexible line that I will use to fill my HLT directly. No more trips to the store or carboys to lift. Booyah! I'll be able to remove the flex line with the QD and store it so I won't hit my head on it or anything.

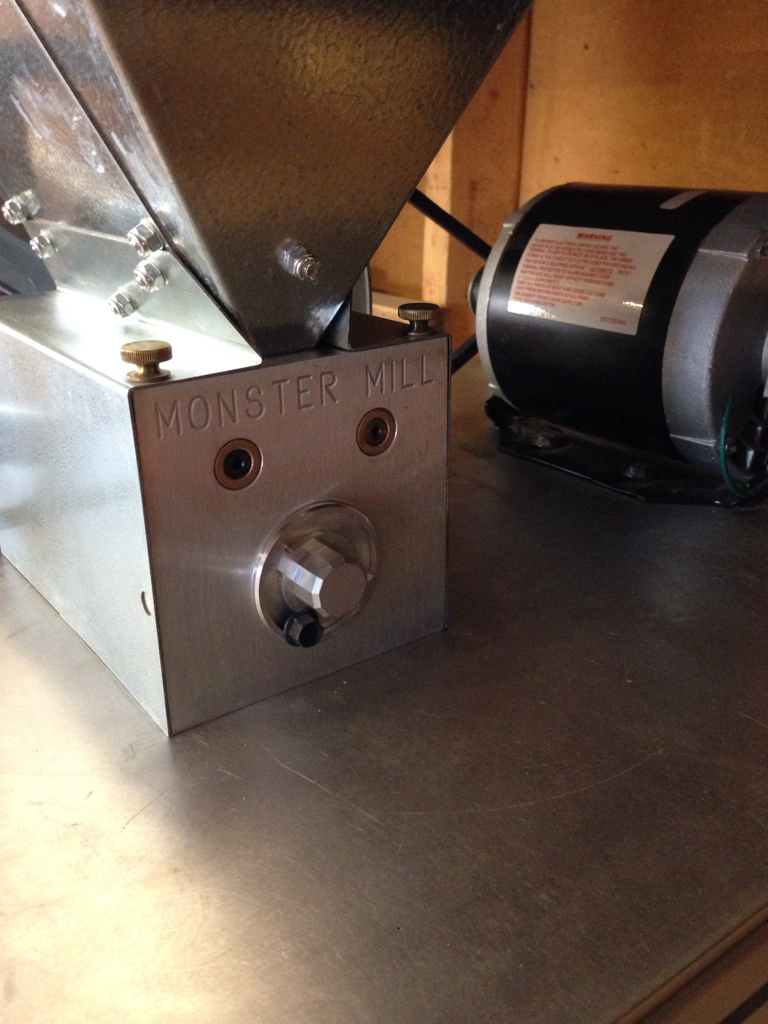
We also rebuilt the Monster Mill with Fred's new style end plates:

z90Hmun.png


These new eccentric knobs eliminate the old from the side of the end plate set screws which kind of suck. These set screws used to make it cumbersome to remove the hopper to clean the mill so maintenance was usually put off. Didn't test the mill but it feels like it is spinning nicely. We set the gap a little tighter as well as the crush wasn't as nice as it should have been in my last few brews.
 
Sorry to do that to you guys. That is not my intention. I did this to a house I've lived in for that past 12 years. I think that's the best way to go instead of buying a newer/bigger house and taking on more debt.

Just tell them it's a money saver as you'll be getting rid of the chest freezers and they can put the leftover turkey in there after they clean up on Thanskgiving. It's a win/win.

Lol, no worries, she's actually wanted one for a while too...current house is just too small for it, and not enough land to add on with.
 
Yes standard pressure tank. Got it from Amazon for 206 shipped. We put it in series with my RO system under my kitchen sink which is on the other side of the garage wall. There is a 3 gallon tank there as well. You don't see it but there is also a post tank polishing filter before the outlet shown the above post.

Ghettogyle Greg used to professionally install RO systems so he's very familiar with this stuff. He's ordered a bunch of new upgrades for me so in a couple weeks, we will install more goodies to enhance the RO system even further but for now it is running and I can get to brewing here fairly soon.
 
I'm still curious about power consumption...so when you get a chance to look at that let me know.

Otherwise, it came together really well...and everything else you've got going on with the brew set-up is just ridiculous...ridiculous in the best possible way.
 
Wild Bill came over today with his big FLIR camera and scoped out the entire cooler. No pics but he didn't find any issues. There is a very slight differential at the bottom corners of the door but it looks good otherwise. Nothing around the AC unit which was a main concern of mine besides the door. I think we did it right.

Greg is coming over demanding that we finish the taps. Right now.
 
We got lines run but the box isn't mounting up quite right so we had to abandon the progress. We will get back to it soon I hope. There are some tolerance issues between the 2x4 subframe and the outer case Solar Steve made.
 
Do you think wrapping the thermostat sensor with heat tape would work versus investing in a coolbot? Cost of $10 vs $400.
 
Sure, why not? There are many examples of this in the real world.

I went with a Coolbot as my plan was to have only two outlets in the cooler. If I used a heat tape, I'd have both outlets full all the time. With the Coolbot, I can have a free outlet for something else I may need to plug in, just in case. I think the Coolbot is more efficient as well. If you have a heat tape, you are adding extra heat all the time the AC will have to be working against. That and heat tapes are probably energy hogs themselves.

You're gonna pay for it somehow. With the Coolbot, I'm just paying more upfront. If you are going into a cooler build with your eye on lowest possible component costs, you will be paying later in terms of utility bills. Of this I am absolutely sure.

Heat tape was the recommendation of my electrician. I was planning on the coolbot because they have been so instrumental in my planning for my cooler.

Your thoughts on this are greatly appreciated because I hadn't thought about the required extra outlets needed and not sure that he had either.

Not sure the added heat is much of an issue because it would all be wrapped with insulation. But definitely needs consideration based on electrical rates in San Diego, even with me having solar.

My only experience with heat tape was as a heater for reptile beds. since researching i see now that it is often used for fermentation. Now thinking adding it to my yeast starter.

Again, thank you so very much. I need to get started on my build. it is only 64*39 so pales in comparison to yours. But should take care of my kegs and will allow me to build a bottle collection. Spouse keeps stealing my beer frig.

Love your taps and storage.
 
I machined them myself. The stout faucet one is plastic and came off the old Euro flow control faucets Northern Brewer used to sell. I liked that shape so I machined 4 others out of aluminum to copy that one. If you go back to my keezer pics in this thread, you'll see them in their bare aluminum form (page 36 of this thread). I recently took them to be black anodized to match the plastic one.
 
Nice. I've been meaning to do the same, but probably a little more cylindrical and longer. I had been planning on stainless, but that might be more work than I'm willing to do.
 
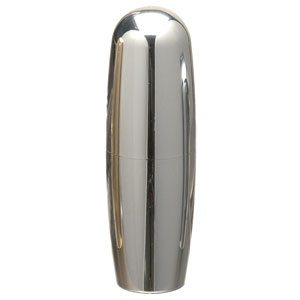
Micromatic sells a chromed plastic handle much like what you are describing:

4301-CHP.jpg


They are pretty cheap too. 6.89 each plus shipping. Definitely cheaper than spending hours machining your own.
 
Agreed but someone might. Just pointing them out as an alternative to those who don't have the skills/means to machine their own...

Alternatively, they have gold ones for our fellow homebrewers in Miami.
 
Yeah, good call. I just have the default black plastic ones right now since I've been too lazy to get it done. I also still don't have my drip tray attached. Finishing the little details is always the hard part. Especially when it's pouring beer just fine.
 
I trust everyone had a great Learn to Homebrew day. I got to teach a couple lesbians how to brew an extract batch as I was brewing a Tart of Darkness clone. Unfortunately they were not lipstick lesbians, otherwise I would have told them they had to come to my house afterwards to help with the "pitching". Oh well.

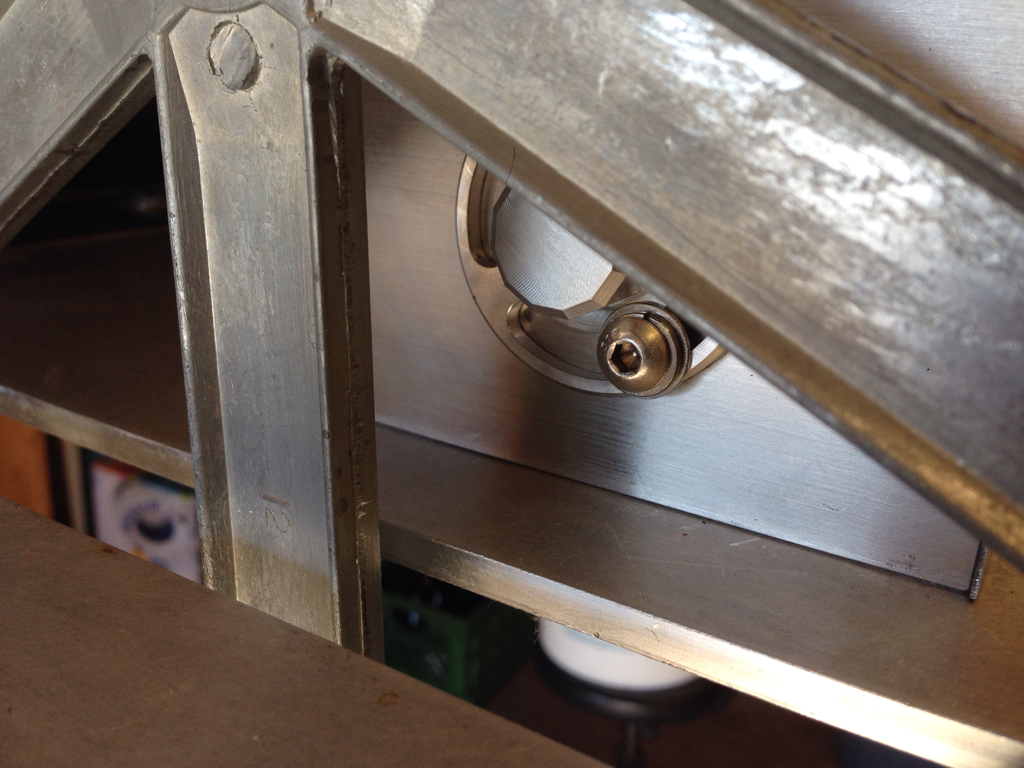
But right before that, I swapped out Fred's stock black oxide schwag fixing bolts for SS ones with proper washers and lock washers on the new mill endplates:

UcxCQuG.png


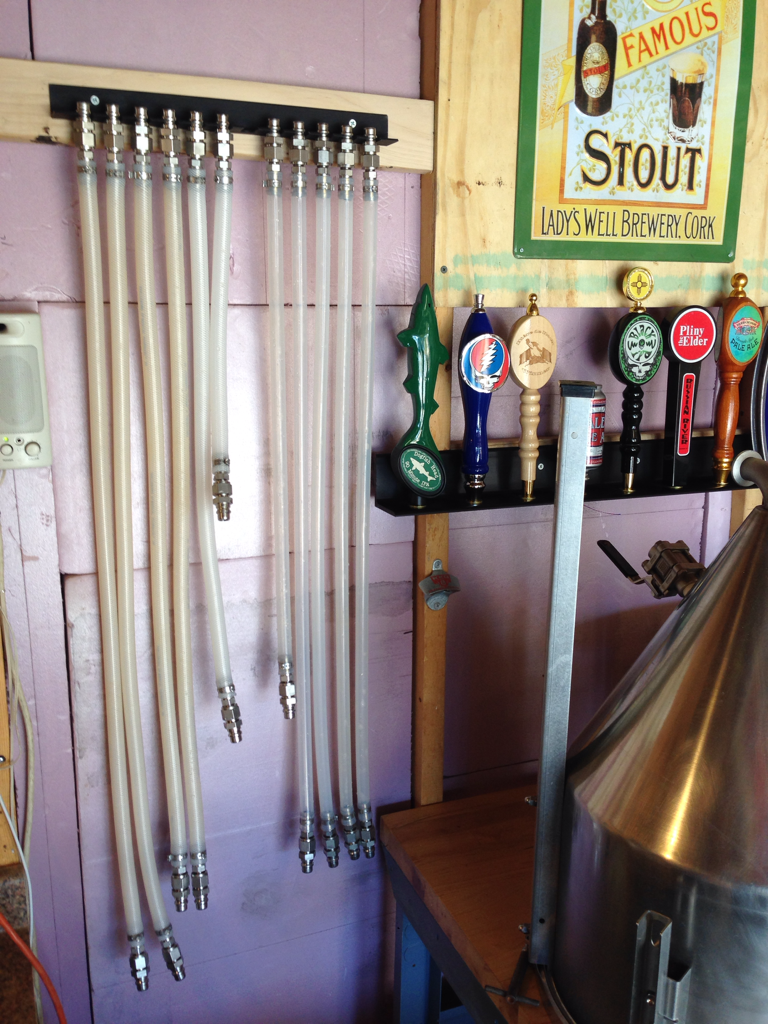
Then I hung the brewing hoses:

FRoZ9s8.png


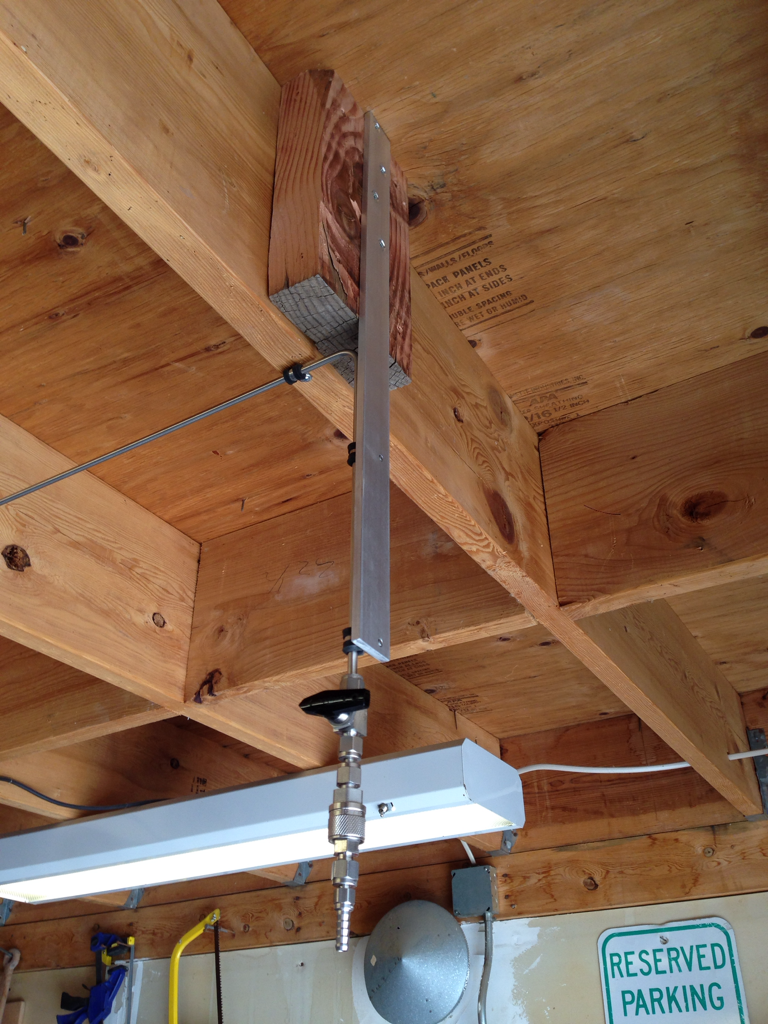
I shored up the new RO water feed:

LDXV9fz.png


Thanks to my Dad for providing the wood spacer block.
 
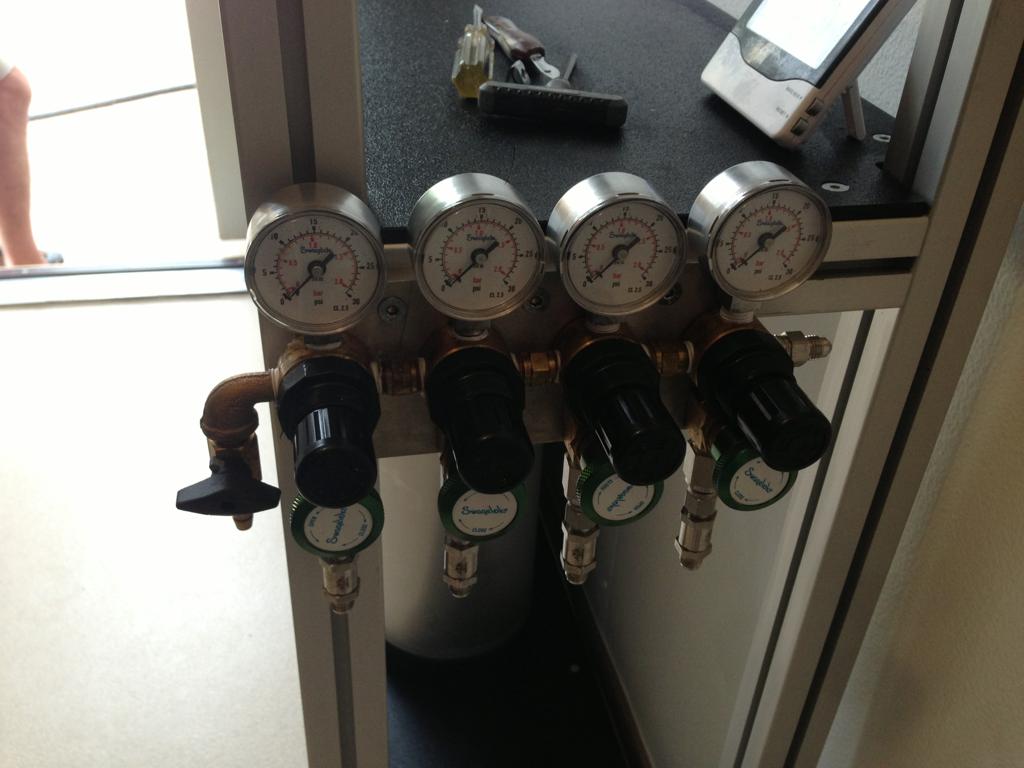
Those are el cheapo 25 dollar air compressor regulators from Home Depot. I built that years ago for my conditioning keezer and ganged 4 together. The Swagelok needle valves are just for gas on/off and I have a check valve after the needle on each. Nothing crazy but it worked well for years.
 
Yeah I have been brewing a lot but not much progress on the cooler. But really there is not much more to do other than sort out the beer and gas lines but I need kegs of beer first.

I will be headed to Beer Camp in Chico next week so I can probably get to the lines in December I hope. The cooler has been working well otherwise.
 
Back
Top