Got a welder, now the fun begins...

Homebrew Talk - Beer, Wine, Mead, & Cider Brewing Discussion Forum

Help Support Homebrew Talk - Beer, Wine, Mead, & Cider Brewing Discussion Forum:

This site may earn a commission from merchant affiliate links, including eBay, Amazon, and others.

Ohio-Ed

Supporting Member
HBT Supporter
Joined
Nov 18, 2008
Messages
2,058
Reaction score
25
A year ago, I went through an adventure to get some kegs welded. Here is the thread:
https://www.homebrewtalk.com/f51/welding-questions-148798/

The result of that was pure frustration. I got all kinds of great advice from folks here that I couldn't act on because I didn't have a welder.
Ever since, I've been reading, watching, and studying anything I could find related to tig welding (short of actually taking a class).

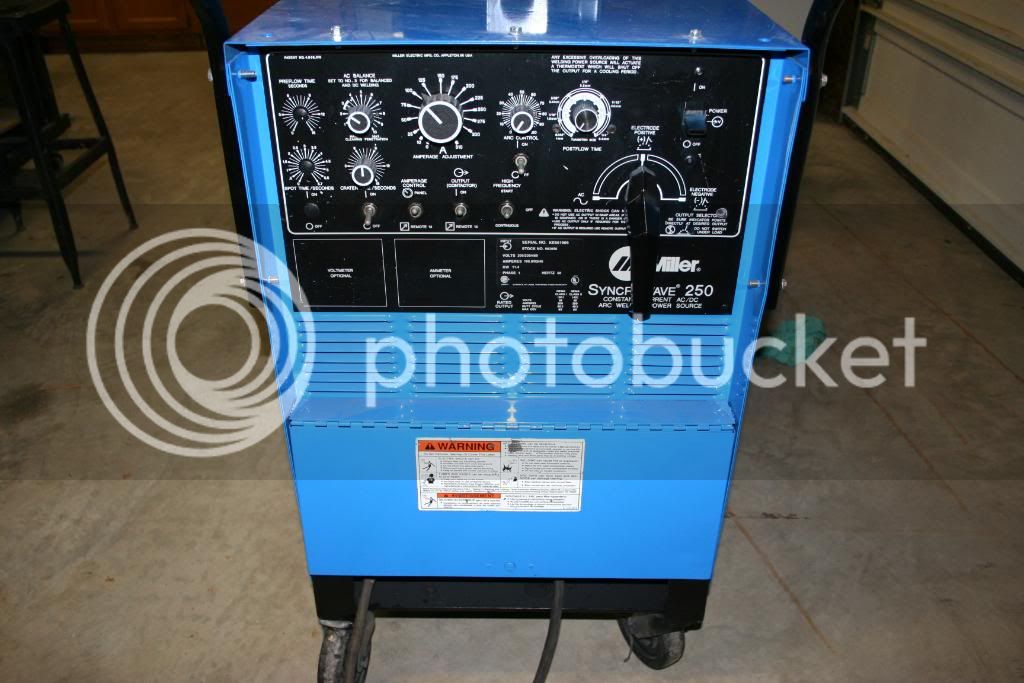
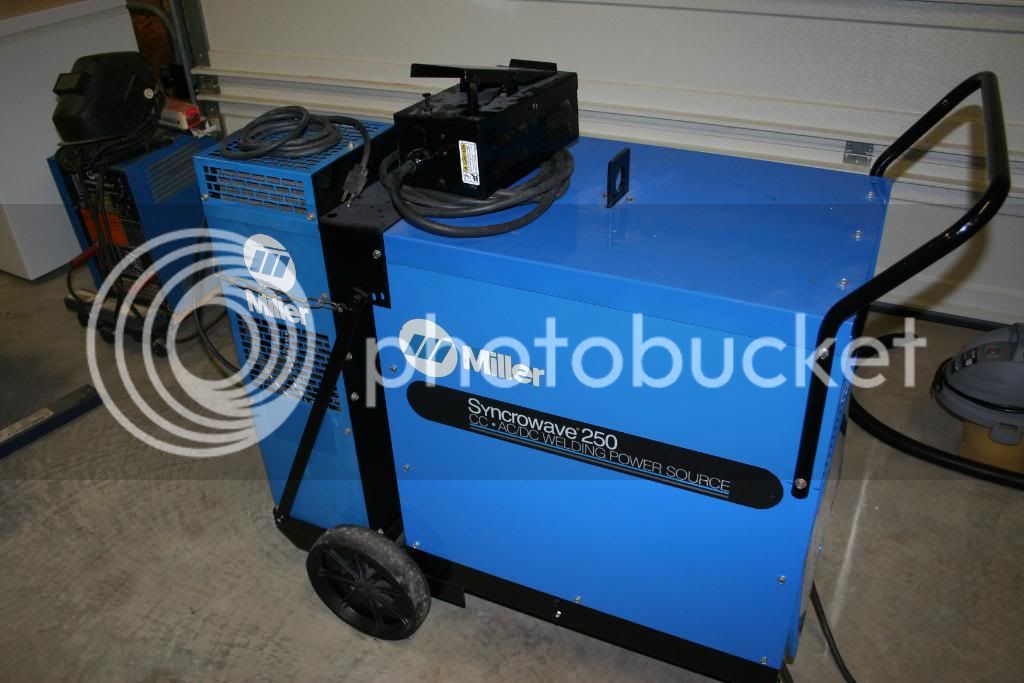
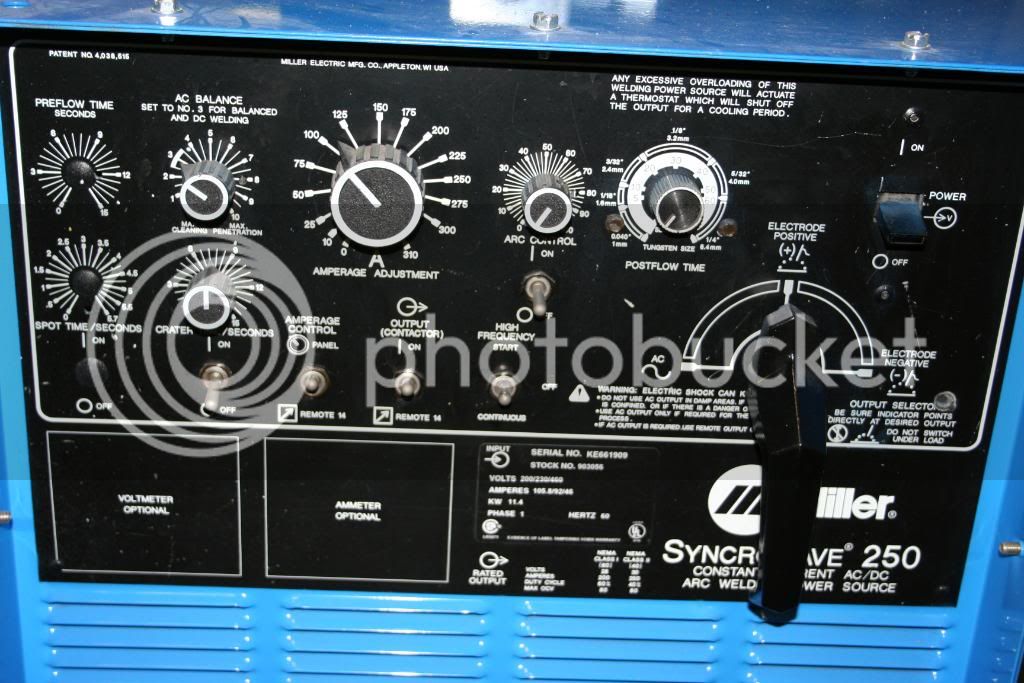
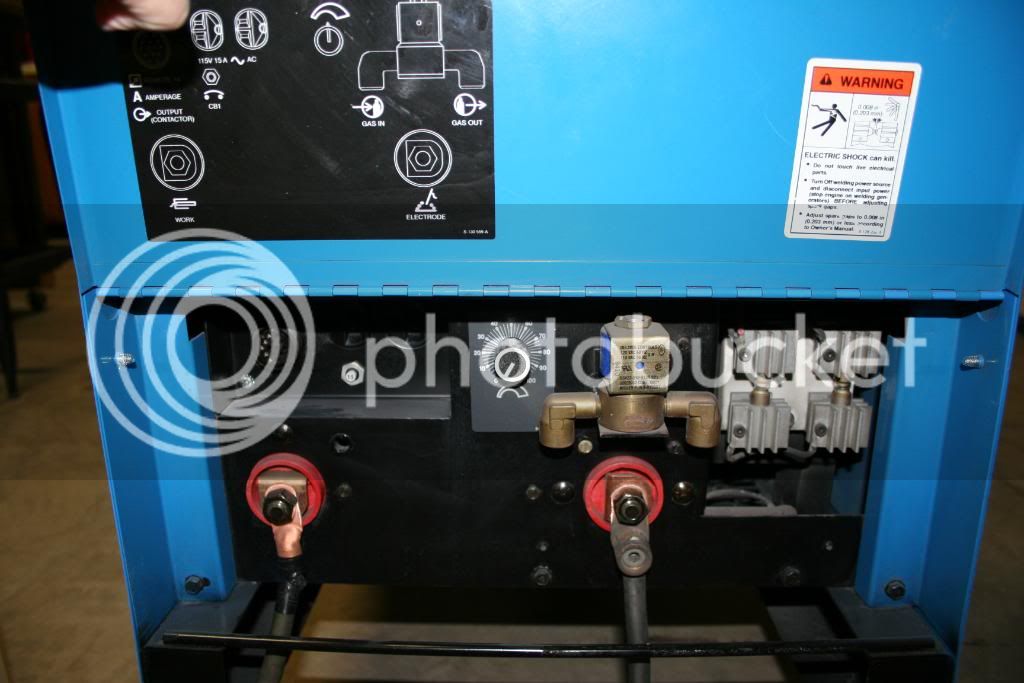
Well, last weekend, I bought myself an early Christmas present, an old Miller Syncrowave 250 with a water cooled torch.

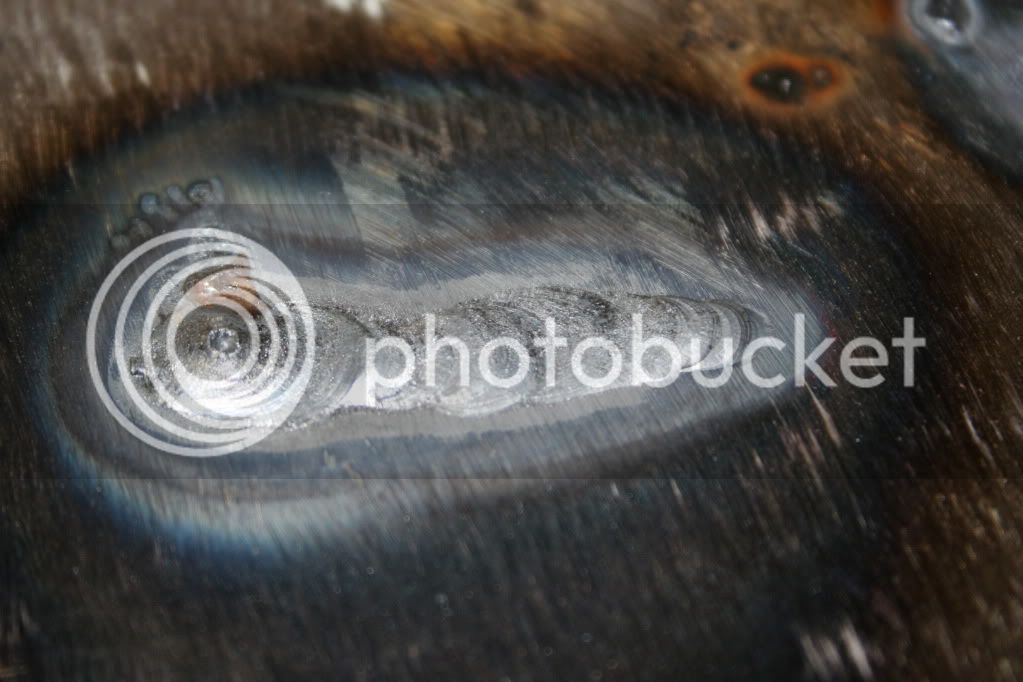
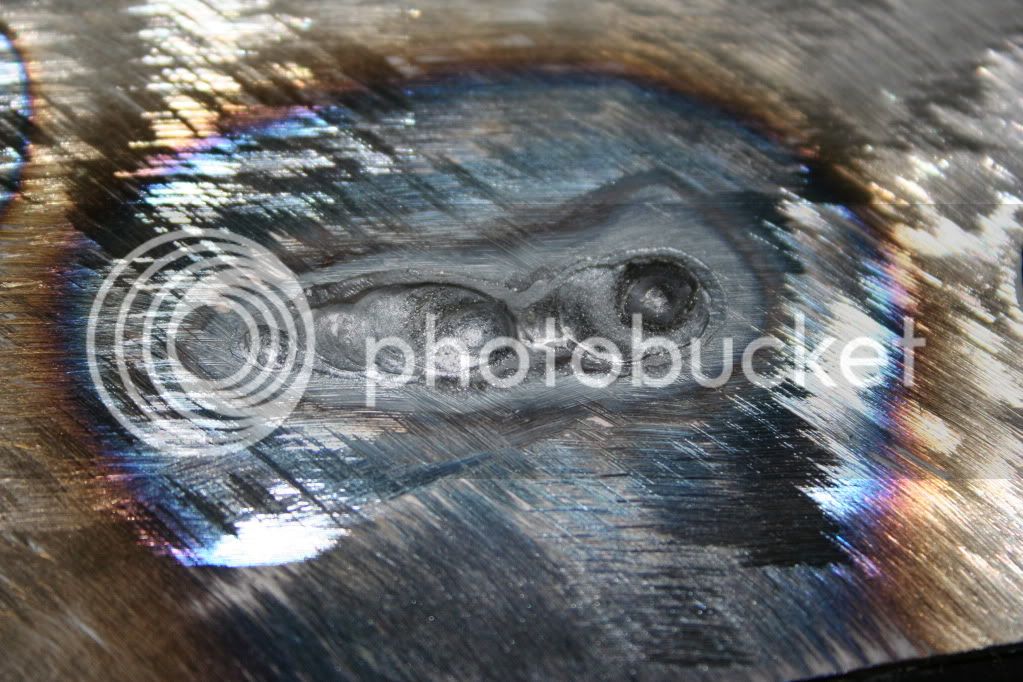
I've never held a tig torch, so this thread is intended to document my learning curve and solicit advice.

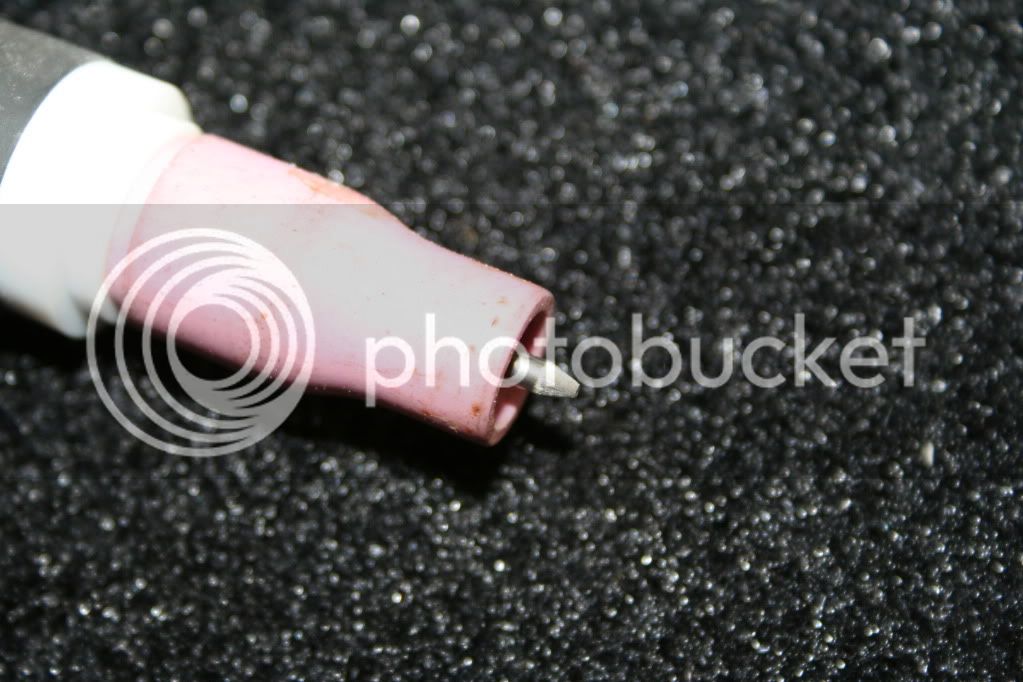
The welder came with a new torch and flowmeter.

I still have a few things to collect before I can actually tig anything.
I have a bit of time because the torch had the wrong accessory kit in the box and I'm waiting on the replacement to arrive.

I need an argon bottle, some filler material and I'd like to run the correct coolant instead of distilled water.

Hopefully, by this weekend I'll have it running.

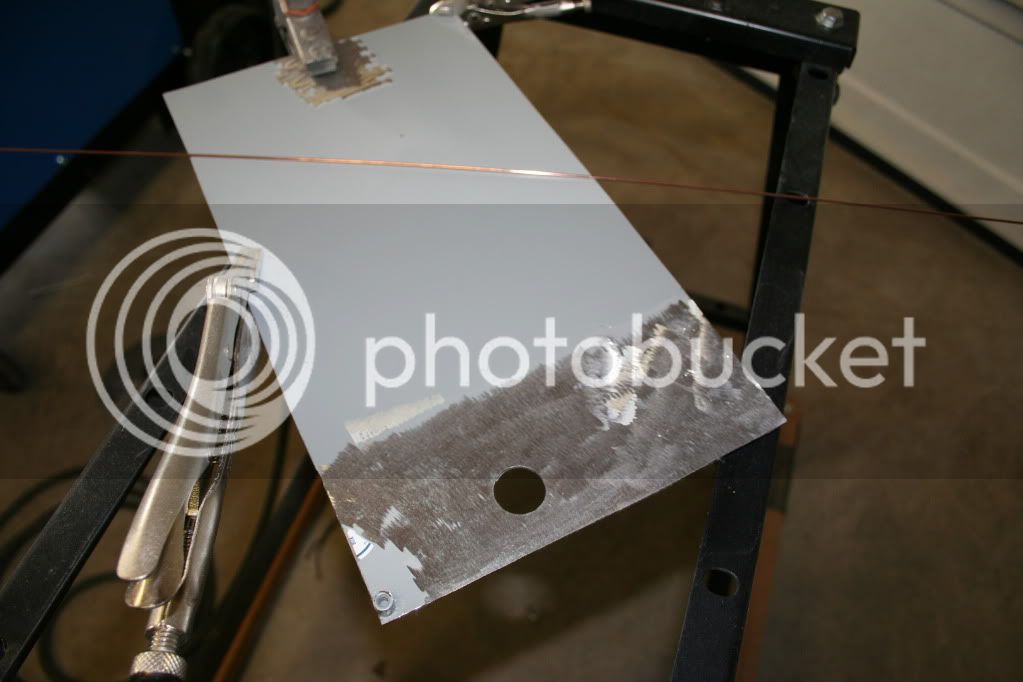
Here are some pictures:
IMG_3433.jpg


IMG_3434.jpg


IMG_3431.jpg


IMG_3432.jpg


Ed
 
Wow....that's classy! PLEASE post pics when you use that beast. Fwiw....looks new!
 
I get dibbs first for some strange reason, LOL. Carl.

Carl, you're the guy I'm counting on to keep me from giving it away!!!
Thanks for all your help so far.

Wow....that's classy! PLEASE post pics when you use that beast. Fwiw....looks new!

Thanks Steve. I connected a stinger to it, just to power it up and make some sparks. Just for documentation... I promise I will post my very first tig attempt.

This is gonna be fun.

Ed
 
AH MAN!! I'm jealous. That thing is SWEET!

Very nice. You will have fun learning the craft of TIG. Once you do, you'll have more work then you know what to do with.

Cheers,:mug:
 
AH MAN!! I'm jealous. That thing is SWEET!

Very nice. You will have fun learning the craft of TIG. Once you do, you'll have more work then you know what to do with.

Cheers,:mug:

Thanks GM.

I find myself going "Ah-ha!!" about 10 times a day as the possibilities occur to me. Now I just have to figure out how to get 30 years worth of learning and experience in a hurry ;)

Ed
 
Thanks GM.

I find myself going "Ah-ha!!" about 10 times a day as the possibilities occur to me. Now I just have to figure out how to get 30 years worth of learning and experience in a hurry ;)

Ed


Nah,

You just need patience, and a steady hand. You have skill. I have seen it in your other work. You just need to work a few different muscles and hold steady. I bet you pick it right up.
 
OK, so first installment of what do I do now...

I got the welder used from a repair / refurbish shop. When I got there to pick it up, he had it connected to a load center. He was able to power it up and demonstrate the current range and control through the pedal. He did not have the torch attached so he was not able to demo the High Frequency. It came with a used cooler and short stinger, new water cooled torch, and new flow meter. He gave me a 90 day warranty and a hand shake.

I knew when I picked it up I would need to install a plug and get a bottle of gas.

At "full tilt boogie" this thing will draw 92amps. I decided to connect it to an existing 50amp breaker/receptacle and realize I won't be able to use it at 310amps. I'm thinking I should be able to go 150amps on the 50amp breaker??? Well the first small hurdle was finding a 50amp plug. I went into Lowes and the only plug they have greater than 30amps are pigtails for a dryer or range. I found a 3 wire plug in Home Depot that I could connect to the existing cord on the welder. Power... Done.

I bought a cheap auto darkening helmet from Harbor Freight. I had a 20% discount coupon so it cost me $40. I also bought a Harbor Freight stick holder to replace the one on the used stinger I got. The one that came with it is one you twist the handle to tighten on the rod and was cracked. Helmet, stinger... Done.

I connected the stinger and ground leads. I grabbed a scrap piece of angle, powered on the welder and struck an arc... It's ALIVE!!! I felt like Dr. Frankenstein.

Ed
 
That looks very much like the TIG welder that I recently used at work. I know we have a few of them. After a bit of messing around, I can basically use the thing, but there is lots to learn. The good thing is, it's fun to learn!
 
That looks very much like the TIG welder that I recently used at work. I know we have a few of them. After a bit of messing around, I can basically use the thing, but there is lots to learn. The good thing is, it's fun to learn!

I've never tig'd. I have a small stick welder, and have used it, but not enough to consider myself a weldor. I can make 2 pieces of metal stick together if they are thick enough and then I wouldn't put any bodies well being on the line with the results.

So the point of this thread is, what does it take for a guy like me to setup a welder like this and learn to use it.

My first "project" will probably be a brewstand after some practice.

I'm looking forward to the adventure.

Ed
 
I've never tig'd.

So the point of this thread is, what does it take for a guy like me to setup a welder like this and learn to use it. Ed

Ed,
we all have never tigged at one time no worries.
Needed items, panic attack with depression meds helps with the learning curve, couldn't resist. You'll be talking to yourself more under the hood in purple colors.
I must add, plug the cooler power into the welder accessory power so that the cooler is always running with welder on.
My cooler has it's own switch, caught myself Tigging away then had that sinking feeling the cooler was turned off. Low amps with only a couple minutes the torch was not damaged. Those blame yourself screwups are not cheap.
Start a metal collection to practice with, even short muffler shop pipe scraps are good to practice cut and fit up and Tig.
Just be sure you make the wife garden projects be it plant stands or hangers she'll forgive this investment cost.
Get a slab of sttel 1/4" minimum to 3/8" and build a rolling welding table.
This will give you an idea, note their hold down clamps plus the slotted table.
http://www.millerwelds.com/products/workstations/arcstation/ plus view their video for ideas.
My friend is just starting on a work station build and will purchase those Miller hold down
clamps plus welding magnetic angles and squares, plasma cut the table slots with vice, torch holder
adding a 50 watt 12 VDC lighting.
 
Welding with TIG is not hard. Learning all that THAT welder can do will take much time. TIG welding takes practice like anything else. I think of it more as controlled soldering with real metal, rather than "welding" like MIG or even stick.

The torch heats up the metal until it flows. It's a (usually) slow process compared to the other welding I've done where the arc melts the metals almost instantly.

What's really nice is that you can control the "heat" for whatever material and conditions require. I haven't taken them up on it yet, but there are some guys here who have said they'd teach me the basics. Some of the stuff we need to do here is as small as about 1mm or so, and on up. So far I've only been shown how to turn it on, adjust the heat range, and how the process works. (torch heats up the metal...)
 
Ed,
panic attack with depression meds help with the learning curve, couldn't resist. You'll be talking to yourself more under the hood.

I must add, plug the cooler power into the welder accessory power so that the cooler is always running with welder on.
My cooler has it's own switch, caught myself Tigging away then had that sinking feeling the coolse was turned off. Low amps only a couple minutes rhe torch was not damaged. Those blame yourself screwups are not cheap.
Start a metal collection to practice with, even short muffler shop pipe scraps are good to practice cut and fit then Tig.
Get a slab of sttel 1/4" minimum to 3/8" and build a rolling welding table.

BrewBeemer,

Good input, I'm pretty excited to get everything I need together and give it a shot. I'll add the anti-depression drugs to the list. I'm already feeling anxiety and I'm sure there will be plenty of depression with my first attempts.

I know it requires more heat/current, but is aluminum harder to tig? I read that it is good to practice on because it stays clean and you can lay beads overtop of each other. Thoughts?

Ed
 
Let the art of tungsten resharpening begin, keep spares handy this is not fun.

LOL! Yeah, that was one thing they showed me right away too! I used a grinder wheel or a disc sander, whichever was closest to me at the time.

Adjust the amount of the stick out to modify the shape of the torch (plasma?).

I found it very easy to get the tip stuck in the weld when not paying attention. Or the tip might get a glob on it. Beginners troubles.
 
BrewBeemer,

Good input, I'm pretty excited to get everything I need together and give it a shot. I'll add the anti-depression drugs to the list. I'm already feeling anxiety and I'm sure there will be plenty of depression with my first attempts.

I know it requires more heat/current, but is aluminum harder to tig? I read that it is good to practice on because it stays clean and you can lay beads overtop of each other. Thoughts?

Ed

Aluminum is harder I think due it needing to be VERY clean (it oxidizes quickly) and that it's melt point is so low and it's hard to read when it's hot. But we have a guy at work who welded a LONG line of aluminum on an RV water heater tank that I forgot to drain before winter a few years ago. The weld is very nice looking. And it did have that classic stacked look.

I did not have such good luck with stainless the last time, which is supposed to be one of the easiest metals we work with here. I wish I could offer advice on settings and technique for aluminum, but I've never welded it myself. The thin stuff is always a PITA.
 
What's the preferred method for sharpening? A grinder?

I think a grinder or sander. The important part is that you sharpen length wise. In other words, you don't want scratches going around the tungsten or the arc with "wander"

I also read just like we read about using sandpaper and grinders on other material before SS, you can contaminate the tungsten with other material if you use the grinder on anything else.

They make grinders specifically for this purpose but they are very spendy.

Ed
 
Start out with steel, aluminum is a PITA until it's mastered as well SS, you'll have a mental meltdown so master steel first.
Funny thing my SS custom fab shop friend uses a 6" x 12' high speed sanding belt to dress his tungstens, no worries about a special tungsten wheel only, a quick arc on a copper bar burns away any non tungsten materials if picked up when sharpening. The belt sander makes for a smoother bright almost chrome finish that any grinding wheel can not produce.

Ed,
have you located a bottle yet?
 
Get a bench grinder, a cheap one is fine. One rule is not to grind aluminum on it.
Use only for steel or stainless.
Keep a cup of water next to the grinder to cool the tungsten off while sharpening. It's gonna get very hot!
A tip to keep from going back to the grinder 20 times is to sharpen both ends of the tungsten. That way if you booger the end up just pull it out and turn it over and your still truck'in. Do this to several and keep them next to you while welding.
 
Start out with steel, aluminum is a PITA until it's mastered as well SS, you'll have a mental meltdown so master steel first.
Funny thing my SS custom fab shop friend uses a 6" x 12' high speed sanding belt to dress his tungstens, no worries about a special tungsten wheel only, a quick arc on a copper bar burns away any non tungsten materials if picked up when sharpening. The belt sander makes for a smoother bright almost chrome finish that any grinding wheel can not produce.

Ed,
have you located a bottle yet?

BB,
I'm leaving in 15 minutes to pickup a bottle :ban:
Ed

Get a bench grinder, a cheap one is fine. One rule is not to grind aluminum on it.
Use only for steel or stainless.
Keep a cup of water next to the grinder to cool the tungsten off while sharpening. It's gonna get very hot!
A tip to keep from going back to the grinder 20 times is to sharpen both ends of the tungsten. That way if you booger the end up just pull it out and turn it over and your still truck'in. Do this to several and keep them next to you while welding.

Good idea, then I just have to keep track of colors in separate containers. Not a problem yet, all I have are red.


Are the red tungstens brittle? I thought I read that if you try to cut them that shatter... is that right?

Ed
 
Yes tungsten is brittle.
Most text books will tell you to break off the contaminated end of your tungsten if you accidentally dip it in the weld puddle. I say Bull!
You will go through tungsten like crazy doing that.
Just make sure you grind off the contamination and that is fine.
I've done this for years welding pipe in chemical plants making X-ray quality welds and have never had a problem.
 
If you want to cut tungsten for say using in a mini torch cut it with a cut-off wheel or on the corner of a bench grinding stone and just grind it in half.
If you try breaking it, it will sometimes split down the length, and then your arc will become erratic. You might as well throw it away unless it's at the end of a new piece in that case you can cut it below the split with the recommended methods.
You might also look into Tri-Mix (WS2) from Diamond Ground Products.
I use this tungsten for alloy steels as well as aluminum, plus it's doesn't contain any radioactive elements like thoriated(red) tungsten.
 
Got a 125cf bottle of argon and 4lbs of filler. :ban:

I still need coolant. The welding supply ordered the coolant and should have it after 4 pm tomorrow.

Gettin closer.
 
You might also look into Tri-Mix (WS2) from Diamond Ground Products.
I use this tungsten for alloy steels as well as aluminum, plus it's doesn't contain any radioactive elements like thoriated(red) tungsten.


Its a bummer being in aerospace. The 2% is all they allow us to use.
 
Got a 125cf bottle of argon and 4lbs of filler. :ban:

I still need coolant. The welding supply ordered the coolant and should have it after 4 pm tomorrow.

Gettin closer.

Cool beans Ed, you'll be tiggin this weekend.
Report back once you have gas plus a properly
dressed tungsten, size matching amps with your HF arc test.

Just showed the wifey your welder, she said
"Houstion We Have A Problem".
She gave up after one look at my 350 Sync.
I'll practice on Mr.Miller before twisting her knobs later.
 
A question for you guys...

I'm going to have 2 coolant hoses, 1 argon hose, and the 120vac line running from the back of the welder to the bottom front panel.

I'm thinking of hanging a 2" pvc sleeve under the cart to run the lines in. Any reason to separate any of these lines? See any problems with doing this? What do others do?

Ed
 
Ed,
I would run the 120 VAC cooler power cord seperate, keep it away from
the torch HF / current line. My thinking induction between the two rather be safe than sorry.
BB,

That's why I asked. I can hang two sleeves, no problem.

Thanks,
Ed
 
Got coolant and an extension hose today.

Other than a clean piece of 1/8" mild steel to practice on, I think I have every thing I need to give it my first try.

With any luck, tomorrow is the day.

Ed
 
Here we go...

My first tungsten grind (it's 3/32"):
IMG_3435.jpg


Not sure how much tungsten I need to have exposed, but here is where I started:
IMG_3437.jpg


Rough ground test material. It's a cutout from my panel, it's about .080" thick.
IMG_3438.jpg


VERY FIRST Attempt with the torch (This is actually my second attempt. I could not get a puddle on the first, then realized I had the welder set to 10amps to test HF Start) :
IMG_3441.jpg


Backside:
IMG_3442.jpg


After the flap sander:
IMG_3443.jpg


OK, who wants their keg welded? Bring it on over...

So, I will be playing and will post some more pics as I go. I'm going to switch to a 1/16" tungsten

Sorry about the large pictures, I didn't feel like taking the time to re-size.
Are they too large?


Ed
 
Back
Top